When I originally investigated installing a wall-mounted kitchen faucet, I was scared by its intricacy and potential plumbing issues. However, after completing multiple installs in my own houses and assisting friends with theirs, I’ve realized that wall-mounted faucets provide other advantages beyond their streamlined design. They free up important counter space, make cleaning easier, and add a modern center point to any kitchen. Through trial and error, I’ve discovered the necessary processes, frequent problems, and professional tactics that make this project feasible for most homeowners willing to devote time and attention to detail.
Plan Your Wall Mount Faucet Installation
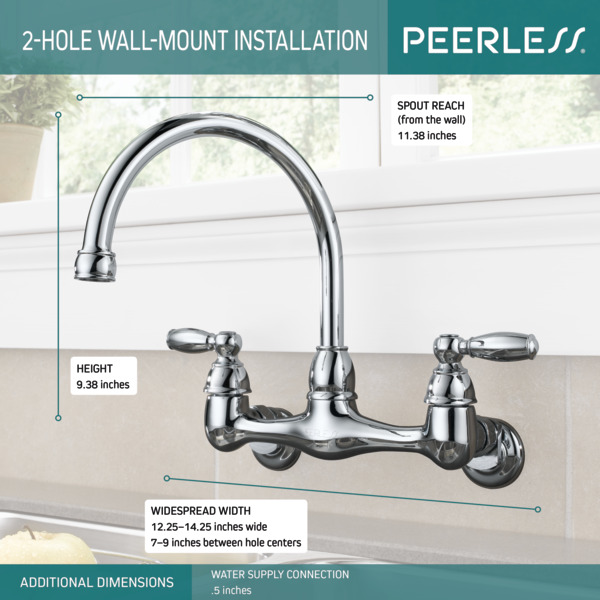
Before selecting a faucet, I measure the current setup and carefully examine the sink placement. The conventional height for wall-mounted kitchen faucets is 8 to 10 inches above the sink rim, but I prefer to measure from my sink to guarantee adequate clearance for large pots and plates. The horizontal distance from the wall to the center of the sink defines the spout reach required, which is normally 8 to 12 inches to avoid splashing outside the basin while allowing for comfortable use.
During my second installation, I discovered a steel beam where I wanted to place the faucet, teaching me the value of double-checking wall construction. Locating wall studs, electrical wiring, and existing plumbing allows you to prevent costly surprises during a job. I use a stud finder and occasionally drill small pilot holes to confirm the wall composition. For installations requiring new plumbing runs, I always plan the route from the existing supply lines to the new faucet placement, taking into account accessibility for future maintenance.
The faucet selection process entails balancing aesthetic choices with functional factors such as spout reach, handle operation, and installation constraints. I prefer versions with separate hot and cold supply connections over single-feed systems since they provide better temperature control and are easier to fix. Reading manufacturer specs attentively can help you avoid compatibility concerns, especially with valve spacing and wall thickness requirements that may not be obvious from product images.
Understanding Plumbing Requirements and Roughing In
Wall-mounted faucets necessitate precise rough-in plumbing, which differs greatly from deck-mounted installations. Most manufacturers stipulate valve centers 8 inches apart horizontally, but this might range from 6 to 12 inches depending on the model. Vertical location commonly positions valves 2 to 4 inches below the spout’s centerline. Getting these measures correct during rough-in avoids huge hassles during final installation, as adjustment options are restricted after walls are completed.
The supply line installation behind the wall necessitates meticulous planning and high-quality materials. I always use copper or PEX tubing with correct fittings, avoiding any shortcuts that could result in leaks within the wall hollow. Installing shut-off valves behind the wall allows for easy maintenance access, though I make sure they are still accessible via removable panels or existing access points. The valve installation must take into account the finished wall thickness, which includes any tile or other surface materials that will be applied later.
Water pressure considerations are especially relevant for wall-mounted installations. I assess the existing pressure at the anticipated site and install pressure-reducing valves if the results exceed the manufacturer’s limits, which are normally 80 PSI maximum. Low-pressure situations may necessitate pressure-boosting equipment, but I assess if the expenditure merits the installation complexity. Proper pipe sizing, typically a 1/2 inch minimum for kitchen applications, allows adequate flow rates for comfortable use while maintaining consistent pressure.

Choosing the Right Faucet and Components
According to my installation experience, build quality varies greatly between manufacturers, making research necessary before purchasing. I opt for strong brass construction with ceramic disc cartridges to ensure smooth operation and long-term durability. Chrome and stainless steel finishes are the most durable in kitchens, although oil-rubbed bronze and matte black require more maintenance to avoid water stains and fingerprints, which are more visible on these darker surfaces.
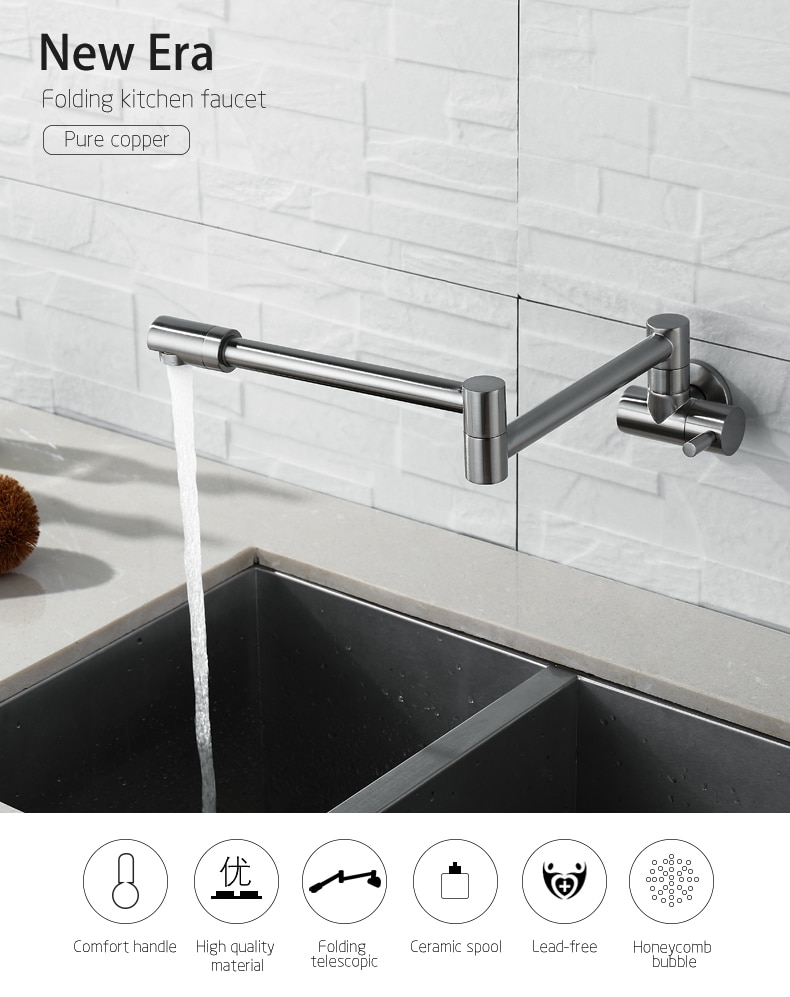
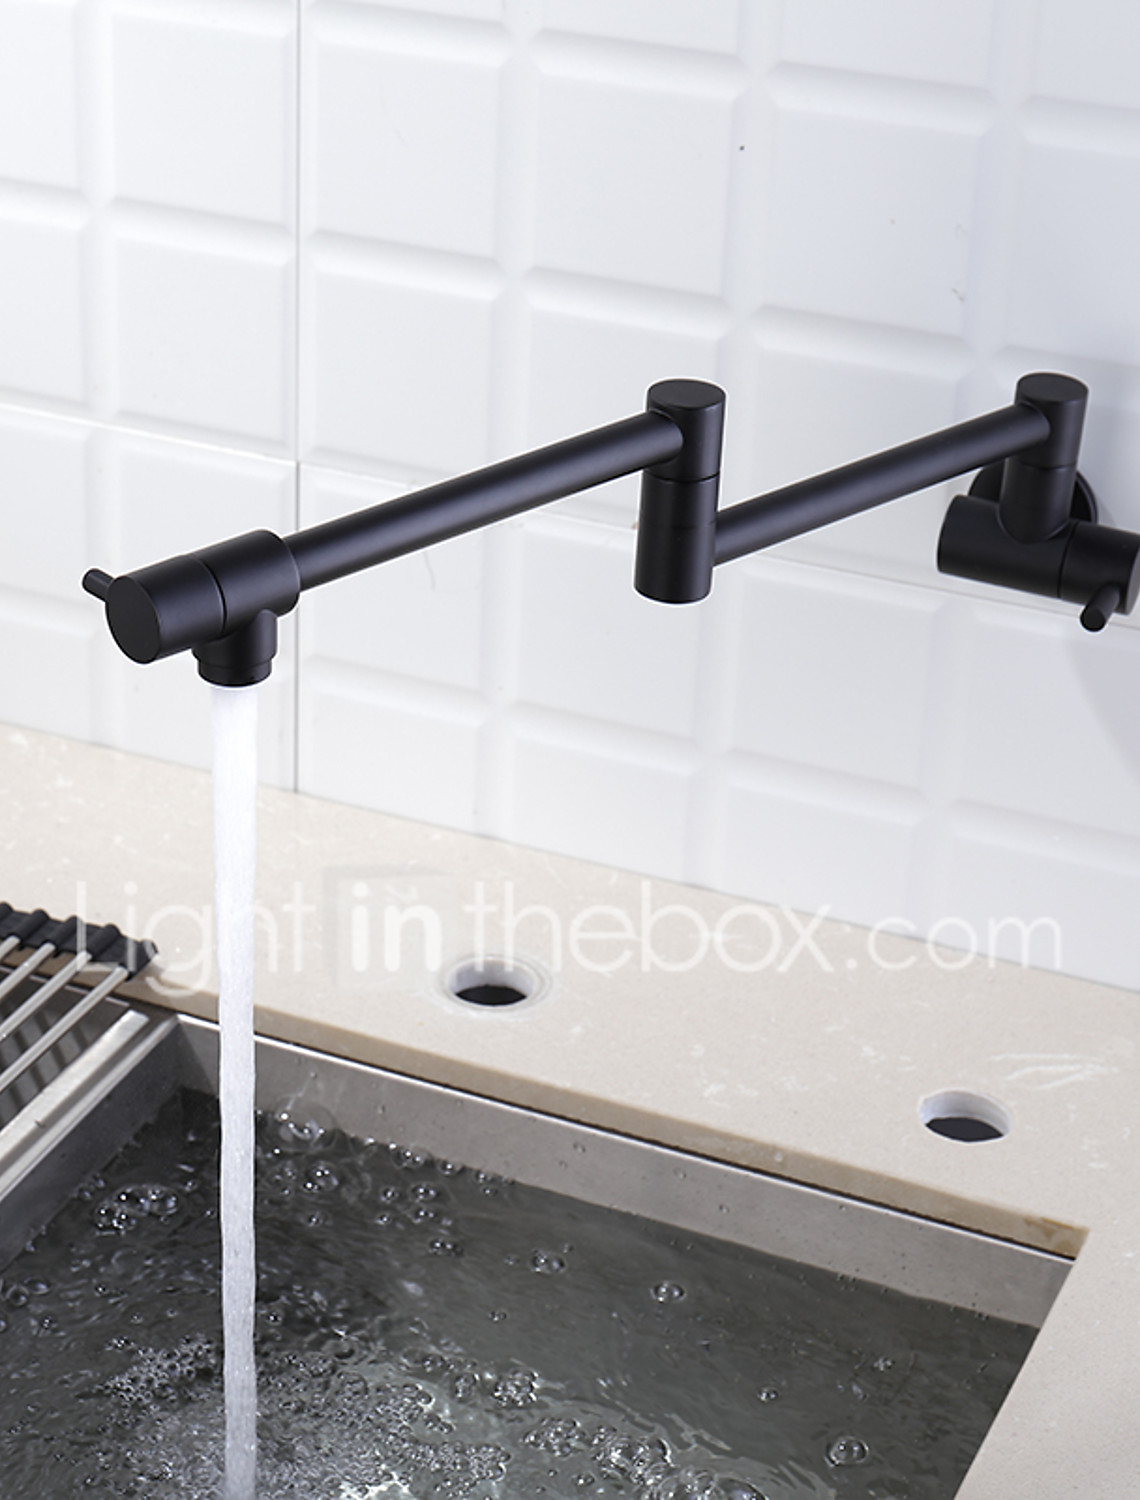
Spout design has a considerable impact on functionality and cleaning ease. I like models with pull-out or pull-down spray heads, which increase the faucet’s utility for washing large items and filling containers outside the sink. The spray head connection should feel sturdy with no excessive play, and replacement parts should be easily available from the manufacturer. Single-handle designs are more convenient, whereas dual-handle variants allow more exact temperature control, but need more sophisticated installation.
Installation hardware quality should be carefully considered, as wall-mounted faucets impose different strains on mounting points than deck-mounted devices. I evaluate the accompanying mounting brackets, screws, and any necessary backing plates to confirm that they are sturdy enough for long-term support. Some manufacturers offer adjustable mounting solutions that can accept different wall thicknesses and allow for modest positioning modifications during installation, which has saved me a lot of time and stress during difficult installs.
Proper Installation Techniques
Wall preparation is the cornerstone of good installation. I always cut access holes precisely with the manufacturer’s template, double-checking the specifications before cutting. To avoid cracking during tile installations, I use a diamond hole saw and work carefully while keeping the water cool. To produce clean edges when cutting drywall, use sharp utility knives and careful scoring. Any rough cuts will show around the finished faucet escutcheons; thus, spending time on precision pays off in the end.
Mounting the faucet body necessitates attention to both levelness and solid attachment. I use a small level to confirm perfect alignment before tightening any connections, as making modifications becomes difficult after supply lines are joined. The mounting screws must penetrate strong backing, such as wood studs or properly fastened wall anchors rated for the faucet’s weight plus operational loads. I hand-tighten connections first, then use tools with caution to avoid overtightening, which could break fixtures or strip threads.
Supply line connections must be carefully monitored to avoid leaks that could damage wall cavities. I apply thread sealant or Teflon tape to all threaded connections, wrapping clockwise to prevent unwrapping during installation. After connecting the supply lines, I gradually turn on the water and check for leaks at all connection points. Testing is running the faucet through its whole range of motion and flow rates to check that everything works properly before shutting up the walls or finishing the installation area.
Common Challenges and Solutions
Uneven walls are one of the most common issues I face during wall-mount installations. Walls in older homes are often not completely plumb or flat, presenting alignment challenges when mounting faucets. When adjustable mounting brackets are available, I use them, or I shim behind mounting points with thin washers or bespoke spacers. Sometimes I need to fill in low spots with joint compound or thin plywood strips to provide a flat mounting surface that allows for appropriate faucet alignment.
Hitting unanticipated barriers behind walls has taught me to always have a back-up strategy. Electrical wires, heating ducts, or structural components can occasionally obstruct the proper faucet placement, necessitating inventive solutions. I’ve learnt to slightly shift faucets horizontally wherever possible, or to utilize offset adapters that allow the visible faucet position to differ from the rough plumbing location. These scenarios frequently necessitate specialized plumbing runs, but with careful planning, the end product can still appear professional.
Water damage avoidance is crucial when working inside wall cavities. I always turn off the water supply at the main valve rather than depending on local shut-offs, which may fail during installation. Having absorbent materials and a wet vacuum on hand makes it easier to clean up spills fast. When establishing connections, I work systematically and test each joint separately rather than joining everything before testing, which makes leak detection and repair much easier if problems emerge during the installation process.

Maintenance and Long-term Care
Wall-mounted faucets work and look their best when cleaned regularly. I clean mine weekly with mild soap and soft cloths, avoiding harsh cleaners, which can damage finishes over time. The aerator must be removed and cleaned once a month to prevent mineral buildup, which lowers flow and generates uneven spray patterns. In hard water areas, I soak aerators in white vinegar to remove mineral deposits, then carefully rinse before reinstalling to ensure optimal performance and water flow characteristics.
Cartridge maintenance is required every few years based on water quality and usage frequency. I keep new cartridges on hand because wall-mounted faucets can be more difficult to service quickly than deck-mounted systems. When replacing cartridges, I cut off supply valves and work carefully to avoid dropping small pieces into wall cavities, where they are difficult to collect. Following the manufacturer’s instructions carefully protects internal components during maintenance procedures.
Long-term monitoring aids in detecting possible difficulties before they become big problems. I examine visible connections regularly for signs of corrosion or mineral buildup, which could indicate a potential leak. Any variations in water pressure, temperature control, or strange sounds detected during operation should be investigated. The wall area around the faucet should be kept dry; any moisture stains may signal internal leaks that require quick care to avoid structural damage to the wall framing or surrounding materials, which could be costly to repair.
What tools are required for wall-mounted faucet installation?
A drill with various bits, adjustable wrenches, pipe wrenches, a level, a stud finder, and safety equipment are all necessary instruments. I always carry a reciprocating saw for cutting access holes and a wet vacuum for cleanup. Specialized equipment, such as a basin wrench, can help you access tight connections behind walls. Diamond hole saws help to reduce cracking when working with tiles. Thread sealant, Teflon tape, and various fasteners complete the basic arsenal, however, unusual installations may necessitate more specialized equipment based on your wall construction and faucet requirements.
Can I put a wall-mounted faucet on any type of wall?
Most wall types may support wall-mounted faucets with adequate preparation and backing. Drywall requires a robust base, such as plywood or blocks between studs, to sustain the weight of the faucet and operational forces. Tile walls require precise cutting to minimize cracks, and I frequently reinforce the mounting area. Concrete or masonry walls necessitate specialized anchors and drilling techniques. The objective is to have appropriate structural support and waterproofing, regardless of wall type, as poor support will result in loosening mounts over time.

How much do professional installations normally cost?
Professional installation costs vary greatly depending on complexity and local labor rates, often ranging between $200 and $600 for basic setups. Complex jobs that include new plumbing runs, wall changes, or tile work can cost $800-1500 or more. I recommend collecting many bids and checking that contractors are licensed and insured. DIY installation reduces labor expenses but necessitates time, tools, and expertise. Consider your level of familiarity with plumbing work and the potential implications of mistakes before deciding whether to hire professionals or do the work yourself to save money.
How much space is required between the wall and the sink?
Proper spacing minimizes splashing and ensures a comfortable experience. I normally place faucets 8-10 inches above the sink rim, with a spout reach of 8-12 inches from the wall to the middle of the sink basin. The exact specifications are determined by the sink’s size and depth, the faucet style, and personal preference. Deeper sinks can have lower mounting heights, whereas shallow sinks require higher positioning. I always mock up the installation before final mounting to evaluate clearances with genuine pots and dishes that will be used frequently in the kitchen.

How do I avoid leaks in the wall cavity?
Internal leaks must be prevented by high-quality materials, competent installation techniques, and continuous monitoring. To prevent joint stress, I apply appropriate pipe sealants to all threaded connections and provide proper pipe support. Quality shut-off valves provide for maintenance access without having to open the walls. Installing the rough plumbing with removable access panels facilitates future maintenance. Before shutting walls, I thoroughly test all connections and keep an eye out for moisture in the installation area. Using copper or high-quality PEX tubing with suitable fittings decreases the likelihood of failure when compared to less expensive alternatives that may save money initially.
What kind of maintenance do wall-mounted faucets require?
Regular maintenance involves weekly cleaning with mild soap, monthly aerator cleaning, and cartridge replacement every 2-3 years. I inspect visible connections quarterly for corrosion or mineral accumulation. Hard water locations necessitate more frequent aerator servicing and, in some cases, water softening equipment to lessen maintenance requirements. Keeping replacement parts on hand allows for speedy repairs. The idea is to treat minor concerns as soon as possible before they escalate into big ones that necessitate wall opening or extensive repairs that could have been avoided with regular attention and basic maintenance methods.

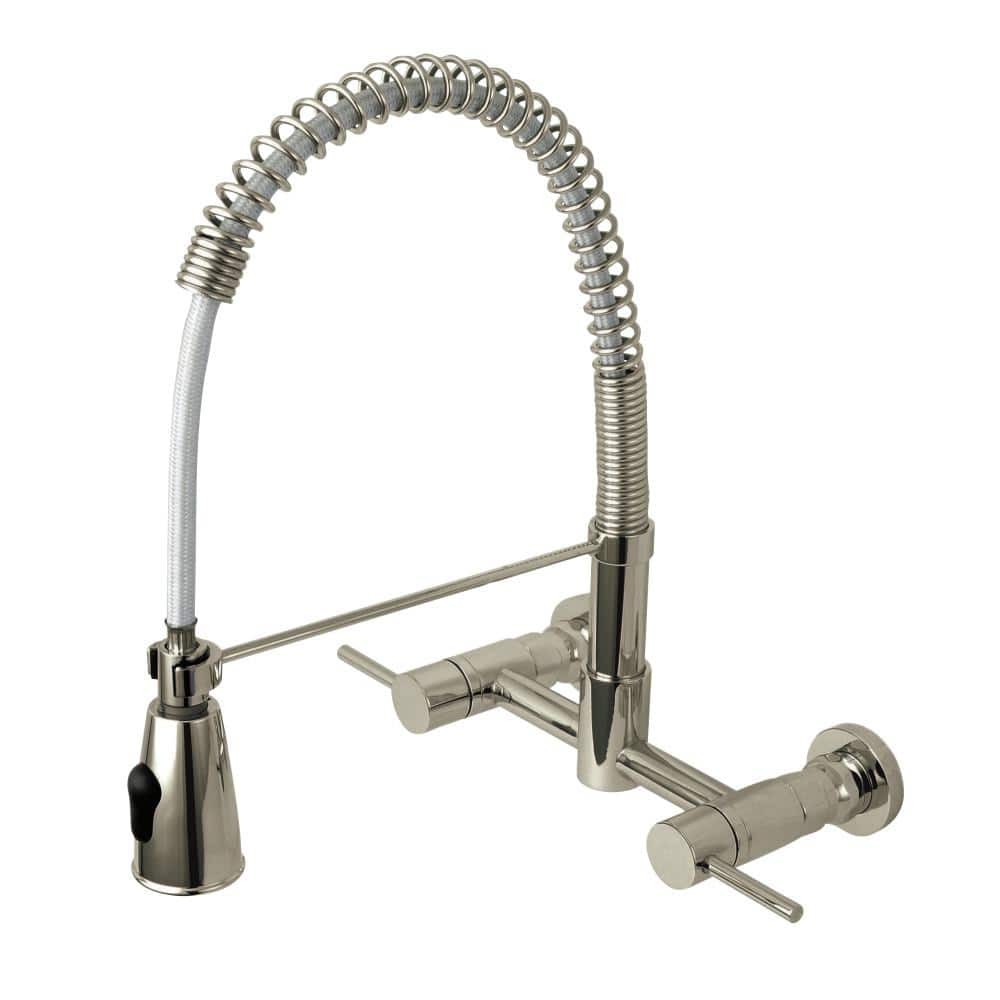
Peerless Choice 2-Handle Wall Mount Kitchen Faucet in Chrome P299305LF
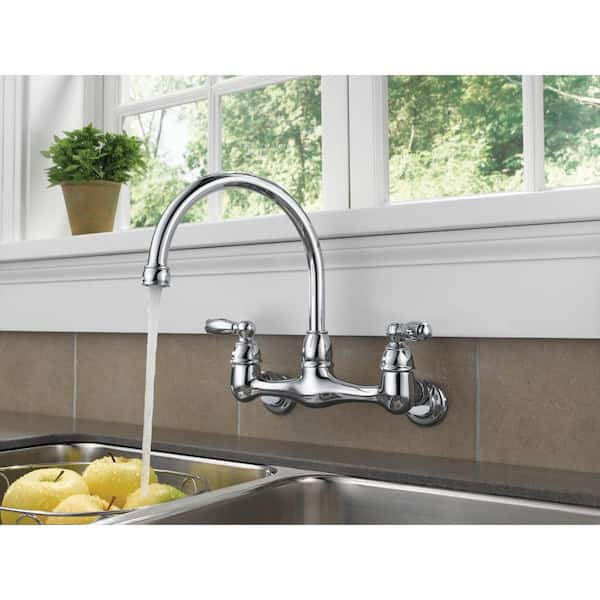
P299305LF – Two Handle Wall Mounted Kitchen Faucet
Wisewater Wall-Mounted Kitchen Faucet with Sprayer, Lead-Free Kitchen Sink Faucet Rotatable Taps, Modern Black

Related Posts: