It’s frustrating when the kitchen faucet head starts acting up. That steady stream of water we rely on suddenly becomes a sputtering mess or a weak trickle. Instead of immediately thinking about replacing the entire faucet, which can be costly and time-consuming, I’ve learned that often the issue lies within the faucet head itself. With a few simple steps and a little patience, you can usually diagnose and fix common problems, saving yourself both money and a trip to the hardware store. Let me share my experiences and tips on how to tackle kitchen faucet head repair.
Identifying Common Faucet Head Issues
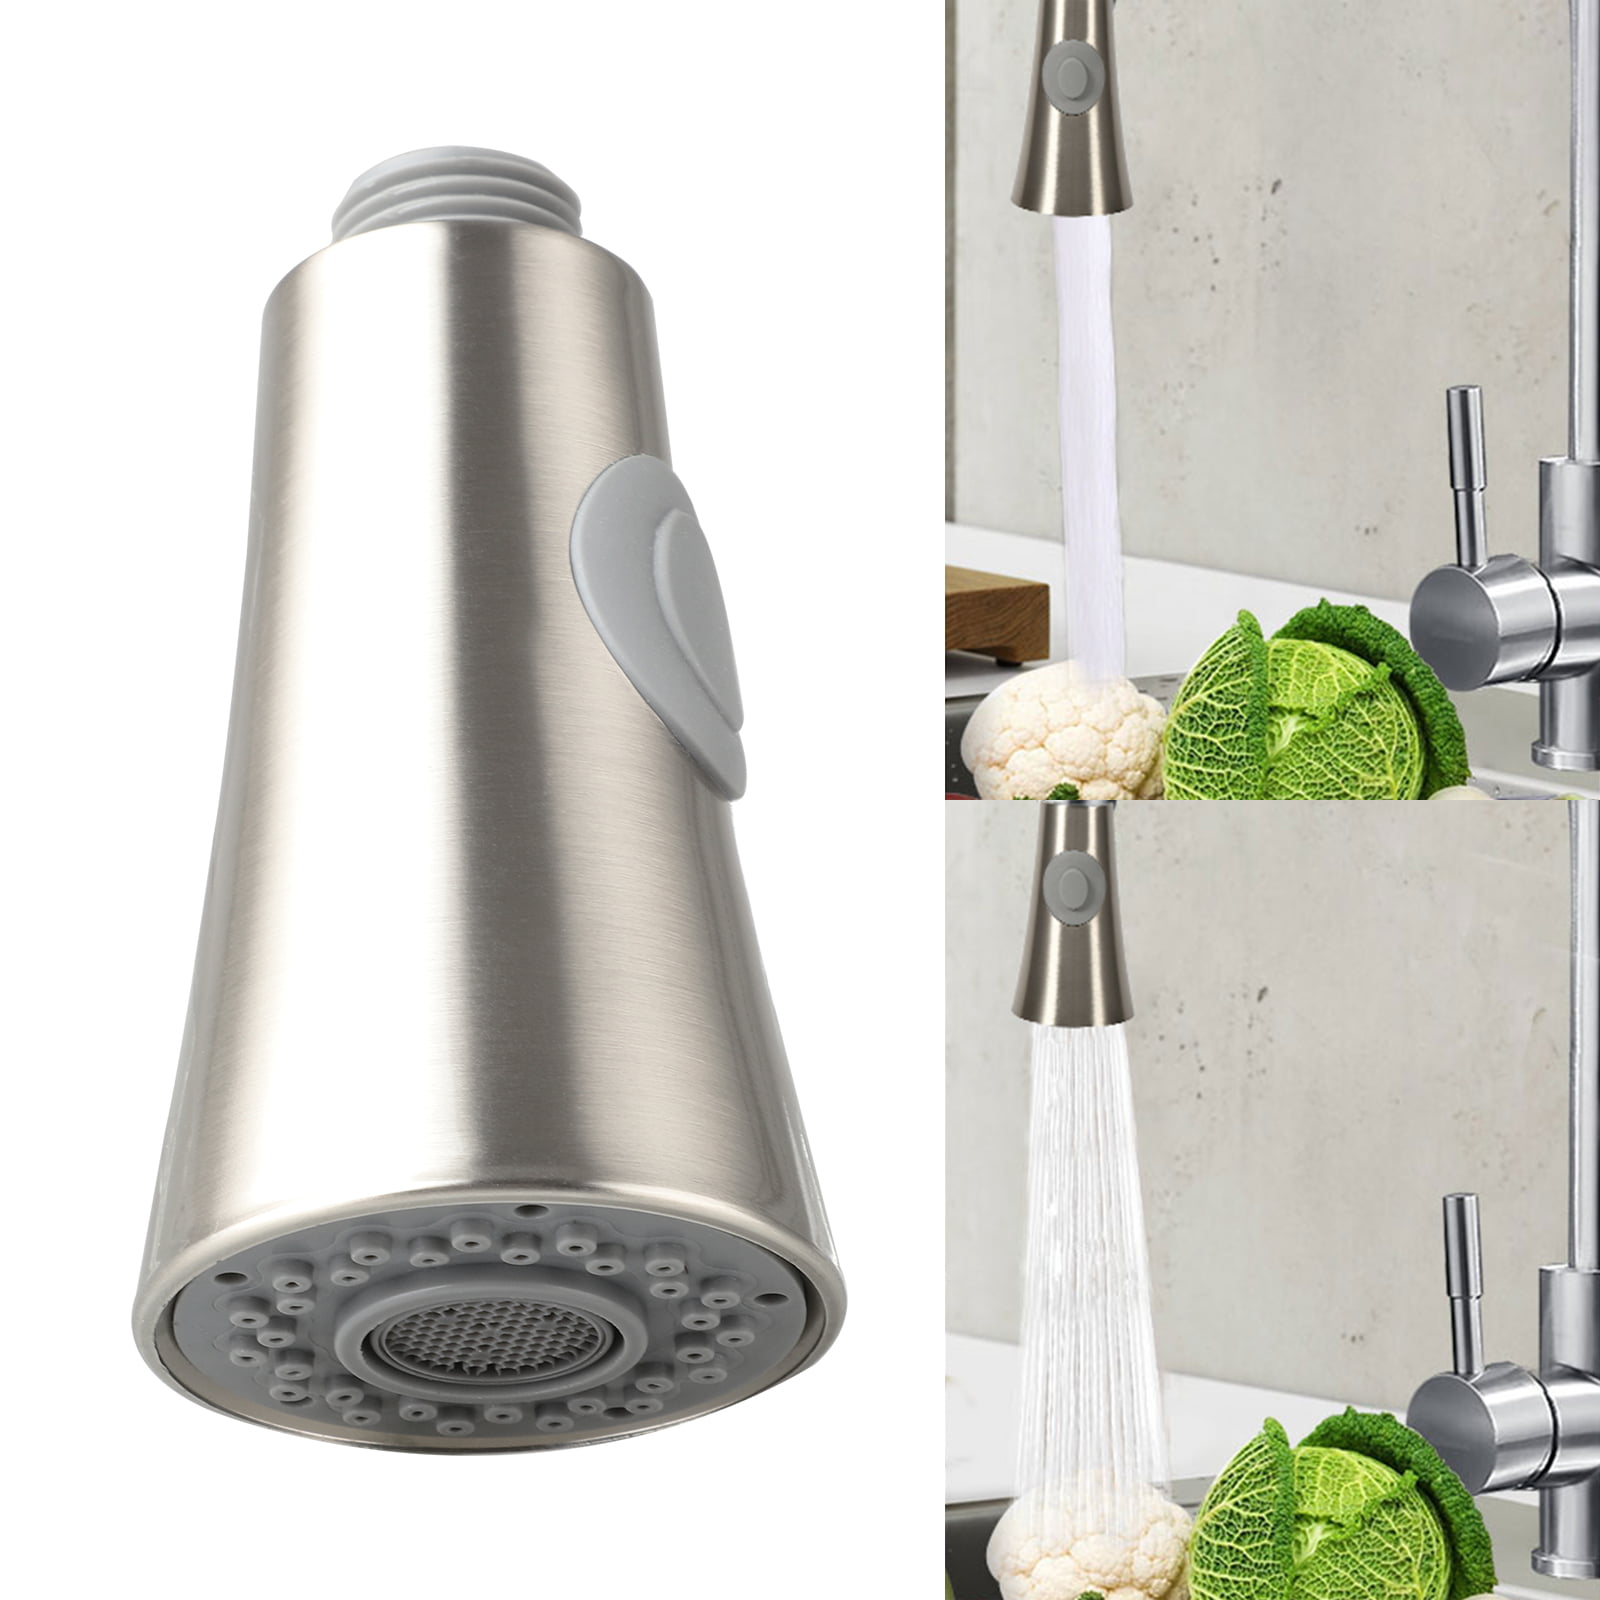
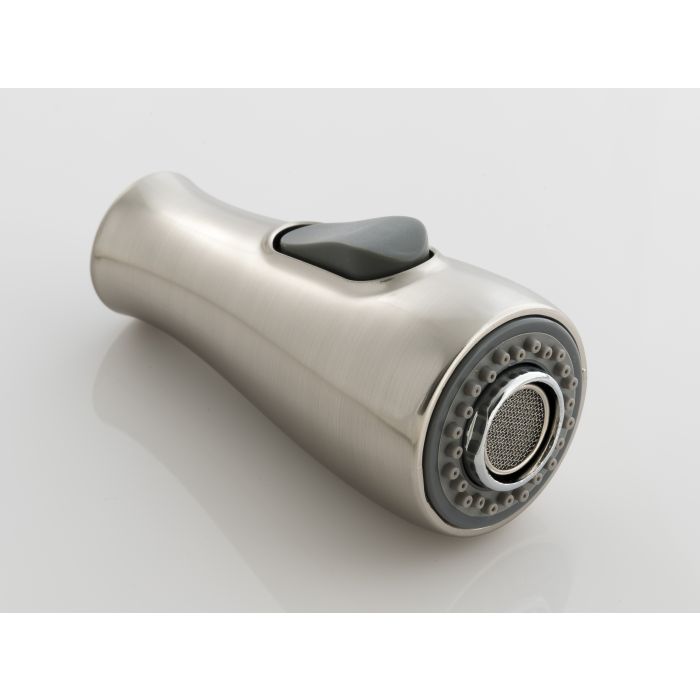
The first step in fixing any problem is figuring out what’s going wrong. Over time, mineral deposits from hard water can build up inside the faucet head, obstructing the flow of water. This often manifests as reduced water pressure or an uneven spray pattern. You might notice water spraying in unexpected directions or just a general lack of force. Another common culprit is a clogged aerator screen. This small mesh screen at the tip of the faucet head catches debris, and if it becomes blocked, it can significantly restrict water flow. Sometimes, the diverter valve within the faucet head, which switches between the stream and spray functions, can malfunction. This might result in water leaking from both settings simultaneously or the inability to switch between them at all.
Pinpointing the exact symptom will guide your repair efforts. For instance, if the water pressure is generally low throughout the house, the issue might not be the faucet head itself but rather a problem with your plumbing system. However, if only the kitchen faucet is affected, and especially if you notice mineral buildup around the faucet head, then it’s highly likely that the problem resides there. Observing how the faucet head is behaving – is it sputtering, leaking, or just producing a weak stream? – will provide valuable clues. Pay close attention to any unusual noises coming from the faucet as well, as this could indicate a loose component or a more serious internal issue.
Once you have a clear understanding of the symptoms, you can start to formulate a plan for repair. It’s helpful to gather a few basic tools beforehand, such as an adjustable wrench, a pair of pliers (preferably with a soft cloth to protect the finish), an old toothbrush or small brush for cleaning, white vinegar for dissolving mineral deposits, and possibly some plumber’s tape. Having these items ready will make the process smoother and more efficient. Remember to turn off the water supply to the faucet before you begin any disassembly to avoid any unexpected sprays or leaks. This simple precaution can save you from a wet and frustrating experience.
Removing and Inspecting the Faucet Head
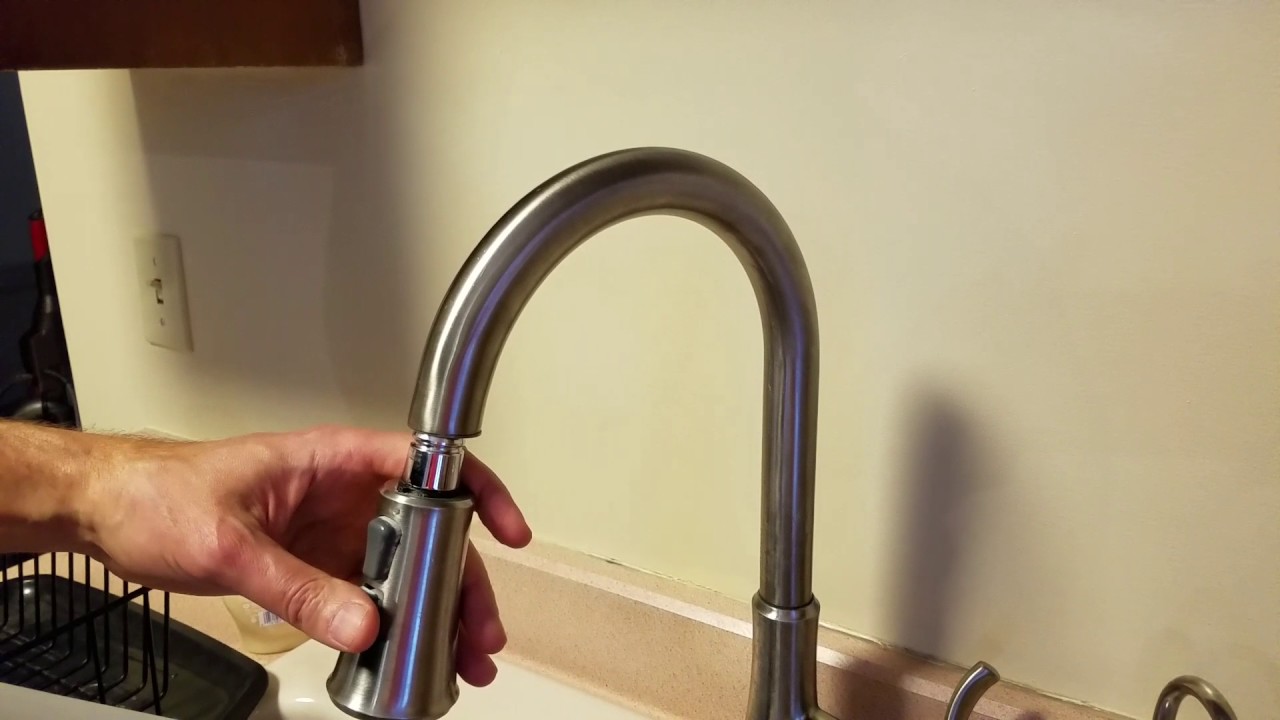
With the water supply safely turned off, the next step is to remove the faucet head. Most kitchen faucet heads can be unscrewed by hand, turning them counterclockwise. However, some models might have a small release button or require a wrench. If you need to use a wrench, be sure to protect the finish of the faucet with a cloth to prevent scratches. As you unscrew the head, pay attention to the order of any washers or seals that come loose, as you’ll need to put them back in the same way. Once the faucet head is detached, take a good look at all its components.
Examine the aerator screen closely. It’s usually a small, circular piece of mesh located at the very tip of the faucet head. If it’s clogged with mineral deposits or debris, this is likely contributing to your water flow issues. You might see white or greenish crusty buildup, or small particles trapped in the mesh. Also, inspect the rubber washers or O-rings for any signs of damage, such as cracks, tears, or flattening. These seals are crucial for preventing leaks, and if they’re worn out, they’ll need to be replaced. Look inside the faucet head itself for any visible obstructions or mineral buildup.
Sometimes, the entire faucet head assembly can accumulate a significant amount of mineral deposits internally. If this is the case, a simple cleaning of the aerator might not be enough. You might need to disassemble the faucet head further, depending on its design. Many faucet heads have multiple internal components that can be taken apart for thorough cleaning. Refer to your faucet’s manual if you have it, or look for similar models online to get an idea of how it comes apart. Be careful not to force anything, and keep track of all the small parts to ensure you can reassemble it correctly later.

Cleaning Mineral Deposits and Debris
Once you’ve identified mineral buildup as the culprit, the good news is that it’s usually quite easy to address. White vinegar is your best friend here. Its mild acidity effectively dissolves these deposits without damaging the metal or plastic components of your faucet head. There are a couple of ways you can use vinegar for cleaning. One method is to soak the entire faucet head, or at least the affected parts like the aerator screen, in a bowl of white vinegar for a few hours or even overnight for stubborn buildup.
For more localized deposits, or for scrubbing away loosened debris, an old toothbrush or a small brush works wonders. After soaking the components in vinegar, gently scrub away any remaining mineral deposits. Pay close attention to the small holes in the aerator screen and make sure they are clear. You can also use a toothpick or a thin needle to carefully dislodge any stubborn particles trapped in these holes. Rinse all the cleaned parts thoroughly with clean water to remove any traces of vinegar before reassembling.
If the mineral buildup is particularly severe and doesn’t come off easily with soaking and scrubbing, you might need to repeat the process or try a slightly more concentrated vinegar solution. However, avoid using harsh chemicals or abrasive cleaners, as these can damage the finish or internal components of your faucet head. Patience is key here. Sometimes, multiple rounds of soaking and gentle scrubbing are necessary to completely remove all the deposits. Once everything is clean and the water pathways are clear, you should notice a significant improvement in your water pressure and spray pattern.
Replacing Worn-Out Washers and O-Rings
While cleaning can often resolve water flow issues, leaks are frequently caused by damaged or worn-out rubber washers and O-rings. These small, inexpensive parts create a watertight seal between different components of the faucet head. Over time, they can become brittle, cracked, flattened, or even develop tears, leading to drips and leaks. When you inspect the faucet head, pay close attention to the condition of these seals. If you notice any signs of damage, it’s essential to replace them.
The best way to ensure you get the right replacements is to take the old washers and O-rings with you to the hardware store. There are often a variety of sizes and types, and having the old ones as a reference will help you find the correct match. If you can’t remove the old ones without damaging them further, try to measure their diameter and thickness as accurately as possible. Some faucet manufacturers also sell repair kits specifically for their models, which can be a convenient option.
When installing the new washers and O-rings, make sure they are seated correctly in their designated grooves. A little bit of plumber’s grease can sometimes help to lubricate them and ensure a good seal. Avoid over-tightening the faucet head during reassembly, as this can damage the new seals. Tighten it snugly until it feels secure, but don’t force it. Replacing these small parts can often eliminate annoying leaks and restore your faucet to its proper function.

Reassembling the Faucet Head
With the cleaning done and any necessary replacement parts on hand, it’s time to put the faucet head back together. This is where those notes you took during disassembly will come in handy. Reassemble the internal components in the reverse order that you took them apart. Make sure all the parts fit snugly and are properly aligned. Pay attention to the orientation of any washers or seals to ensure they create a proper seal.
Once the internal components are back together, it’s time to reattach the faucet head to the faucet arm. Screw it on clockwise until it’s hand-tight. If you used a wrench to remove it, you might need to use it again to tighten it, but remember to protect the finish with a cloth and avoid over-tightening. Ensure that the faucet head is securely attached and doesn’t feel loose.
After reassembly, the crucial step is to turn the water supply back on slowly. Check for any leaks around the connection point between the faucet head and the arm, as well as from any seams in the faucet head itself. Also, test both the stream and spray functions to make sure the diverter valve is working correctly. If you notice any leaks, turn off the water again and carefully re-examine the seals and connections. You might need to tighten the faucet head a little more or double-check that the washers and O-rings are seated properly. With a little patience and careful attention to detail, you should be able to successfully reassemble your faucet head and restore it to full working order.

Preventing Future Faucet Head Problems
Once you’ve successfully repaired your kitchen faucet head, you’ll likely want to prevent future issues. One of the most effective ways to do this is through regular cleaning. Periodically unscrew the faucet head and clean the aerator screen to remove any mineral buildup or debris before it becomes a significant problem. The frequency of cleaning will depend on the hardness of your water, but doing it every few months can make a big difference.
Another helpful tip is to avoid letting food particles or other debris go down the drain without using the garbage disposal or a strainer. These small particles can sometimes get caught in the faucet head and contribute to clogs. Also, be mindful of any unusual changes in water pressure or spray pattern and address them promptly before they escalate. Early detection can often lead to simpler fixes.
Consider installing a water softener if you have particularly hard water. While this is a more significant investment, it can greatly reduce mineral buildup not only in your faucets but also in other appliances that use water, extending their lifespan and improving their efficiency. Finally, when cleaning your kitchen sink, avoid spraying cleaning solutions directly into the faucet head, as some chemicals can damage the finish or internal components. By incorporating these preventative measures into your routine, you can help keep your kitchen faucet head functioning smoothly for years to come.

My kitchen faucet is producing a very weak stream of water. What could be the most likely cause, and how can I address it without calling a plumber immediately?
The most probable cause for a weak water stream from your kitchen faucet is a clogged aerator screen. Over time, mineral deposits and small debris can accumulate in this fine mesh screen located at the tip of the faucet head, restricting the flow of water. To address this, first, turn off the water supply to your faucet. Then, unscrew the faucet head, which can usually be done by hand or with a wrench (protecting the finish with a cloth). Once removed, you’ll see the small aerator screen. Use an old toothbrush or soak it in white vinegar for a few hours to dissolve mineral deposits. For stubborn blockages, a toothpick or a thin needle can help dislodge particles. Rinse the screen thoroughly with clean water before reassembling the faucet head. Turning the water back on should reveal if this simple cleaning has restored the water pressure.
The spray function on my kitchen faucet isn’t working properly; it either doesn’t engage fully or water leaks out when I’m using the stream. What component inside the faucet head is likely responsible, and can I fix it myself?
The component most likely responsible for issues with the spray function is the diverter valve located inside the faucet head. This valve directs water flow to either the stream or the spray setting. Over time, mineral buildup can cause it to stick or malfunction, or small parts within it can wear out. To attempt a repair, you’ll need to remove the faucet head and carefully disassemble it, paying close attention to the order of the internal parts. Clean all the components, especially the diverter valve, with white vinegar to remove any mineral deposits. Inspect the small rubber seals or O-rings associated with the diverter for any damage like cracks or tears. If you find any damaged seals, you’ll need to replace them with appropriately sized new ones, which can usually be found at a hardware store. After cleaning and replacing any worn parts, reassemble the faucet head and test both the stream and spray functions.
My kitchen faucet head is leaking from the connection point where it attaches to the faucet arm. What steps can I take to stop this leak without replacing the entire faucet?
A leak at the connection point between the faucet head and the faucet arm is often due to a worn-out or damaged rubber washer or O-ring inside the faucet head’s connector. To fix this, first, turn off the water supply to the faucet. Then, unscrew the faucet head from the arm. Inside the threaded connector of the faucet head, you should find a rubber washer or an O-ring. Inspect this seal carefully for any signs of damage, such as cracks, flattening, or tears. If it appears worn, you’ll need to replace it. Take the old washer or O-ring to a hardware store to ensure you get the correct size and type. Once you have the replacement, place it in the correct groove inside the connector and reattach the faucet head to the arm, tightening it snugly but not excessively. Turning the water back on should confirm if the new seal has stopped the leak.

I’ve noticed a significant amount of white, chalky buildup around the holes of my faucet head. Is this affecting my water flow, and what’s the best way to remove it without damaging the faucet finish?
The white, chalky buildup you’re seeing is likely mineral deposits from hard water, primarily calcium and magnesium. These deposits can definitely restrict water flow and cause an uneven spray pattern by clogging the small openings in the faucet head. The best way to remove them without damaging the finish is to use white vinegar. You can either soak the entire faucet head in a bowl of white vinegar for a few hours, or if the buildup is localized, you can saturate a cloth or paper towel with vinegar and wrap it around the affected area, letting it sit for a while. The mild acidity of the vinegar will dissolve the mineral deposits. After soaking, use an old toothbrush or a soft cloth to gently scrub away any remaining residue. Rinse the faucet head thoroughly with clean water to remove any traces of vinegar. Avoid using harsh chemicals or abrasive cleaners, as these can scratch or damage the faucet’s finish.

Sometimes, small black particles come out of my kitchen faucet. Could this be related to the faucet head, and is it something I should be concerned about?
The appearance of small black particles coming from your kitchen faucet could potentially be related to the flexible hoses or rubber components within the faucet head or the supply lines. Over time, these rubber parts can degrade, especially if they are old or exposed to certain chemicals in the water. While it’s not necessarily a serious health hazard in small amounts, it’s a sign that some internal components are breaking down and could eventually lead to leaks or further clogging. To address this, first, try removing and disassembling the faucet head to inspect any rubber washers or seals for signs of deterioration. If you find any crumbling parts, they will need to be replaced. If the particles persist even after cleaning the faucet head, the issue might be with the flexible supply lines connected beneath your sink, which might also be degrading internally. In this case, replacing the supply lines is recommended.

What tools and materials do I typically need for basic kitchen faucet head repairs and maintenance?
For basic kitchen faucet head repairs and maintenance, a few simple tools and materials are usually sufficient. You’ll likely need an adjustable wrench, preferably with a soft cloth or tape to protect the faucet’s finish from scratches. A pair of pliers can also be useful for gripping small parts, again, consider using a cloth to cushion the grip. For cleaning mineral deposits, white vinegar is an essential and effective solution. An old toothbrush or a small scrub brush will help in scrubbing away loosened debris. You might also need a toothpick or a thin needle to dislodge stubborn particles from the aerator screen. If you encounter leaks, having replacement rubber washers and O-rings of various sizes on hand can be beneficial. Plumber’s tape can also be useful for creating a watertight seal on threaded connections. Having these basic items readily available will allow you to tackle most common kitchen faucet head issues without needing to call a professional.
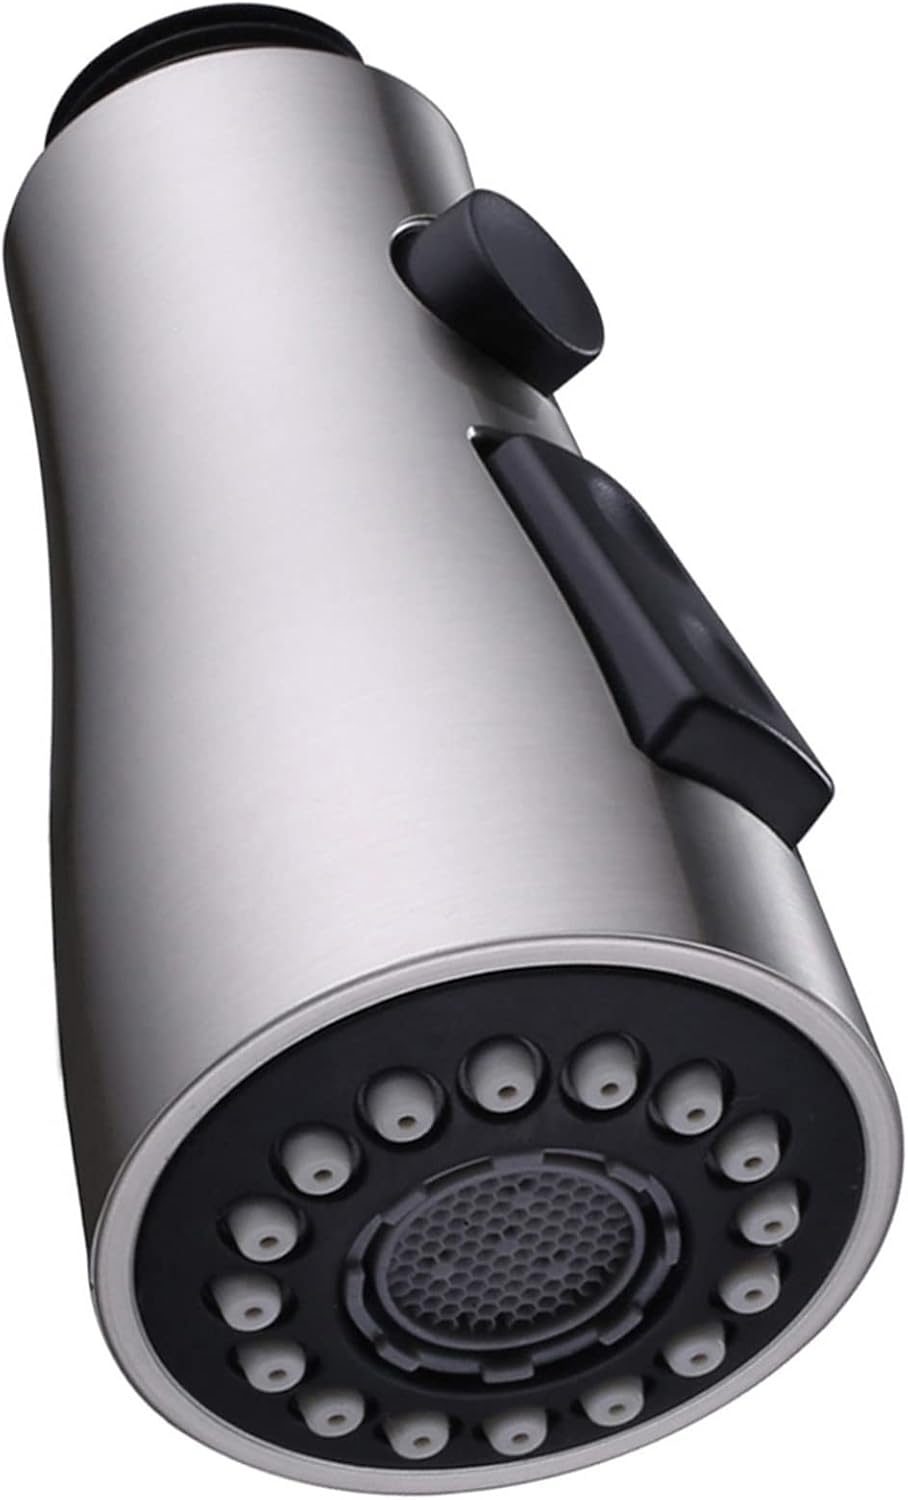
Universal Pull Down Kitchen Faucet Sprayer Head Replacement Pull Out Kitchen Faucet Spray Head Bruhsed Nickel 2 Function Sprayer Aerated Flow Powerful
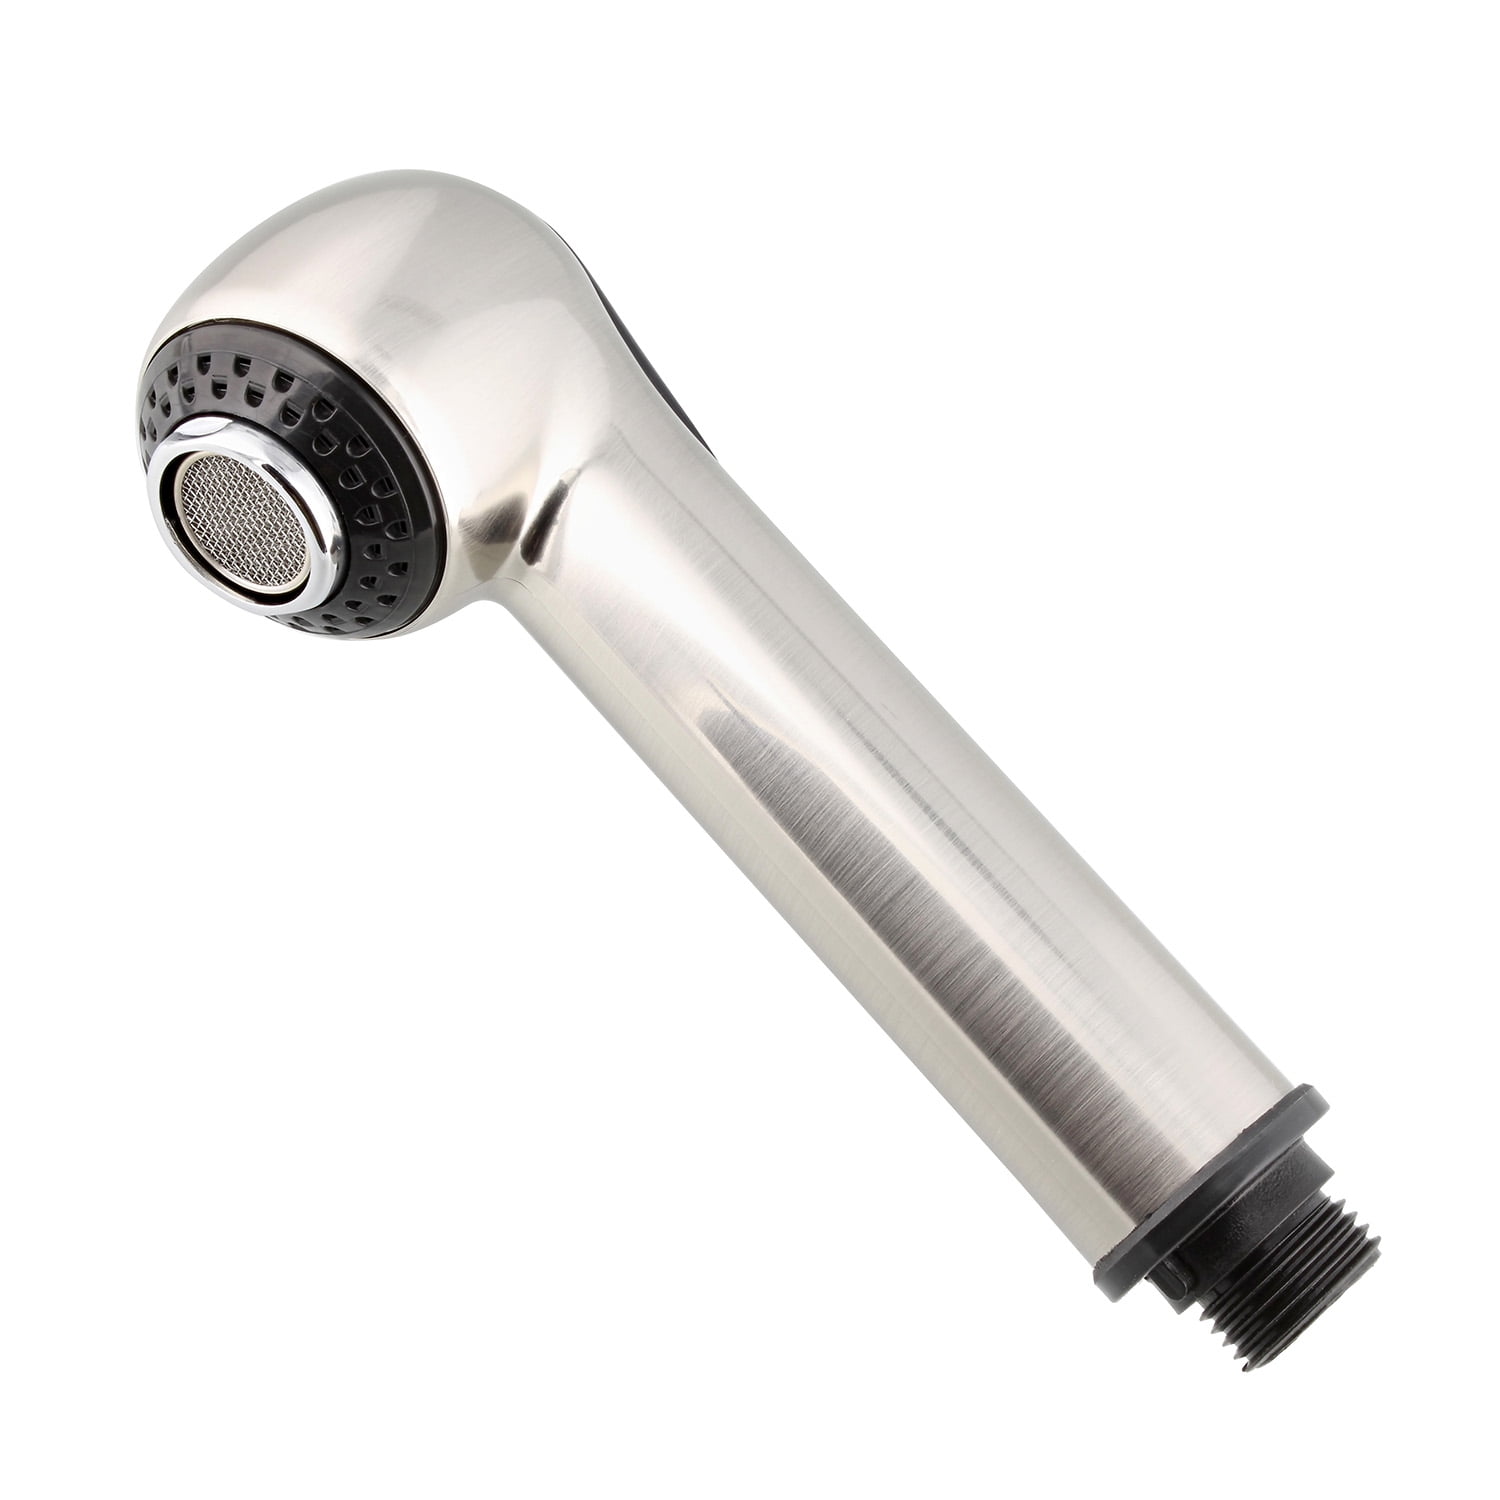
Pulldown Kitchen Faucet Head Replacement Brushed Nickel, Pull-Down Faucet Sprayer Head Nozzle, G 1/2 Pull Down Spray Head for Kitchen Faucet, Brushed

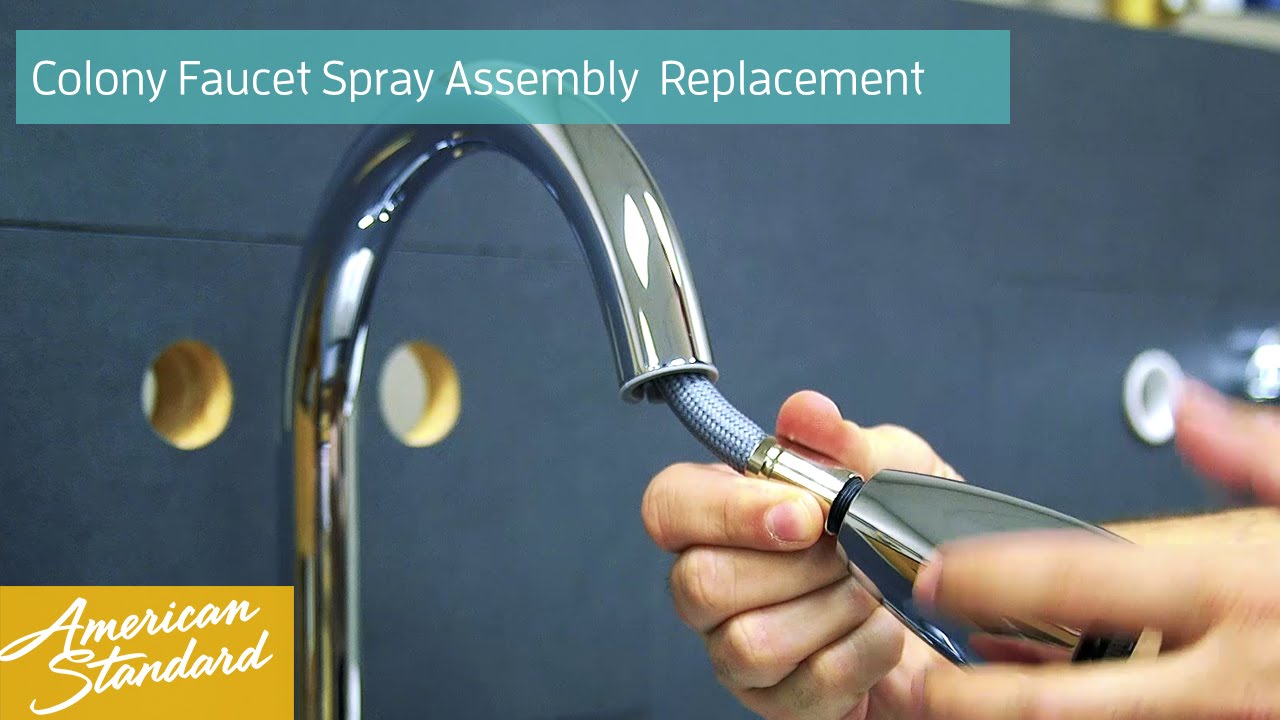
Brushed Nickel RV Replacement Sprayhead for U-YNN2000N-E Kitchen Faucet
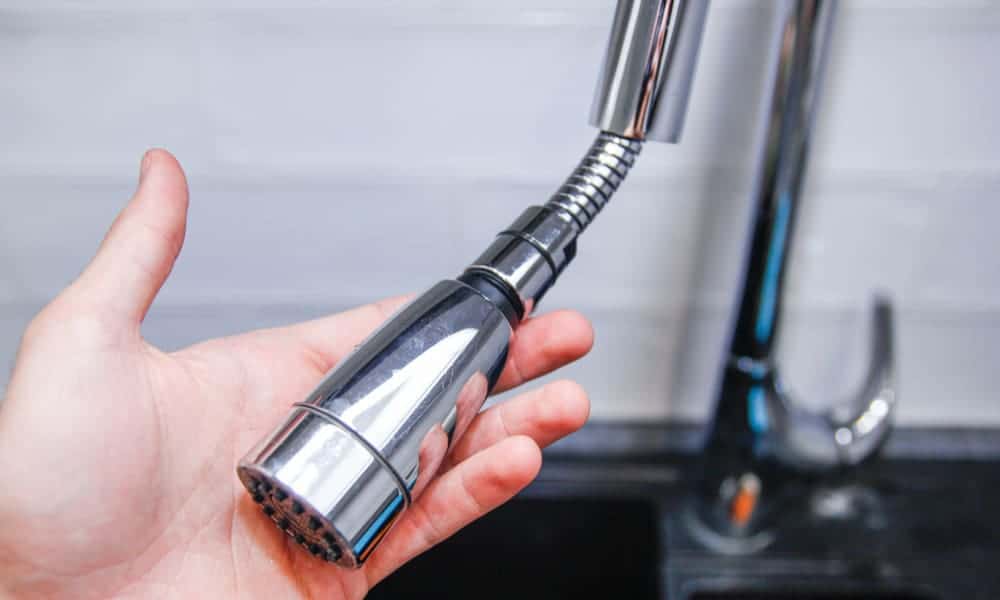
Price Pfister kitchen faucet repair. Pull down spray nozzle.
Related Posts: