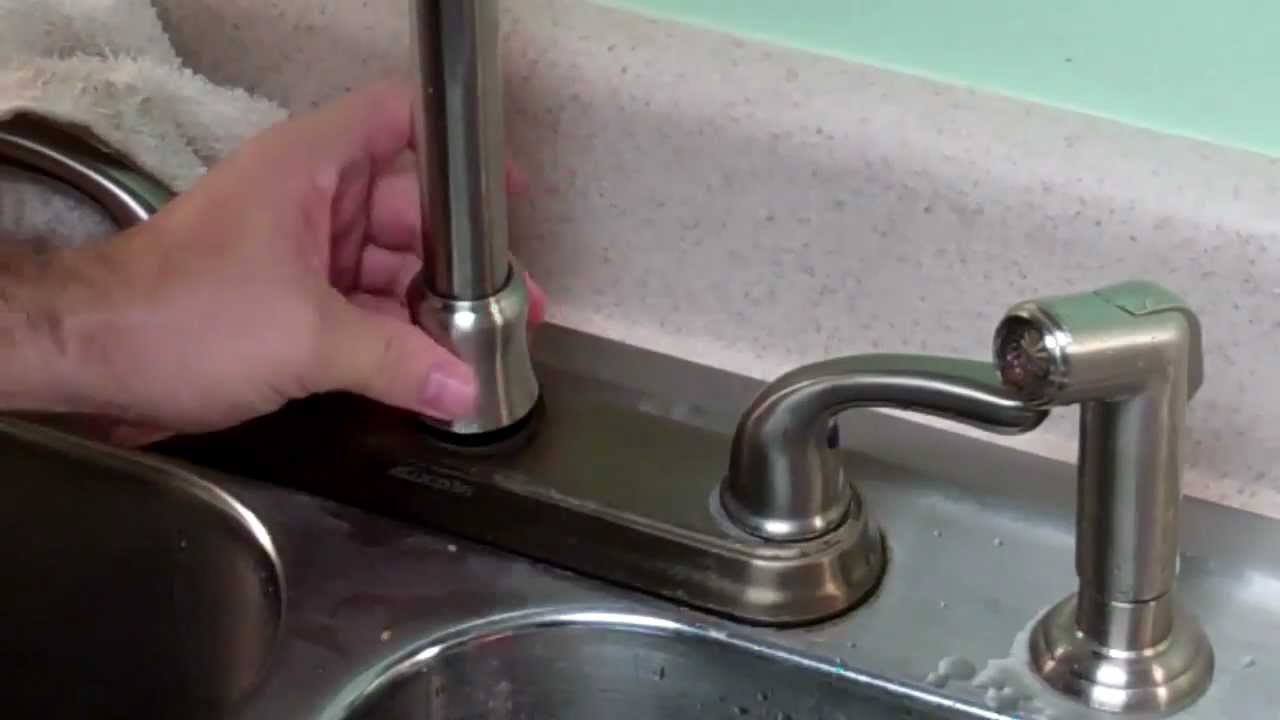
Identifying the Source of the Leak
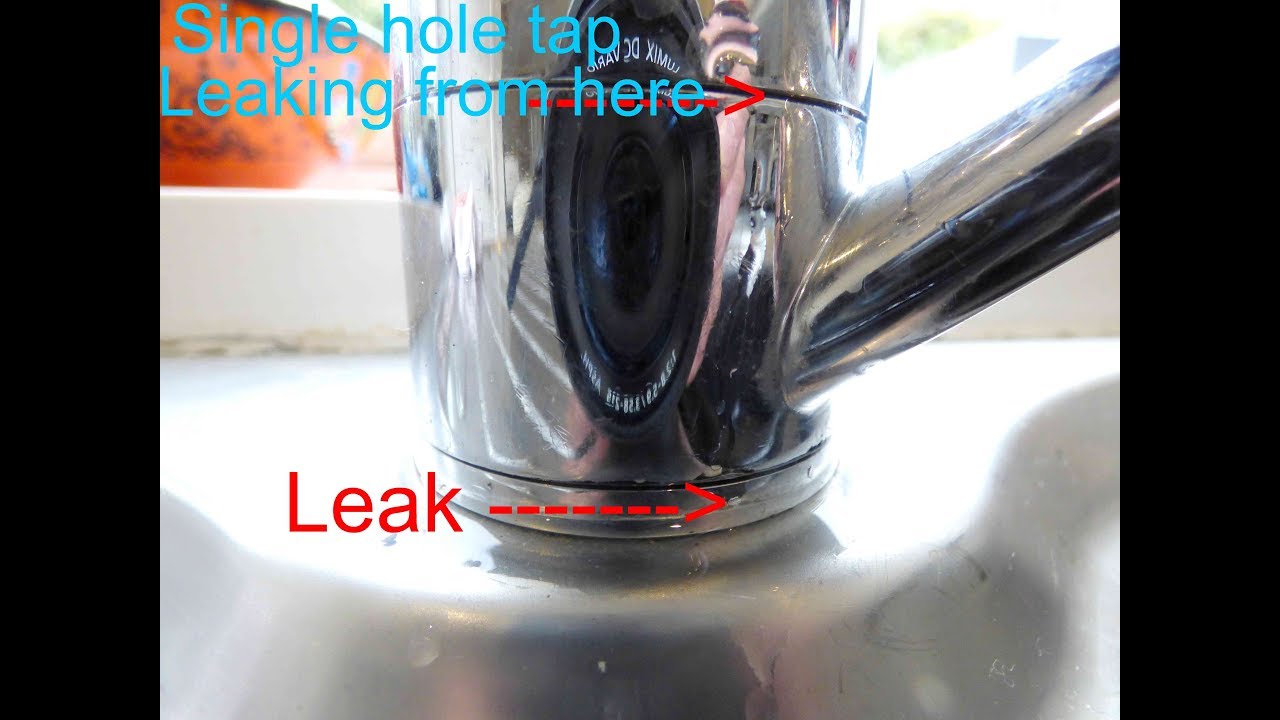
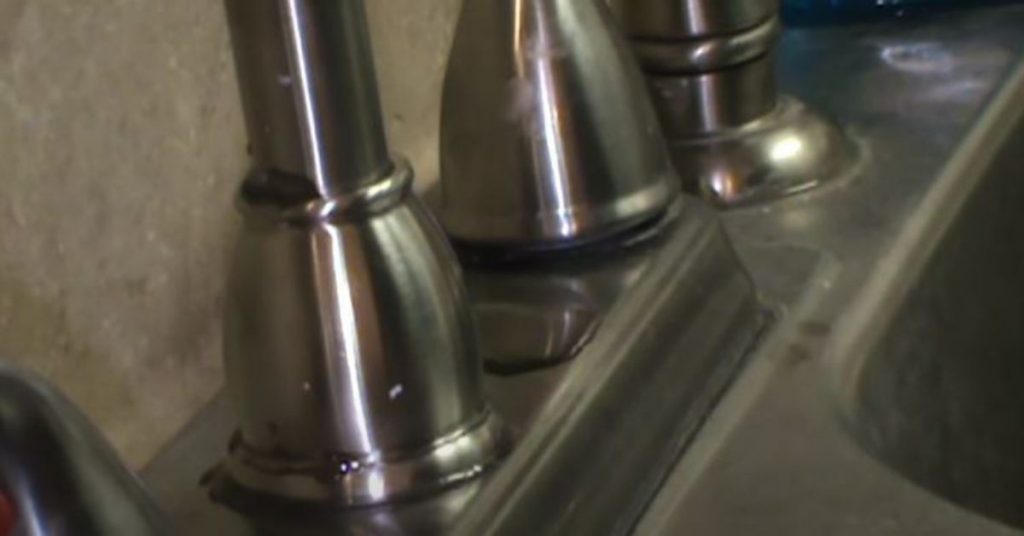
When water appears at the base of your kitchen faucet, start by identifying the exact origin. Check if it’s coming from where the faucet meets the countertop or from connection points below. Dry the area completely, then run water while observing where moisture first appears. This helps determine if the issue stems from loose fittings, worn seals, or cracked components. Proper diagnosis saves time on repairs.
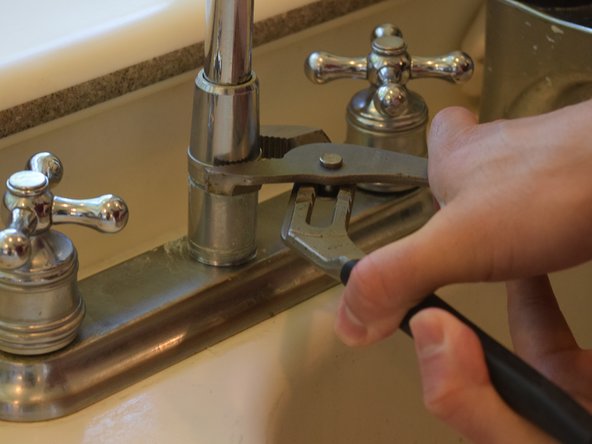
Tightening Loose Connections
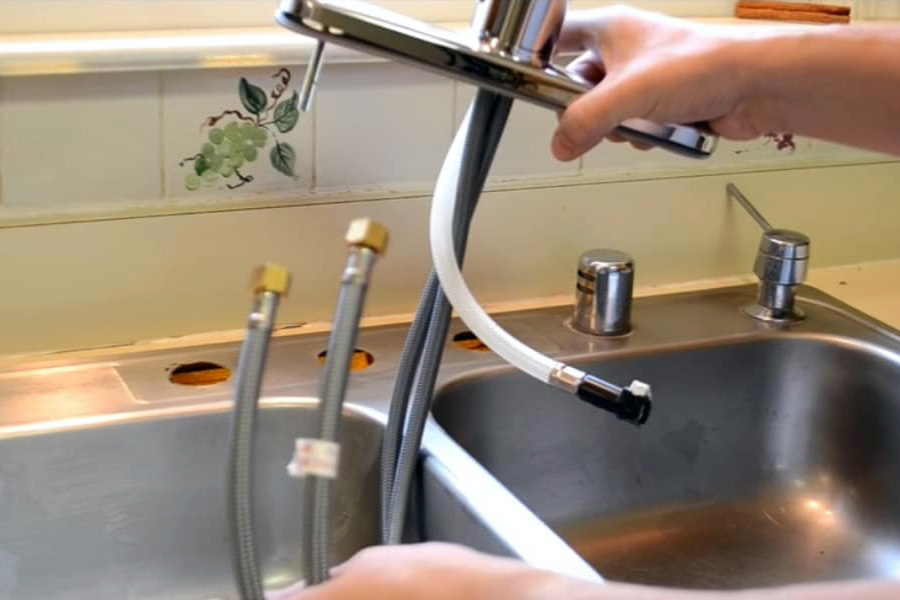
Many leaks occur due to loose nuts or fittings under the sink. Use adjustable wrenches to gently tighten the mounting nuts that secure the faucet to the counter. Check the supply line connections where water tubes meet the faucet body. Avoid over-tightening, which can damage threads or crack fittings. Often, simple tightening solves minor leaks without part replacement.
Replacing Worn O-Rings and Seals
Faucet bases contain rubber O-rings and gaskets that degrade over time. Turn off water supply valves before disassembling the faucet. Remove handles and decorative caps to access internal components. Replace any cracked or flattened seals with exact-size replacements from hardware stores. Applying plumber’s grease to new seals ensures smooth operation and longer lifespan.
Addressing Corrosion in Faucet Components
Mineral buildup and corrosion can cause leaks at the faucet base. Inspect metal components for pitting or greenish deposits. Clean affected areas with vinegar or a commercial descaler. Severely corroded parts may need replacement. Consider installing a water softener if hard water caused the damage. Regular cleaning prevents future corrosion-related leaks.
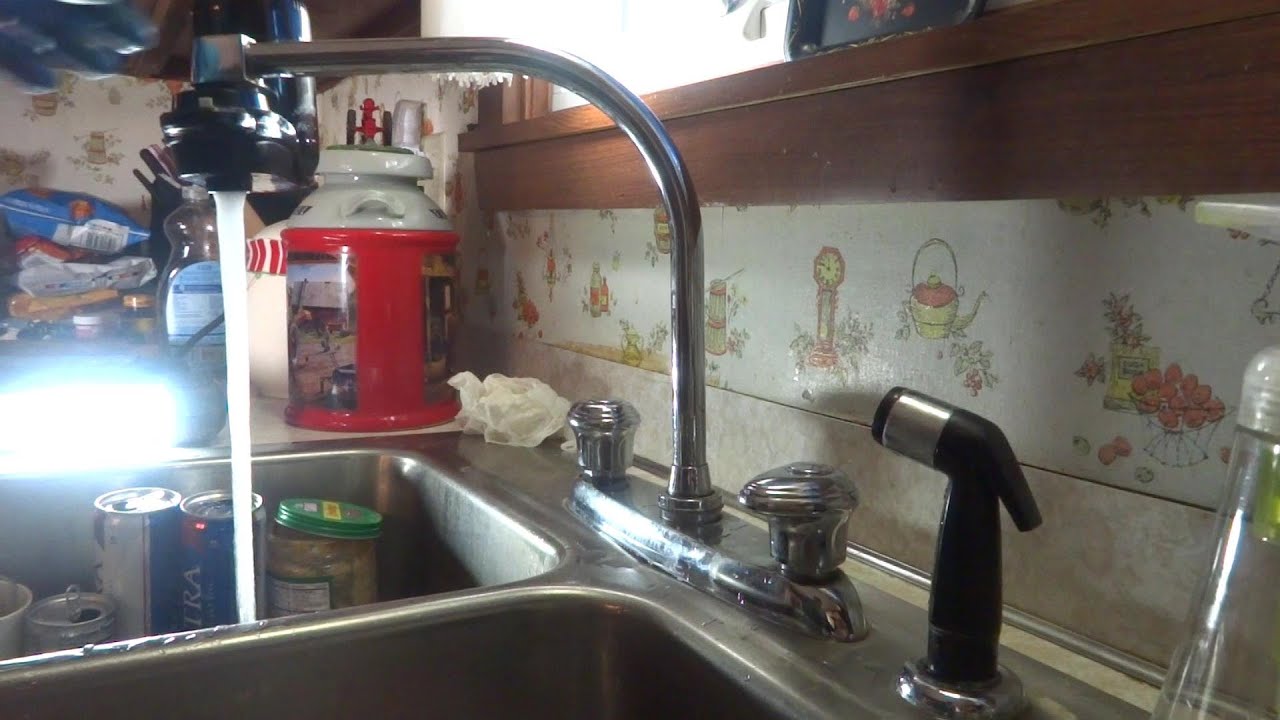
Checking for Cracked Faucet Bodies
Inspect the faucet body for hairline cracks, especially around stress points. Even small cracks can cause significant leaking. Porcelain or plastic faucet components are particularly prone to cracking. If found, replacement is usually necessary as repairs are often temporary. Cracks typically indicate the faucet has reached the end of its service life.
Properly Sealing the Faucet Base
After repairs, ensure proper sealing between faucet and countertop. Apply a thin bead of silicone caulk around the base if the original seal failed. Allow it to cure completely before using the faucet. For sinks with separate sprayers, check hose connections for leaks too. A complete reseal prevents water from seeping underneath and damaging cabinetry.
When to Call a Professional Plumber
If leaks persist after attempted repairs, or if you’re uncomfortable with disassembly, seek professional help. Plumbers can diagnose complex issues like internal valve failures or hidden pipe damage. They also have specialized tools for hard-to-reach fittings. Investing in professional repair often proves more cost-effective than repeated DIY attempts on a failing faucet.
Images about Water Leaking From Base Of Kitchen Faucet

GOOSENECK FAUCET LEAKING AROUND BASE. EASY FIX

Single hole mixer sink taps leaking at base. How to fix it.
Sealing A Leaky Faucet Base Plate (Fix It Fast in 4 Steps or Less!)
Kitchen Faucet Leaking at Base? Do This! – Plumbing Sniper
How to Fix a Leaky Faucet
How to fix a GB leaky faucet (trimmed)
Fixing a Faucet that Leaks From its Neck – iFixit Repair Guide
Kitchen Faucet leaking at base of spout fixed
Related Posts: