Gather Your Materials
Before you begin sealing your kitchen faucet base, gather all necessary materials. You will need a plumber’s putty or silicone caulk, a putty knife, a clean cloth, and a wrench. Plumber’s putty is ideal for areas exposed to standing water, while silicone caulk offers excellent adhesion and flexibility. Make sure to read the manufacturer’s instructions for your faucet and sealant to ensure proper application. Having all materials on hand will streamline the process and make it more efficient.

Prepare the Area
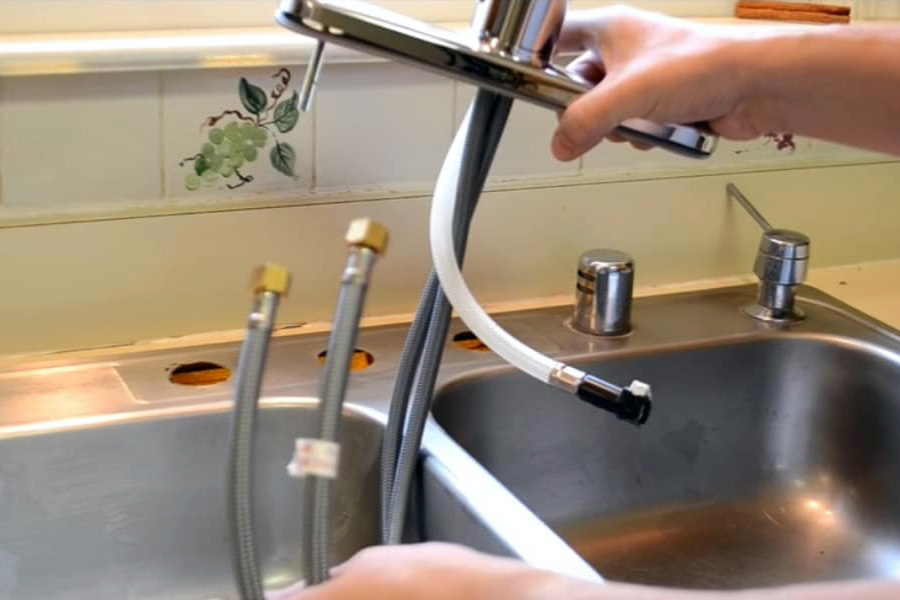
Start by preparing the area around the kitchen faucet base. Turn off the water supply and use the wrench to disconnect the water lines from the faucet. Remove the faucet from the sink if necessary. Clean the area thoroughly with a cloth to remove any dirt, grease, or old sealant. A clean surface ensures better adhesion for the new sealant. If using plumber’s putty, roll it into a thin rope; if using silicone caulk, load it into a caulk gun for easy application.

Apply the Sealant
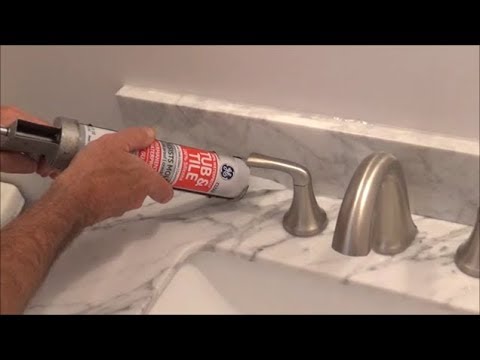
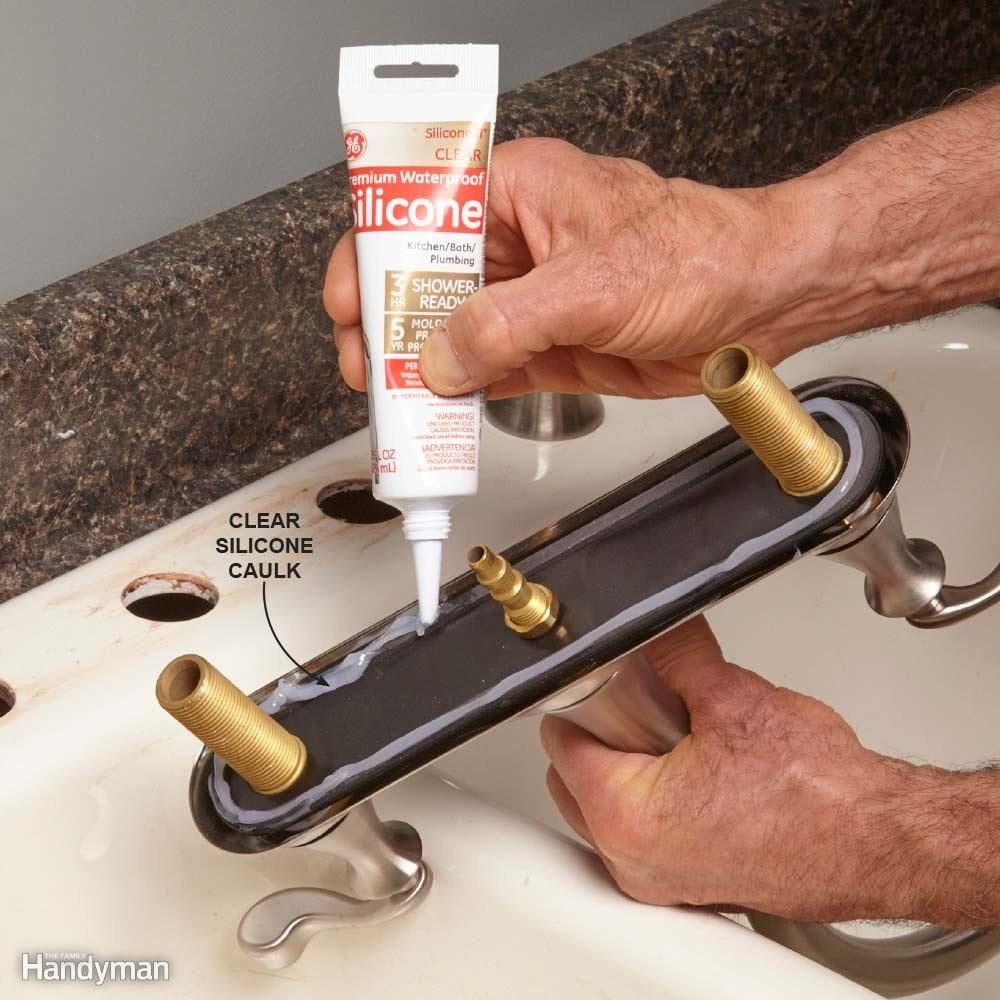
Carefully apply the chosen sealant around the base of the faucet. For plumber’s putty, place the rolled putty around the faucet base and press it firmly into place. For silicone caulk, apply a continuous bead around the base using the caulk gun. Make sure to cover the entire perimeter to prevent water leakage. Once applied, reattach the faucet to the sink and tighten the nuts with the wrench. Wipe away any excess putty or caulk with a clean cloth for a neat finish.
Let It Cure
Allow the sealant to cure according to the manufacturer’s instructions. Plumber’s putty generally sets quickly, while silicone caulk may take 24 hours to fully cure. During this time, avoid using the faucet to ensure the sealant bonds properly. Curing time is essential for creating a watertight seal that prevents leaks and water damage. Be patient and follow the recommended curing time to achieve the best results.
Test for Leaks
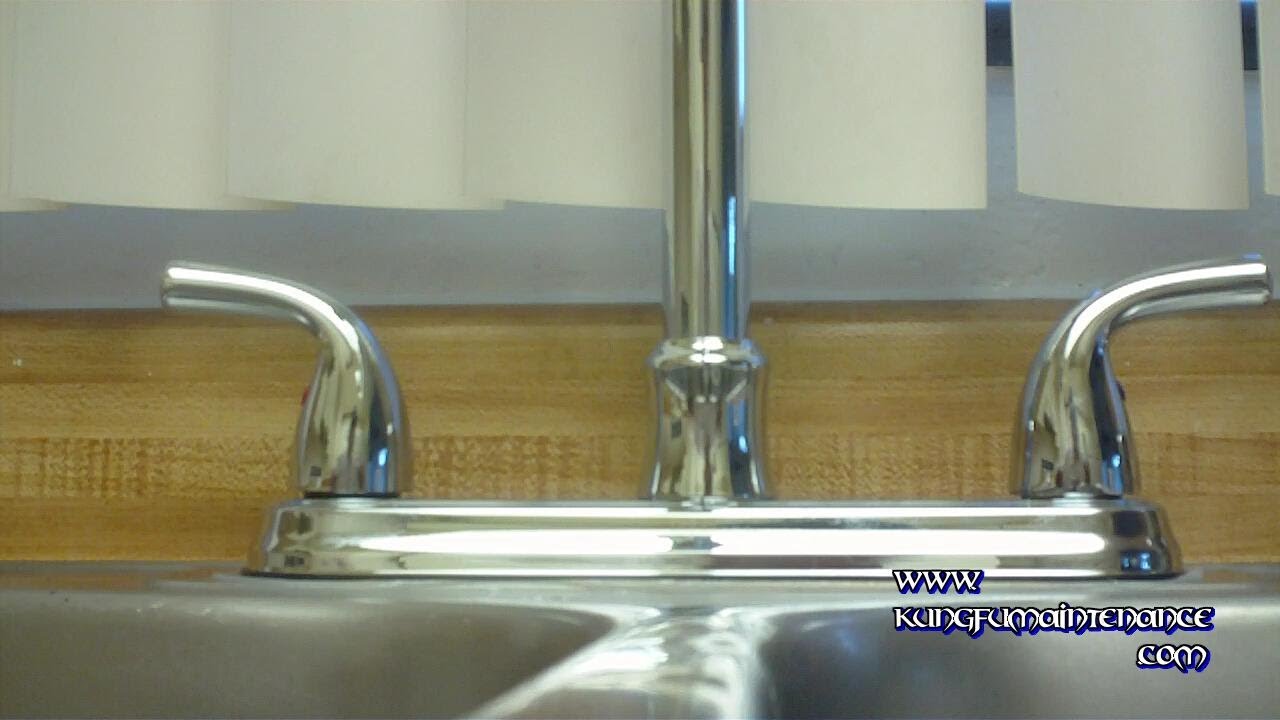
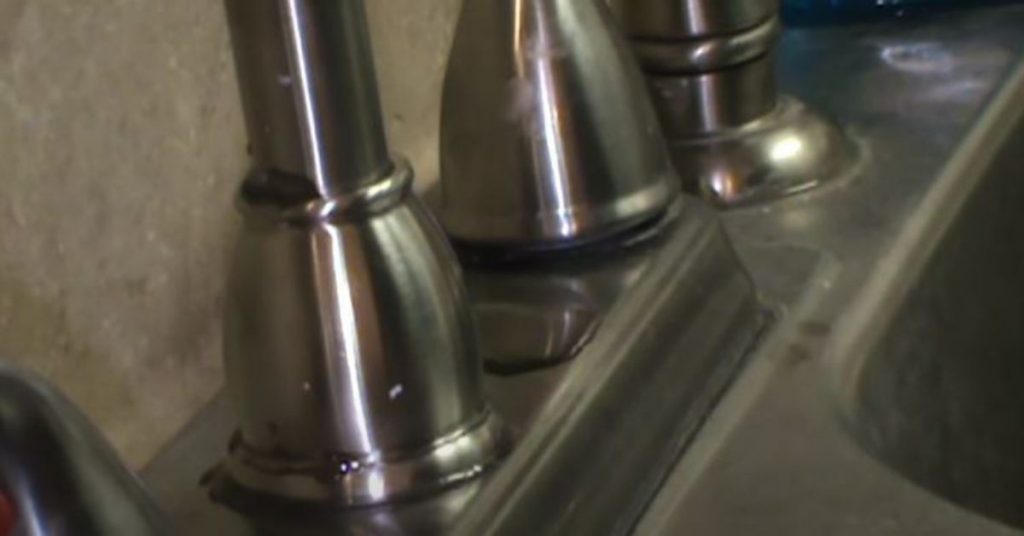
Once the sealant has cured, turn the water supply back on and test the faucet for leaks. Run water and check around the base for any signs of moisture. If you notice any leaks, tighten the connections and apply additional sealant if necessary. A properly sealed faucet base should prevent water from seeping underneath, keeping your kitchen sink area dry and protected. Regularly inspect the sealant and reapply as needed to maintain a secure and leak-free seal.
How to Seal Around Faucets Hunker

How To Install A Kitchen Sink In 6 Easy Steps – DIY Repair

Tips for Installing a Faucet the Easy Way
How To Replace A Water Leaking Kitchen Faucet Using Silicone
Easiest Kitchen Faucet Sealant: How to Seal Around Faucets
Kitchen Faucet Leaking at Base? Do This! – Plumbing Sniper
Kitchen Faucet Leaks at the Base. Easy 5 min Fix

Related Posts: