That annoying drip, drip, drip started about six months ago, and like most homeowners, I ignored it, hoping it would magically fix itself. What began as a minor irritation quickly became a major problem when I realized how much water I was wasting and how the constant sound was driving me crazy, especially during quiet evenings. After watching my water bill creep higher each month and losing sleep to that persistent dripping, I finally decided to tackle the repair myself. Through trial, error, and a few trips to the hardware store, I learned that most kitchen faucet leaks are surprisingly fixable with basic tools and a little patience. Now I wish I hadn’t waited so long to address the problem.
Identifying the Source of Your Kitchen Faucet Leak
The first step in my faucet repair journey was figuring out exactly where the water was coming from. I discovered that kitchen faucet leaks typically occur in four main areas: the spout, the base where it meets the sink, the handle area, or underneath at the supply line connections. I spent time with a flashlight examining every inch of my faucet while it was running and after I turned it off to pinpoint the exact source.
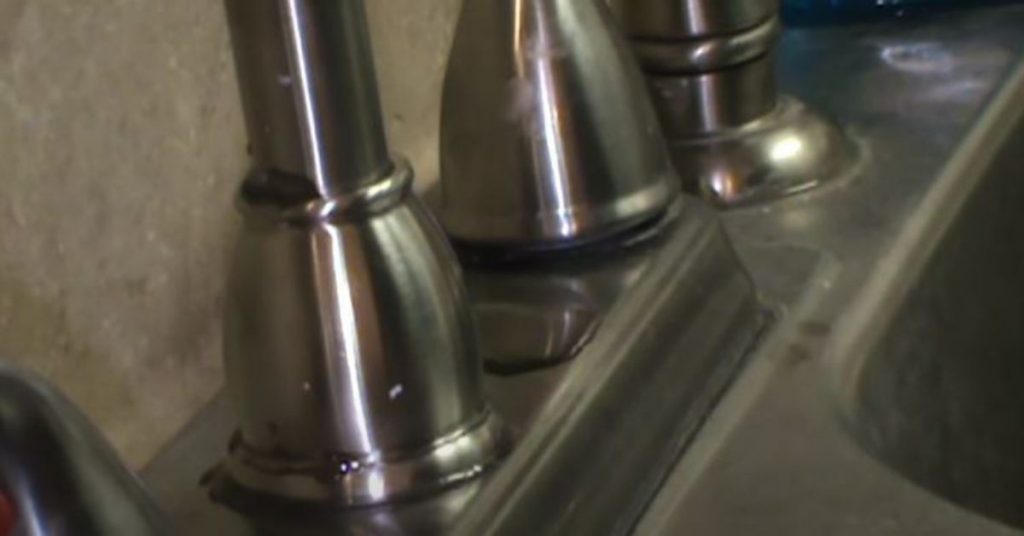
My leak was coming from the base of the spout, which I learned is often caused by worn O-rings or a damaged cartridge inside the faucet body. I noticed the water would seep out slowly even when the faucet was completely turned off, and the leak got worse when I used hot water. This pattern helped me understand that the internal components were failing and needed replacement rather than just tightening connections.
Before starting any repairs, I took photos of my faucet from different angles and wrote down the brand name and model number if I could find them. This preparation saved me multiple trips to the hardware store later. I also placed a bucket under the leak to catch water and protect my cabinet interior from further damage. Some water had already caused minor warping to my cabinet shelf, which I wished I had prevented by acting sooner.
Gathering Tools and Understanding Your Faucet Type
Once I identified the leak location, I needed to understand what type of faucet I was dealing with. Kitchen faucets typically fall into four categories: ball, cartridge, ceramic disk, or compression faucets. My single-handle faucet turned out to be a cartridge type, which meant I’d need to remove and likely replace the internal cartridge mechanism. Each type requires slightly different tools and approaches.
I gathered the essential tools for faucet repair: an adjustable wrench, screwdrivers (both flathead and Phillips), needle-nose pliers, a flashlight, and penetrating oil for stuck parts. I also bought a basic faucet repair kit from the hardware store that included various O-rings, washers, and seals. Having the right tools made the job much easier and prevented damage to the faucet finish from using inappropriate tools.
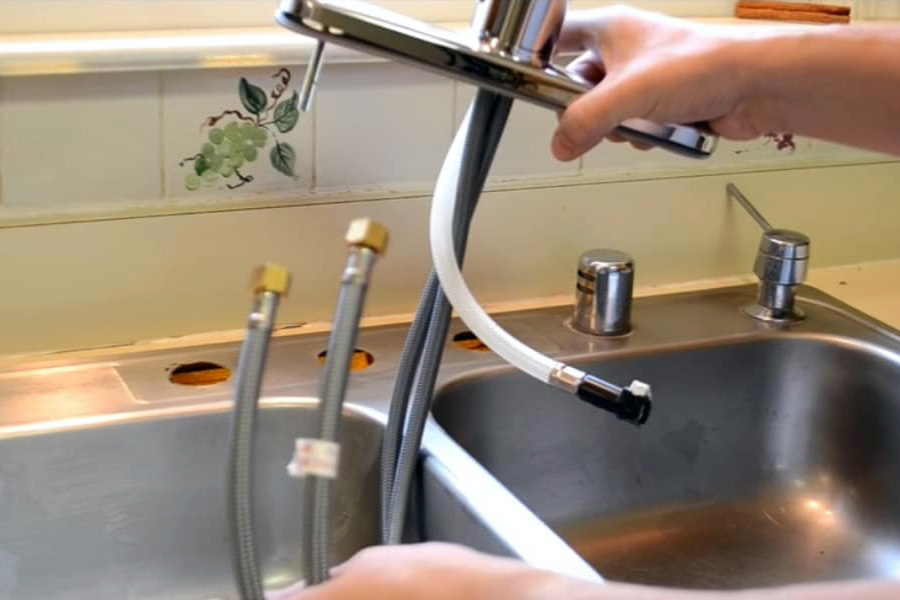
The most important step was turning off the water supply valves under the sink before starting any work. I learned this lesson the hard way during my first attempt when I forgot to close the valves completely and got soaked when I removed the first connection. After that experience, I always turn off both hot and cold water supplies and run the faucet to drain any remaining water before beginning repairs.
Step-by-Step Repair Process for Common Leaks
Starting the actual repair required careful disassembly of the faucet components. I began by removing the handle, which on my faucet meant popping off a decorative cap to access the screw underneath. Some handles are held on by screws, others by clips or twist-off mechanisms. I took pictures at each step so I could remember how everything went back together, which proved invaluable during reassembly.
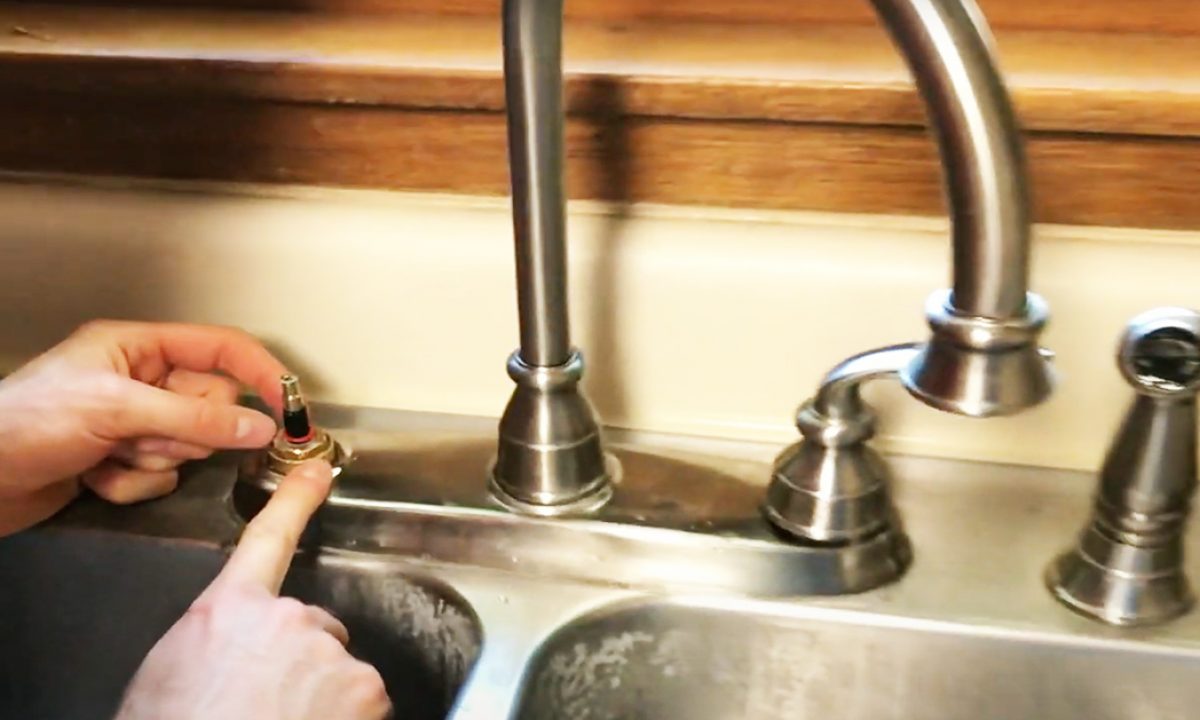
Next, I removed the packing nut that holds the cartridge in place using my adjustable wrench. This required some force, and I was glad I had penetrating oil to help loosen stubborn connections. Once the nut was removed, I could pull out the old cartridge using needle-nose pliers. The cartridge was worn, with damaged O-rings and mineral deposits that prevented proper sealing.
I replaced all the O-rings and seals with new ones from my repair kit, making sure to match sizes exactly. The new cartridge went in easily, and I coated the O-rings with plumber’s grease to ensure smooth operation and proper sealing. Reassembly was straightforward since I had my photos for reference. The key was not overtightening anything, which can damage threads or compress seals too much.

Dealing with Stubborn Parts and Unexpected Challenges
My repair hit a snag when the old cartridge refused to come out despite my best efforts with pliers. The cartridge had been in place for years and was stuck due to mineral buildup and corrosion. I learned that cartridge removal sometimes requires a special tool called a cartridge puller, which I had to buy during my second hardware store trip. This tool gripped the cartridge properly and provided the leverage needed for removal.
Another challenge was identifying the exact replacement parts needed. Even though I had the faucet brand and model number, the hardware store had several similar-looking cartridges. I ended up bringing the old cartridge with me to ensure I got an exact match. The staff helped compare the old and new parts side by side, which prevented a mismatch that would have meant starting over.
I also discovered that my water shutoff valves under the sink were partially seized and difficult to turn completely off. This is a common problem in older homes where the valves haven’t been operated in years. I had to use penetrating oil and work the valves gradually to get them to close properly. This experience taught me to exercise these valves periodically to keep them functioning when needed for future repairs.

Testing Your Repair and Final Adjustments
After reassembling everything, I slowly turned the water supply valves back on while watching carefully for any new leaks. I started with just a quarter turn to build pressure gradually, then opened them fully once I was confident there were no immediate problems. This cautious approach helped me catch a small leak at one of the supply connections that needed slight tightening.
Testing the faucet operation required checking both hot and cold water flow, as well as the mixing function. I ran the faucet at various flow rates and temperatures to make sure the new cartridge was working properly and that there were no leaks from the spout or base. Everything worked smoothly, and the annoying drip was eliminated. The satisfaction of solving the problem myself was incredible.
I let the faucet sit unused for several hours, then checked again for any signs of leaking. Sometimes connections that seem tight initially can develop small leaks once the system pressurizes fully. After 24 hours with no drips, I was confident the repair was successful. I also tested the faucet’s spray function and pullout hose if applicable, making sure all features worked as intended.
Preventive Maintenance and When to Call Professionals
My successful DIY repair taught me the importance of regular faucet maintenance to prevent future problems. I now periodically check for small leaks, clean mineral deposits from the aerator, and exercise the shutoff valves under the sink. These simple maintenance tasks can extend faucet life significantly and help me catch problems before they become major leaks.
However, I also learned to recognize when a problem might be beyond my DIY capabilities. If the faucet body itself is cracked, if there are supply line problems, or if the repair requires soldering or major plumbing modifications, I’d call a professional plumber. Some newer faucets also have complex internal mechanisms that require specialized tools or knowledge, which makes professional service worthwhile.
The cost comparison between DIY repair and professional service was significant in my case. My parts and tools cost about $35, while plumber quotes ranged from $150-250 for the same repair. For a straightforward cartridge replacement, the DIY approach saved money and gave me valuable experience. However, if the problem had been more complex or if I lacked confidence in my abilities, professional service would have been worth the cost.

How do I know if my kitchen faucet leak is worth repairing or if I should replace the entire faucet?
I consider repair first if the faucet is less than 10 years old and the leak is from standard wear parts like O-rings or cartridges. If the faucet body is corroded, multiple components are failing, or replacement parts cost more than half of a new faucet, replacement makes more sense. Mine was 7 years old and just needed a $15 cartridge.
What should I do if I can’t find the exact replacement parts for my faucet?
I faced this issue and found success by contacting the manufacturer directly with my model number. Many manufacturers provide free replacement parts or can direct you to authorized dealers. I also discovered that some universal repair kits work across multiple brands, though exact matches are always preferable for best results.

Is it normal for a kitchen faucet repair to take multiple attempts?
Yes, especially for first-time DIY repairs. My initial attempt failed because I didn’t replace all the worn seals, just the obvious ones. I learned to replace all rubber components at once since they typically wear at similar rates. Having realistic expectations and patience made the second attempt much more successful and stress-free.
How can I prevent my kitchen faucet from leaking again in the future?
Regular maintenance helps tremendously. I now clean the aerator monthly, check for small leaks during my weekly kitchen cleaning, and avoid over-tightening the handle. Hard water areas benefit from periodic cartridge replacement every 3-5 years as preventive maintenance, which I now budget for as routine home upkeep.

What’s the biggest mistake to avoid when repairing a leaking kitchen faucet?
Don’t skip turning off the water supply completely. I learned this the hard way and got drenched. Also, take photos before disassembly, work slowly, and don’t force stuck parts. Rushing leads to broken components or stripped threads that turn a simple repair into a much more expensive problem requiring professional help.
Should I be concerned about water damage from a small kitchen faucet leak?
Yes, even small leaks can cause significant damage over time. My leak damaged the cabinet shelf and could have led to mold growth if left longer. I now address any plumbing leaks immediately, use drip pans during repairs, and check under sinks regularly as part of my home maintenance routine.

Sealing A Leaky Faucet Base Plate (Fix It Fast in 4 Steps or Less!)
Kitchen Faucet Leaking at Base? Do This! – Plumbing Sniper
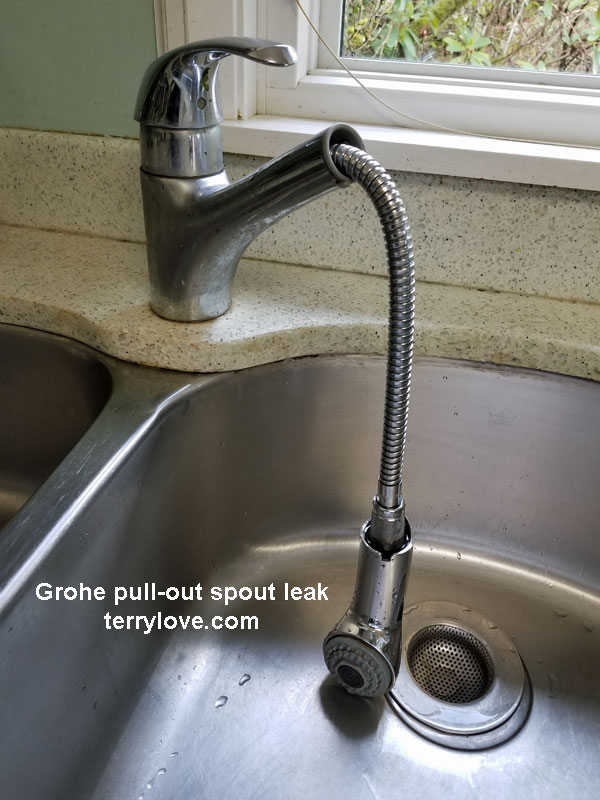
Kitchen pull-out spout leak. Water in the cabinet below
Related Posts: