Preparation and Planning
Proper preparation and planning are essential before installing a ceramic wall tile backsplash. Start by measuring the area to determine the tiles and materials needed. Clean the wall surface to remove any grease, dirt, or old adhesive. Ensure the wall is smooth and even, making any necessary repairs. Planning the tile layout and creating a template helps visualize the final design and ensures accurate placement.
Gathering Materials and Tools
Gather all necessary materials and tools for the installation process. This includes ceramic tiles, tile adhesive, grout, tile spacers, a notched trowel, a tile cutter, and a grout float. Having everything on hand before starting the project ensures a smooth workflow. Choose high-quality materials to achieve a professional finish and enhance the durability of your backsplash. Proper tools and materials are crucial for a successful installation.
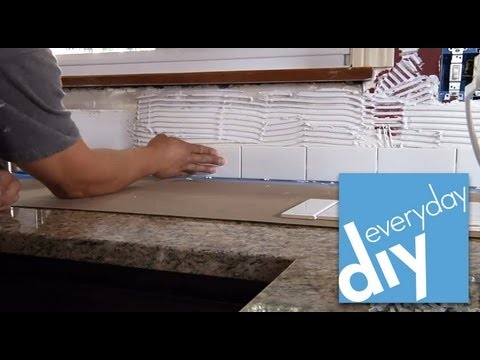
Applying Tile Adhesive
Begin by applying tile adhesive to the wall using a notched trowel. Spread a thin, even layer of adhesive over a small section of the wall, starting at the bottom center and working your way outwards. Use the notched side of the trowel to create grooves in the adhesive, which helps the tiles adhere better. Work in small sections to prevent the adhesive from drying out before the tiles are placed.
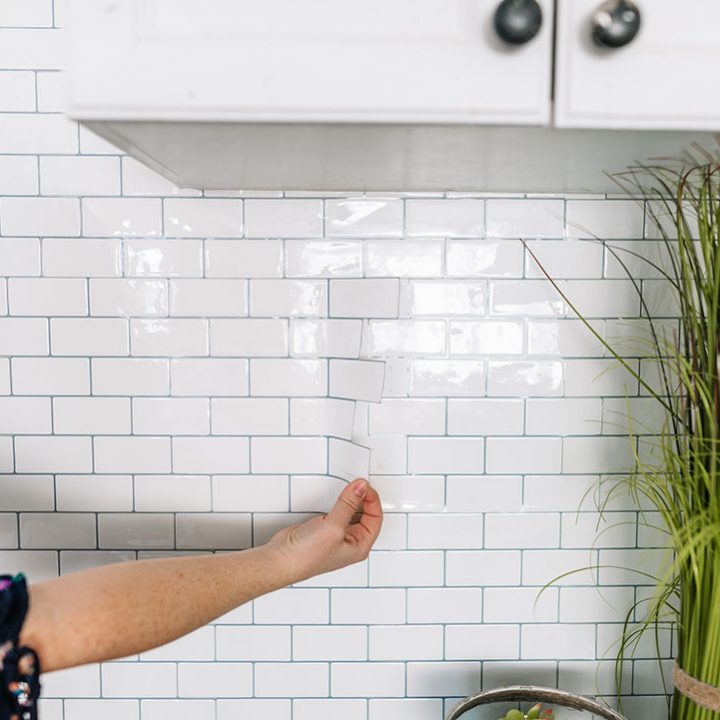
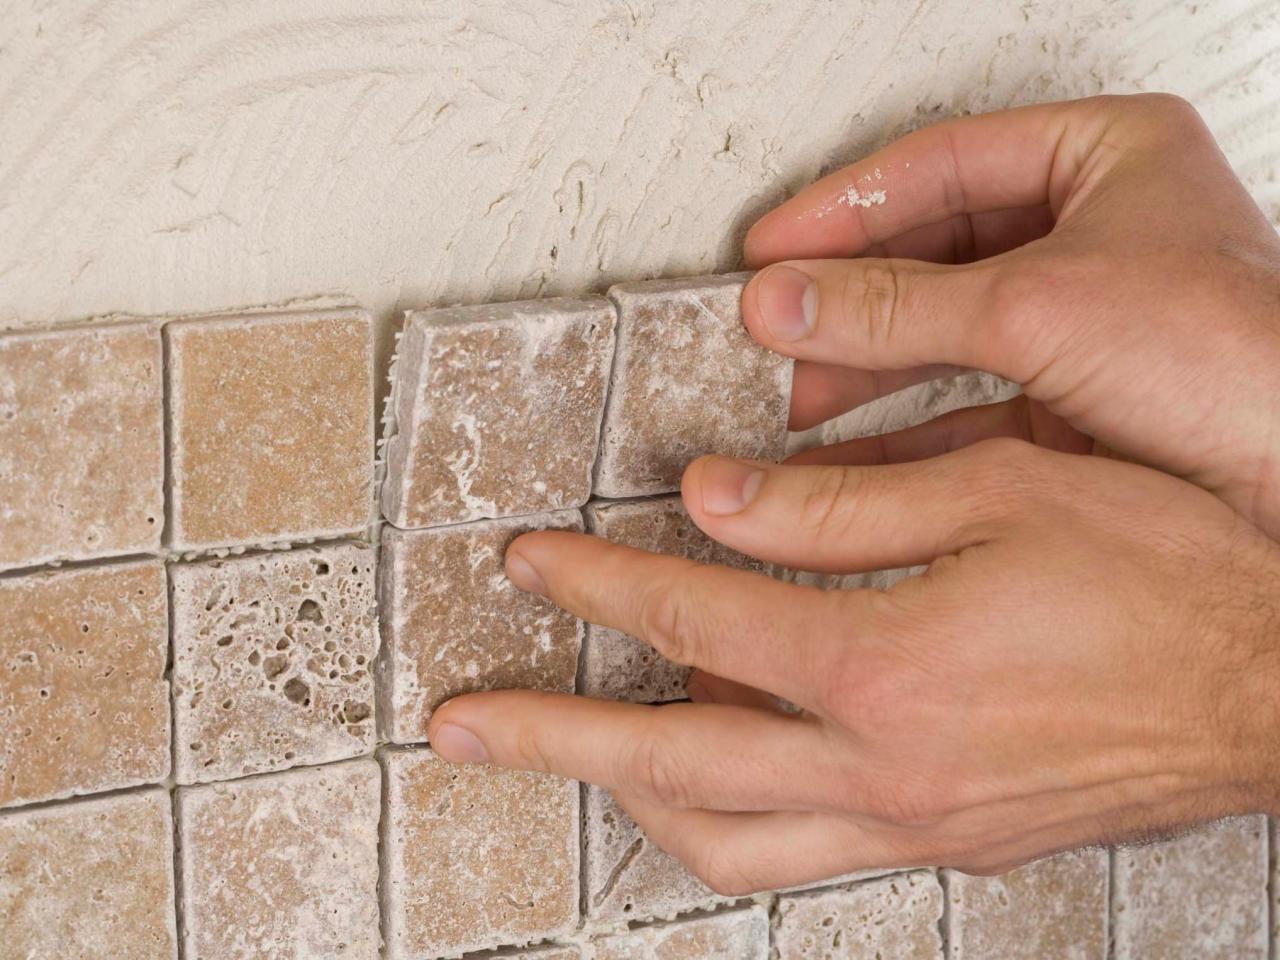
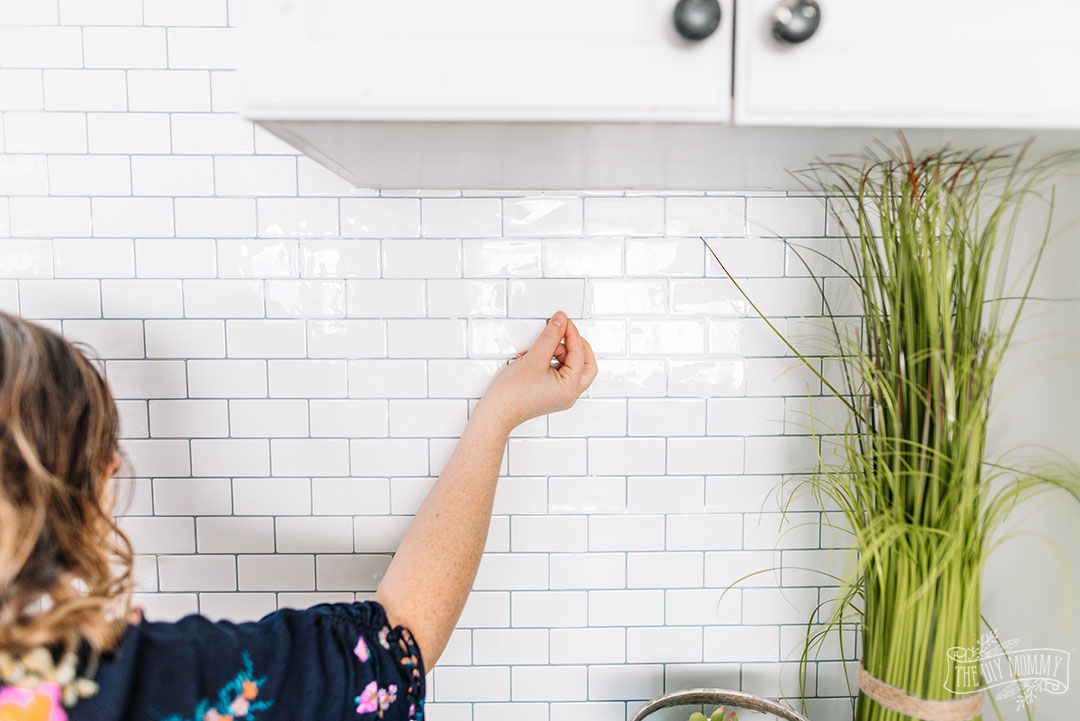
Installing the Tiles
Carefully press each tile into the adhesive, starting from the bottom center and working your way up and outwards. Use tile spacers to maintain even gaps between the tiles for grout lines. Make any necessary cuts using a tile cutter to fit around outlets or edges. Continuously check for level and alignment to ensure a straight and even installation. Allow the adhesive to dry according to the manufacturer’s instructions before proceeding to the next step.
Grouting and Finishing
Once the adhesive is fully cured, remove the tile spacers and prepare the grout. Apply the grout to the tile joints using a grout float, pressing it firmly into the gaps. Wipe away excess grout with a damp sponge, ensuring a smooth and even finish. After the grout has dried, clean the tiles with a dry cloth to remove any haze. Finally, seal the grout to protect it from moisture and stains, completing your ceramic tile backsplash installation.
How to Tile a Backsplash –{A Tutorial for Beginners!}

How to Install Peel and Stick Tile Backsplash u0026 Product Review
How to Install a Tile Backsplash, Part 1 — Buildipedia DIY
White Tile Ceramic Subway Brick Gloss Finish 2″ X 4″ for Wall Tile

How to Tile a DIY Backsplash Family Handyman

How to Prep a Wall for Tile
Related Posts:
- French Kitchen Backsplash Ideas
- Cottage Kitchen Backsplash
- Country Kitchen Backsplash
- Retro Kitchen Backsplash
- Rustic Wood Kitchen Backsplash
- Vintage Kitchen Backsplash Ideas
- Modern Farmhouse Kitchen Backsplash
- Mid Century Modern Kitchen Backsplash Tile
- Turquoise Kitchen Backsplash Tile
- Mediterranean Tile Kitchen Backsplash