Understanding Cabinet Refacing Basics
Cabinet refacing means replacing just the doors and drawer fronts while keeping the existing cabinet boxes. It’s a smart way to refresh your kitchen without the cost of full replacement. You’ll also add new veneer or paint to the frames to match the doors.
This approach saves time and money. It reduces waste, keeps the kitchen layout intact, and gives a huge style upgrade. Refacing is ideal if your cabinet structure is still solid and in good shape.
You can reface with materials like wood, laminate, or thermofoil, depending on your budget and design goals. Matching hardware finishes and hinges can bring the entire project together. It’s all about small changes that create a big difference.
Deciding Between Paint, Veneer, or New Doors
One way to reface is by painting the existing cabinet doors. This is budget-friendly and gives you lots of color options. Sanding and priming are key for a smooth finish that holds up over time.
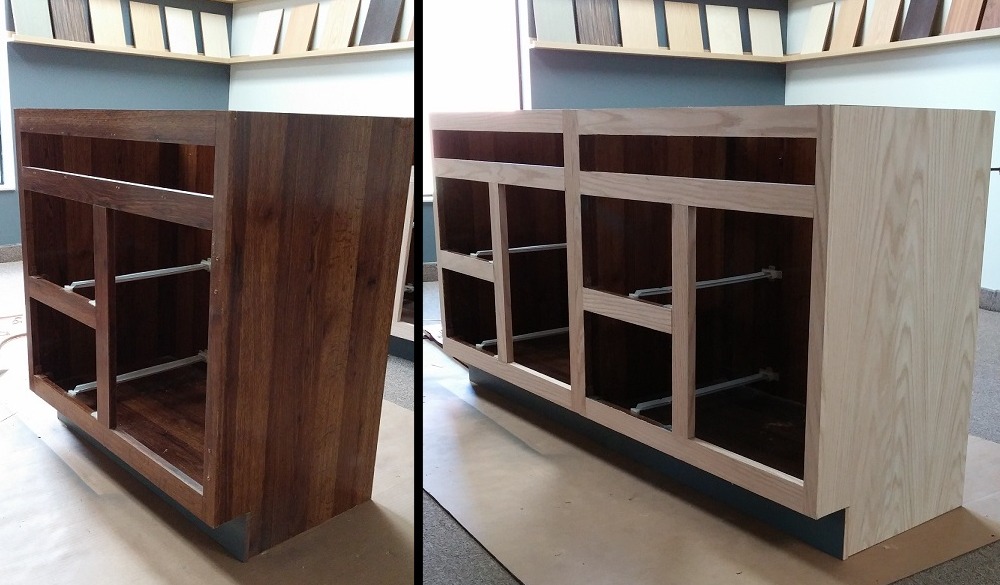
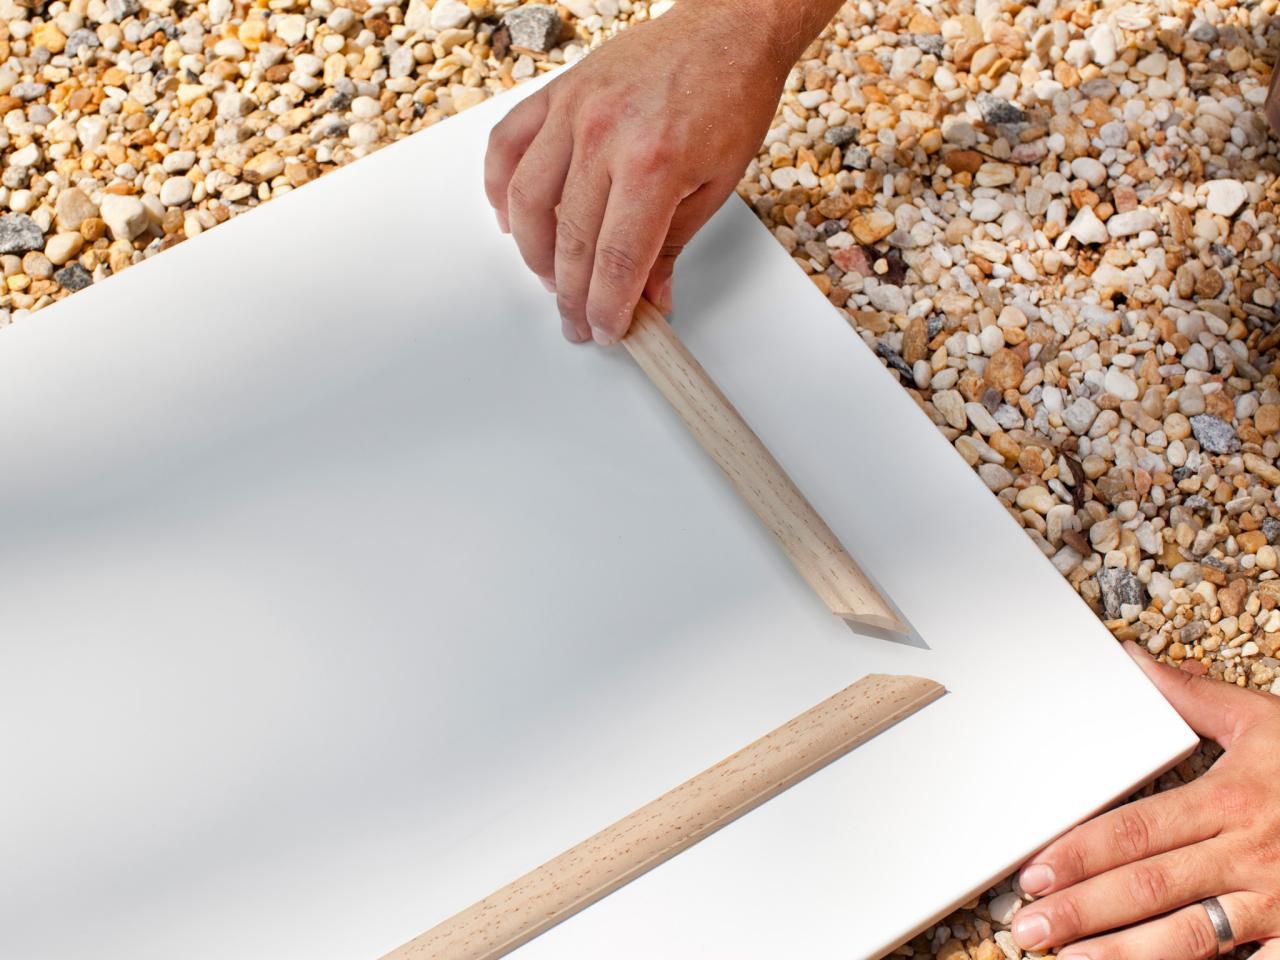
Veneer gives a more dramatic transformation. It’s a thin sheet of wood or laminate that you apply to door surfaces and frame fronts. Veneers offer a natural wood look without the cost of solid wood replacement.
If your current doors are damaged or outdated, replacing them may be the best route. You can buy ready-to-finish doors and paint or stain them yourself. This gives you control over the style while still saving compared to full cabinet replacement.
Prepping the Cabinets for a Fresh Start
Start by removing the cabinet doors and hardware. Label each one so you know where it goes later. Clean all surfaces with a degreasing cleaner to remove kitchen buildup that can stop paint or adhesive from sticking.
Sand the surfaces lightly to rough up the finish. This gives better grip for veneer, paint, or glue. Wipe down with a tack cloth afterward to remove dust. Skipping this step can lead to peeling or bubbling later on.
Fill any dents or holes with wood filler. Let it dry completely, then sand again for a smooth surface. This is especially helpful if you’re changing out the hardware and need to cover old screw holes before drilling new ones.
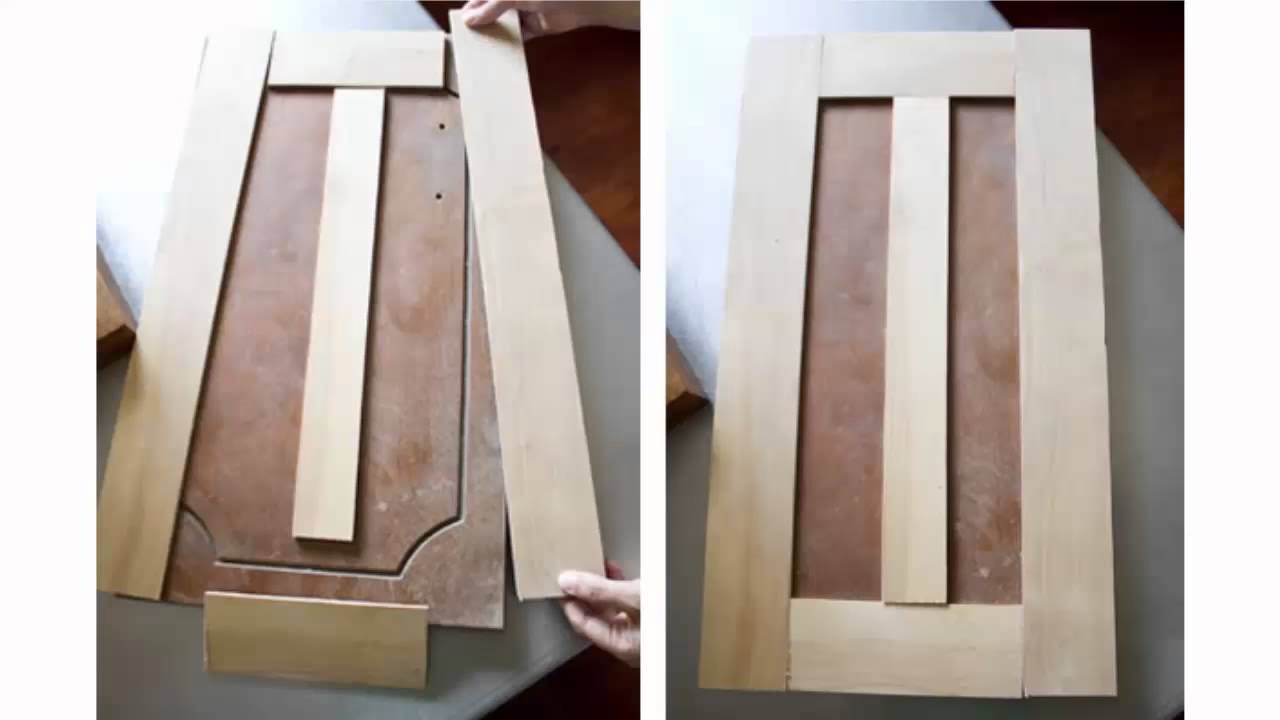
Installing New Doors or Covering with Veneer
If you’re installing new doors, attach the hinges first. Use the old doors as a guide for hinge placement if they match in size. A level and drill will keep things aligned and secure.
For veneering, use contact cement or another approved adhesive. Measure and cut the veneer panels carefully. Apply it slowly, pressing out air bubbles and smoothing as you go to avoid wrinkles or gaps.
Once doors are attached or covered, rehang them and check spacing. Minor adjustments can make a big difference in how clean and professional the end result looks. Take your time here—it’s the final step before everything comes together.
Painting or Staining for a Brand-New Look
If you chose to paint your cabinet doors, start with a quality primer. This ensures the color stays bright and prevents stains from bleeding through. Let it dry fully before adding paint layers.
Use a brush for corners and a foam roller for flat areas to keep the surface even. Several thin coats are better than one thick one. Allow plenty of drying time between each coat for the best finish.
For staining wood doors, sand down to the bare wood. Apply stain with a cloth or brush and wipe off the excess. Finish with a clear sealant to protect against kitchen messes. This brings out the grain and adds richness to the surface.
Adding Final Touches and Enjoying the Result
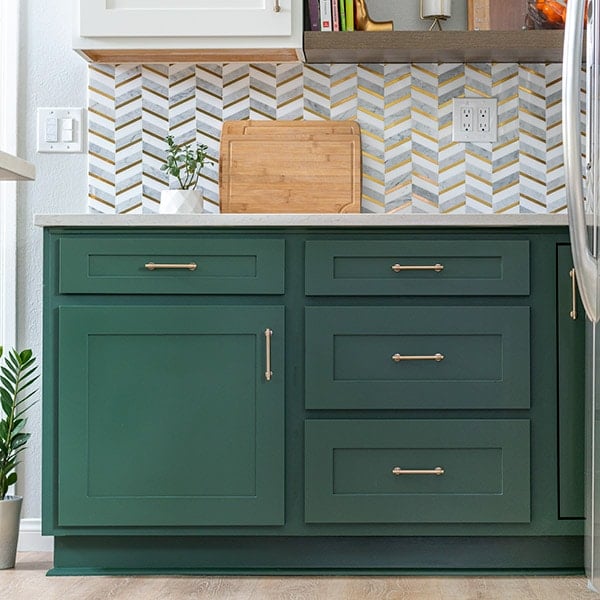
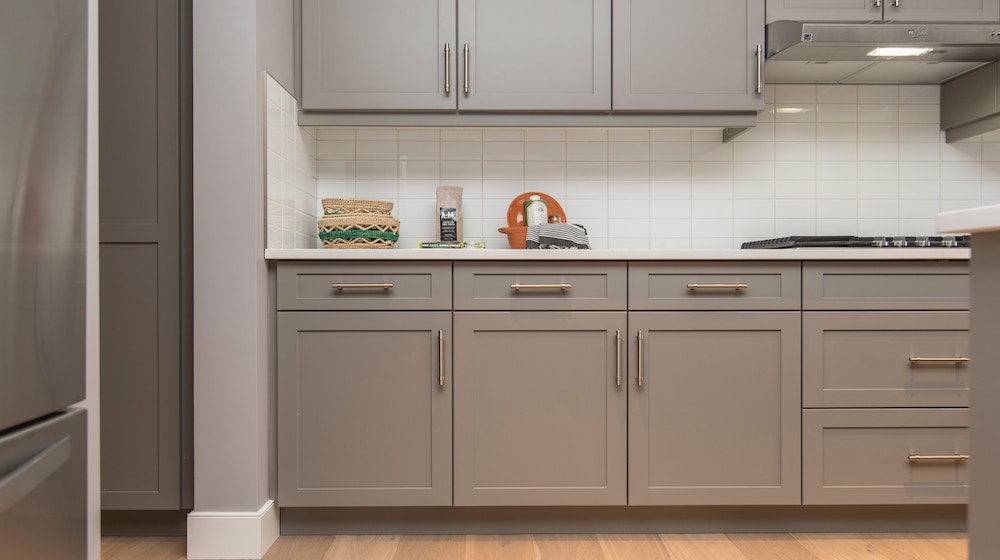
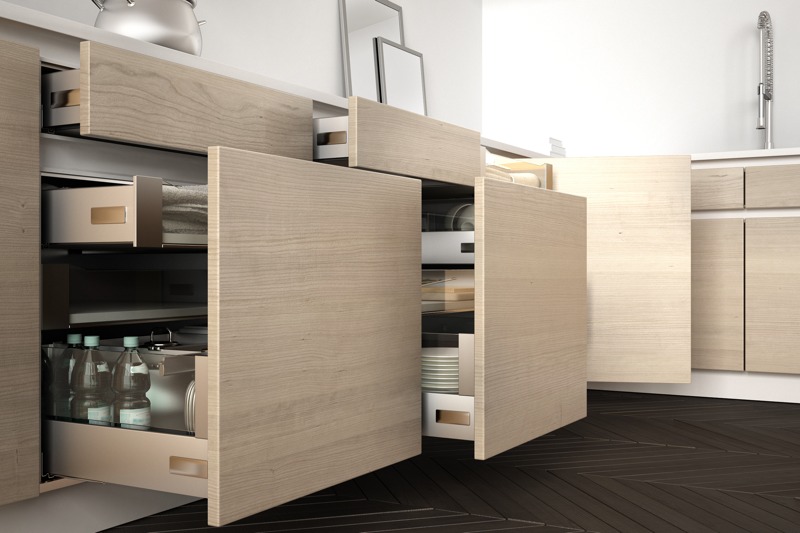
Once your new doors are in place, install updated hardware like knobs or handles. Choose a style that matches your kitchen’s vibe, whether it’s classic, rustic, or modern. The right hardware adds polish and personality.
Check that all doors open and close smoothly. Adjust hinges as needed and make sure no corners are catching. These small tweaks can prevent wear and keep the kitchen functional long-term.
Take a step back and admire the transformation. Refacing can breathe new life into tired cabinets without gutting your kitchen. You’ll feel the impact every time you walk in—and you did it all with your own hands.
Cabinet Refacing Ideas DIY Projects Craft Ideas
Easy DIY Kitchen Cabinet Reface For Under $200 – Cribbs Style

Cabinet Refacing: How to Reface Kitchen Cabinets (DIY)

Cabinet Refacing: How to Reface Kitchen Cabinets (DIY)

DIY Cabinet Refacing – Budget Friendly Refacing Made Easy
Ideas for Refacing Kitchen Cabinets
DIY Cabinet Refacing
DIY Kitchen Cabinet Refacing- The Easy Way to Transform Your Cabinets

REFACE YOUR OWN KITCHEN CABINETS My Fifties Kitchen Redo New

Related Posts: