How to Reglaze a Kitchen Sink: A Step-by-Step Guide
Reglazing a kitchen sink is a cost-effective way to restore its original shine and extend its lifespan. Over time, sinks can become dull, stained, or scratched. Reglazing can bring back the luster and make your sink look brand new. In this article, we’ll walk you through the steps to reglaze your kitchen sink, from preparation to the final coat.
Materials You Will Need
-
Sink cleaner
-
Abrasive pad or sandpaper (220-320 grit)
-
Painter’s tape
-
Drop cloth or plastic sheeting
-
Protective gloves and mask
-
Epoxy-based primer
-
Epoxy-based topcoat
-
Paintbrush or spray gun
Step-by-Step Process
1. Clean the Sink Start by thoroughly cleaning your sink to remove any grease, grime, and stains. Use a sink cleaner and an abrasive pad to scrub the surface. Rinse well and allow it to dry completely.
2. Sand the Surface Use sandpaper (220-320 grit) to sand the entire surface of the sink. This will help the primer and topcoat adhere better. Be sure to sand any scratched or damaged areas until smooth. Wipe away any dust with a damp cloth and let the sink dry.
3. Protect Surrounding Areas Use painter’s tape to mask off any areas around the sink that you do not want to reglaze, such as the countertop and faucet. Cover the surrounding areas with a drop cloth or plastic sheeting to protect them from overspray.
4. Apply the Primer Put on protective gloves and a mask. Apply an epoxy-based primer to the sink using a paintbrush or spray gun, following the manufacturer’s instructions. Make sure to cover the entire surface evenly. Allow the primer to dry completely, as per the recommended drying time.
5. Apply the Topcoat Once the primer is dry, apply the epoxy-based topcoat in the same manner. Use a paintbrush for detailed areas and a spray gun for larger surfaces to achieve a smooth finish. Apply multiple thin coats, allowing each coat to dry according to the manufacturer’s instructions. This will ensure a durable and glossy finish.
6. Let It Cure Allow the reglazed sink to cure for the recommended time before using it. This curing period is essential for the epoxy to harden and achieve its maximum durability.
7. Reassemble and Enjoy Once the sink has fully cured, remove the painter’s tape and drop cloth. Reinstall any fixtures or hardware you may have removed. Your reglazed kitchen sink is now ready to use, looking as good as new!
Tips for a Successful Reglazing
-
Ventilation: Ensure proper ventilation in your workspace by opening windows or using fans to disperse fumes from the epoxy.
-
Even Coating: Apply the primer and topcoat in thin, even layers to avoid drips and achieve a smooth finish.
-
Patience: Allow sufficient drying and curing time between coats and before using the sink to ensure the best results.
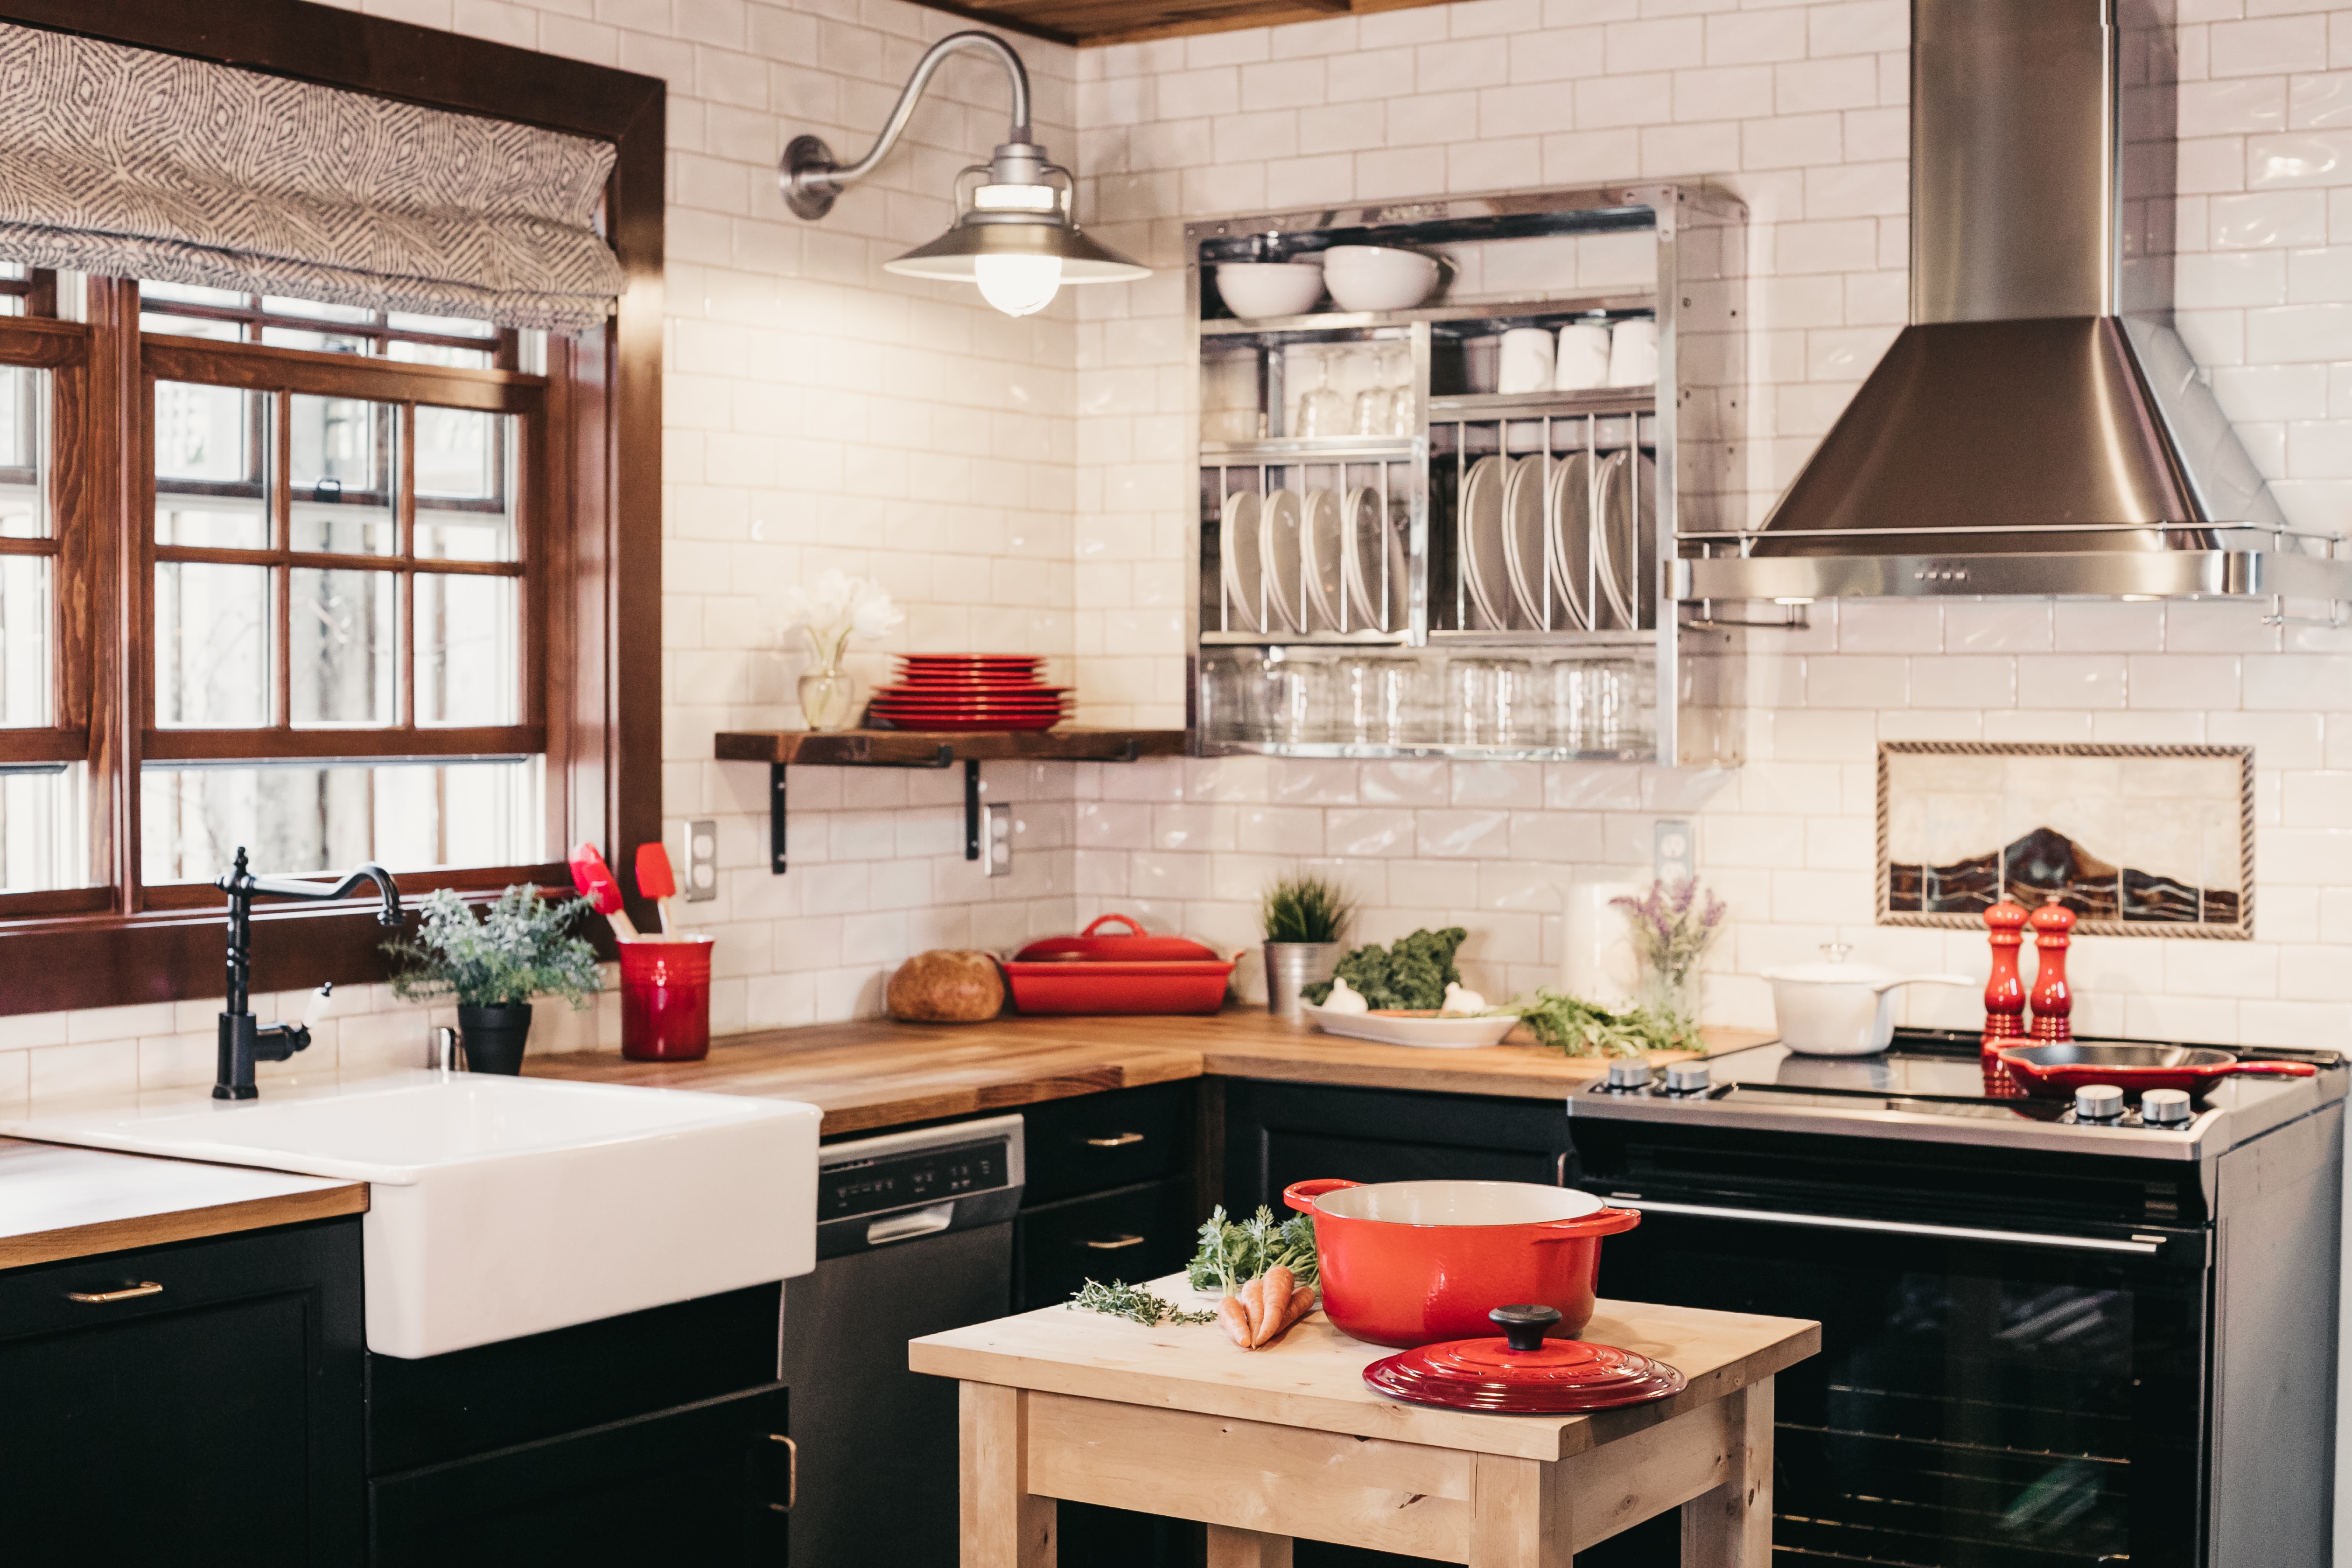
Reglazing your kitchen sink is a rewarding DIY project that can save you money and give your kitchen a fresh, updated look. With the right materials and careful attention to detail, you can achieve professional-looking results. If you have any specific questions or need further guidance, feel free to reach out—I’m here to help!
Images about How To Reglaze A Kitchen Sink
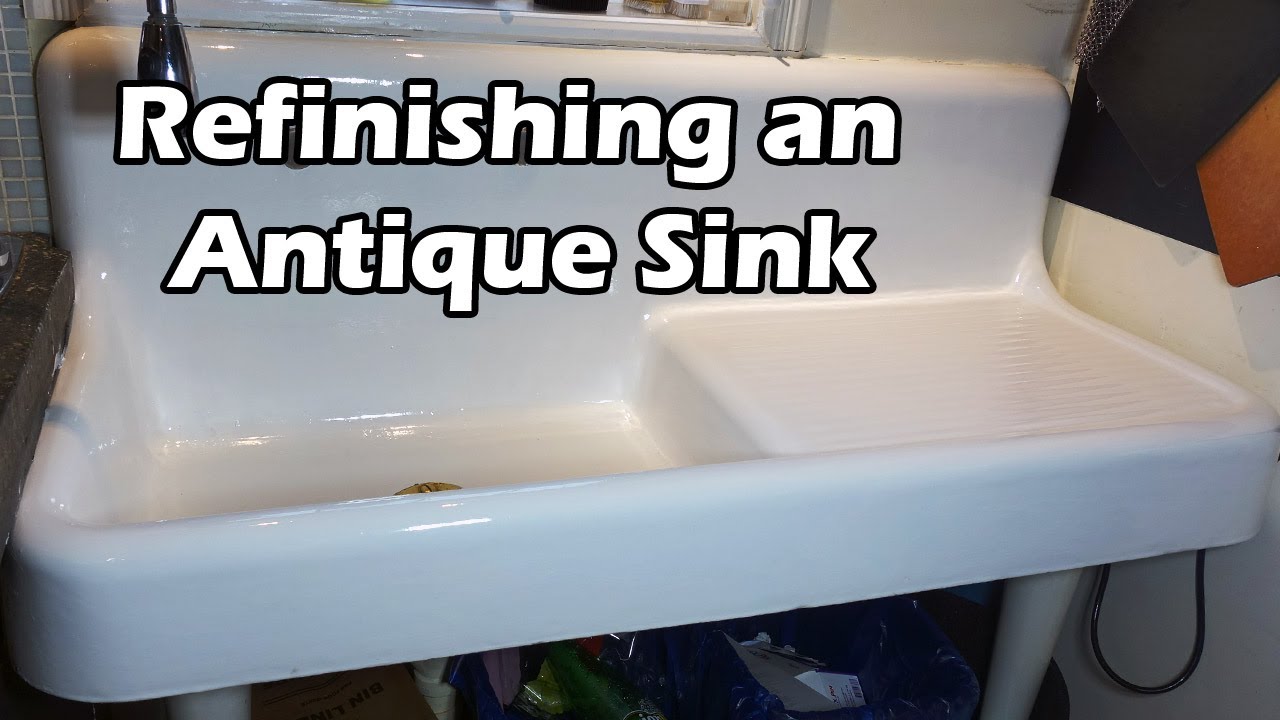
HOW TO REPAIR AND REGLAZE A KITCHEN SINK USING DIY KRYLON TUB AND TILE KIT

Can a Porcelain Kitchen Sink be Refinished or Resurfaced?
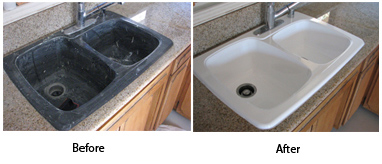
Sink Reglazing Los Angeles California Kitchen sink refinish

Kitchen Sink Refinishing – Sink Repair
How to Repair and Refinish your Kitchen Sink Kitchen Sink Reglazing for $195 DP Tubs

How to Reglaze a Kitchen Sink A DIY Guide By Expert
How to Reglaze Kitchen Sinks Hunker

Reglazing Los Angeles Sink Reglazing

Bathtub, Tile And Sink Reglazing u0026 Resurfacing Experts in Lomita, CA

Kitchen Sink Refinishing Maryland – Wash. DC – N. Virginia
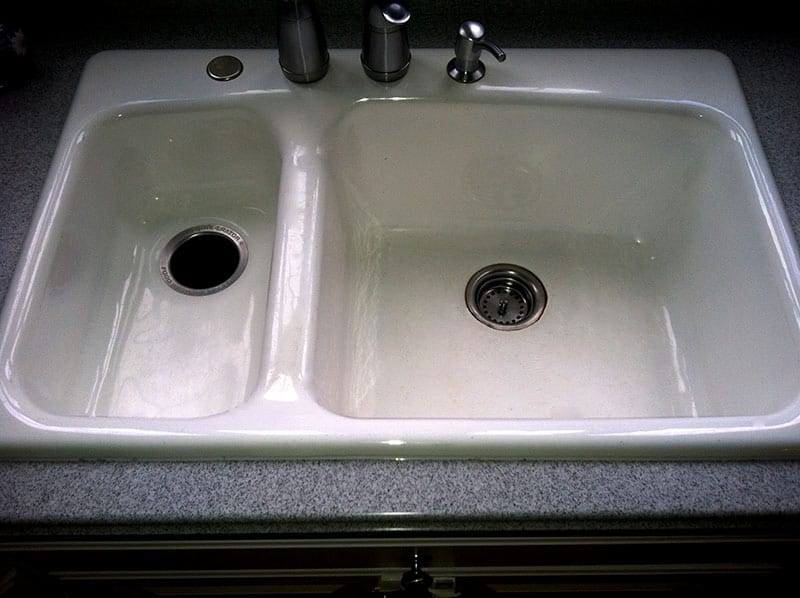
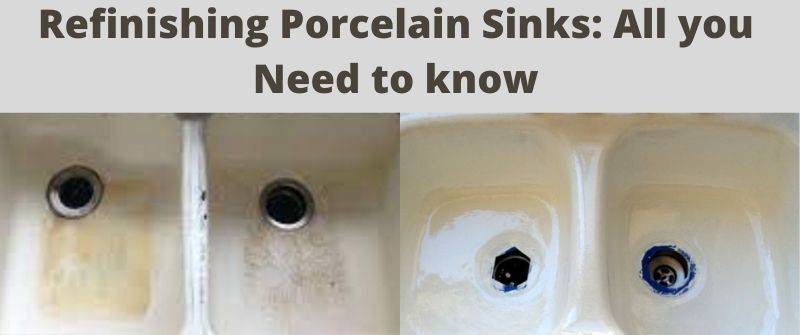
How to Refinish a Porcelain Sink
Pin page

Is It Worth Reglazing Your Kitchen Sink?
Related Posts: