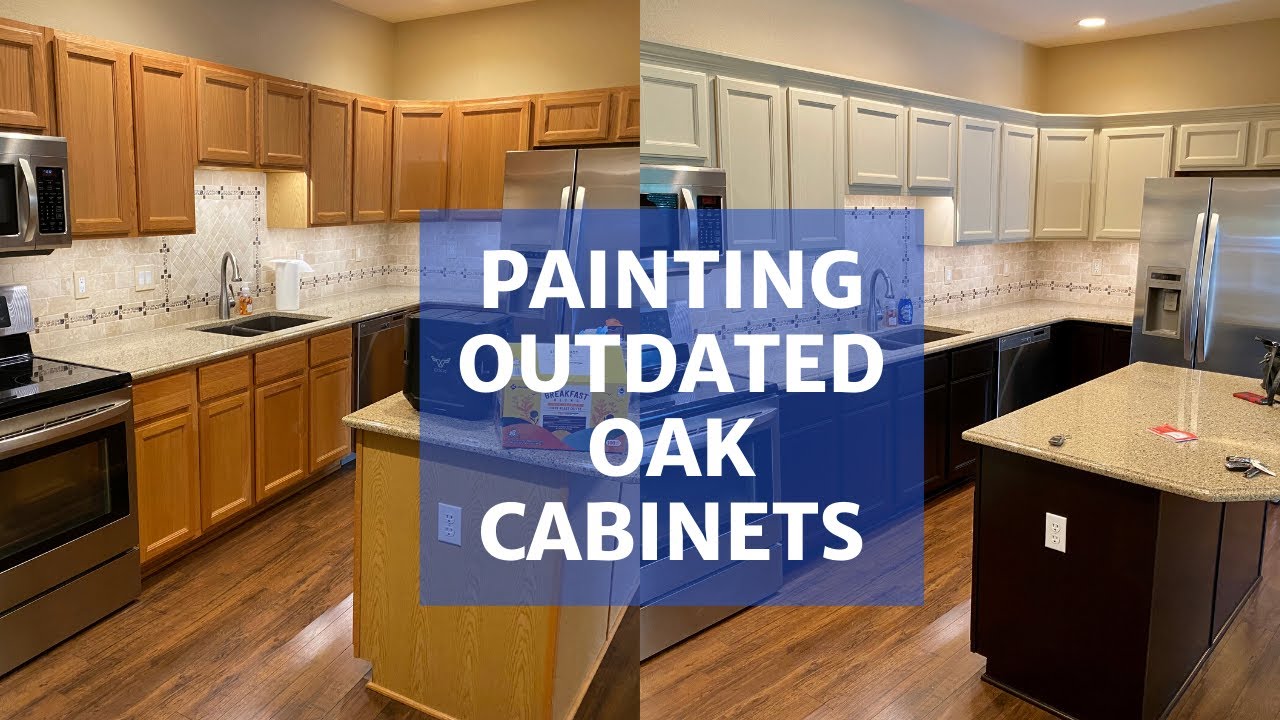
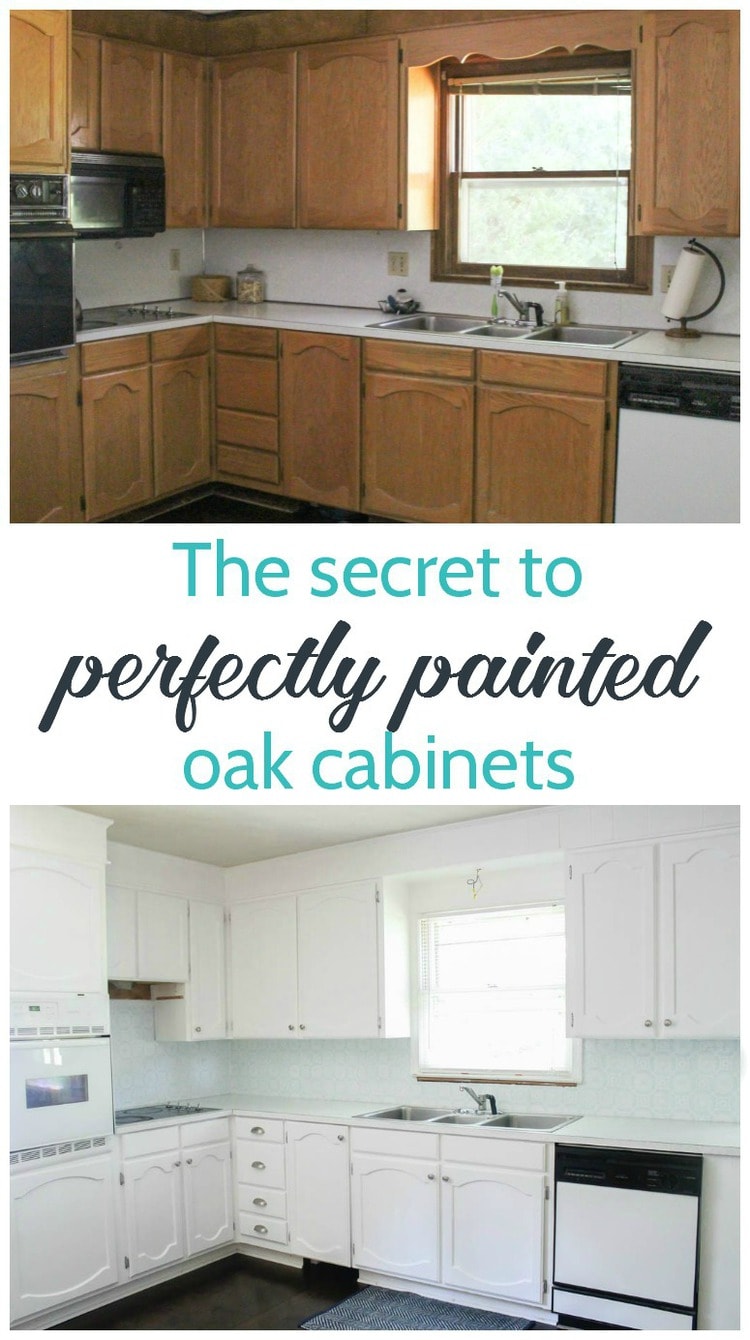
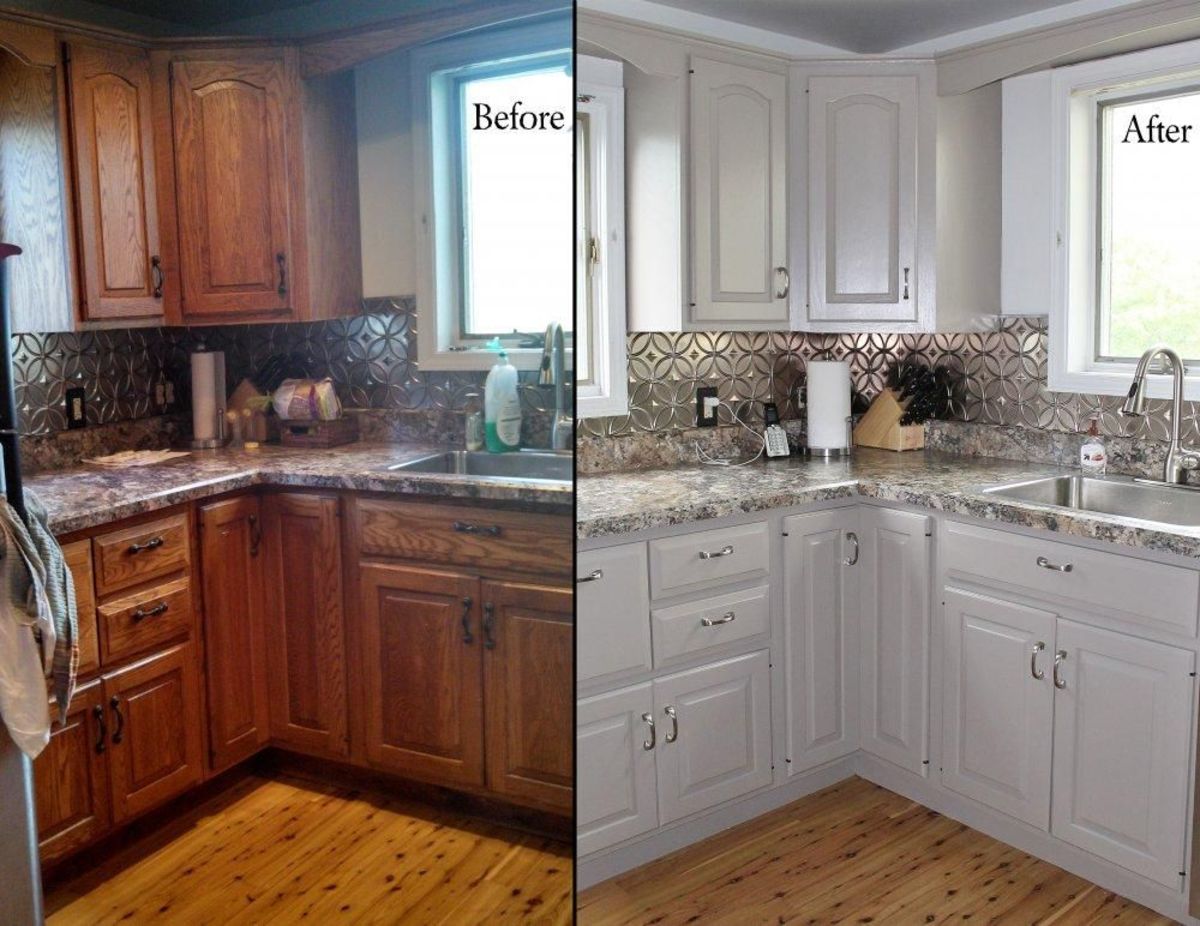
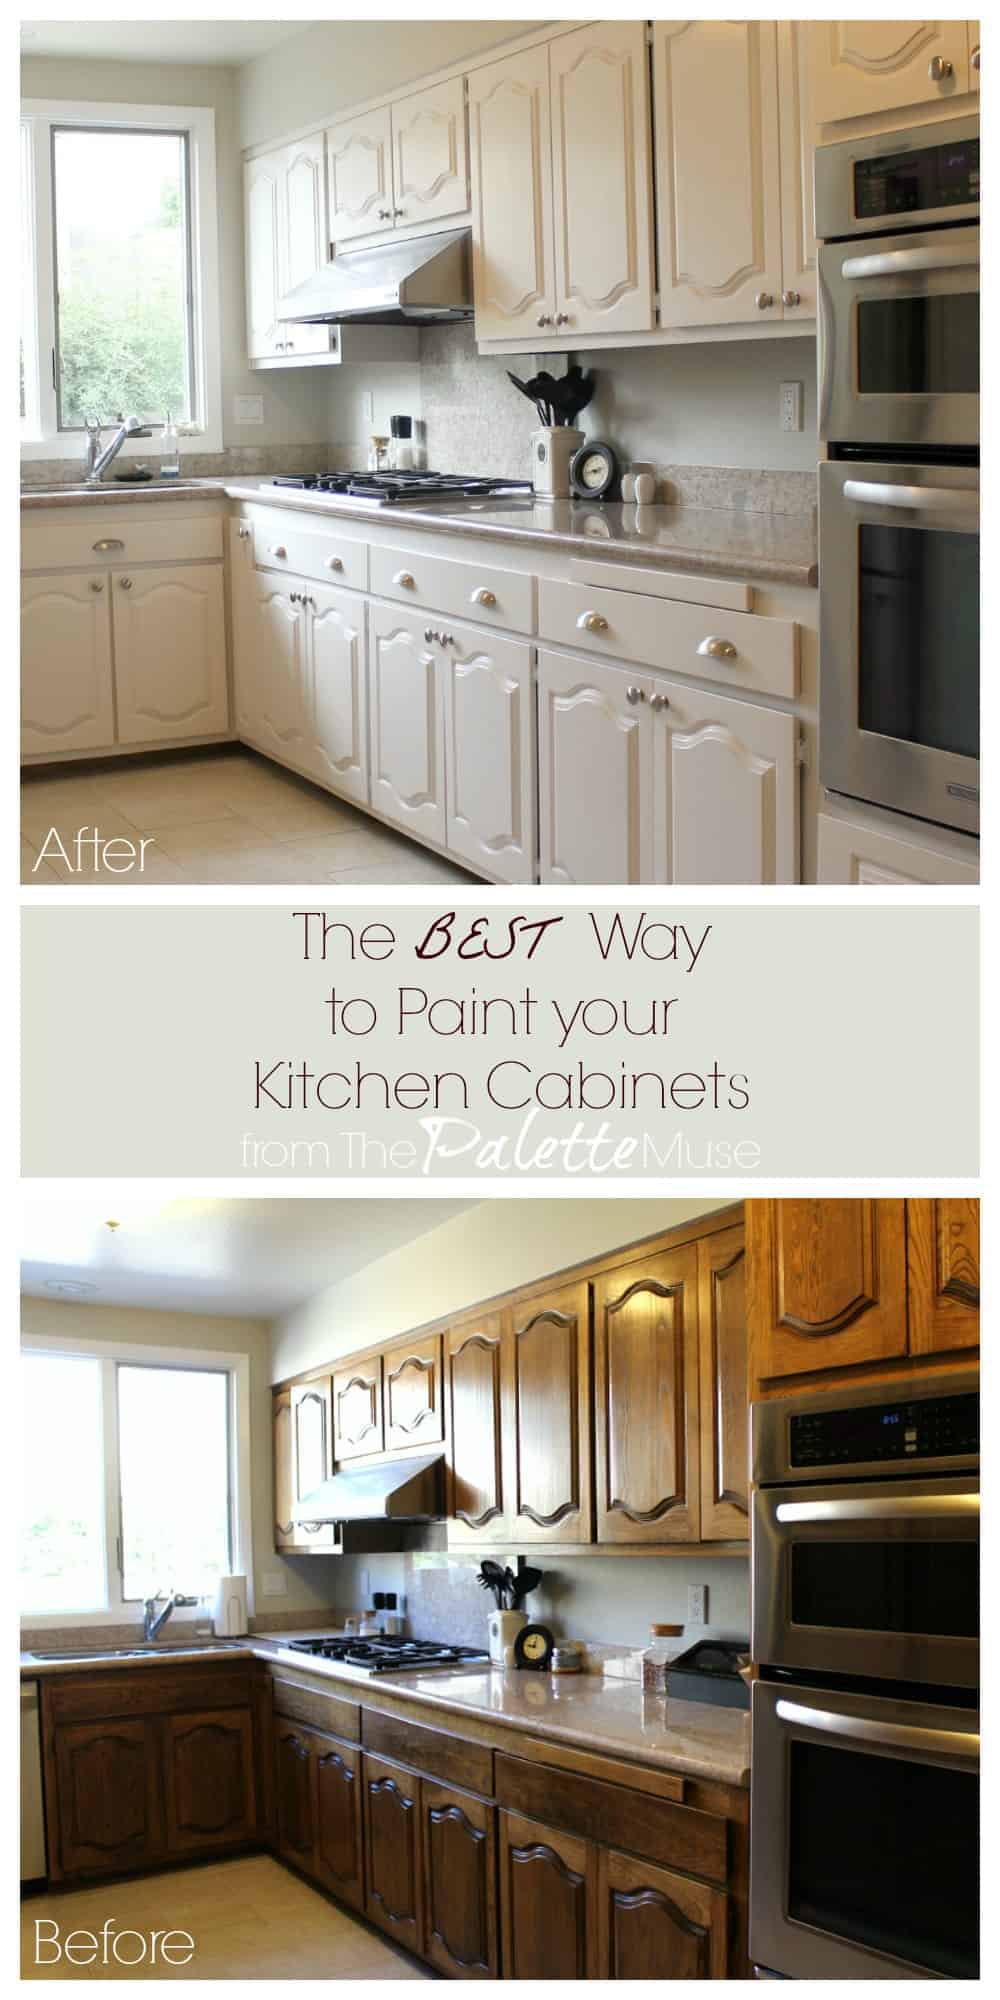
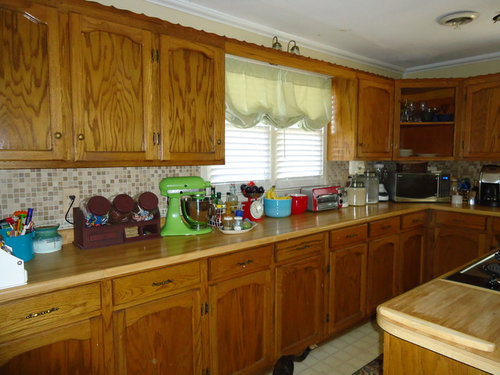
Painting solid wood kitchen cabinets can transform the look of your kitchen without the expense of a full renovation. Solid wood is a durable and high-quality material, but it requires proper preparation and techniques to ensure a smooth, long-lasting finish. Whether aiming for a modern, rustic, or classic style, understanding the right steps—from cleaning and sanding to priming and painting—will help you achieve professional results. This guide covers everything you need to know, including tools, paint types, and maintenance tips.
Preparing Your Cabinets for Painting
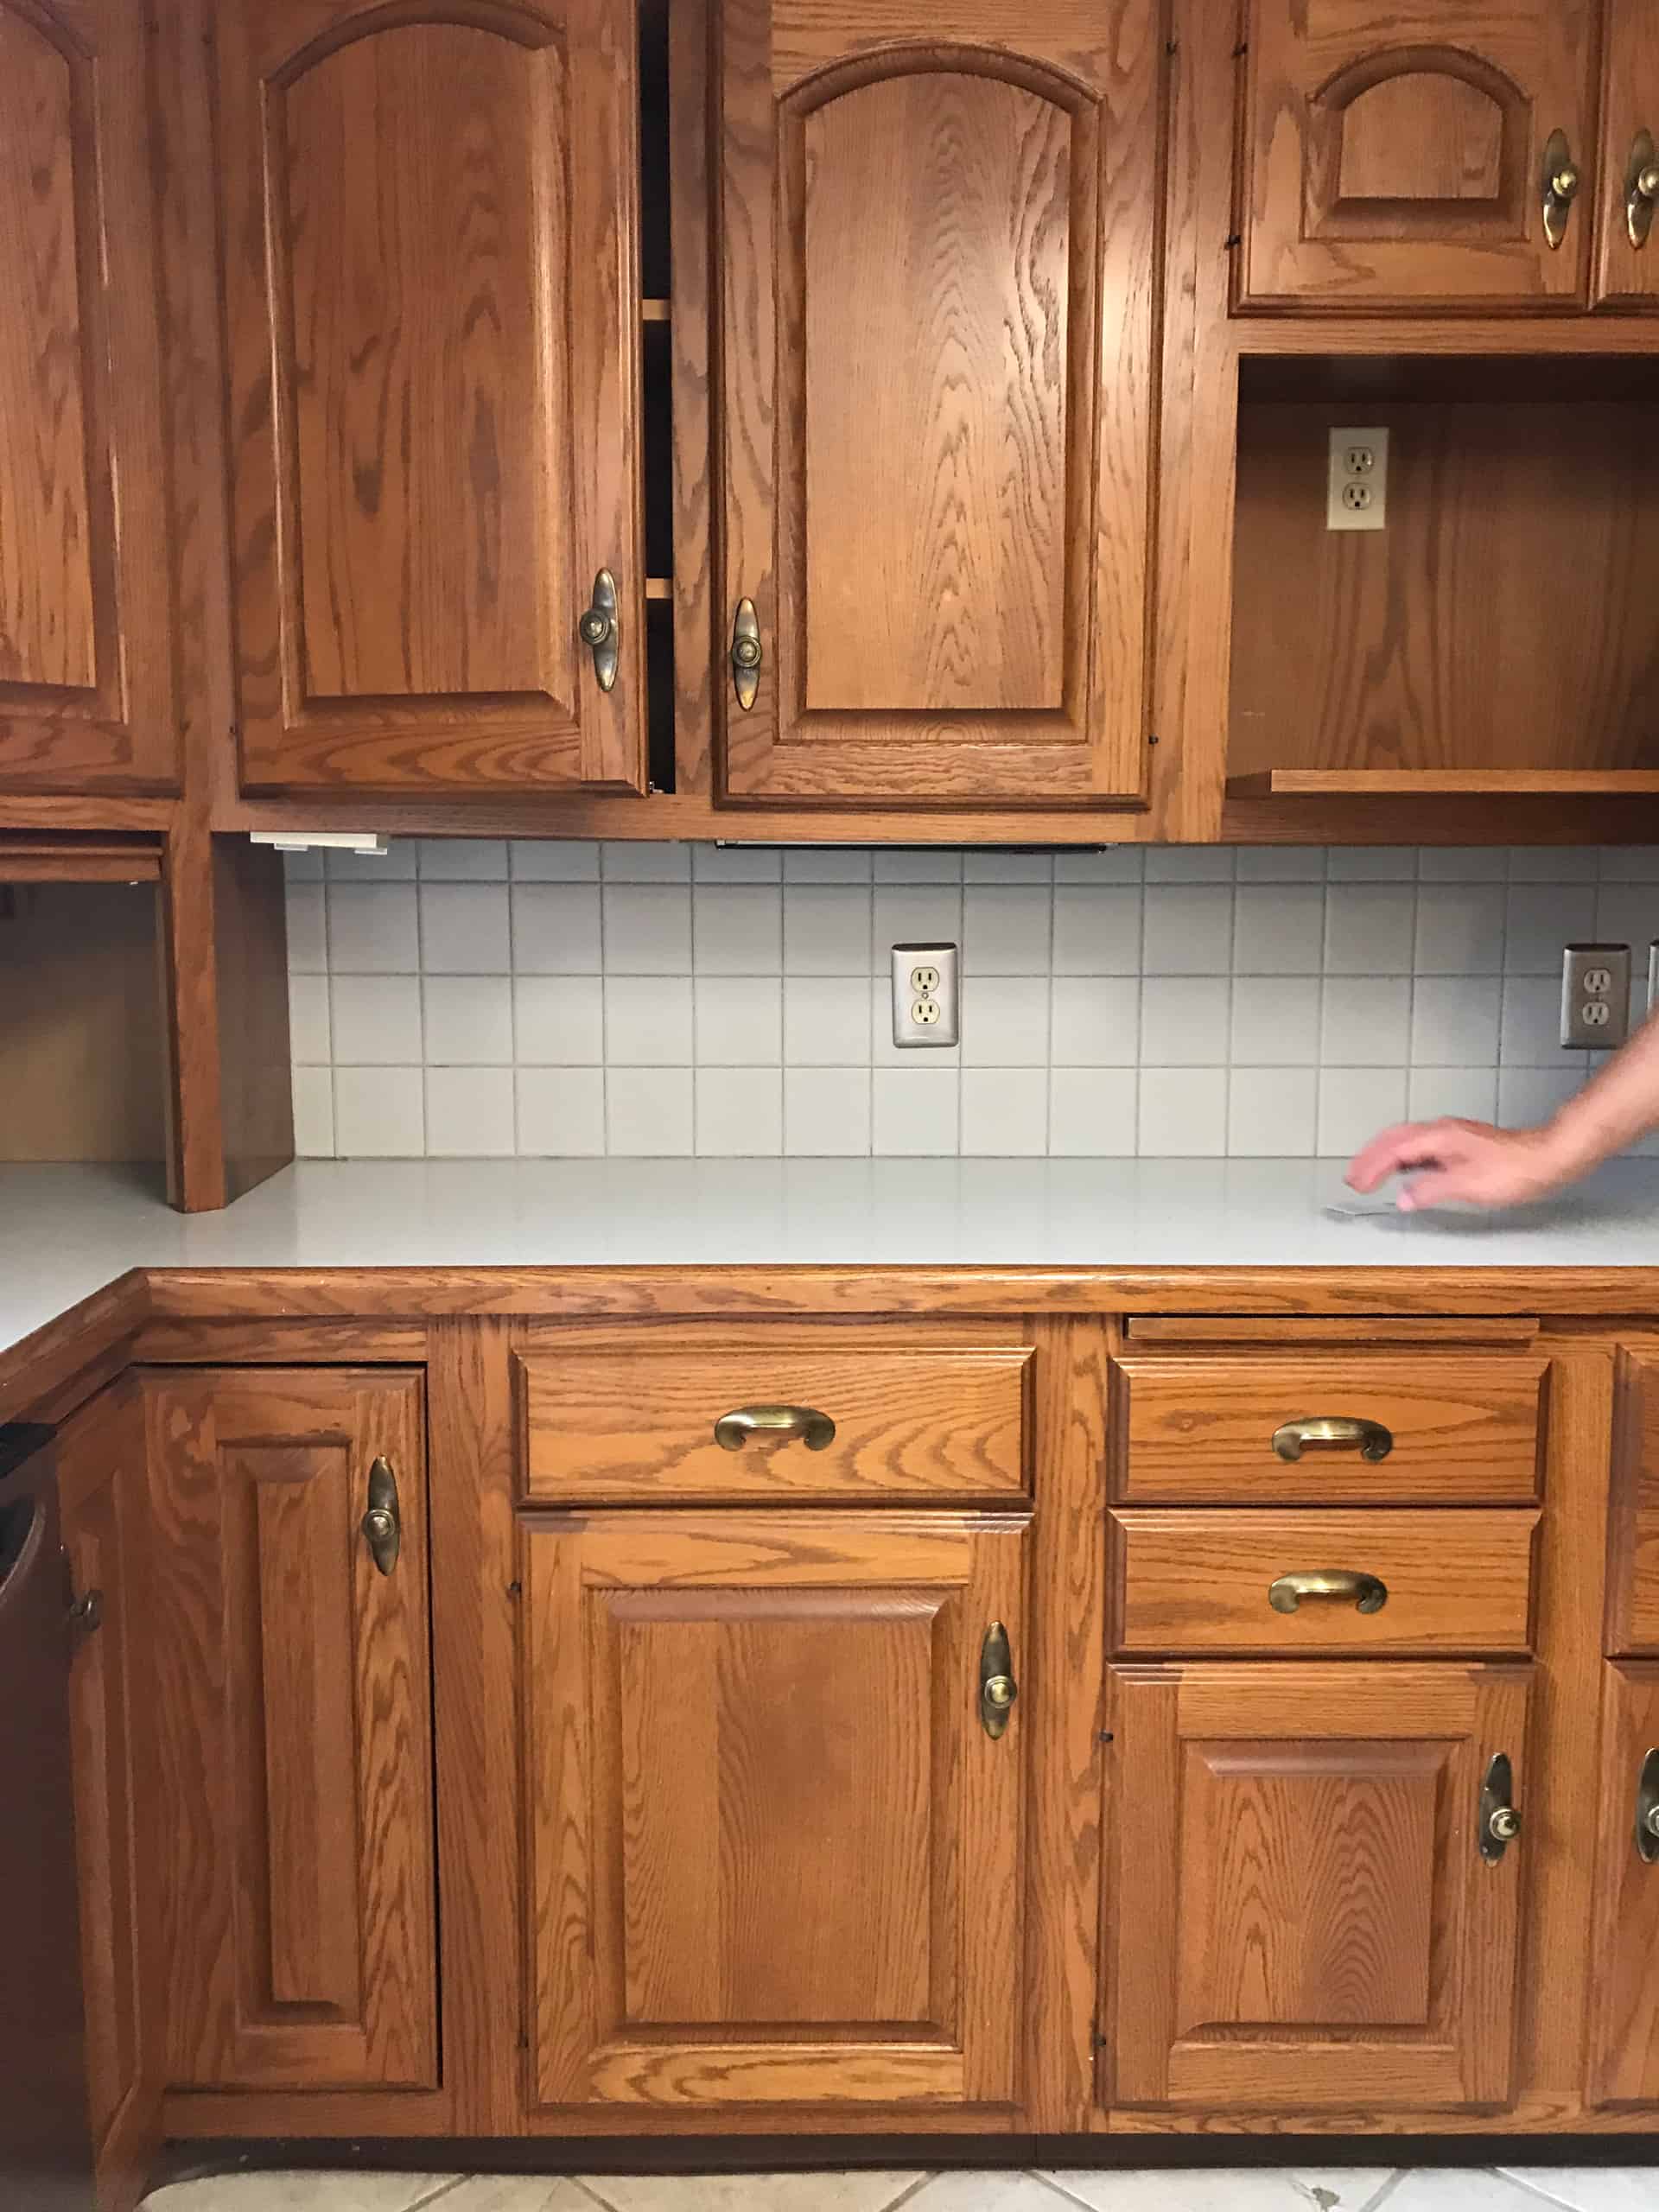
Before painting, thorough preparation is essential to ensure the paint adheres properly. Start by removing all cabinet doors, drawers, and hardware, labeling each piece for easy reassembly. Clean the surfaces with a degreaser to remove built-up grime, grease, and residue, which can prevent paint from sticking. Sanding is the next crucial step—use medium-grit sandpaper (120-150 grit) to roughen the surface and remove any existing finish, then switch to fine-grit (220 grit) for a smooth base.
After sanding, wipe down all surfaces with a tack cloth or a damp rag to remove dust. Fill any dents, scratches, or imperfections with wood filler, allowing it to dry completely before sanding again lightly. If your cabinets have intricate details or grooves, use a small brush or toothbrush to clean them thoroughly. Proper preparation prevents peeling and chipping later, so taking your time here is key. Finally, protect surrounding areas with painter’s tape and drop cloths to avoid accidental spills or splatters on countertops and floors.
Choosing the Right Paint and Primer
The right paint and primer are critical for a durable, professional-looking finish. For solid wood cabinets, an acrylic latex or oil-based paint is ideal—both offer good adhesion and durability. Acrylic latex is easier to clean up and has low odor, while oil-based paint provides a harder finish but requires mineral spirits for cleanup. A high-quality primer is equally important, as it seals the wood and prevents tannin bleed-through, especially with knots or darker wood.
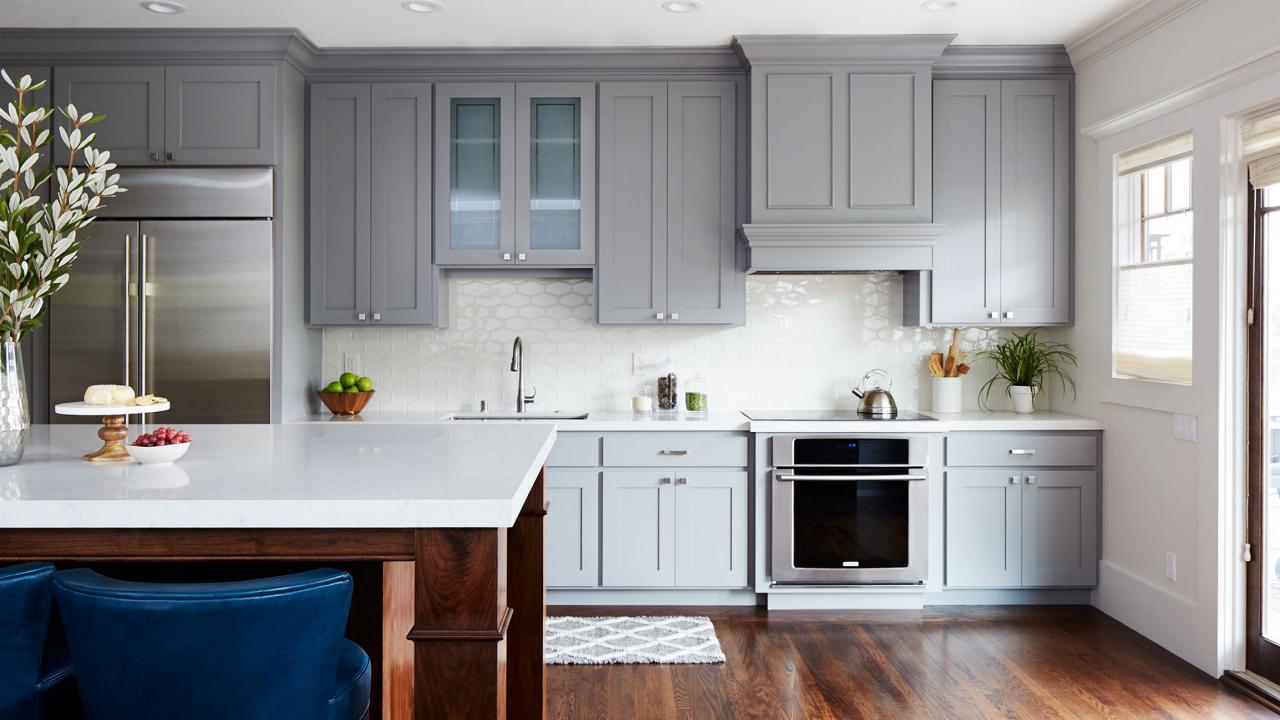
For a smooth finish, consider using a paint with a satin or semi-gloss sheen, as these are more resistant to moisture and easier to clean. Avoid flat or matte paints, which can show stains and wear more easily. When applying primer, use a brush for edges and a roller for flat surfaces, ensuring even coverage. Allow the primer to dry completely before lightly sanding with fine-grit sandpaper to remove any raised grain or imperfections.
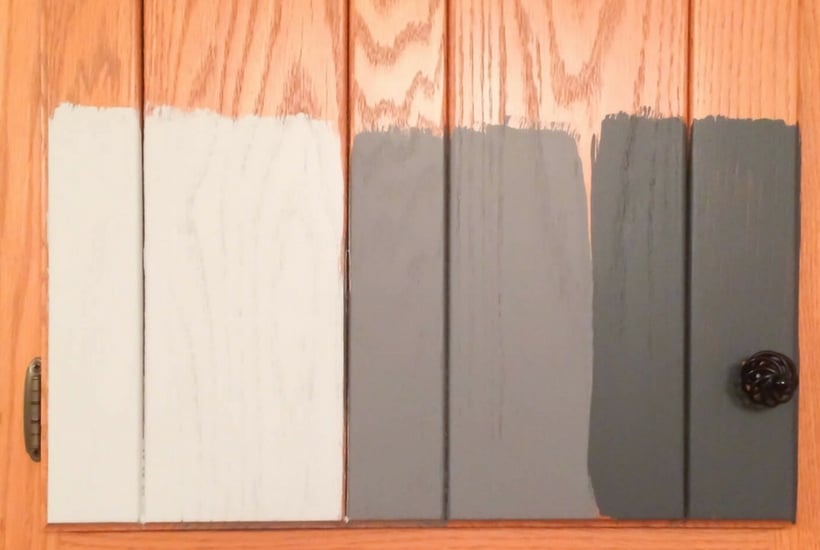
If you’re changing colors drastically, a tinted primer can help reduce the number of topcoat layers needed. Always test your paint and primer on a small, inconspicuous area first to check for adhesion and color accuracy. Investing in high-quality products may cost more upfront, but will save time and effort in the long run by reducing the need for touch-ups.
Applying Paint for a Smooth Finish
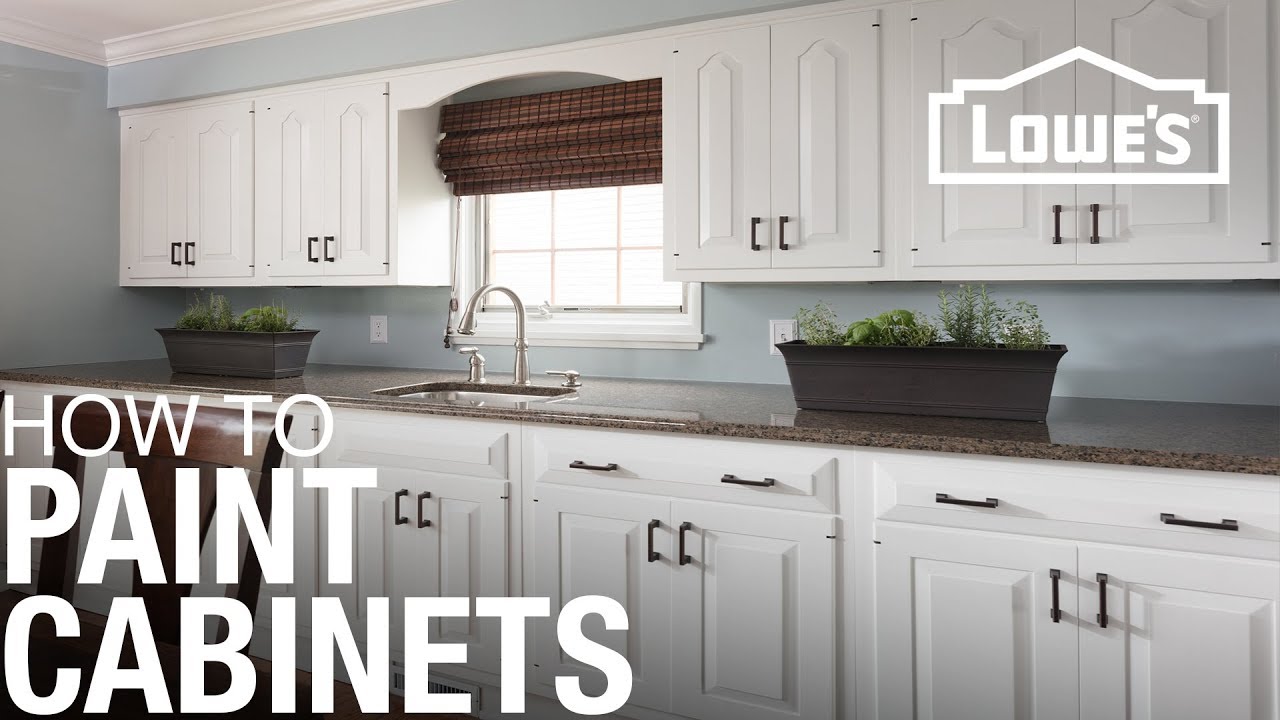
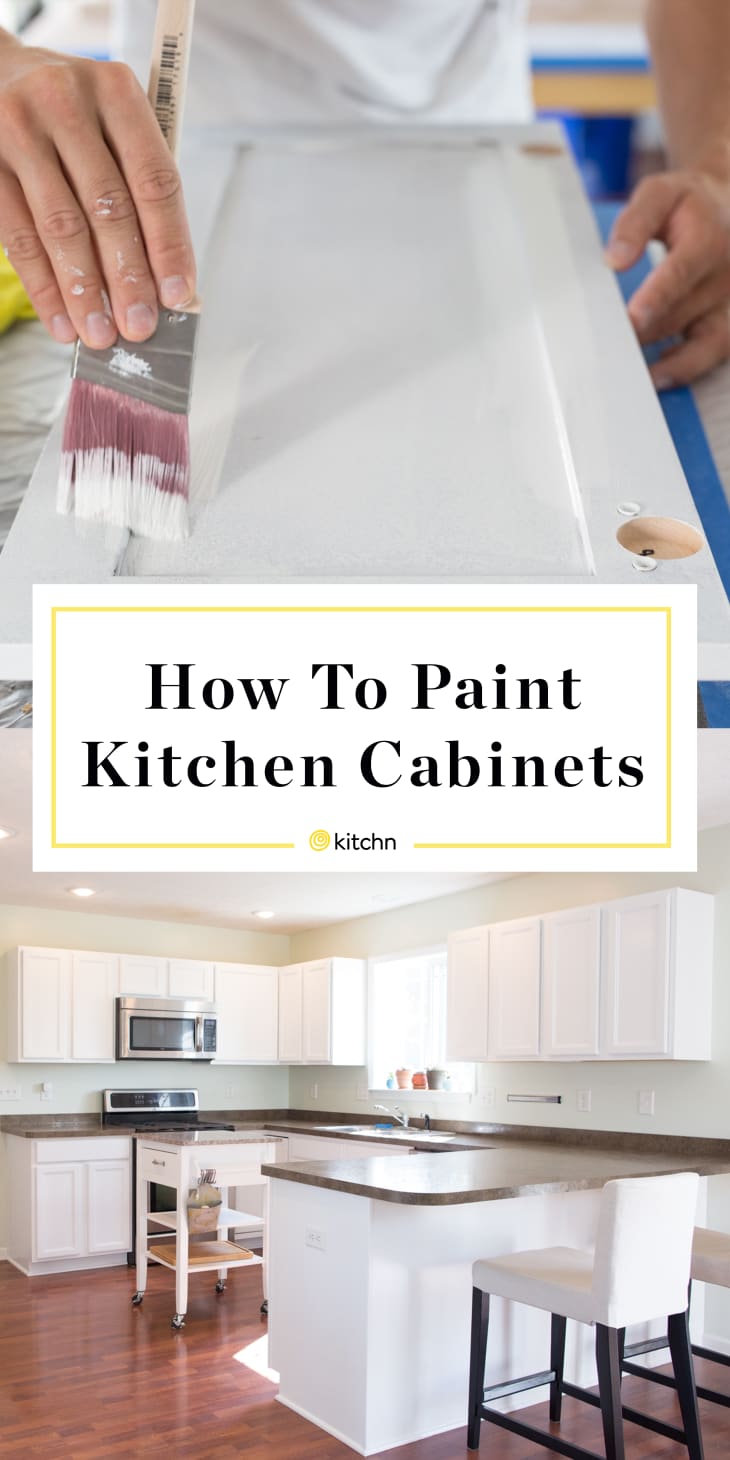
Once your cabinets are prepped and primed, it’s time to apply the paint. Start by stirring the paint thoroughly—avoid shaking, as it can introduce bubbles. Use a high-quality synthetic brush for edges and corners, and a foam roller or mini paint roller for flat surfaces to minimize brush marks. Apply thin, even coats rather than thick layers to prevent drips and uneven drying. Allow each coat to dry completely before lightly sanding with fine-grit sandpaper (320 grit) between coats for a smoother finish.
For best results, apply at least two coats of paint, ensuring full coverage and durability. If using a sprayer, maintain a consistent distance (about 8-12 inches) and use smooth, overlapping strokes to avoid blotches. Work in a well-ventilated area to speed up drying and reduce fumes. Pay extra attention to cabinet doors—lay them flat when painting to prevent runs and sags. If any imperfections appear after drying, sand lightly and apply an additional coat.
After the final coat, allow the paint to cure fully—typically 24-48 hours for latex paint and up to a week for oil-based. Avoid reinstalling hardware or heavy use until the paint has hardened completely. Proper application ensures a professional, long-lasting finish that resists chipping and wear.
Reassembling and Maintaining Painted Cabinets
Once the paint has fully cured, carefully reattach the doors, drawers, and hardware. Use your labels to ensure everything goes back in the correct position. Check for any misalignments or sticking doors—adjust hinges if necessary for smooth operation. If you’ve updated the hardware, now is the time to install new knobs or pulls for a fresh look. Take care when handling the painted surfaces to avoid scratches or dings during reassembly.
To maintain your newly painted cabinets, clean them regularly with a soft cloth and mild soapy water—avoid abrasive cleaners or scrubbing pads that can damage the finish. Wipe up spills promptly to prevent staining, especially near sinks and stoves where moisture and grease are common. Over time, minor touch-ups may be needed; keep leftover paint for quick fixes on scratches or chips.
With proper care, painted solid wood cabinets can last for years without needing a full repaint. Periodically inspect hinges and hardware for looseness, tightening screws as needed. Avoid excessive moisture and direct heat exposure, which can cause warping or peeling. Regular maintenance keeps your kitchen looking fresh and well-kept.
Common Mistakes to Avoid
One of the biggest mistakes when painting cabinets is skipping proper preparation. Painting over dirt, grease, or an old finish without sanding leads to poor adhesion and peeling. Rushing through sanding or priming can also result in a rough, uneven surface. Another common error is using low-quality paint or brushes, which can leave streaks, brush marks, or an uneven sheen. Investing in the right materials saves time and frustration in the long run.
Applying paint too thickly is another frequent issue, leading to drips, sags, and longer drying times. Thin, even coats dry faster and provide a smoother finish. Neglecting to sand between coats can leave a rough texture, while failing to allow proper drying time before reassembly can cause sticking or smudging. Patience is key—each step requires adequate time for the best results.
Finally, ignoring ventilation during painting can be hazardous, especially with oil-based paints. Fumes can be overwhelming, and poor airflow slows drying. Always work in a well-ventilated area and wear a mask if needed. Avoiding these mistakes ensures a professional, durable finish that enhances your kitchen’s appeal.
Alternative Finishes and Creative Touches
If traditional paint isn’t your preference, consider alternative finishes like staining, glazing, or chalk paint for a different look. Staining enhances the wood’s natural grain while providing color, while glazing adds depth and dimension over painted cabinets. Chalk paint offers a matte, vintage look and requires minimal prep, though it may need a protective topcoat for durability. Each option provides a unique aesthetic, so choose based on your desired style and maintenance level.
For a custom touch, try techniques like distressing for a rustic feel or two-tone cabinets for modern contrast. Adding decorative molding or new hardware can further elevate the design. If you’re unsure, test samples on a spare cabinet door or scrap wood to see how different finishes look in your kitchen’s lighting. Creative finishes allow personalization while keeping the project manageable.
Whether you opt for classic paint or an alternative finish, the key is proper execution. Research techniques, gather quality materials, and take your time for the best outcome. A well-finished cabinet refresh can completely revitalize your kitchen’s appearance without a full remodel.
The Best Way to Paint Kitchen Cabinets (No Sanding!)
Should I paint my custom, solid wood kitchen cabinets?
Should I Paint My Kitchen Cabinets?
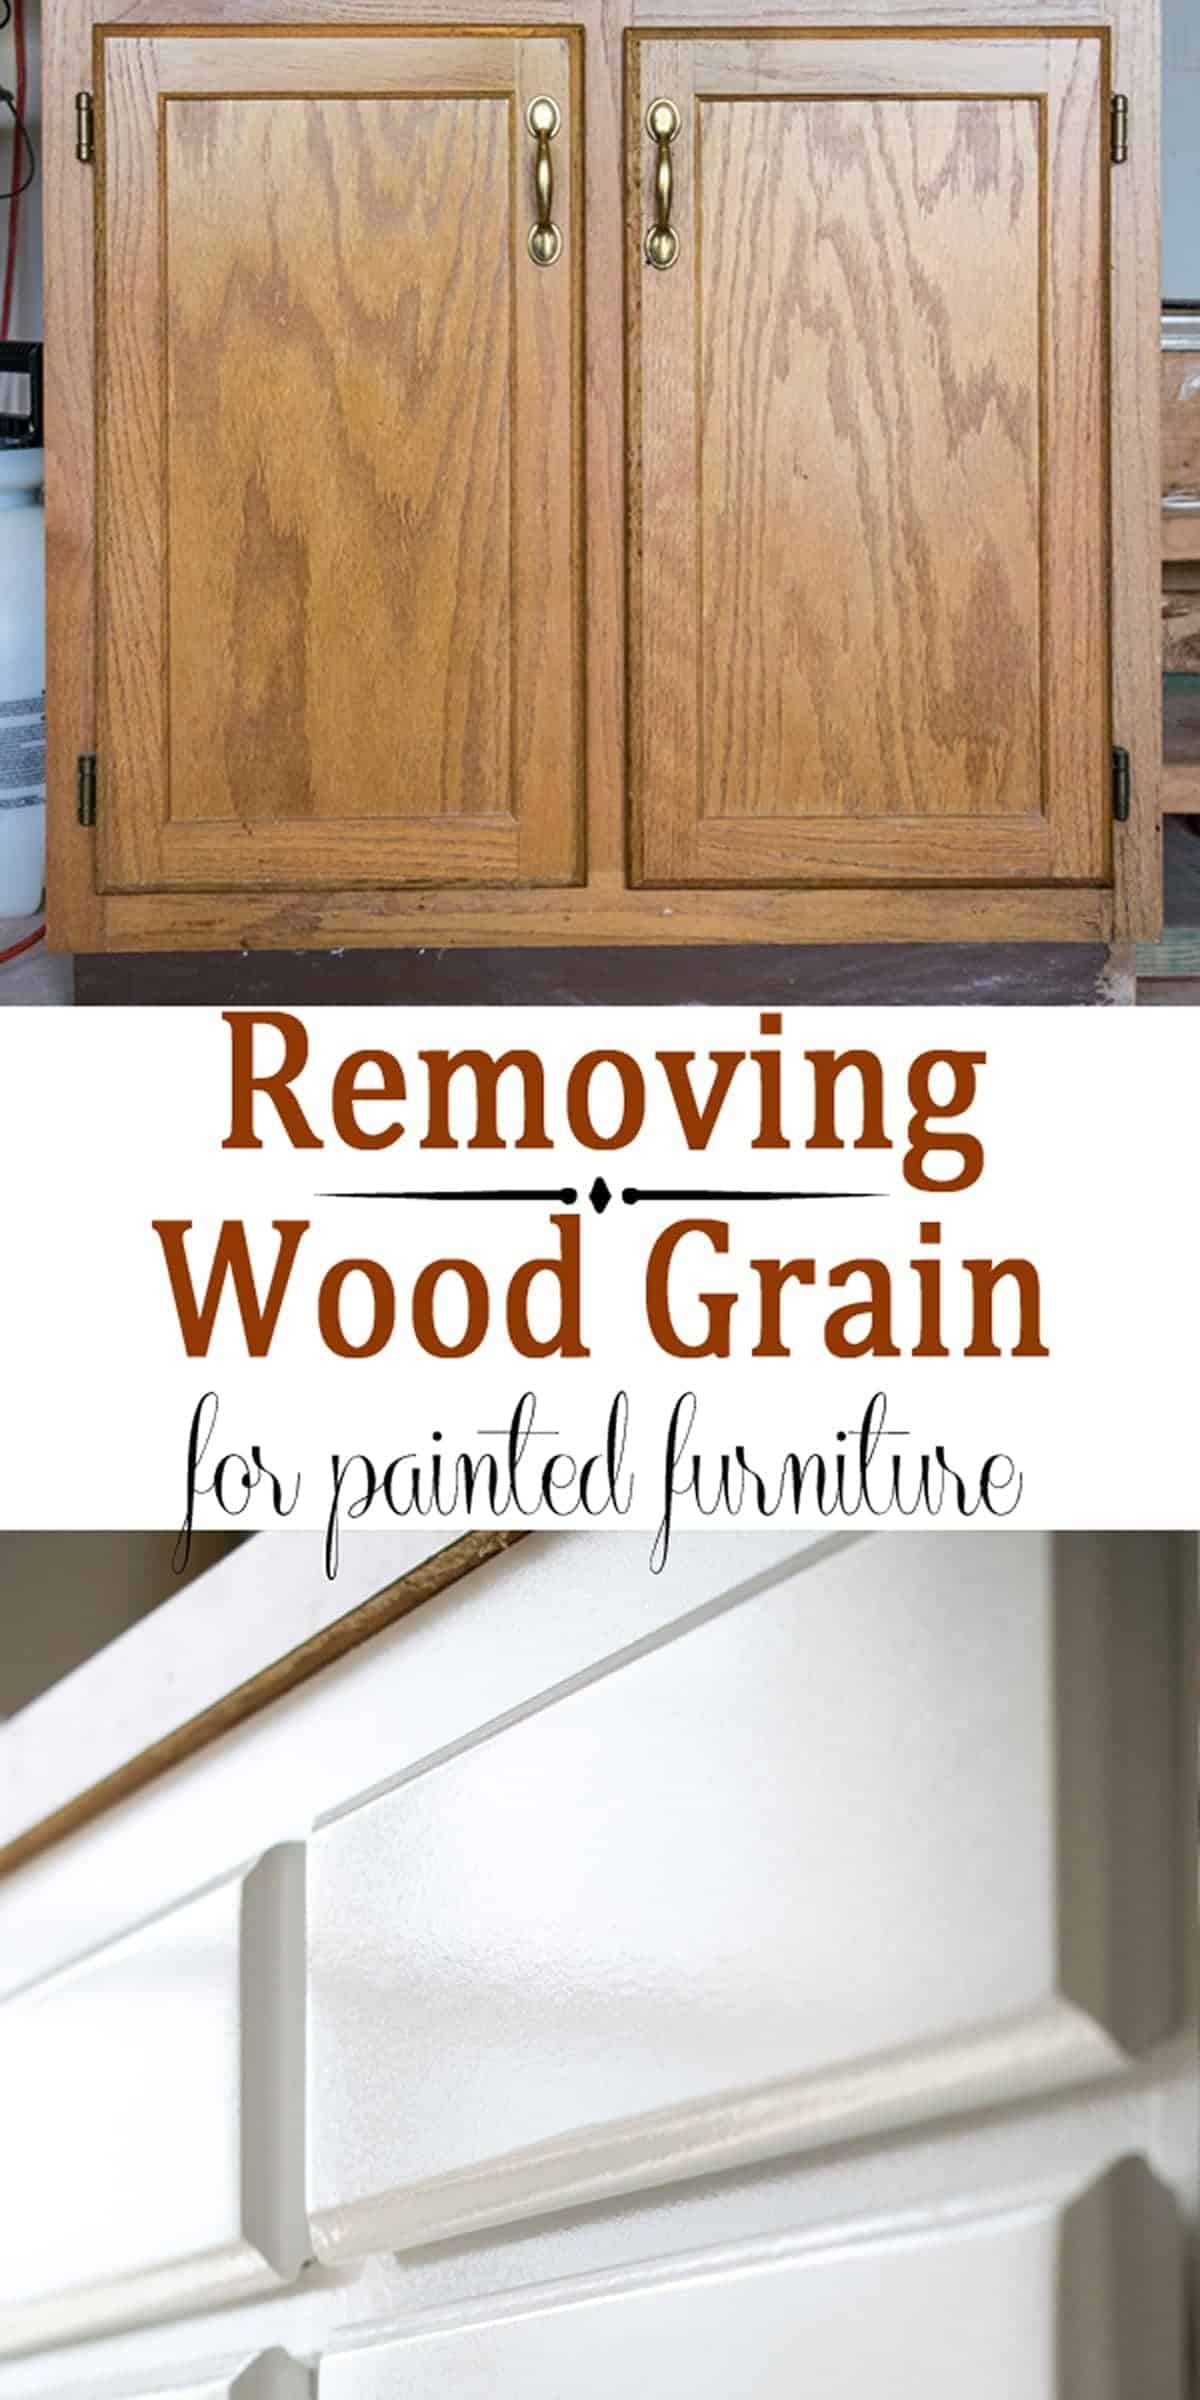
Filling Wood Grain Before Painting Oak Cabinets
How To Paint Wood Kitchen Cabinets with White Paint
Tips + Tricks for Painting Oak Cabinets – Evolution of Style

Painting Cabinets with Chalk Paint
Related Posts: