Planning and Preparation
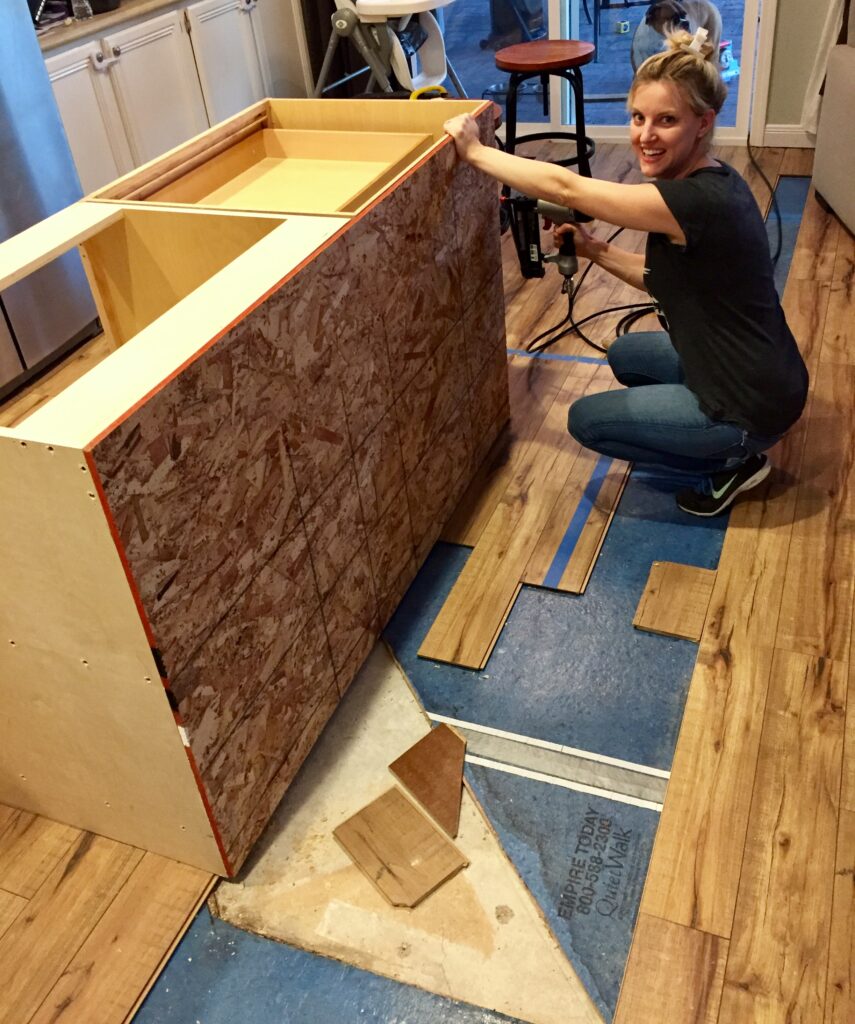
Securing a kitchen island to a hardwood floor requires careful planning and preparation. Begin by determining the ideal location for your island, considering factors like workflow and accessibility. Ensure the area is clean and free of debris. Gather the necessary tools, including a drill, screws, anchors, and a measuring tape. Having everything ready before you start will make the installation process smoother and more efficient.
Marking the Location
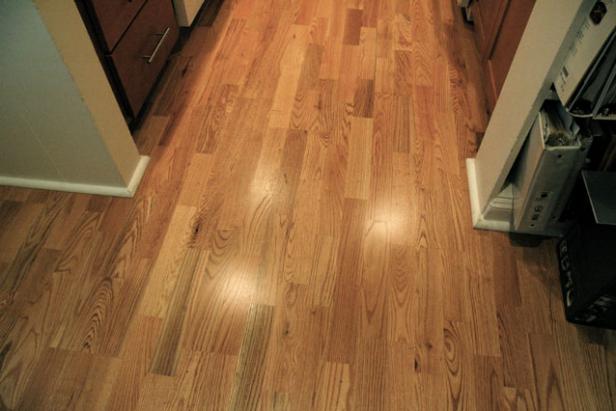
Once you’ve decided on the location, use a pencil and measuring tape to mark the outline of the island on the hardwood floor. This step is crucial for accurate placement and alignment. Measure and mark the spots where the screws or anchors will be installed, ensuring they are evenly spaced for stability. Double-check the measurements to avoid any mistakes. Clear and precise markings help ensure a secure and stable installation.
Drilling Pilot Holes
Before securing the island, drill pilot holes at the marked spots. Pilot holes guide the screws and prevent the hardwood floor from splitting. Use a drill bit slightly smaller than the screws or anchors to create the holes. Make sure the holes are deep enough to accommodate the screws without damaging the floor. Drilling pilot holes ensures a firm grip and helps maintain the integrity of the hardwood surface.
Securing the Island
With the pilot holes in place, position the kitchen island over the marked area. Align the holes in the island’s base with the pilot holes on the floor. Insert screws or anchors through the island’s base and into the pilot holes. Use a drill or screwdriver to tighten the screws securely. Ensure the island is firmly anchored to the floor, with no wobbling or movement. Properly securing the island provides stability and safety.
Finishing Touches
After securing the island, check for any gaps or unevenness. Use wood filler to fill in any gaps around the screws or base, and sand the area for a smooth finish. Touch up the paint or stain on the island’s base if needed. This final step ensures a polished and professional look, blending the island seamlessly with the hardwood floor. The attention to detail enhances the overall appearance and functionality of your kitchen.
Regular Maintenance
Regular maintenance is essential to keep your secured kitchen island in top condition. Periodically check the screws and anchors to ensure they remain tight and secure. Inspect the hardwood floor for any signs of wear or damage around the island’s base. Address any issues promptly to prevent further damage. Consistent maintenance ensures the longevity and stability of your kitchen island, providing a reliable and stylish addition to your home.
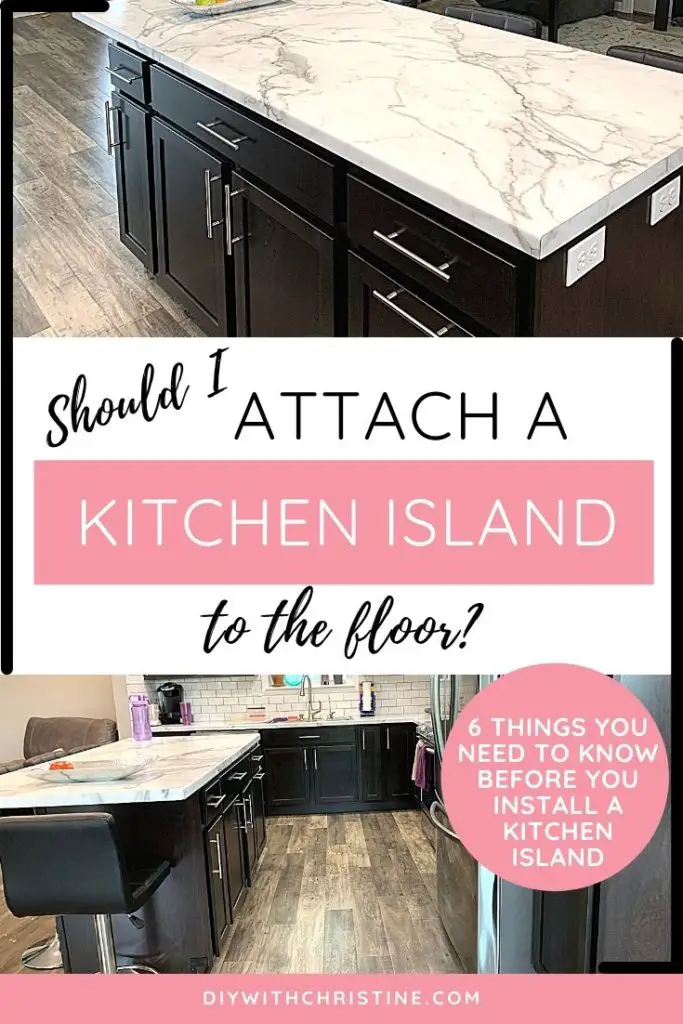
Are Kitchen Islands Attached To The Floor? 6 Things You Need To
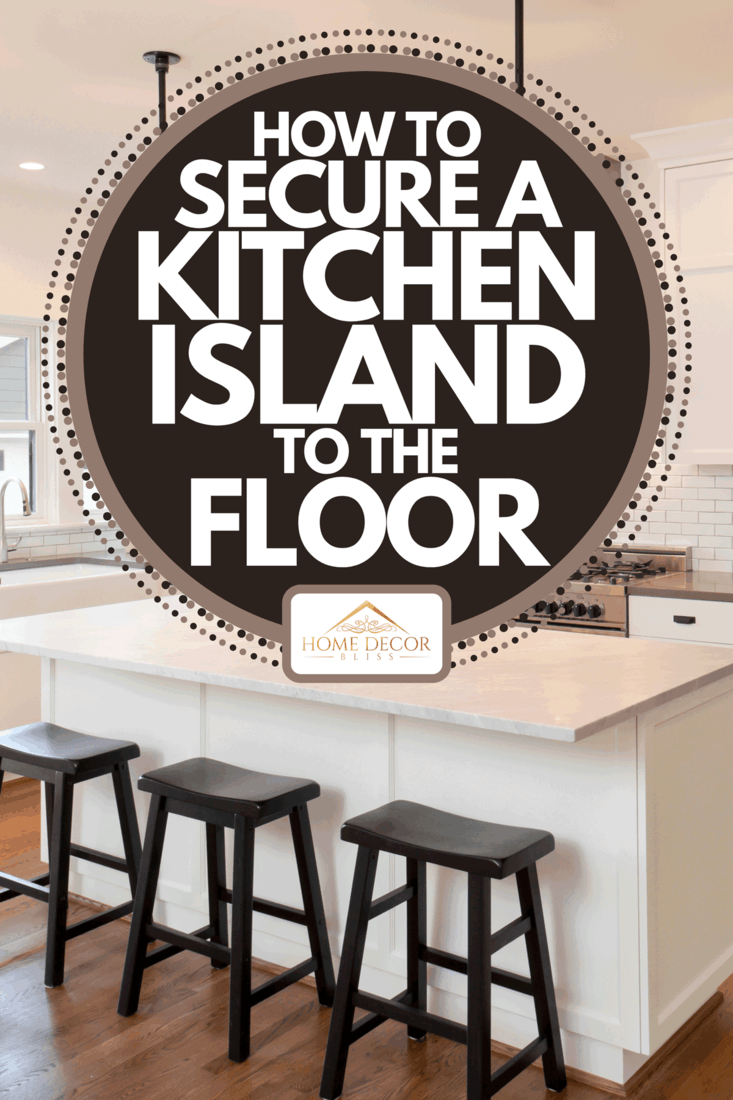
How To Secure A Kitchen Island To The Floor – Home Decor Bliss
A DIY Kitchen Island: Make it yourself and Save Big! Domestic Blonde
How To Install and Level Islands

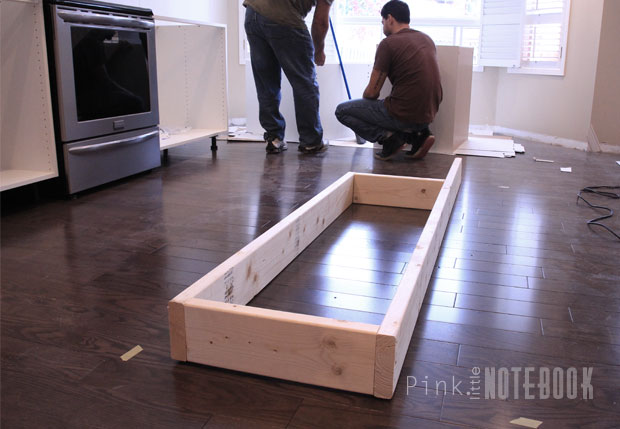
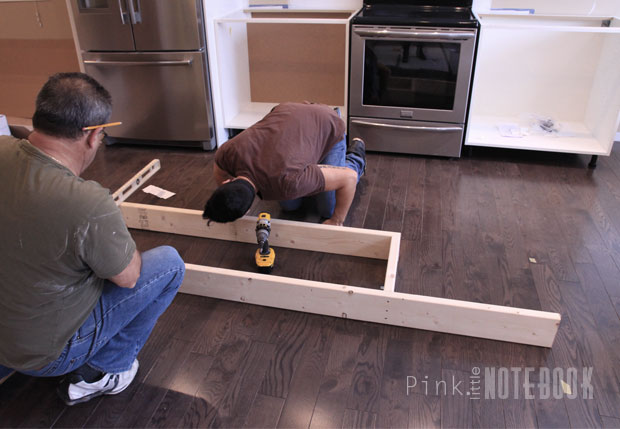
Creating an IKEA Kitchen Island – Pink Little NotebookPink Little
How To Secure A Kitchen Island To The Floor – Home Decor Bliss
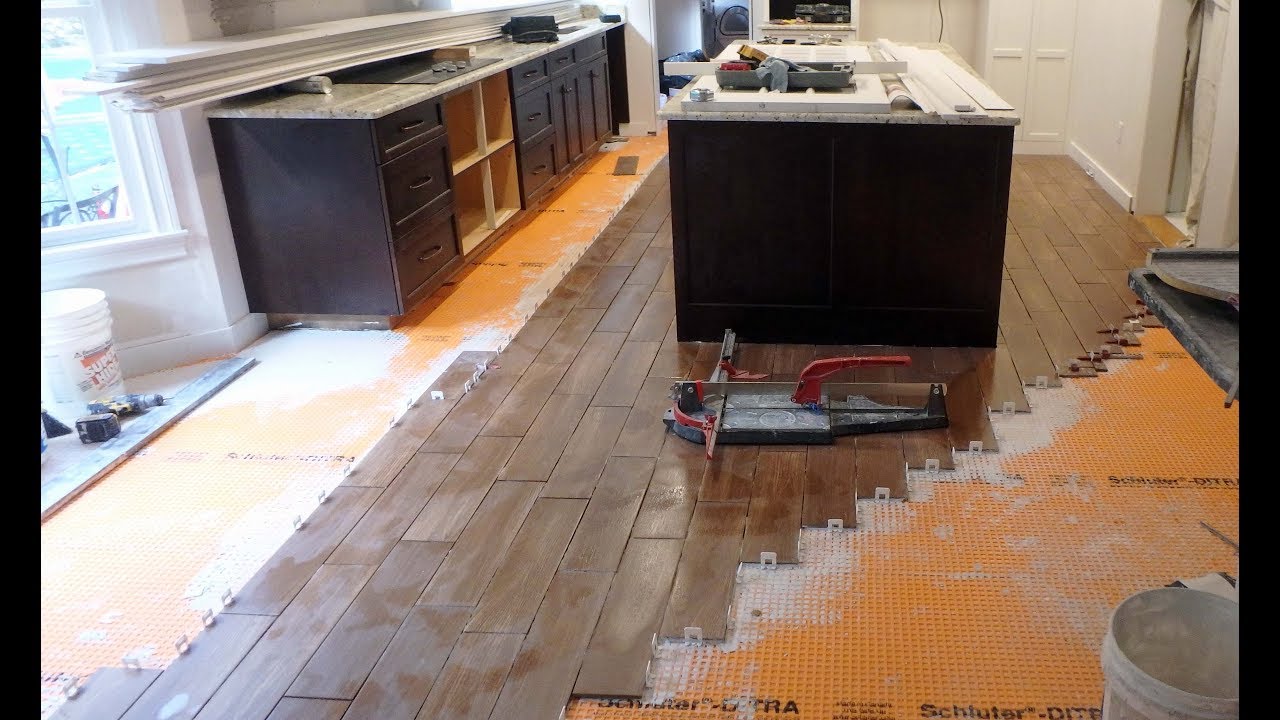
How to install floor tile around a Kitchen Island with wood look plank tile
Creating an IKEA Kitchen Island – Pink Little NotebookPink Little
How to Install Hardwood Flooring in a Kitchen HGTV
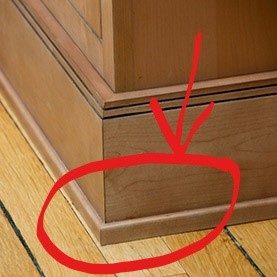
Gap between hardwood flooring and kitchen island base
Related Posts: