Why Choose an Epoxy Kitchen Floor?
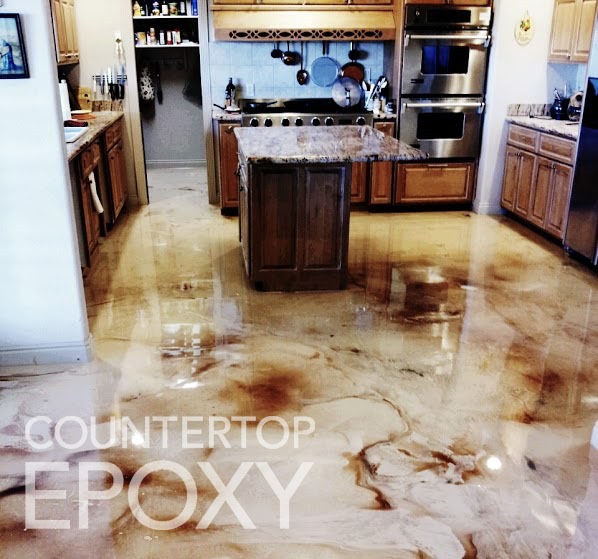
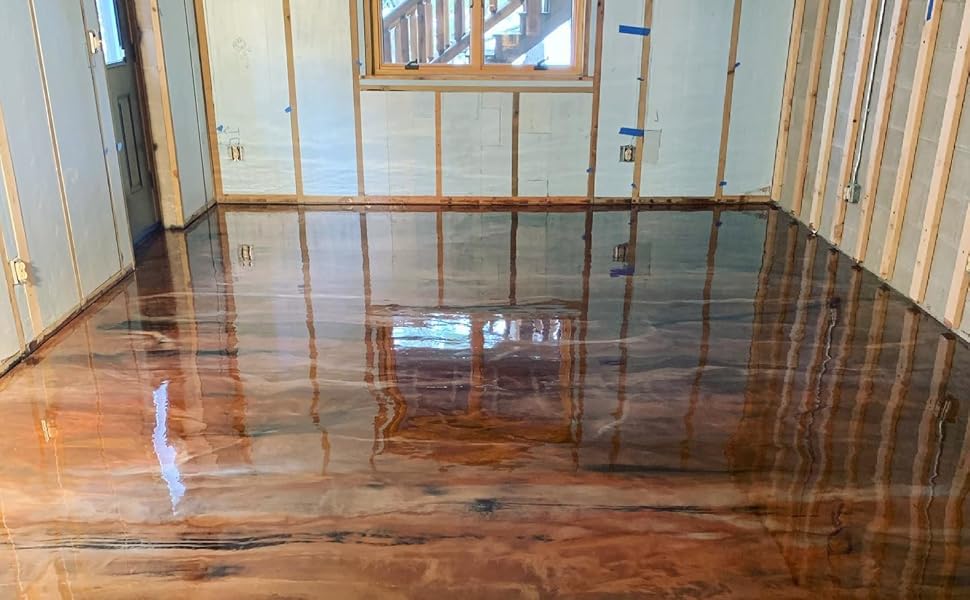
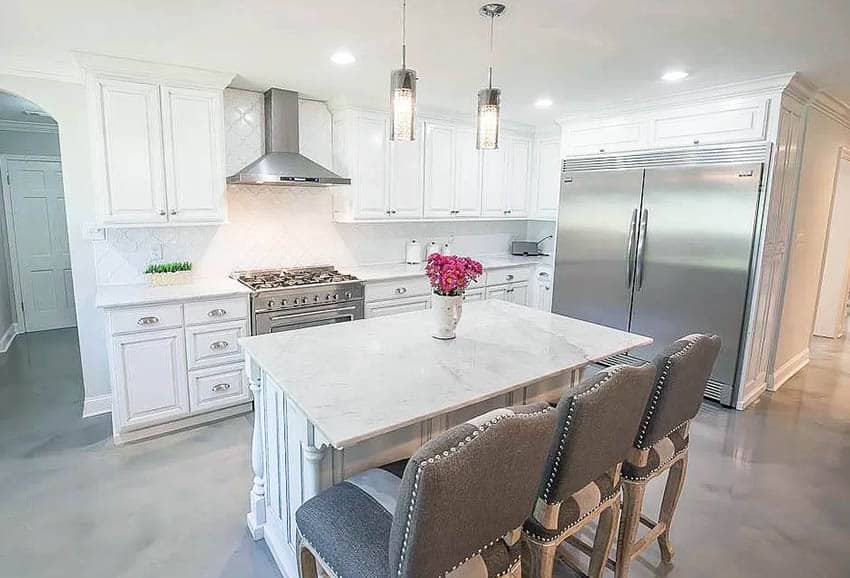
Epoxy flooring is a durable, cost-effective option for kitchens. It resists stains, water, and heavy foot traffic, ideal for high-use areas. Unlike tile or hardwood, epoxy creates a seamless surface that’s easy to clean. It also comes in various colors and finishes, allowing for customization. Whether you prefer a glossy, metallic, or matte look, epoxy can match your kitchen’s style. Additionally, it’s a budget-friendly alternative to pricier materials, offering long-lasting performance with minimal upkeep.
Preparing Your Kitchen Floor
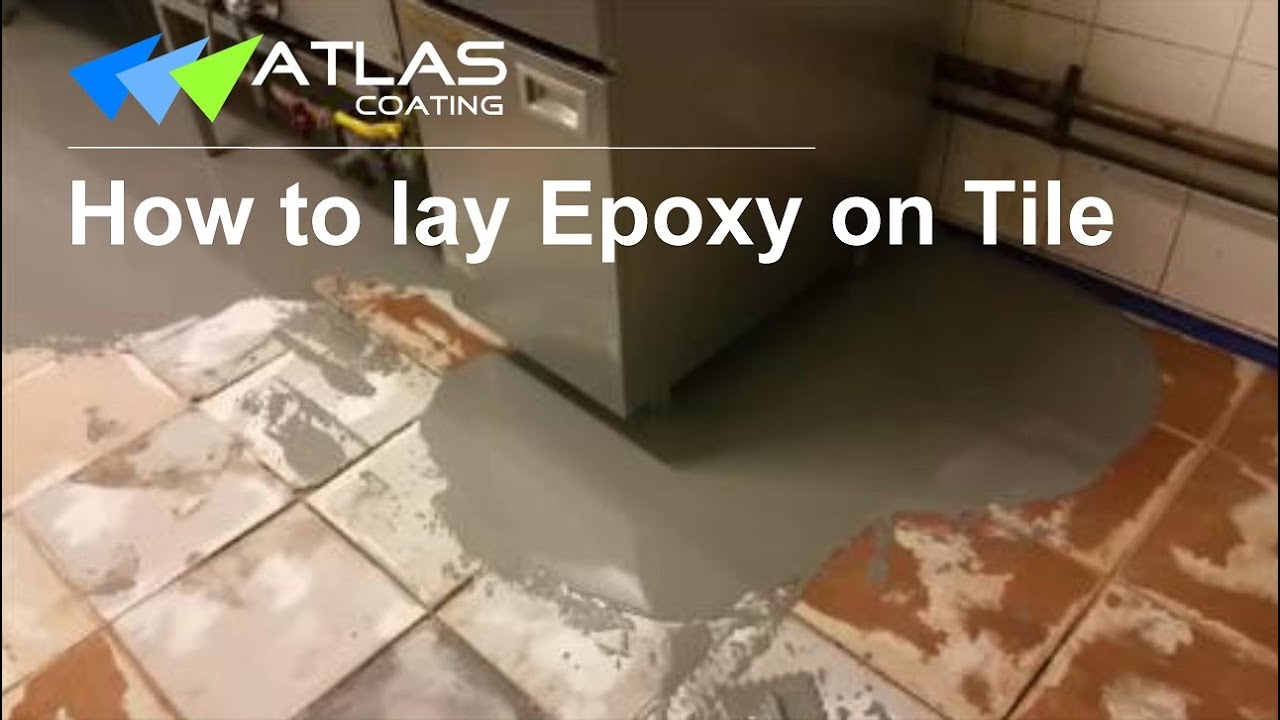
Proper preparation ensures a smooth epoxy application. Start by removing all furniture and cleaning the floor thoroughly. Sweep, mop, and degrease to eliminate dirt and oil. Repair any cracks or imperfections with a concrete patching compound. Next, etch the surface using a concrete etcher or grinder to help the epoxy adhere better. Rinse and let the floor dry completely—moisture can ruin the epoxy bond. Cover baseboards with painter’s tape to protect them. Proper prep work is crucial for a professional-looking finish.
Applying the Epoxy Coating
Begin by mixing the epoxy resin and hardener as directed. Use a roller or brush to apply a thin, even base coat. Work in small sections to avoid streaks or uneven coverage. Allow the first coat to dry before adding a second layer for extra durability. For decorative effects, sprinkle color flakes or metallic pigments while the epoxy is wet. If using a topcoat for added protection, apply it after the base layers cure. Ensure proper ventilation during application, as epoxy fumes can be strong. Follow drying times carefully for the best results.
Maintaining Your Epoxy Floor
Epoxy floors are low-maintenance but require some care. Clean spills promptly to prevent stains, even though epoxy is stain-resistant. Use a soft mop or microfiber cloth with mild soap for regular cleaning. Avoid harsh chemicals or abrasive tools that could damage the finish. Place mats near sinks and high-traffic areas to reduce wear. Over time, minor scratches may appear, but a fresh topcoat can restore shine. With proper care, an epoxy floor can last for years without losing its appeal.
Final Thoughts on DIY Epoxy Floors
A DIY epoxy kitchen floor is a practical and stylish upgrade. It’s affordable, durable, and customizable to fit any design. While the process requires careful preparation, the results are worth the effort. By following the right steps, even beginners can achieve a professional-looking finish. Whether you want a sleek modern look or a decorative flair, epoxy offers endless possibilities. Consider this project if you’re looking for a long-lasting, easy-to-maintain flooring solution for your kitchen.
Images about DIY Epoxy Kitchen Floor
DIY Designer Epoxy Resin Floor : 7 Steps (with Pictures

Flooring Epoxy 1.5 Gallon Kit (Stone Coat Countertops) u2013 Floor
Travertine

Epoxy Flooring on Tile- Non-slip Commercial Kitchen Flooring in Sydney-Atlas Coating
Before and After! Beautiful floor resurface was done with our FX

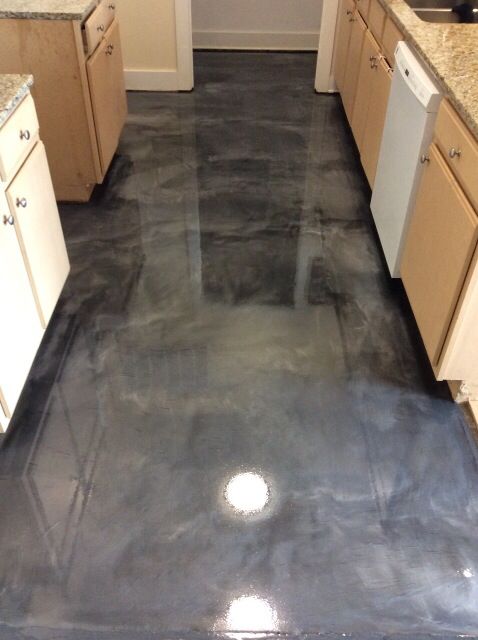
Refinish Your Kitchen Flooring with High Gloss, Durable Epoxy

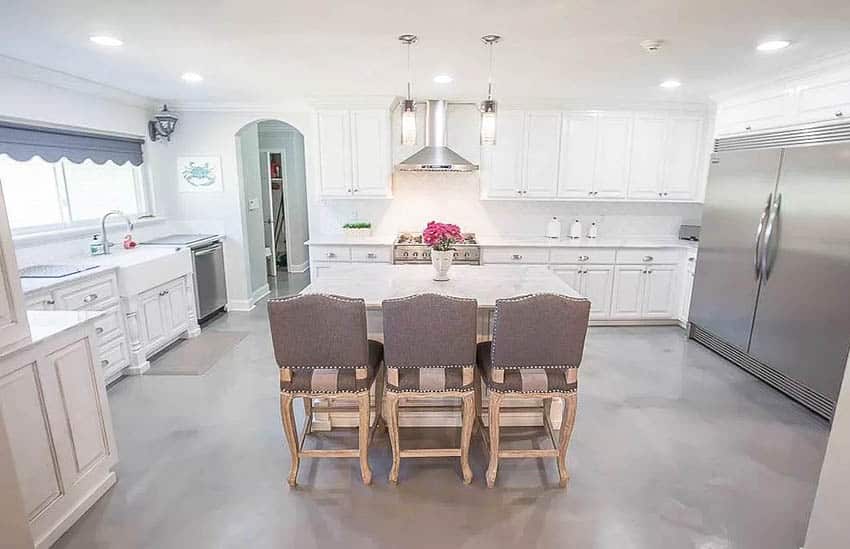
Epoxy Floor (Ultimate Design Guide) – Designing Idea
Epoxy Flooring Ideas With Pros And Cons
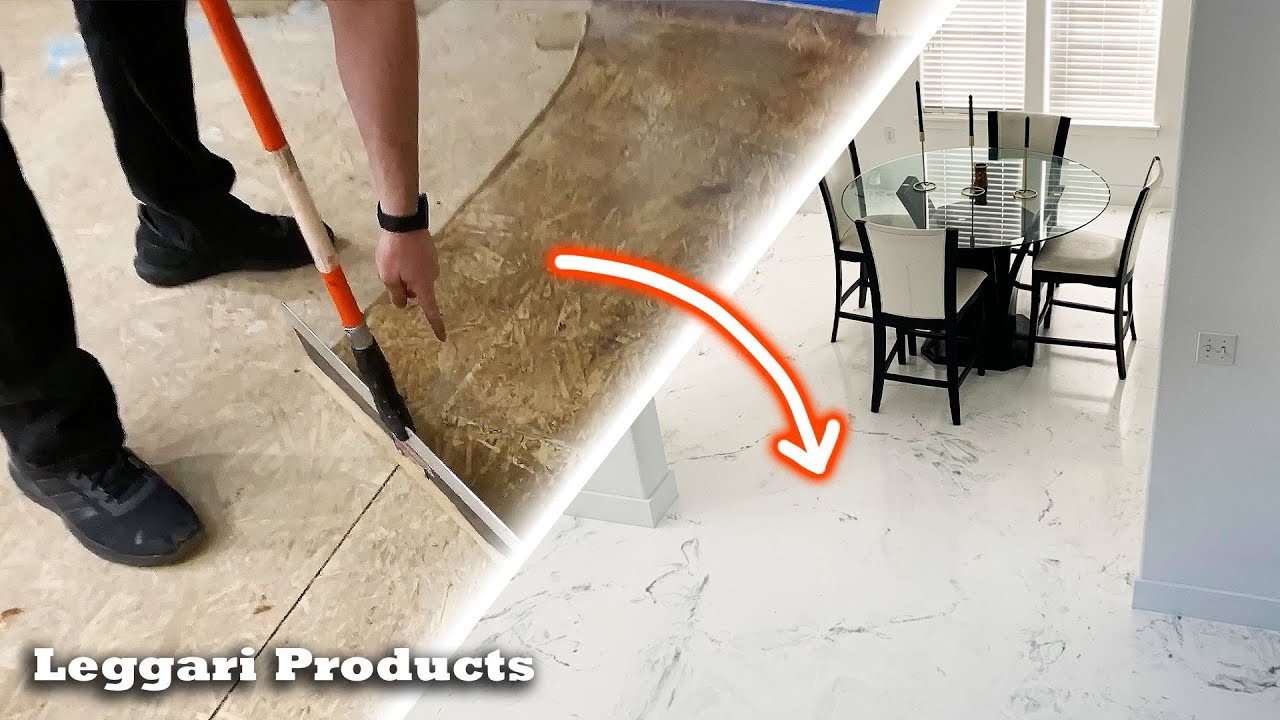
You Would Never Guess Itu0027s Over Wood Subfloor DIY Faux White Marble Luxury Floor Using Epoxy Resin
Epoxy Floor (Ultimate Design Guide) – Designing Idea
Learn how to design and install an epoxy floor in our most recent

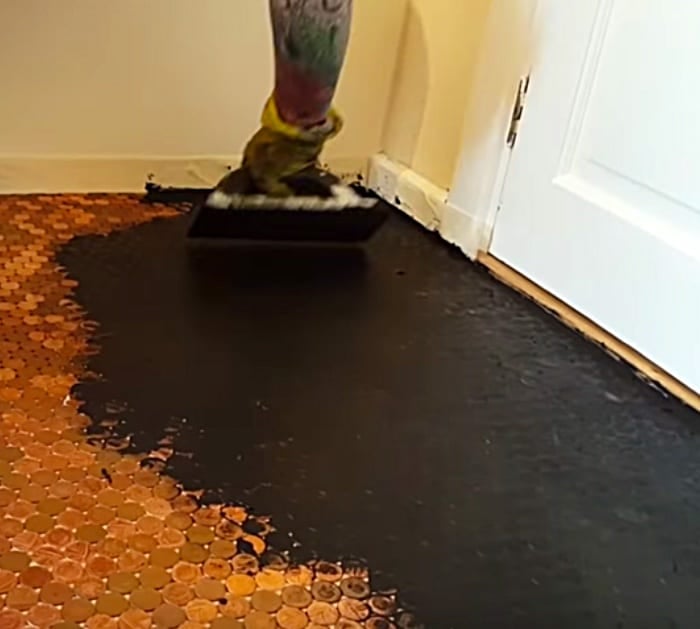
DIY Epoxy Penny Floor
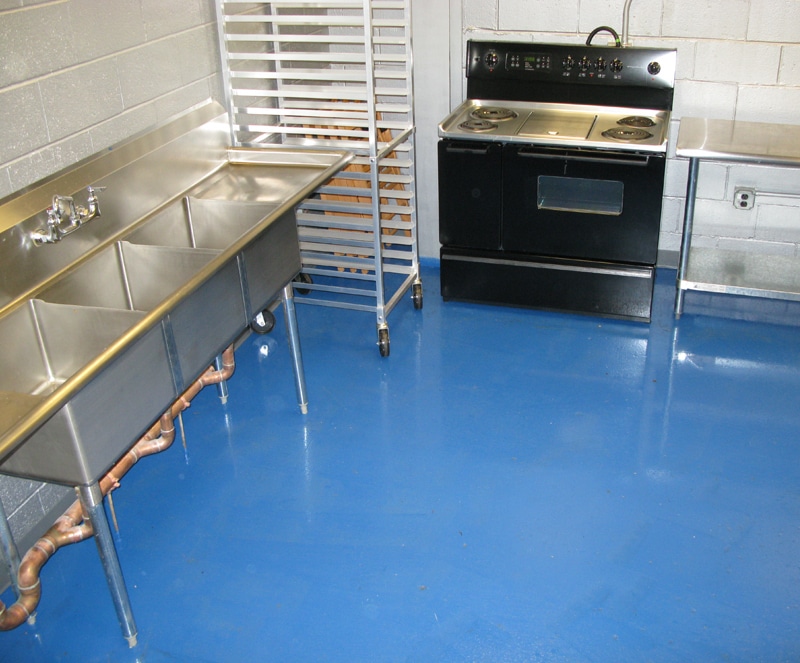
Food Industry Epoxy Floor Coatings
Related Posts: