When I bought my 1940s bungalow five years ago, the kitchen was lit by a single harsh fluorescent box that made everything look sickly green. I knew immediately that finding the right vintage lighting would be crucial to restoring the kitchen’s original charm. What began as a simple fixture replacement turned into an obsessive quest through antique stores, estate sales, and online auctions that taught me everything about rewiring old fixtures, identifying authentic pieces, and creating layered lighting that actually works for modern cooking. Now my kitchen glows with warm, period-appropriate light that makes every meal prep feel special.
Hunting for Authentic Vintage Fixtures
Estate sales became my weekend treasure hunts after discovering that most families don’t realize the value of their vintage lighting. I learned to arrive early and head straight for basements and garages where the real gems often hide. My best find was a 1930s milk glass pendant with its original chain and canopy for just $15, tucked behind boxes in a dusty corner. The seller had no idea it was worth twenty times that amount in working condition.
Antique malls offered more predictable inventory but required careful inspection to separate authentic pieces from reproductions. I developed an eye for telltale signs of age like patina patterns, wear marks, and construction details that modern manufacturers often miss. One gorgeous Art Deco chandelier caught my attention until I noticed machine-perfect stampings and too-bright brass that screamed reproduction. Authentic pieces have irregularities and character that can’t be faked convincingly.
Online auctions expanded my search nationwide but came with significant risks that taught me expensive lessons. My biggest disappointment was a “1920s schoolhouse pendant” that arrived as a 1970s reproduction with obvious modern wiring and cheap construction. Now I always ask for detailed photos of mounting hardware, electrical components, and maker’s marks before bidding. The extra diligence has prevented several costly mistakes while helping me score amazing, authentic pieces from sellers who don’t specialize in lighting.
Rewiring and Safety Considerations
Electrical safety became my top priority after inheriting several fixtures with dangerous cloth-covered wiring that looked period-appropriate but posed serious fire hazards. I learned that any fixture over forty years old needs complete rewiring, regardless of appearance. My first DIY attempt was a disaster that nearly electrocuted me, teaching me to respect electrical work and invest in professional help for anything beyond simple socket replacements.
Finding qualified electricians who understand vintage fixtures proved challenging in my area. Many modern electricians want to replace everything rather than preserve original components. I finally found an older electrician who specializes in historic home restoration and understands the value of maintaining authentic appearances while ensuring modern safety standards. His expertise saved several fixtures that other electricians wanted to scrap completely.
Code compliance varies significantly by location, and I learned to research local requirements before purchasing fixtures. Some jurisdictions require all vintage lighting to meet current UL standards, which can be expensive or impossible to achieve with certain antique pieces. My city allows grandfathered fixtures as long as they’re professionally rewired with modern components, but neighboring towns have stricter requirements that would have made my collection unusable.
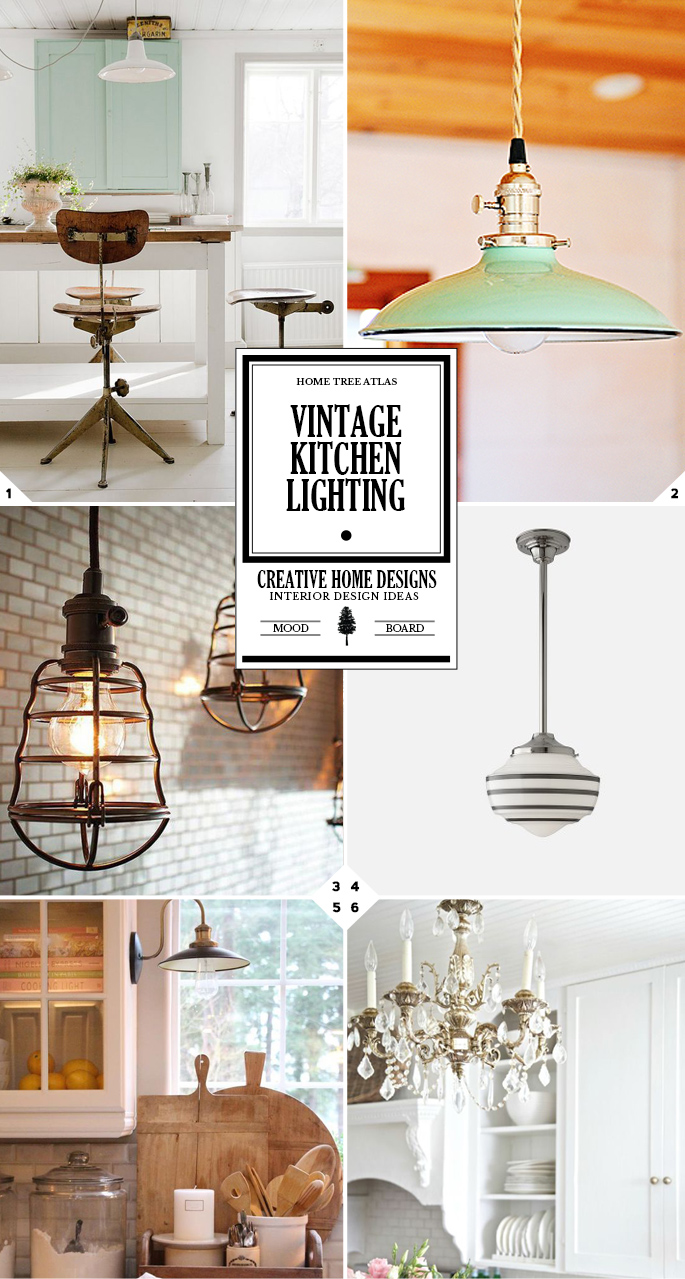
Popular Vintage Lighting Styles by Era
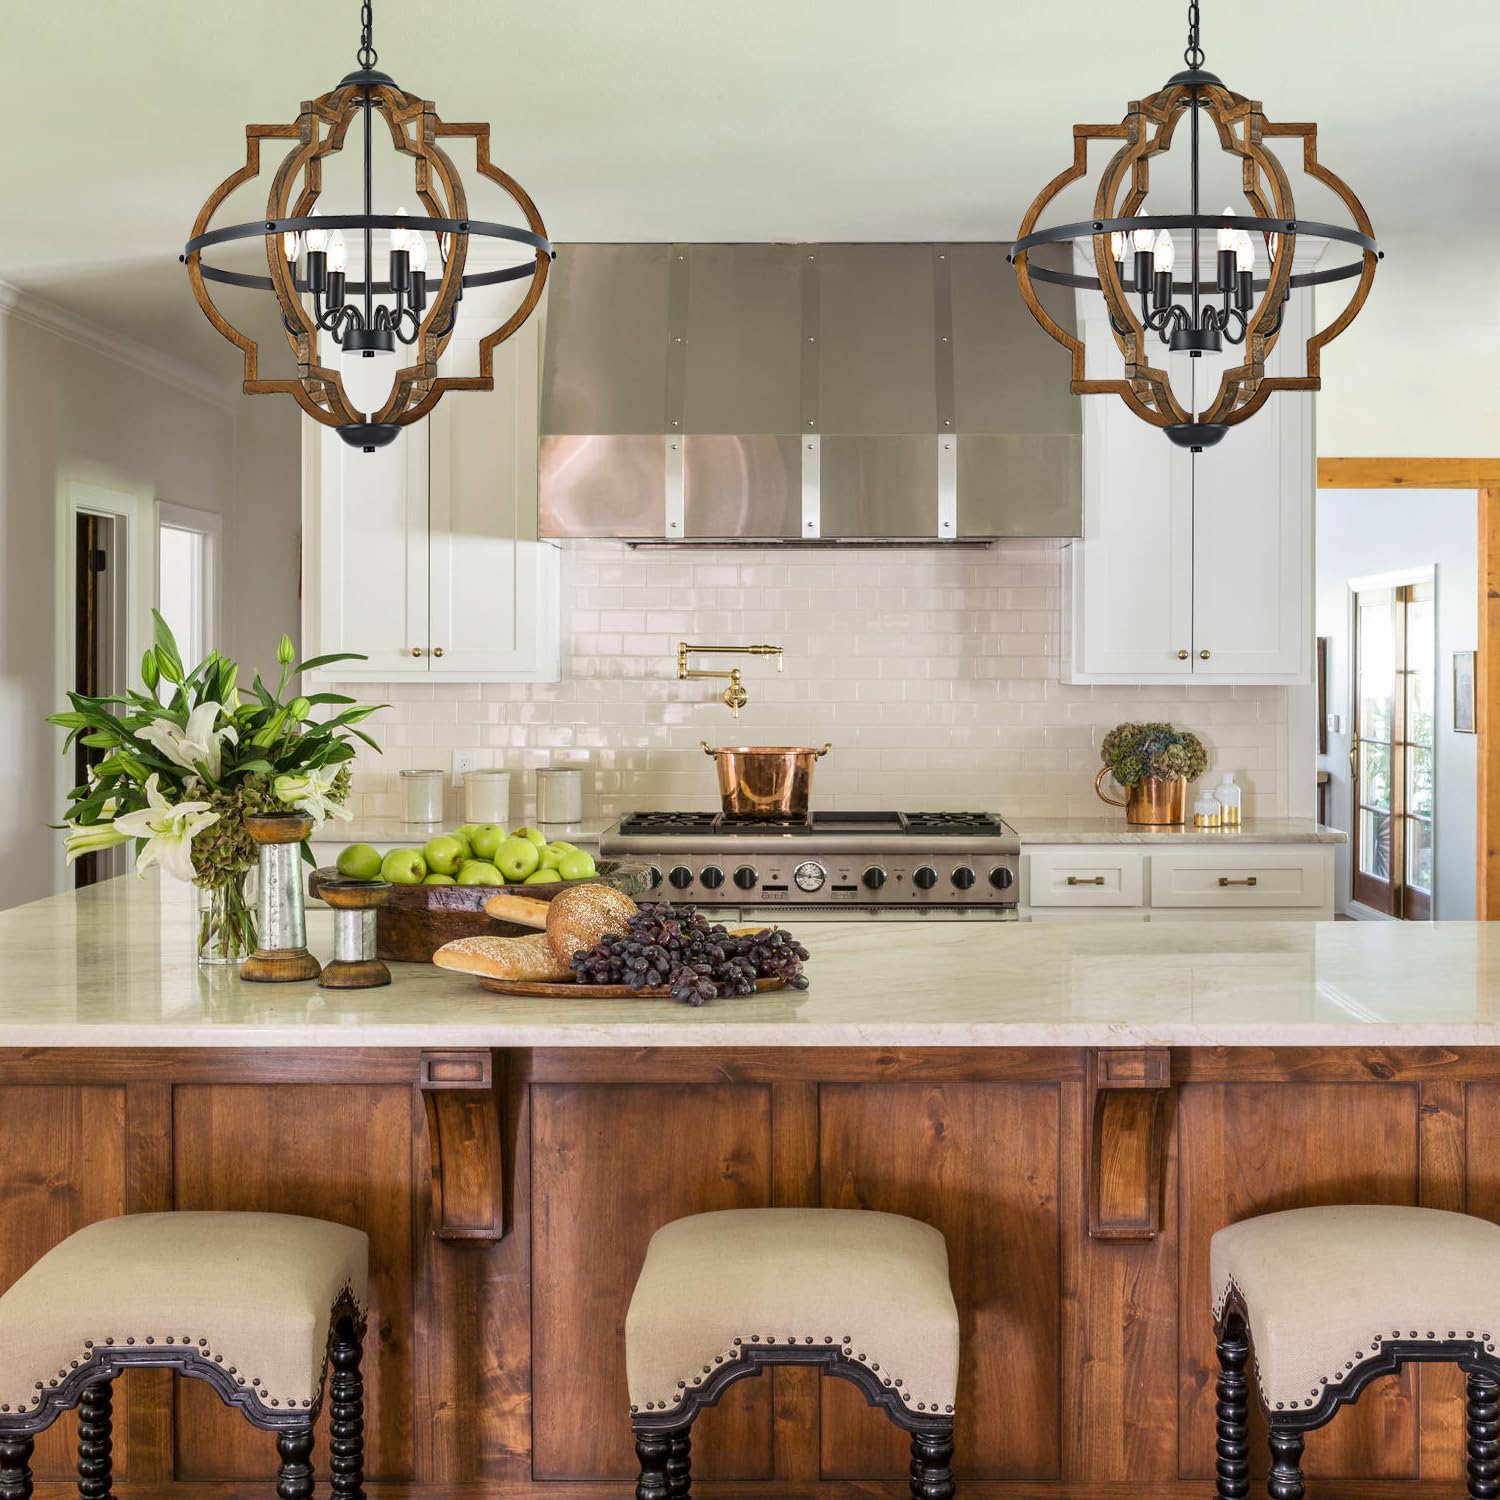
Art Deco fixtures from the 1920s and 1930s captured my heart with their geometric patterns and dramatic use of materials like chrome and colored glass. I installed a stunning 1928 stepped chrome pendant over my breakfast nook that creates beautiful light patterns through its frosted glass panels. These pieces often feature bold angular designs and rich materials that were symbols of prosperity during the Jazz Age, making them perfect statement pieces in modern kitchens.
Mid-century modern lighting from the 1940s through 1960s brought clean lines and innovative materials into my collection. A 1955 atomic-inspired sputnik chandelier became my dining area centerpiece, its brass arms and globe shades perfectly capturing the optimism of the space age era. These fixtures work beautifully in contemporary settings because their minimalist aesthetic feels surprisingly current, proving that good design transcends decades.
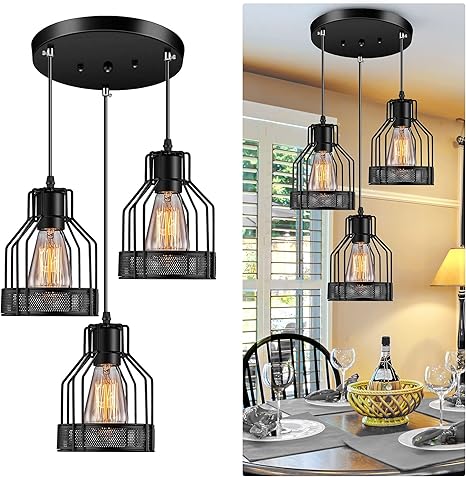
Industrial and schoolhouse styles from the early 1900s provided the functional task lighting my kitchen desperately needed. I found authentic porcelain schoolhouse shades that I converted into pendant lights over my kitchen island, providing excellent work lighting while maintaining period character. These utilitarian designs were built to last and often feature simple, timeless shapes that complement both vintage and modern kitchen designs perfectly.

Creating Layered Vintage Lighting Schemes
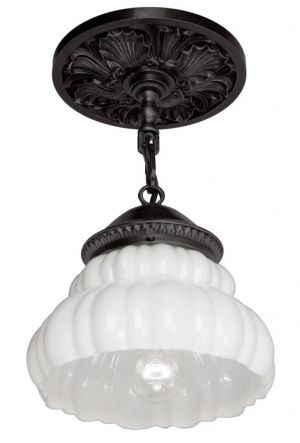
Ambient lighting became my foundation after learning that vintage kitchens relied on multiple light sources rather than single bright fixtures. I installed period-appropriate ceiling fixtures that provide general illumination while preserving the intimate scale that makes vintage kitchens feel cozy. A 1940s milk glass flush mount in my main kitchen area creates soft, diffused light that eliminates harsh shadows while maintaining the low ceiling height typical of older homes.
Task lighting required careful planning to ensure adequate illumination for food preparation while maintaining vintage aesthetics. I mounted restored 1950s under-cabinet fixtures that provide excellent counter lighting without looking obviously modern. The key was finding fixtures with appropriate scale and materials that blend seamlessly with my other vintage pieces while meeting contemporary lighting standards for kitchen work areas.
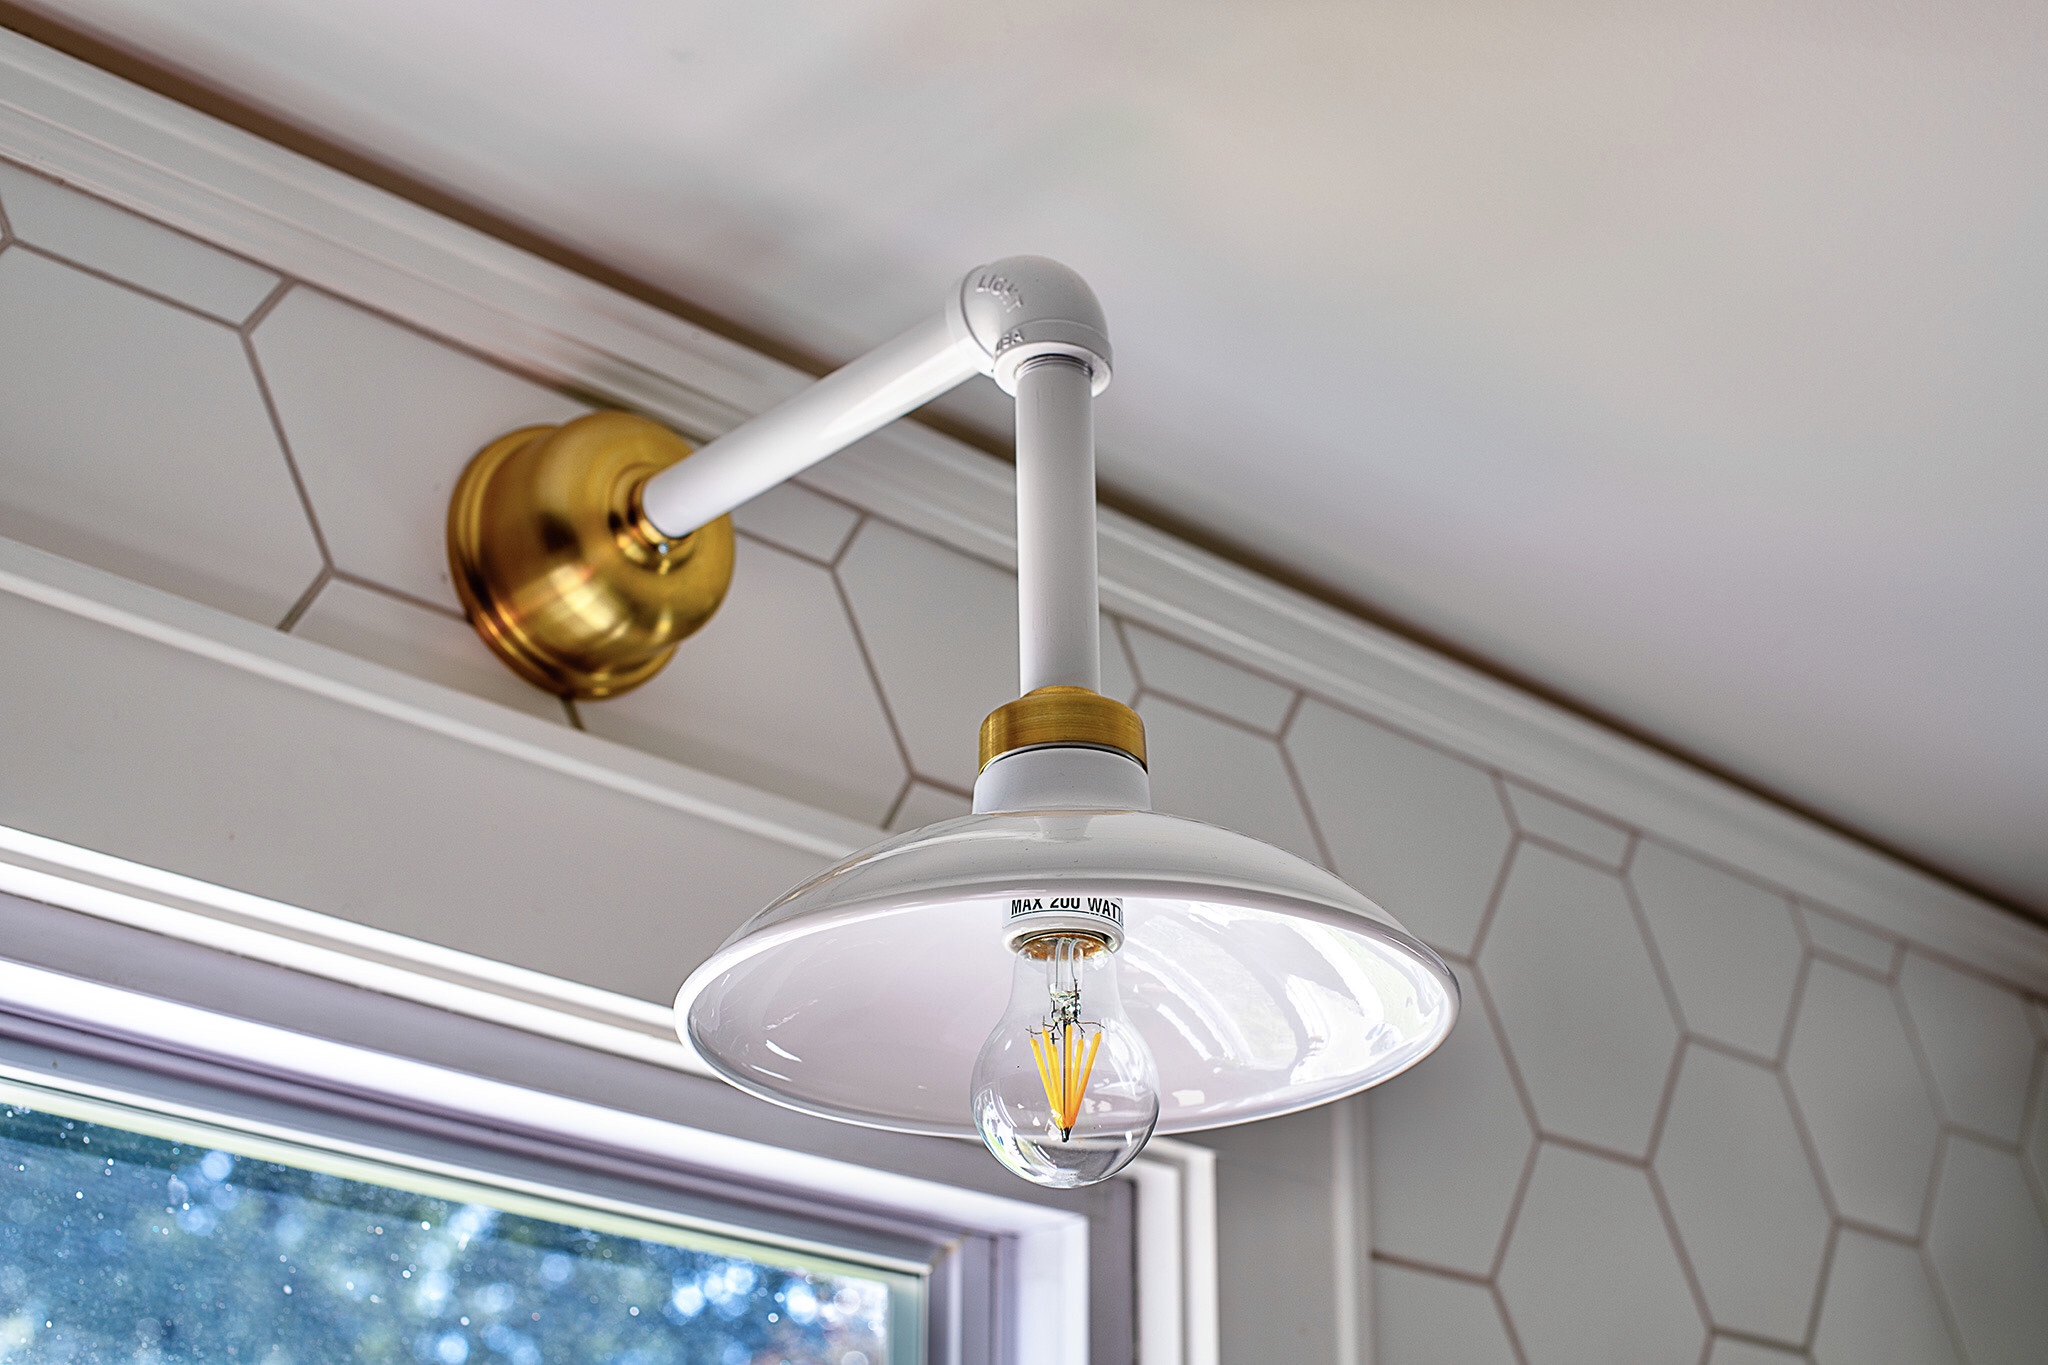
Accent lighting added the final layer that makes my vintage kitchen feel warm and inviting during evening hours. Small vintage sconces flanking my window create gentle pools of light that highlight my collection of period pottery and glassware. I learned that vintage accent lighting should be subtle and atmospheric rather than bright and attention-grabbing, creating the cozy ambiance that modern homes often lack.

Restoration Techniques for Metal and Glass
Chrome restoration became a specialty skill after acquiring several tarnished Art Deco fixtures that looked hopeless but had solid underlying construction. I learned to use specialized chrome polish and ultra-fine steel wool to remove oxidation and restore the mirror-bright finish that defines authentic period pieces. The process requires patience and light pressure to avoid scratching the thin chrome plating, but the results are stunning when done correctly.
Glass shade restoration challenged my patience but proved incredibly rewarding when I successfully repaired a cracked 1930s pendant shade that seemed beyond salvation. I used UV-resistant glass adhesive and careful pressure to rejoin the pieces, then buffed out small scratches with cerium oxide compound. The restored shade looks perfect from normal viewing distance and saved me hundreds of dollars compared to finding a replacement piece.
Brass and bronze patina preservation required learning to distinguish between authentic age and damaging corrosion. I discovered that gentle cleaning with appropriate metal polishes could restore function while preserving the character that makes vintage fixtures special. Over-aggressive cleaning ruins the patina that develops naturally over decades, so I learned to clean only enough to ensure proper electrical contact and structural integrity.
Integrating Vintage Fixtures with Modern Kitchens
Scale considerations became crucial when installing vintage fixtures in my renovated kitchen with higher ceilings than originally intended. Many vintage pieces were designed for eight-foot ceilings, so I had to carefully plan hanging heights and sight lines to maintain proper proportions. I learned to use adjustable chains and canopies to fine-tune fixture placement, ensuring that vintage pieces complement rather than overwhelm modern kitchen layouts.
Color coordination required balancing authentic vintage finishes with contemporary kitchen colors and materials. I chose cabinet and wall colors that enhanced my fixtures’ brass and chrome finishes while maintaining a cohesive design scheme. Warm whites and soft grays provide perfect backdrops for vintage lighting while allowing the fixtures to remain focal points rather than getting lost in busy patterns or strong colors.
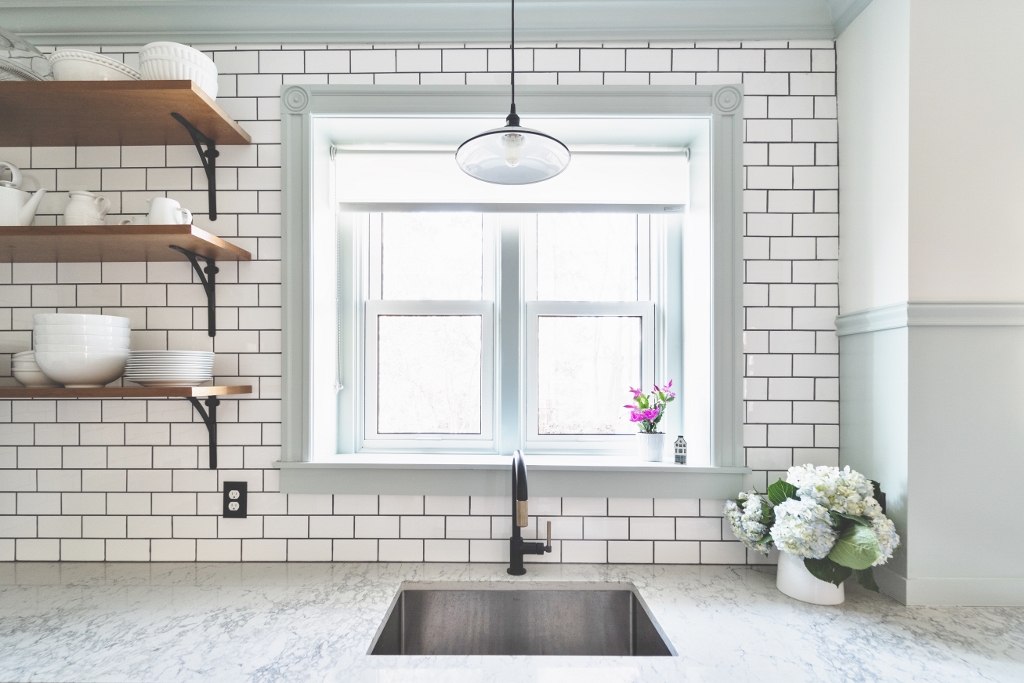
Style mixing became my signature approach after realizing that authentic vintage kitchens often featured fixtures from different eras as families updated their homes over time. I combined a 1920s pendant over my sink with 1940s under-cabinet lights and a 1950s chandelier over my dining table, creating a collected-over-time look that feels more authentic than perfectly matched sets that would have been financially impossible for most period homeowners.

Maintenance and Care for Vintage Lighting
Daily cleaning routines keep my vintage fixtures looking their best without damaging delicate finishes or components. I dust glass shades weekly with microfiber cloths and clean metal components monthly with appropriate polishes. The key is addressing buildup before it becomes stubborn, as aggressive cleaning can damage vintage finishes that can’t be easily restored. I keep detailed maintenance schedules to ensure consistent care for my entire collection.
Bulb selection dramatically affects both the appearance and longevity of vintage fixtures. I use Edison-style LED bulbs that provide vintage aesthetics with modern efficiency and heat reduction. Traditional incandescent bulbs generate excessive heat that can damage old wiring and components, while modern LEDs run cool and last much longer. The warm light temperature of quality LED bulbs perfectly complements vintage fixture designs.
Professional maintenance keeps my most valuable pieces functioning safely and looking their best. I schedule annual electrical inspections for my entire vintage lighting collection and address any issues immediately. This proactive approach has prevented several potential problems and ensured that my investment remains safe and functional. I also maintain relationships with specialty restoration professionals for repairs beyond my DIY capabilities.
How can I tell if a vintage fixture is authentic or a reproduction?
Check construction details, wiring, and materials. Authentic pieces show appropriate wear patterns, original electrical components, and period-correct manufacturing techniques. I look for maker’s marks, patent dates, and construction methods that match the supposed era. Reproductions often have too-perfect finishes and modern components that weren’t available during the claimed period.
What should I budget for rewiring vintage kitchen fixtures?
Professional rewiring costs $75-200 per fixture, depending on complexity. Simple pendants are cheaper while multi-arm chandeliers cost more. I budget an additional 50% of the purchase price for electrical work. DIY rewiring saves money but requires electrical knowledge and proper tools. Always use licensed electricians for complex work or if you’re unsure about local codes.
Are vintage fixtures bright enough for modern kitchen tasks?
With proper planning and LED bulbs, absolutely. I use multiple fixtures for layered lighting rather than relying on single bright sources. Under-cabinet vintage fixtures provide excellent task lighting while period ceiling fixtures handle ambient needs. The key is understanding that vintage kitchens used multiple light sources rather than harsh overhead lighting.
Where do I find replacement parts for damaged vintage fixtures?
Specialty lighting restoration suppliers carry reproduction parts for common fixture types. I’ve found success with antique lighting dealers who stock salvaged components. Online forums and collector groups often help locate hard-to-find parts. Sometimes I buy damaged fixtures just for spare parts, which proves cost-effective for expensive or rare pieces.

How do I clean vintage glass shades without damaging them?
Use warm, soapy water and soft cloths for routine cleaning. Avoid abrasive cleaners or scrubbing pads that can scratch delicate glass. For stubborn stains, I use white vinegar or ammonia-based glass cleaners. Always remove shades completely for thorough cleaning and handle carefully since vintage glass can be fragile or irreplaceable.
Can I use vintage fixtures in wet kitchen area,s like over sinks?
Only if properly rated and sealed for moisture exposure. Most vintage fixtures weren’t designed for wet locations by modern standards. I use vintage-style reproductions with proper UL ratings in wet areas while reserving authentic pieces for dry locations. A professional electrical assessment determines if vintage fixtures can be safely modified for moisture exposure.

Vintage Hardware & Lighting – Reproduction Kitchen & Bathroom Lights
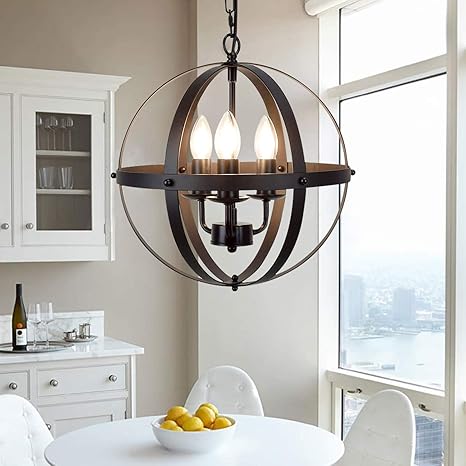
Ganeed Pendant Light,Industrial Globe Pendant Lighting,Vintage Chandelier Spherical Hanging Light,Ceiling Light Fixture for Kitchen Island Dining
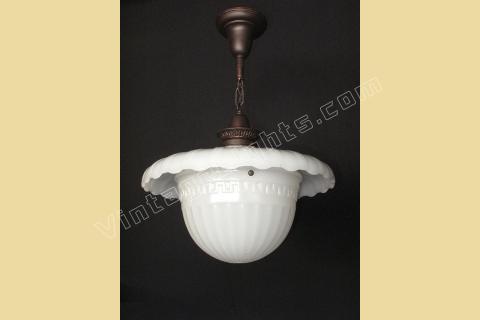
Vintage milk glass light antique kitchen lighting fixture
Vintage Lighting Adds Retro Style to Kitchen Reno Inspiration
WINSOON Industrial Vintage Chandeliers Pulley 3 Light Pendant lighting Fixture for Pool Table Farmhouse Kitchen Island Bar Retro Hanging Lamp 3 Heads

Vintage Originals Lighting Portfolio
Vintage Kitchen Lighting Vintage Industrial Style

Related Posts:
- Tuscan Kitchen Light Fixtures
- Cottage Kitchen Lighting Ideas
- Country Kitchen Lighting Ideas
- Retro Kitchen Pendant Lights
- Rustic Industrial Kitchen Lighting
- Vintage Kitchen Light Fixtures
- Farmhouse Style Lighting For Kitchen
- Contemporary Kitchen Lighting Design
- Kitchen Bench Pendant Lights
- Kitchen Vanity Lights