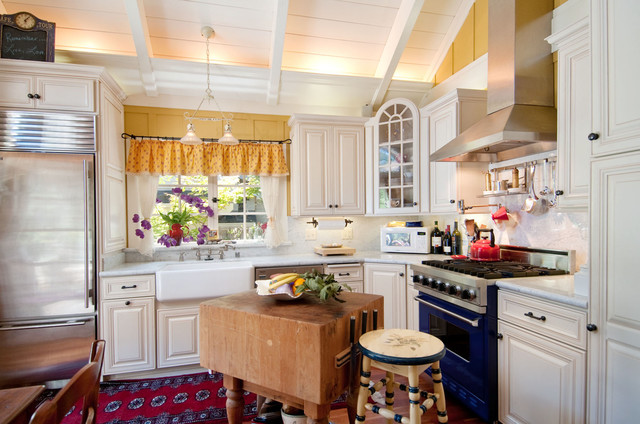
When I inherited my grandmother’s 1950s ranch house three years ago, the kitchen felt like a time capsule, but not in a charming way. The galley layout made cooking for my family feel cramped and inefficient, and I knew I needed to add an island to create the heart of the home I’d always dreamed of. I wanted something that would honor the vintage character of the house while providing modern functionality. After months of planning, sourcing, and some trial-and-error moments, I created a vintage-inspired kitchen island that perfectly balances nostalgic charm with contemporary convenience.
Repurposing Antique Furniture Into Functional Kitchen Islands
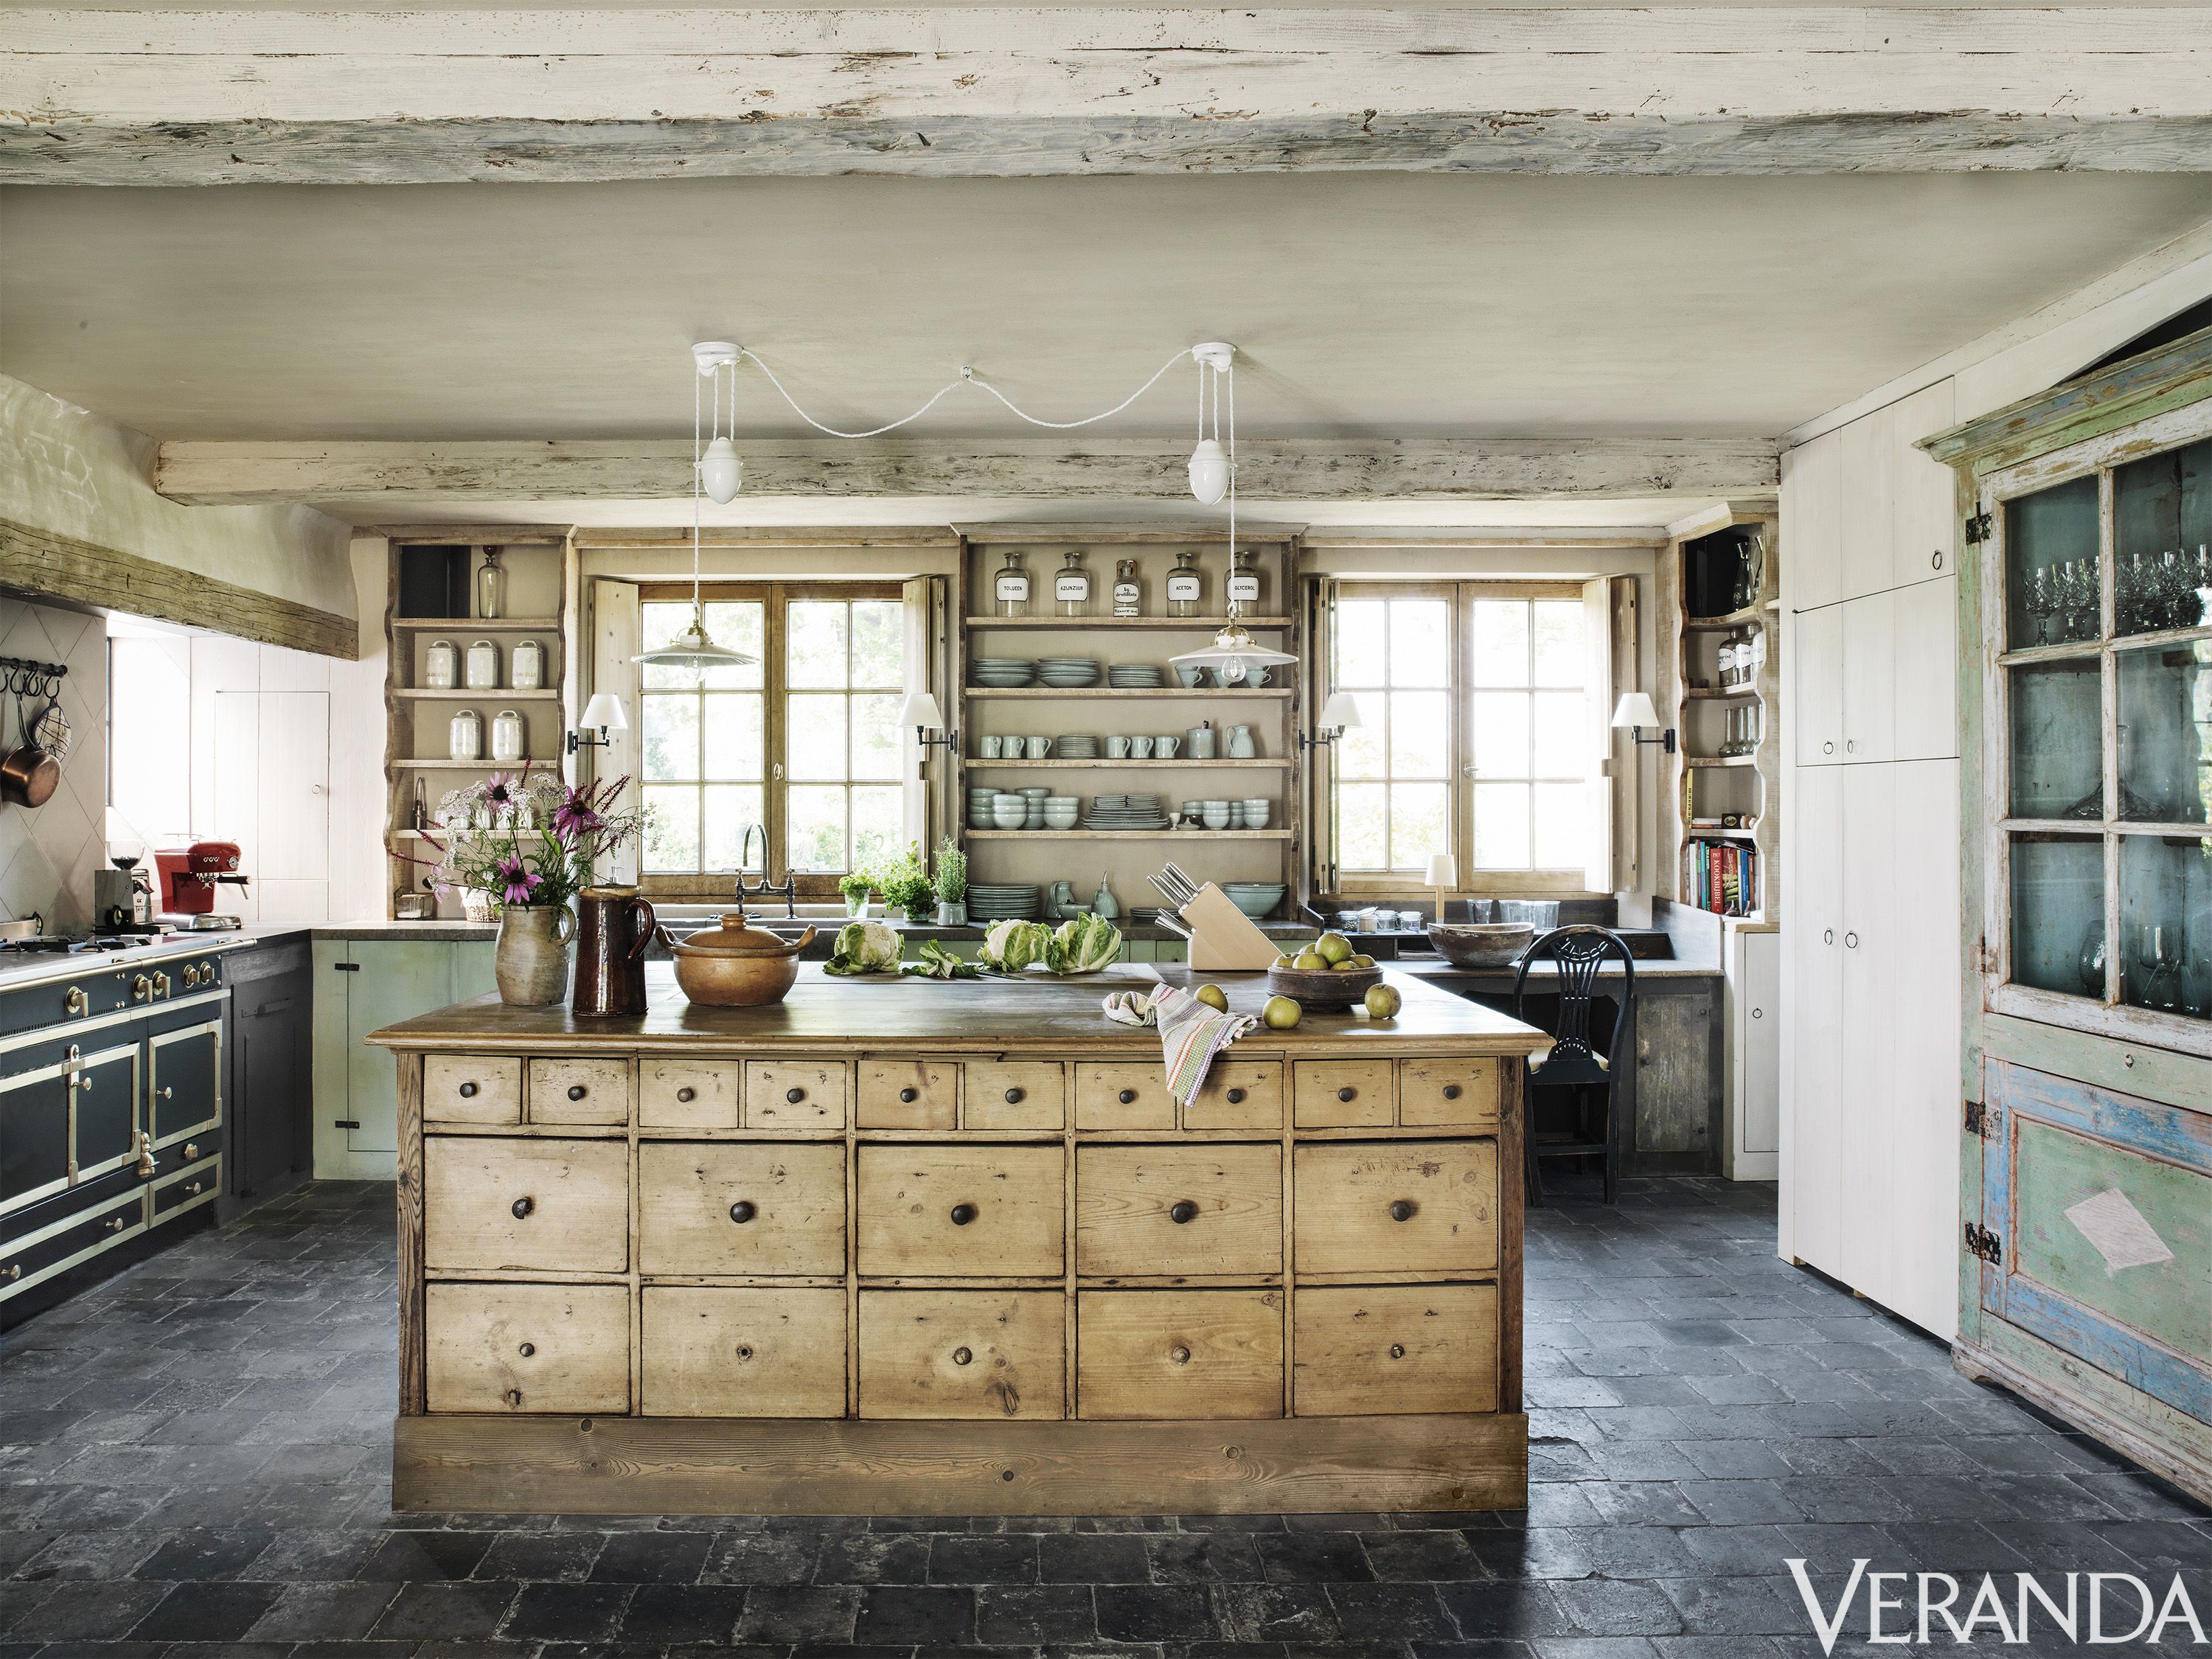
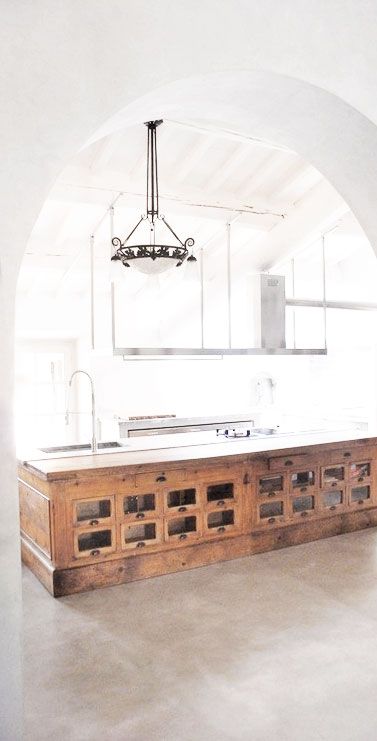
My first breakthrough came during a weekend trip to an estate sale, where I spotted a 1940s oak sideboard that had seen better days. The woman running the sale mentioned it had been in her mother’s dining room for decades, and while the finish was worn and one drawer stuck, the bones were solid. I could immediately envision it transformed into a kitchen island with some creative modifications.
The process of converting furniture into a kitchen island taught me that sturdy construction is everything. I spent hours examining the joinery, testing the stability, and measuring to ensure the piece would work in my space. The sideboard’s existing drawers and cabinet space were perfect for storing kitchen essentials, and the wide top provided exactly the prep space I needed. However, I learned that most antique furniture isn’t quite the right height for comfortable food preparation.
Working with my handyman neighbor, we raised the sideboard by adding a custom base and industrial-style legs, bringing it to the standard 36-inch counter height. We also reinforced the top with plywood before adding the butcher block, ensuring it could handle the weight of mixing bowls and small appliances. The transformation took six weekends, but seeing my grandmother’s china displayed in the glass-front sections while using the island for daily meal prep felt like the perfect blend of past and present.
Building Custom Islands with Vintage-Inspired Details
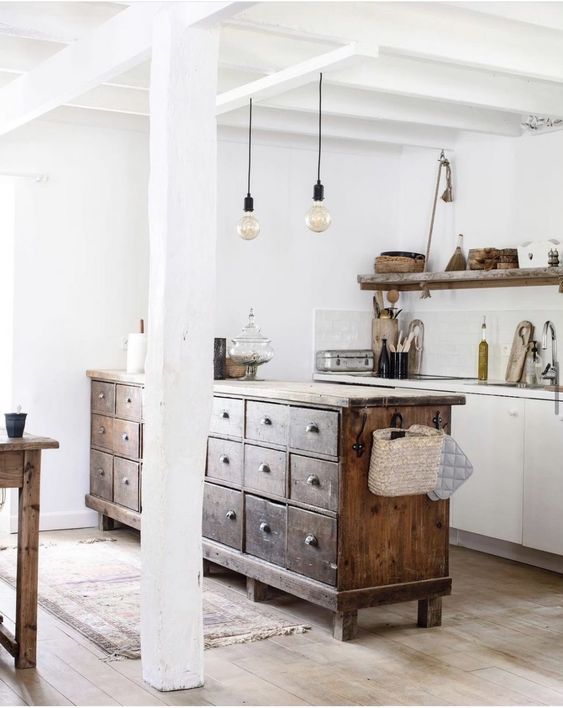
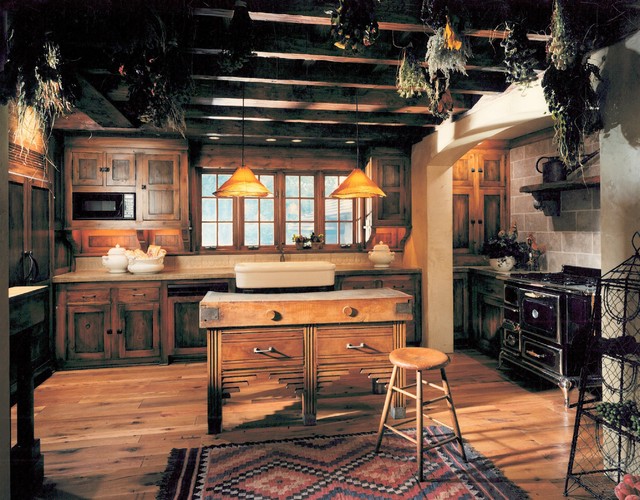
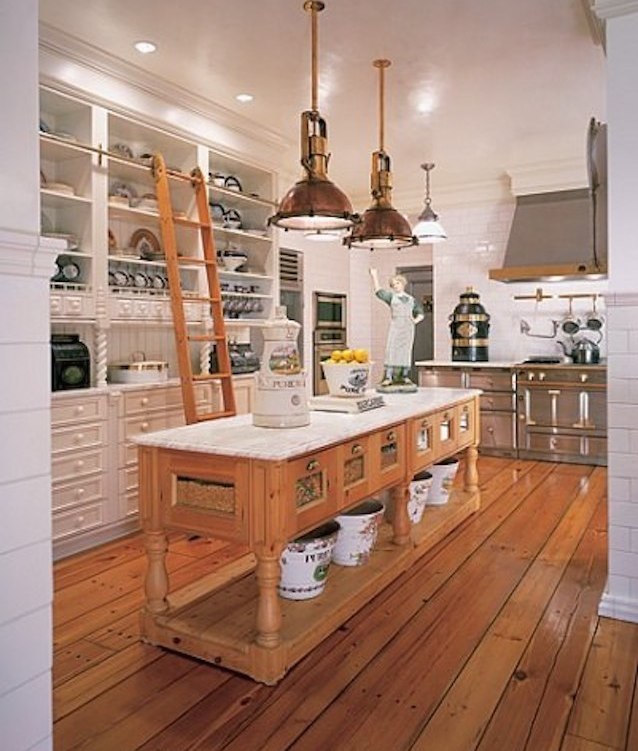
After completing my repurposed sideboard island, I caught the vintage kitchen bug and decided to build a second island for the opposite side of my kitchen. This time, I wanted to create something from scratch that would look like it had always belonged in a 1950s kitchen while incorporating modern conveniences like electrical outlets and wine storage.
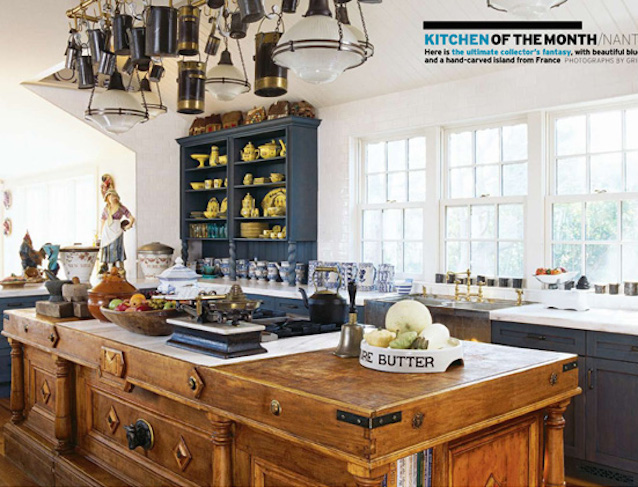
I started by studying period kitchen designs and noticed that vintage islands often featured beadboard paneling, simple Shaker-style doors, and practical details like towel bars and open shelving. My design incorporated these elements with a twist, using reclaimed barn wood for the top and adding vintage-style bin pulls that I found at an architectural salvage shop. The most challenging part was creating the beadboard paneling to look authentically aged without appearing artificially distressed.
The electrical work proved more complex than I anticipated, requiring permits and professional help to install outlets that would be both safe and period-appropriate. I chose vintage-style covers and positioned them discreetly to maintain the island’s authentic appearance. Adding interior lighting to display my collection of vintage mixing bowls turned out to be one of my favorite features, creating a warm glow that makes the entire kitchen feel more inviting during evening meal preparation.
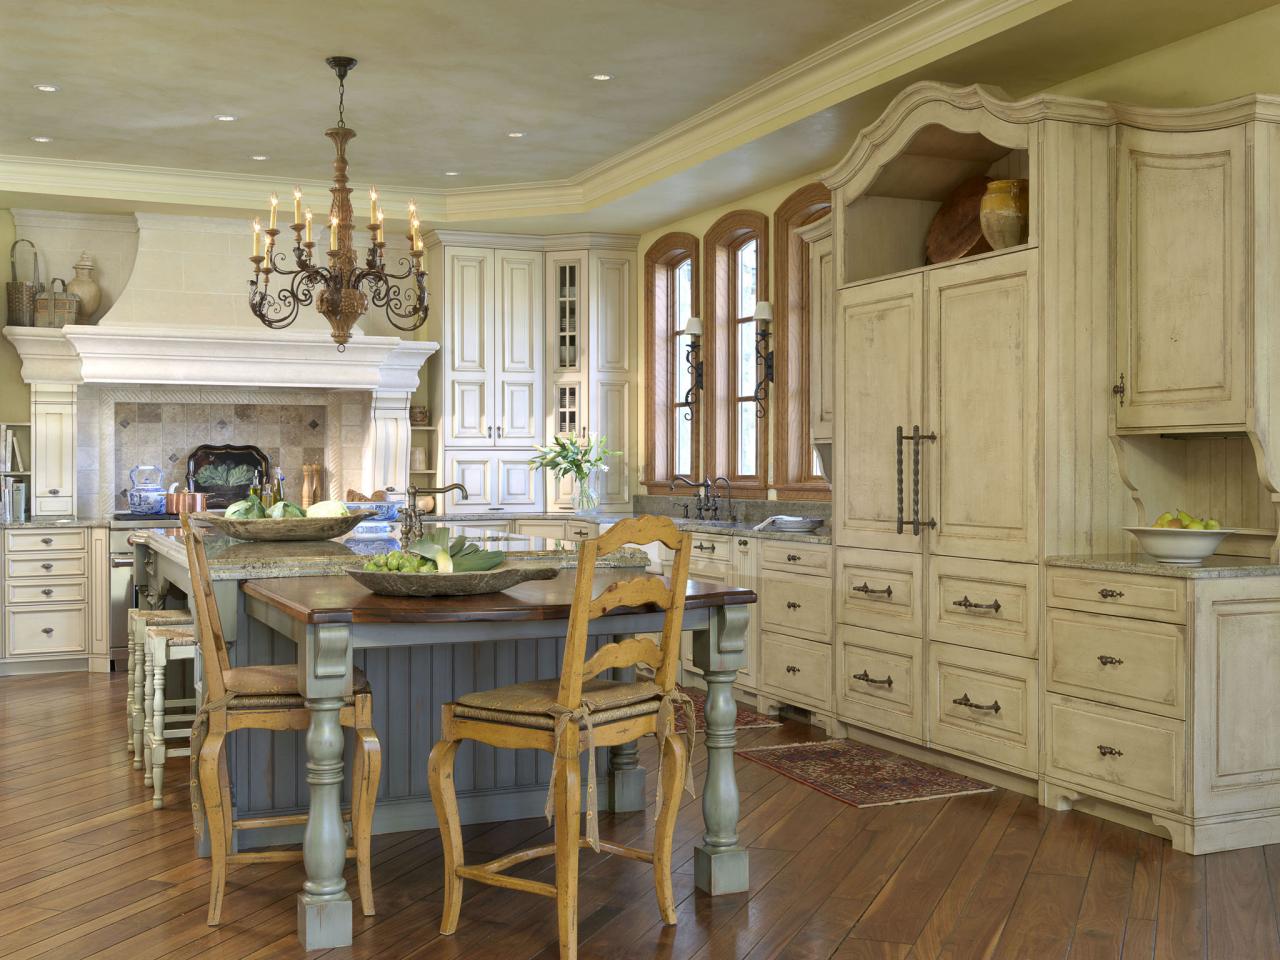
Incorporating Period-Appropriate Hardware and Finishes
Selecting the right hardware for my vintage kitchen islands became an obsession that led me down countless internet rabbit holes and visits to specialty shops. I learned that authentic period hardware can make or break the vintage aesthetic, and cheap reproductions are usually obvious from across the room. The investment in quality pieces pays off in both appearance and functionality.
For my first island, I chose oil-rubbed bronze bin pulls and hinges that matched the existing hardware in my kitchen. However, I discovered that mixing metals can work beautifully when done thoughtfully. On my custom-built island, I combined brass bin pulls with copper pipe towel bars, creating visual interest while maintaining the warm, vintage feel I was after. The key was ensuring that all the metals had similar undertones and patina levels.
The finishing work required patience and multiple attempts to achieve the perfect vintage look. I experimented with milk paint, chalk paint, and traditional stains before settling on a combination that gave my islands an authentic aged appearance without looking artificially distressed. I learned that less is often more when creating vintage character, building up subtle layers of color and wear rather than trying to achieve the look all at once.
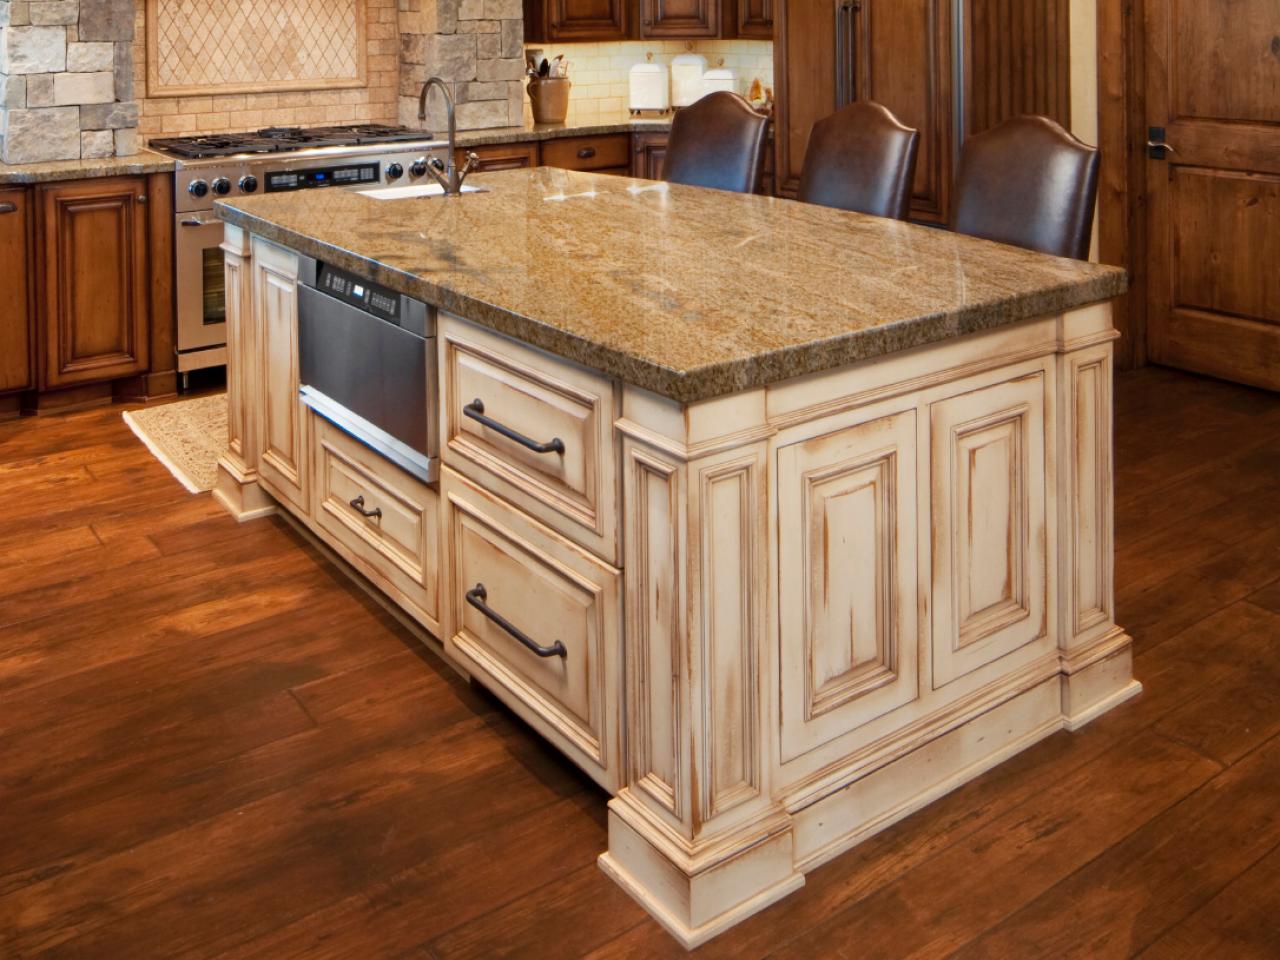
Storage Solutions That Blend Style with Modern Functionality
One of the biggest challenges in creating vintage-inspired islands was incorporating modern storage needs without compromising the period aesthetic. My family generates a lot of kitchen clutter, from small appliances to kids’ lunch supplies, and I needed storage solutions that could handle contemporary life while looking authentically vintage.
I solved this by incorporating hidden storage wherever possible. The repurposed sideboard got interior dividers and pull-out shelves that maximized every inch of space while keeping items organized and accessible. In the custom island, I included deep drawers with full-extension slides disguised behind period-appropriate door fronts, giving me modern convenience with vintage style.
The open shelving on both islands required careful styling to maintain the vintage aesthetic. I displayed my collection of vintage mixing bowls, old cookbook collections, and mason jars filled with dry goods, creating functional storage that also serves as decoration. I learned that the key is maintaining a balance between useful items and decorative pieces, rotating seasonal displays to keep the islands looking fresh while staying true to their vintage character.
Choosing Materials That Age Gracefully Over Time
Living with my vintage kitchen islands for several years now has taught me valuable lessons about material choices and how they weather daily use. The butcher block countertop I chose for the repurposed sideboard has developed a beautiful patina from regular use, with subtle knife marks and oil stains that add to its authentic character rather than detracting from it.
I initially worried about durability, but I’ve learned that many traditional materials actually improve with age when properly maintained. The reclaimed barn wood on my custom island has deepened in color and developed additional character marks that make it look even more authentic than when I first installed it. Regular oiling and gentle cleaning have kept both surfaces functional and beautiful.
The painted finishes have also aged naturally, developing the slight wear patterns you’d expect to see on vintage furniture. I touch up high-wear areas annually, but I’ve learned to embrace the honest wear that comes from daily use. The islands look more authentic now than they did when first completed, proving that choosing quality materials and allowing them to age naturally creates the most convincing vintage aesthetic.
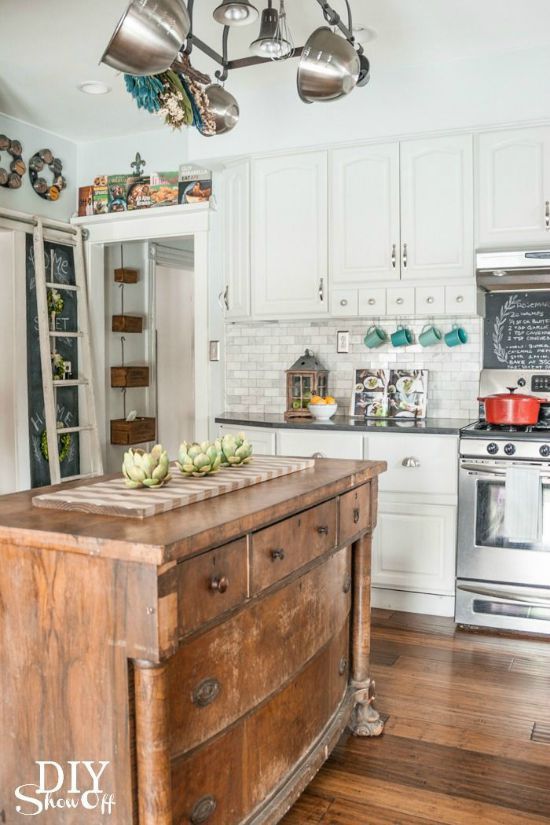
Styling and Accessorizing for Authentic Vintage Appeal
The styling of my vintage kitchen islands has evolved organically over time, and I’ve learned that restraint and authenticity matter more than filling every available surface. I keep a core collection of vintage pieces on display, including my grandmother’s mixing bowls, a 1950s stand mixer, and mason jars that actually get used for food storage rather than just decoration.
Seasonal changes help keep the islands feeling fresh while maintaining their vintage character. In summer, I display fresh herbs in vintage mason jars and colorful produce in wire baskets. During the holidays, I bring out my collection of vintage cookie tins and add subtle decorative touches that complement rather than overwhelm the islands’ inherent style.
The most important lesson I’ve learned about styling vintage islands is that they should look lived-in rather than styled for a magazine shoot. I include practical items like dish towels, frequently used cookbooks, and everyday appliances alongside the decorative pieces. This approach creates an authentic vintage kitchen feel that’s both beautiful and functional, making the islands feel like natural extensions of how my family actually uses the kitchen rather than museum displays.
How much should I budget for creating a vintage kitchen island from repurposed furniture?
Based on my experience, expect to spend $800-2000 for a quality piece plus modifications. I paid $300 for my sideboard, then invested about $600 in materials for the height adjustment, countertop, and refinishing supplies. Professional help for electrical or complex modifications can add $500-1000, but the result is a unique piece that costs much less than custom cabinetry while offering authentic vintage character.
What should I look for when shopping for antique furniture to convert into a kitchen island?
Focus on solid wood construction with sturdy joinery, preferably dovetailed drawers that still operate smoothly. Check for structural integrity by testing all surfaces for wobbling or weak spots. Measure carefully, considering both your space and standard counter heights. Surface damage like scratches or worn finish can usually be repaired, but avoid pieces with structural damage, warping, or insect damage that could compromise functionality.
How do I safely add electrical outlets to a vintage-style kitchen island?
This definitely requires professional help! I learned that electrical codes vary by location, and most areas require permits for kitchen electrical work. My electrician ran power through the floor and up through the island base, installing GFCI outlets that are positioned discreetly but meet safety requirements. The total cost was around $800, but having safe, code-compliant power access makes the island infinitely more functional for modern cooking needs.
Can vintage kitchen islands work in small kitchens without overwhelming the space?
Absolutely! My kitchen is only 12×10 feet, and the islands actually make it feel more spacious by defining different work zones. The key is choosing appropriately scaled pieces and ensuring adequate clearance for traffic flow. I maintain 36 inches between my islands and other surfaces, which feels comfortable even when multiple people are cooking. The vintage styling adds character without visual weight that might make a small space feel cramped.

How do I maintain butcher block countertops on vintage islands to keep them looking authentic?
I oil my butcher block monthly with food-safe mineral oil, which prevents cracking and maintains the warm color. For deeper cleaning, I use coarse salt and lemon to scrub away stains, followed by a thorough oiling. I avoid harsh chemicals that can damage the wood or create food safety issues. The natural wear and patina that develops over time actually enhances the vintage character, so I don’t stress about minor knife marks or slight discoloration.
What’s the biggest mistake people make when creating vintage kitchen islands?
Overdoing the distressed look! I see many DIY projects that look artificially aged rather than authentically vintage. The best vintage pieces develop character naturally through use and time. Instead of heavy sanding or aggressive aging techniques, focus on quality materials, period-appropriate proportions, and authentic hardware. Let the piece develop its own patina through daily use, which creates a much more convincing vintage aesthetic than forced aging.

Repurposed / Reclaimed / Nontraditional Kitchen Island. – Victoria
Antique Kitchen Islands: Pictures, Ideas & Tips
Vintage Kitchen Island

Insanely Gorgeous Upcycled Kitchen Island Ideas
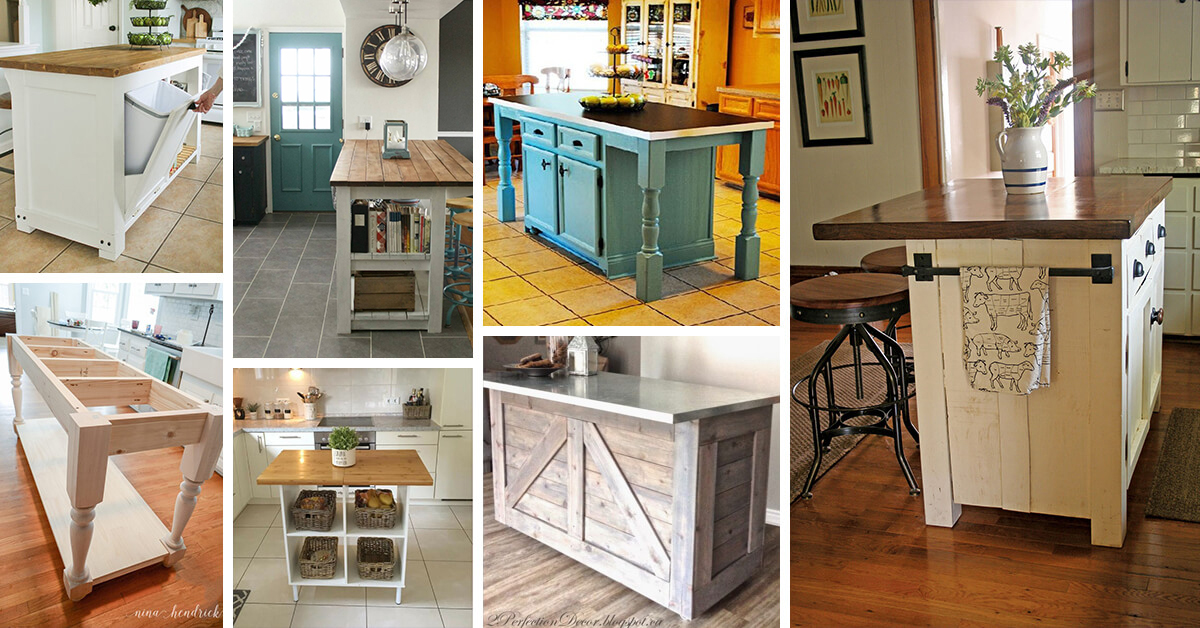
Best DIY Kitchen Island Ideas and Designs
Repurposed / Reclaimed / Nontraditional Kitchen Island
DIY Kitchen Islands

Related Posts: