When I bought my 1940s cottage two years ago, the kitchen backsplash was a dated disaster of peeling contact paper and water stains. As someone who’s renovated four kitchens over the past decade, I knew this was my chance to create something truly special. My passion for vintage design led me through months of research, countless trips to salvage yards, and several installation mistakes that taught me valuable lessons. The result was a backsplash that perfectly captures the charm of yesteryear while meeting today’s practical needs.
Discovering Authentic Vintage Tile Options
My first vintage tile discovery happened purely by accident at a demolition site near my neighborhood. The crew was tearing out a 1950s kitchen, and I spotted gorgeous mint green subway tiles headed for the dumpster. After convincing the foreman to let me salvage them, I spent an entire weekend carefully removing and cleaning each tile. That experience taught me that authentic vintage tiles have a depth of color and character that modern reproductions simply can’t match, no matter how much you spend on them.
Antique stores became my regular hunting grounds after that initial success, though I quickly learned that condition matters more than age. I found beautiful 1920s hexagonal tiles with hairline cracks that looked charming but proved nightmare to install. The damaged pieces broke during cutting, leaving me with an incomplete pattern and a hefty bill for professional repairs. Now I inspect every tile carefully, checking for chips, cracks, or glaze damage before committing to a purchase that could derail my entire project.
Online auctions opened up access to rare finds from across the country, but shipping became a major consideration. My most expensive lesson came from a gorgeous set of 1930s hand-painted tiles that arrived as a box of expensive fragments despite careful packaging. I learned to factor breakage insurance into my budget and to buy 20% more tiles than needed to account for damage and future repairs. The extra cost proved worthwhile when I needed replacement pieces two years later.
Creating Vintage Style with Modern Materials
Reproduction tiles surprised me with their quality and authenticity when I couldn’t find enough original pieces for my large kitchen. Modern manufacturers have perfected techniques for recreating vintage glazes, textures, and imperfections that fooled even my contractor friend who specializes in historic renovations. The key was mixing reproduction pieces strategically with authentic vintage tiles to create a cohesive look that maintained the character I was seeking without breaking my budget.
Hand-painted ceramic tiles became my signature element after discovering a local artisan who specialized in vintage-inspired designs. She created custom pieces that perfectly matched my 1940s aesthetic while incorporating modern durability improvements. The investment was significant, about three times the cost of standard tiles, but the results were stunning. Each tile was slightly different, creating the handmade irregularity that gives vintage installations their distinctive charm and personality.
Natural stone options provided another path to vintage authenticity that I hadn’t initially considered. Carrara marble subway tiles gave my friend’s 1920s kitchen renovation an elegant period-appropriate look, while my own experiment with reclaimed slate created a rustic farmhouse vibe that perfectly complemented my cottage’s original character. Stone materials age beautifully and develop patina over time, actually improving in appearance rather than showing wear like some synthetic alternatives.
Mastering Vintage Color Palettes and Patterns
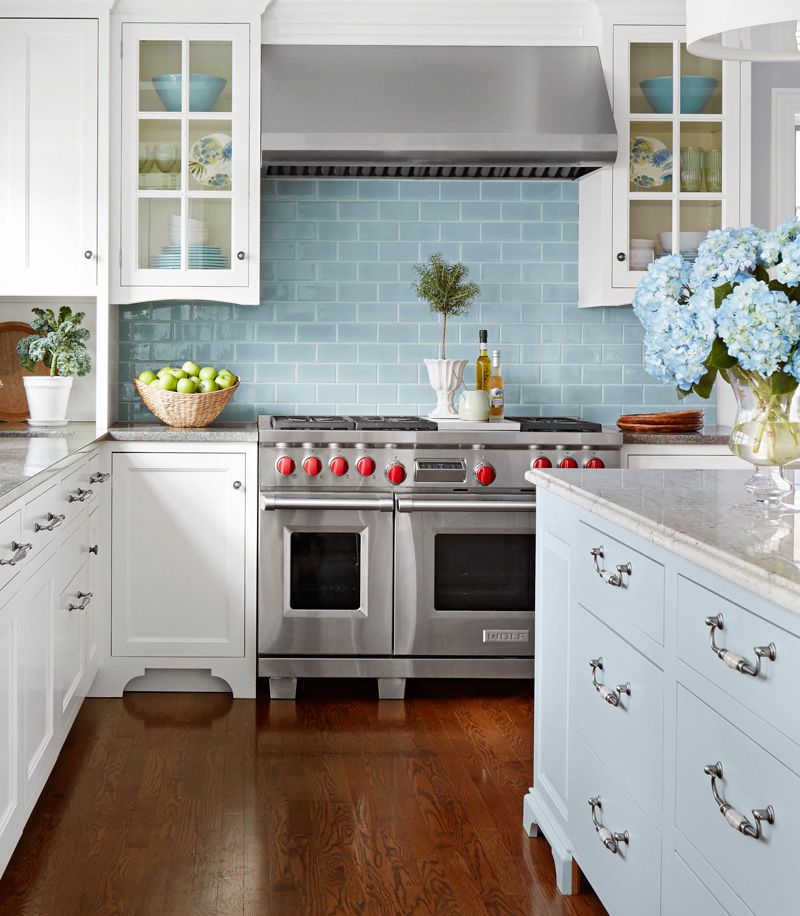
Mint green and pink became my obsession after discovering a cache of original 1950s bathroom tiles at an estate sale. These bold pastel combinations that seemed dated just a decade ago now feel fresh and sophisticated when paired with white cabinetry and brass fixtures. I learned that vintage colors work best when balanced with neutral elements, using the colorful tiles as accent pieces rather than overwhelming the entire space with saturated hues.
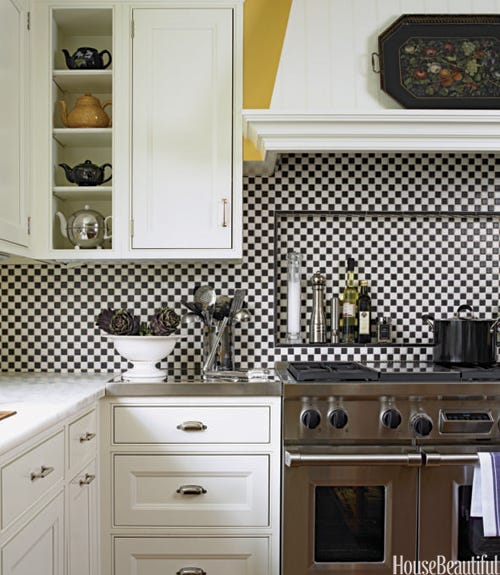
Geometric patterns from the Art Deco era transformed my powder room backsplash into a stunning focal point. Black and white hexagonal tiles arranged in a honeycomb pattern created visual interest without overwhelming the small space. The key was understanding scale; larger geometric patterns work better in spacious kitchens, while smaller, more intricate designs suit compact areas. I made the mistake of using oversized patterns in my first renovation, creating a busy look that made the kitchen feel cramped.
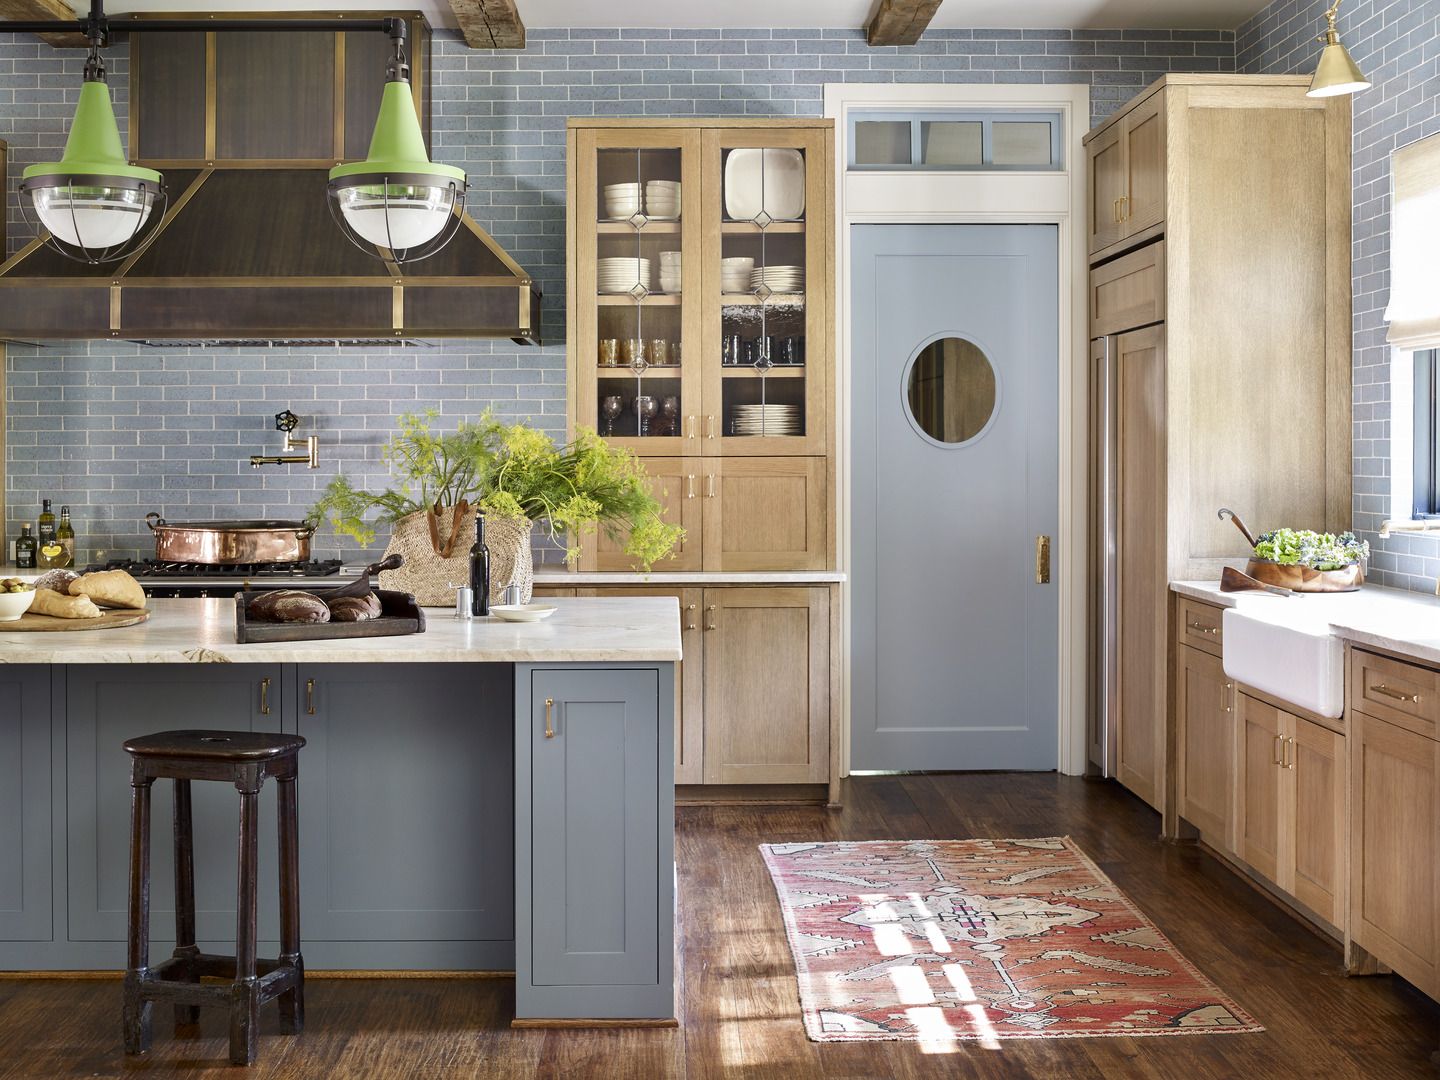
Two-tone combinations became my go-to strategy for creating vintage charm without committing to bold colors throughout the entire kitchen. Alternating white and sage green subway tiles in a classic brick pattern gave my main kitchen a subtle vintage feel that won’t look dated in ten years. This approach allows you to experiment with period colors while maintaining broad appeal, which proved important when I sold my previous home and needed to attract buyers with different tastes.
.jpg)
Installation Techniques for Vintage-Style Backsplashes
Proper spacing made the biggest difference in achieving an authentic vintage look during my installations. I learned that vintage tiles were often installed with wider grout lines than modern standards, typically 1/8 inch rather than the 1/16 inch common today. This seemingly minor detail dramatically affects the final appearance, creating the substantial, handcrafted look that characterizes genuine vintage installations rather than the precision-perfect appearance of contemporary work.
Grout color selection became crucial after my first attempt resulted in a sterile, modern appearance despite using authentic vintage tiles. Period-appropriate grout colors like warm gray or cream enhance the vintage aesthetic, while bright white grout creates a contemporary look that fights against the historical character. I learned to test grout colors on sample boards before committing, as the color appears different when wet versus dry and can dramatically change the overall appearance.
Layout planning prevented costly mistakes that plagued my earlier renovation attempts. I now create detailed scaled drawings and lay out the entire pattern on my garage floor before touching the wall. This process revealed spacing issues, pattern interruptions around outlets, and tile quantity needs that would have been expensive surprises during installation. Taking time for proper planning pays dividends in both appearance and budget control throughout the project.
Maintaining Vintage Backsplashes for Longevity
Daily cleaning routines keep my vintage tiles looking their best without damaging delicate glazes or period-appropriate grout lines. I use only mild dish soap and warm water with soft cloths, avoiding abrasive cleaners that can permanently damage original finishes. Vintage tiles often have softer glazes than modern alternatives, making them more susceptible to scratching from harsh cleaning products or scrubbing pads that seem harmless on contemporary surfaces.
Grout maintenance became essential after discovering that wider vintage-style grout lines collect more dirt and grease than narrow modern joints. I seal my grout annually with penetrating sealers specifically designed for natural materials, which prevents staining while maintaining the matte appearance that suits vintage installations. This proactive approach has kept my grout looking fresh for three years despite heavy kitchen use and occasional cooking mishaps.
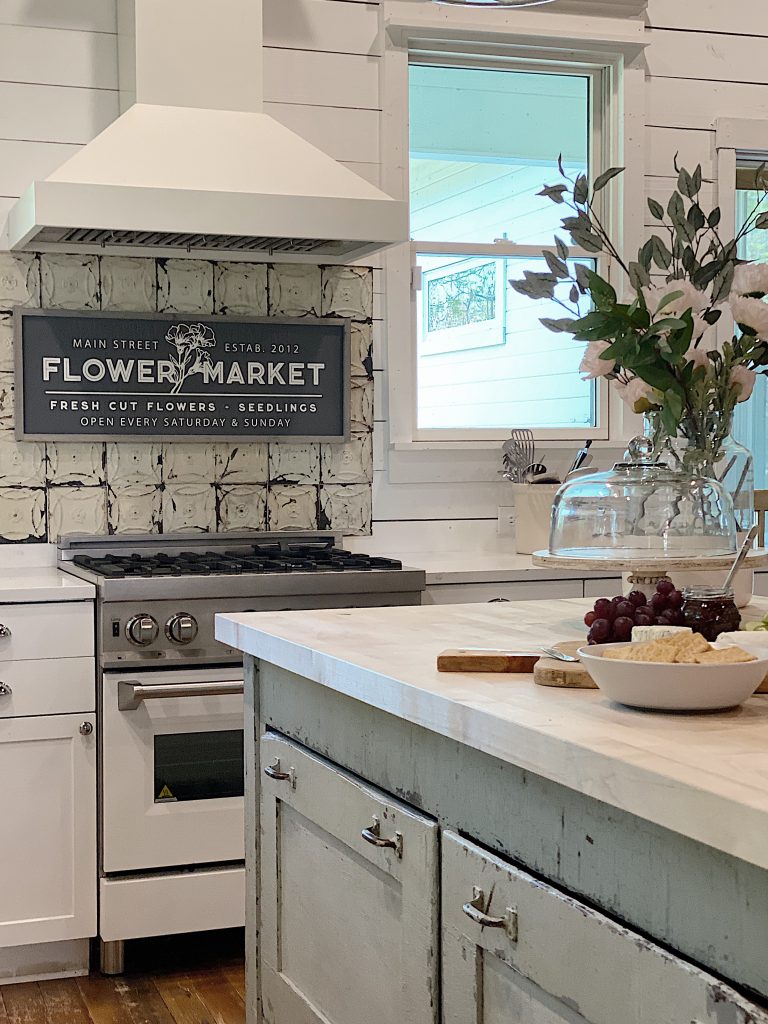
Protective measures save my investment from daily wear and damage. I installed a small shelf above my stove to deflect grease splatter from reaching the most vulnerable tiles, and I use cutting boards religiously to prevent knife scratches on stone surfaces. These simple precautions have preserved the beauty of my vintage backsplash while allowing it to function in a busy modern kitchen where authenticity meets practicality.

Budget-Friendly Ways to Achieve Vintage Character
Mixing high and low became my strategy for creating expensive-looking vintage backsplashes on realistic budgets. I splurged on authentic vintage accent tiles for focal areas while using quality reproductions for large expanses. This approach concentrated my budget where it would have the most visual impact, creating the impression of a fully authentic installation while keeping costs manageable for my middle-class renovation budget.
DIY installation saved thousands on my most recent project, though I learned the hard way that vintage-style installations require different techniques than modern tile work. I invested in a weekend workshop at my local home center to learn proper spacing, cutting, and grouting techniques specific to subway tiles and geometric patterns. The education cost $150 but saved me over $3000 in professional installation fees while ensuring quality results.
Creative sourcing kept my material costs reasonable despite my preference for authentic vintage pieces. I developed relationships with local contractors who called me when they encountered vintage tiles during demolitions. Estate sales, garage sales, and online marketplaces provided other opportunities for significant savings. Patience proved essential, as rushing into expensive retail purchases often meant missing better deals that appeared just weeks later.
.jpg)
How do I find authentic vintage tiles for my backsplash project?
Estate sales and architectural salvage yards are goldmines for authentic pieces. I’ve found amazing tiles at demolition sites, antique stores, and online auctions. Always inspect the condition carefully and buy 20% extra for breakage and future repairs. Building relationships with contractors helps; they often encounter vintage tiles during renovations.
Are reproduction vintage tiles worth considering over authentic pieces?
Modern reproductions have improved dramatically and often provide better durability than original tiles. They’re more consistent in size and thickness, making installation easier. I mix authentic accent pieces with quality reproductions to get vintage character at reasonable prices. The key is choosing manufacturers who understand vintage aesthetics.
What’s the best way to clean vintage tile backsplashes?
Use only mild soap and water with soft cloths. Vintage glazes are often softer than modern tiles and can be scratched easily. Avoid abrasive cleaners, bleach, or scrubbing pads. For tough stains, I use a baking soda paste applied gently. Regular sealing of grout lines prevents staining and makes maintenance easier.
How much should I budget for a vintage-style backsplash?
DIY installations run $8-25 per square foot, depending on tile choice. Professional installation adds $5-10 per square foot. Authentic vintage tiles cost $15-50 per square foot, while quality reproductions run $3-15. Budget extra for specialty grout, sealers, and potential wall prep work that vintage installations often require.

Can I install vintage tiles myself or should I hire professionals?
I’ve done both successfully. Subway tiles in simple patterns are DIY-friendly with proper preparation and tools. Complex geometric patterns or mixed vintage/reproduction installations benefit from professional expertise. Consider your skill level, available time, and project complexity. A weekend tile course helped me tackle more challenging projects confidently.
How do I choose grout color for an authentic vintage look?
Period-appropriate grout colors like warm gray, cream, or soft white enhance vintage character. Bright white grout creates a modern appearance that fights vintage aesthetics. Test colors on sample boards first; grout appears different wet versus dry. Wider grout lines (1/8 inch) also contribute to an authentic vintage appearance.

Chic Kitchen Backsplash Ideas – Tile Designs for Kitchen
Best Kitchen Backsplash Ideas – Tile Designs for Kitchen
Vintage Vibe Backsplash Tile Looks for Modern Classic Design
.jpg)
Showstopping Tile Backsplash Ideas To Suit Any Style Family

Best Kitchen Backsplash Ideas – Tile Designs for Kitchen
Kitchen Backsplash Ideas Midwest Living
Related Posts:
- French Kitchen Backsplash Ideas
- Cottage Kitchen Backsplash
- Country Kitchen Backsplash
- Retro Kitchen Backsplash
- Rustic Wood Kitchen Backsplash
- Vintage Kitchen Backsplash Ideas
- Modern Farmhouse Kitchen Backsplash
- Mid Century Modern Kitchen Backsplash Tile
- Turquoise Kitchen Backsplash Tile
- Mediterranean Tile Kitchen Backsplash