When I started planning my kitchen renovation two years ago, I was torn between keeping my upper cabinets for maximum storage or removing them for an open, airy feel. My 1990s kitchen had bulky upper cabinets that hung low and made the space feel cramped, but I worried about losing the storage space my family desperately needed. After months of research, measuring, and soul-searching, I decided to remove half the upper cabinets and redesign the remaining ones with better proportions and functionality. The transformation opened up my kitchen dramatically while actually improving storage efficiency through smarter organization and design choices.
Deciding Between Keeping or Removing Upper Cabinets
Evaluating my family’s actual storage needs versus perceived needs became the first step in making this major decision. I spent two weeks cataloging everything stored in my upper cabinets and discovered that 40% of the items were rarely used duplicates, expired products, or things I’d forgotten I owned. This audit revealed that I could maintain functionality with significantly less upper cabinet space if I organized more thoughtfully and eliminated unnecessary clutter.
The visual impact of upper cabinets on my kitchen’s proportions became clear when I temporarily removed a few doors for comparison. My 8-foot ceilings felt much higher without the visual weight of cabinets extending down to 54 inches from the floor. The improved sight lines between my kitchen and adjacent living room created better flow and made both spaces feel larger and more connected than they had in years.
Safety and accessibility considerations influenced my decision significantly after watching my elderly mother struggle to reach items in high cabinets during visits. I realized that most of my upper cabinet storage above 6 feet was essentially useless for daily access anyway. Focusing storage in the 18-72 inch height range improved functionality for all family members while eliminating the need for step stools and reducing injury risk from reaching overhead.
Planning the Perfect Height and Proportions
Determining the ideal height for my remaining upper cabinets required careful measurement of sight lines, user heights, and appliance clearances. I settled on 18 inches above my countertop, which provided adequate workspace below while maintaining easy access for my 5’6″ frame. This height allowed me to see into most of the cabinet storage while cooking and eliminated the claustrophobic feeling my old cabinets created.
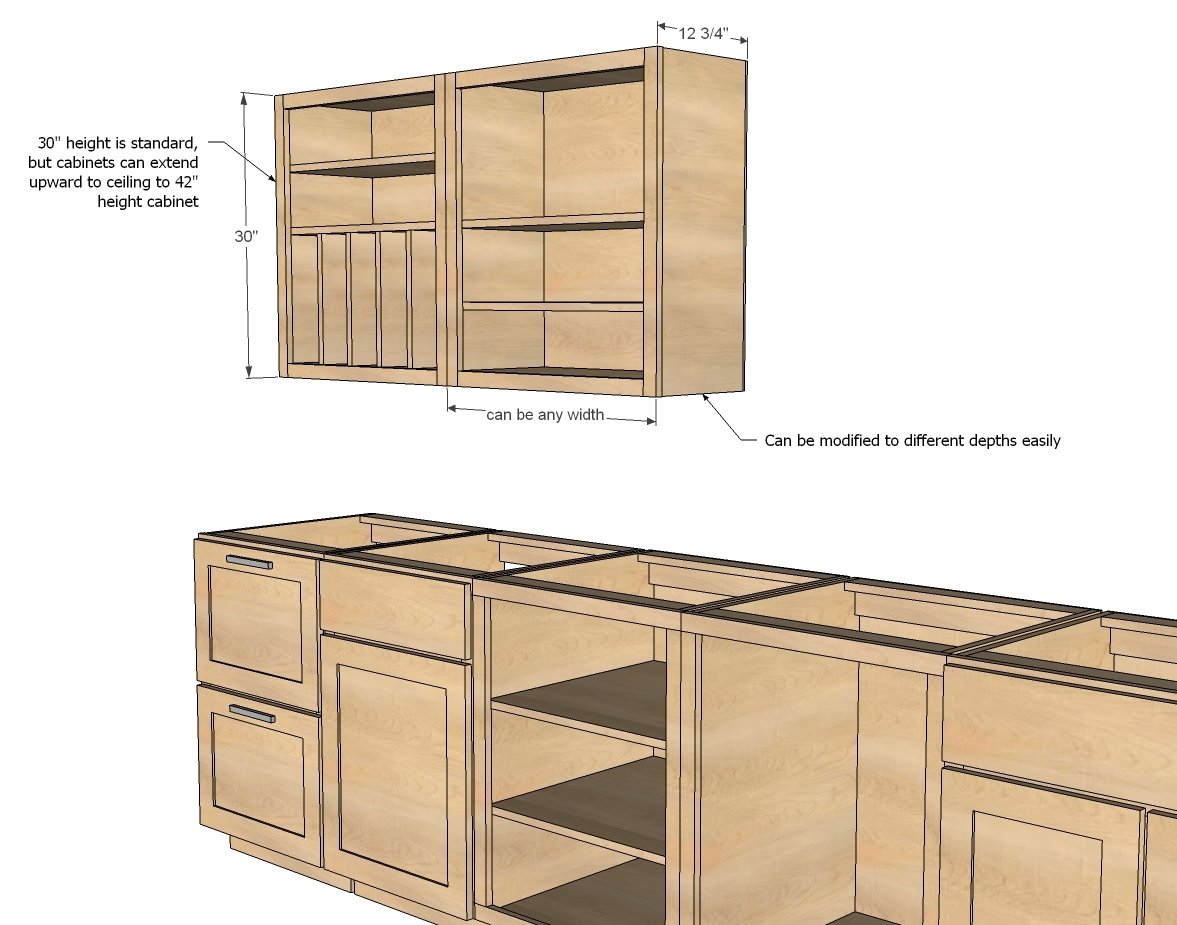
Cabinet depth became a crucial consideration for both storage efficiency and visual proportions. I reduced the depth from the standard 12 inches to 10 inches, which decreased storage volume slightly but dramatically improved the kitchen’s open feeling. The reduced depth also eliminated the problem of items getting lost in the back of deep cabinets, where they were impossible to reach or even see.
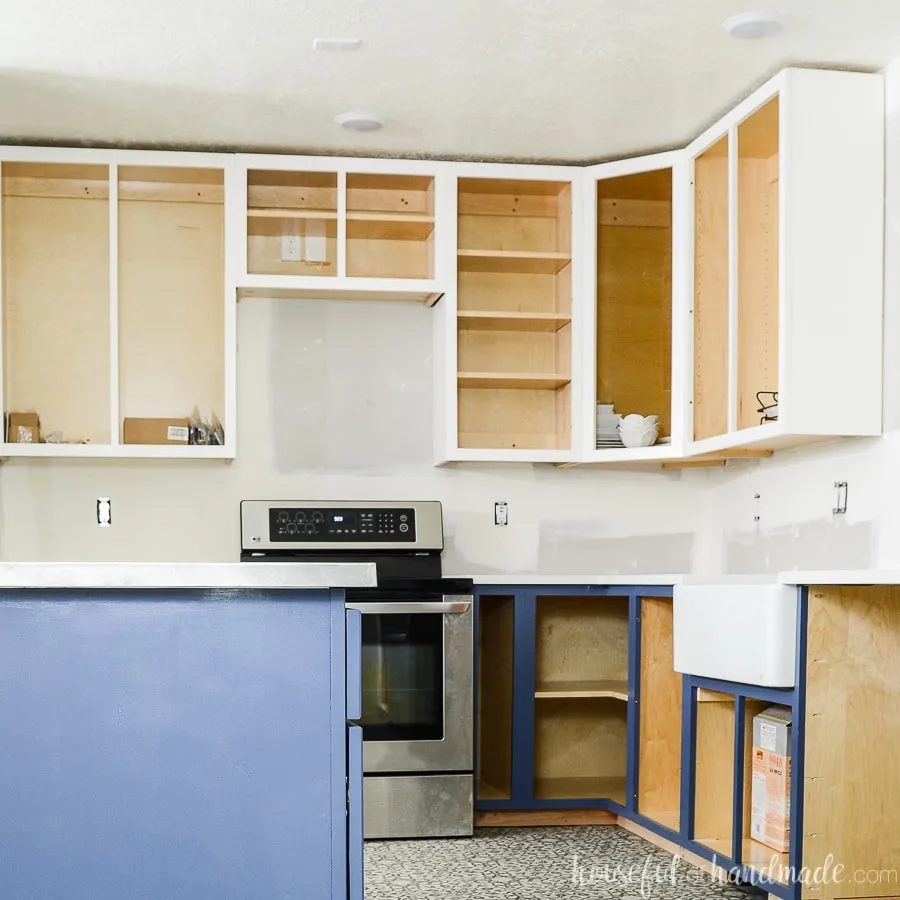
Extending some cabinets to the ceiling while leaving others shorter created visual interest and maximized storage where needed. My tall cabinets house seasonal items and serving pieces used only for holidays, while shorter cabinets hold everyday dishes and glasses at accessible heights. This varied approach provided both practical benefits and architectural interest that made my kitchen feel custom-designed rather than builder-basic.
Maximizing Storage Efficiency in Reduced Space
Interior organization systems became essential for making the most of my reduced upper cabinet space. I invested in pull-down shelving mechanisms for the tallest cabinets, which bring stored items down to counter level for easy access. These systems cost more upfront, but transformed previously wasted high space into functional storage that I use regularly instead of avoiding.
Adjustable shelving allowed me to customize each cabinet for specific items rather than accepting fixed shelf heights that wasted vertical space. I can now fit tall bottles and small jars in the same cabinet by adjusting shelf positions as needed. This flexibility has proven invaluable as our storage needs change with different seasons, cooking phases, and family circumstances over time.
Door-mounted storage racks and magnetic strips maximized every inch of available space within the cabinet footprint. Spice racks mounted inside cabinet doors keep frequently used seasonings accessible while freeing shelf space for larger items. Magnetic strips hold knives and metal tools securely out of sight but within easy reach. These simple additions significantly increased storage capacity without requiring additional cabinet boxes.
Installation Challenges and Professional Considerations
Wall stud location became critical for safely supporting upper cabinets loaded with dishes and canned goods. I learned that standard 16-inch stud spacing doesn’t always align perfectly with cabinet widths, requiring careful planning and sometimes custom solutions. My installer used a combination of toggle bolts and lag screws into studs to ensure each cabinet could support its intended load safely over time.
Electrical and plumbing considerations complicated my upper cabinet redesign more than I anticipated. Moving cabinets meant relocating under-cabinet lighting and sometimes rerouting electrical circuits for switches and outlets. The range hood installation required careful coordination with the cabinet layout to ensure proper ventilation performance while maintaining visual balance with surrounding cabinetry.
Level installation proved challenging in my older home with settled walls and floors that weren’t perfectly straight or square. My professional installer spent considerable time shimming and adjusting to achieve perfectly level cabinets that would operate smoothly and look professional. This precision work justified the cost of professional installation versus attempting the project myself with limited experience and tools.
Style and Hardware Selection Process
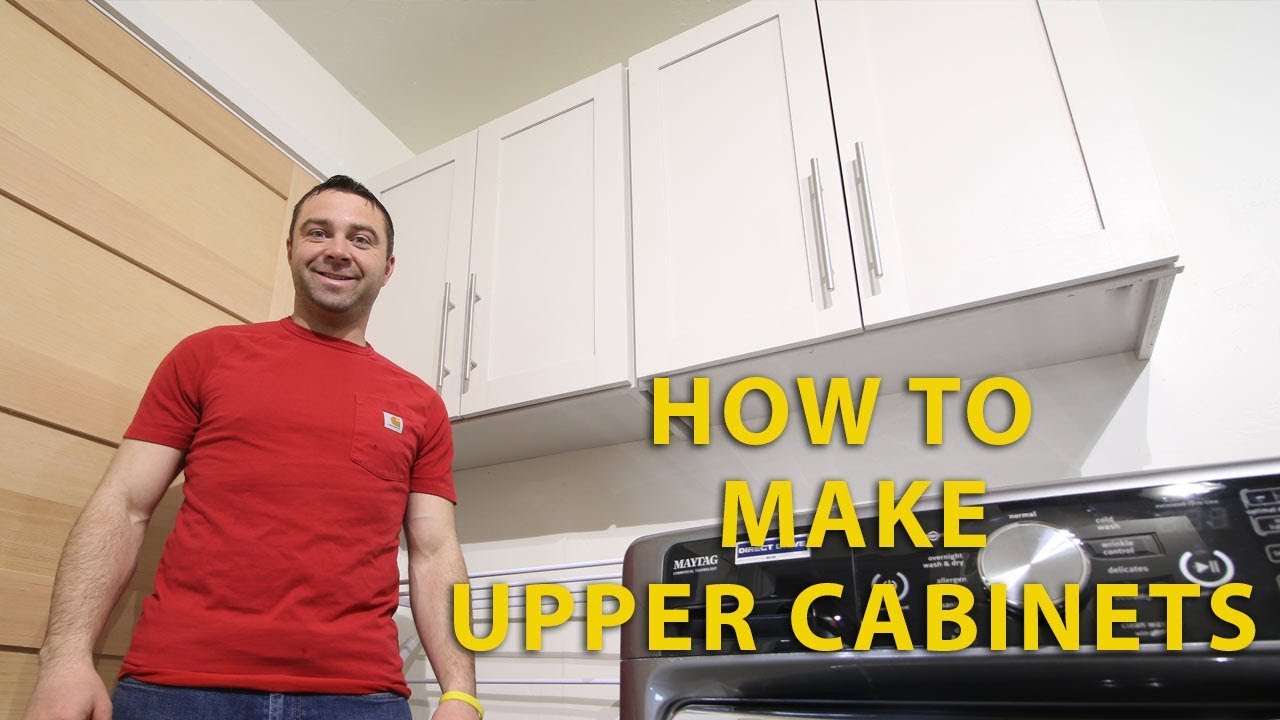
Choosing cabinet door styles that complemented my kitchen’s architecture while feeling current required balancing timeless appeal with personal preferences. I selected simple shaker-style doors that work well with both traditional and contemporary elements, ensuring the investment would remain attractive as design trends evolve. The clean lines and versatile profile suit my transitional kitchen style perfectly.
Hardware selection became more important than I realized for both function and visual impact. I tested different handle lengths and styles to find options that felt comfortable for daily use while enhancing the cabinets’ proportions. Brushed gold hardware added warmth and sophistication that connected with other kitchen elements like faucets and light fixtures throughout the space.
Paint color choice significantly impacted how my upper cabinets integrated with the overall kitchen design. I chose a soft white that contrasts subtly with my cream walls while coordinating with trim throughout the house. This neutral choice provides a timeless backdrop that allows other design elements like backsplash tiles and countertops to take center stage without competing visually.

Long-Term Satisfaction and Lessons Learned
Living with my redesigned upper cabinets for two years has confirmed that less can indeed be more when thoughtfully planned. I don’t miss the storage space I gave up because the remaining storage is so much more functional and accessible. The improved visual openness and better proportions have made cooking and entertaining more enjoyable, while easier access to everyday items has streamlined daily routines significantly.
Maintenance requirements for fewer upper cabinets proved to be another unexpected benefit of my design choice. Less cabinet surface means less cleaning time, fewer hinges and hardware pieces to maintain, and simpler organization systems to keep tidy. The reduced visual clutter also makes it easier to notice when cleaning is needed, helping maintain a consistently neat appearance.
Future flexibility improved with my simpler upper cabinet design. Adding or modifying storage solutions within the existing framework is much easier than reworking an elaborate system. When our family’s needs change or storage requirements shift, I can adapt the interior organization without major renovations. This adaptability has proven valuable as our cooking habits and storage needs have evolved over the past two years.

How much storage do you lose by removing some upper cabinets?
I removed about 30% of my upper cabinet space, but improved organization made up for most of the loss. By eliminating rarely-used items and using interior organizers more efficiently, I find things easier than before. The key is being realistic about what you truly need versus what you think you might need someday.
Is it worth the cost to hire professionals for upper cabinet installation?
Absolutely. Professional installation costs about $1,200 but ensures proper support, level mounting, and code compliance. The precision required for cabinet alignment and the weight involved make this a job where expertise matters. Poor installation can lead to sagging doors, operational problems, and even safety hazards.
How do you determine the right height for upper cabinets?
I measured from the countertop to ensure 18 inches of clearance, which works well for most people between 5’4″ and 6’2″. Consider your family’s heights and what you’ll store. Everyday items should be reachable without stretching, while seasonal items can go higher. Test the height with temporary supports before final installation.
Can you add upper cabinets later if you remove them initially?
Yes, but it requires careful planning during the initial renovation. I had my contractor reinforce wall framing and preserve electrical rough-ins where future cabinets might go. Adding cabinets later involves patching paint and possibly modifying electrical, but it’s possible with proper preparation during the original work.

What’s the biggest mistake people make with upper cabinet planning?
Hanging cabinets too low is the most common error I see. Standard 18-inch clearance above countertops provides adequate workspace while maintaining accessibility. Also, many people overestimate their storage needs and create cramped-feeling kitchens with too many upper cabinets that they don’t actually use efficiently.
How do you handle items that were previously stored in removed upper cabinets?
I relocated frequently-used items to base cabinets with pull-out drawers for better access. Seasonal items were moved to a pantry closet and basement storage. Some items I donated or discarded after realizing I hadn’t used them in years. The key is being honest about actual usage patterns versus perceived storage needs.

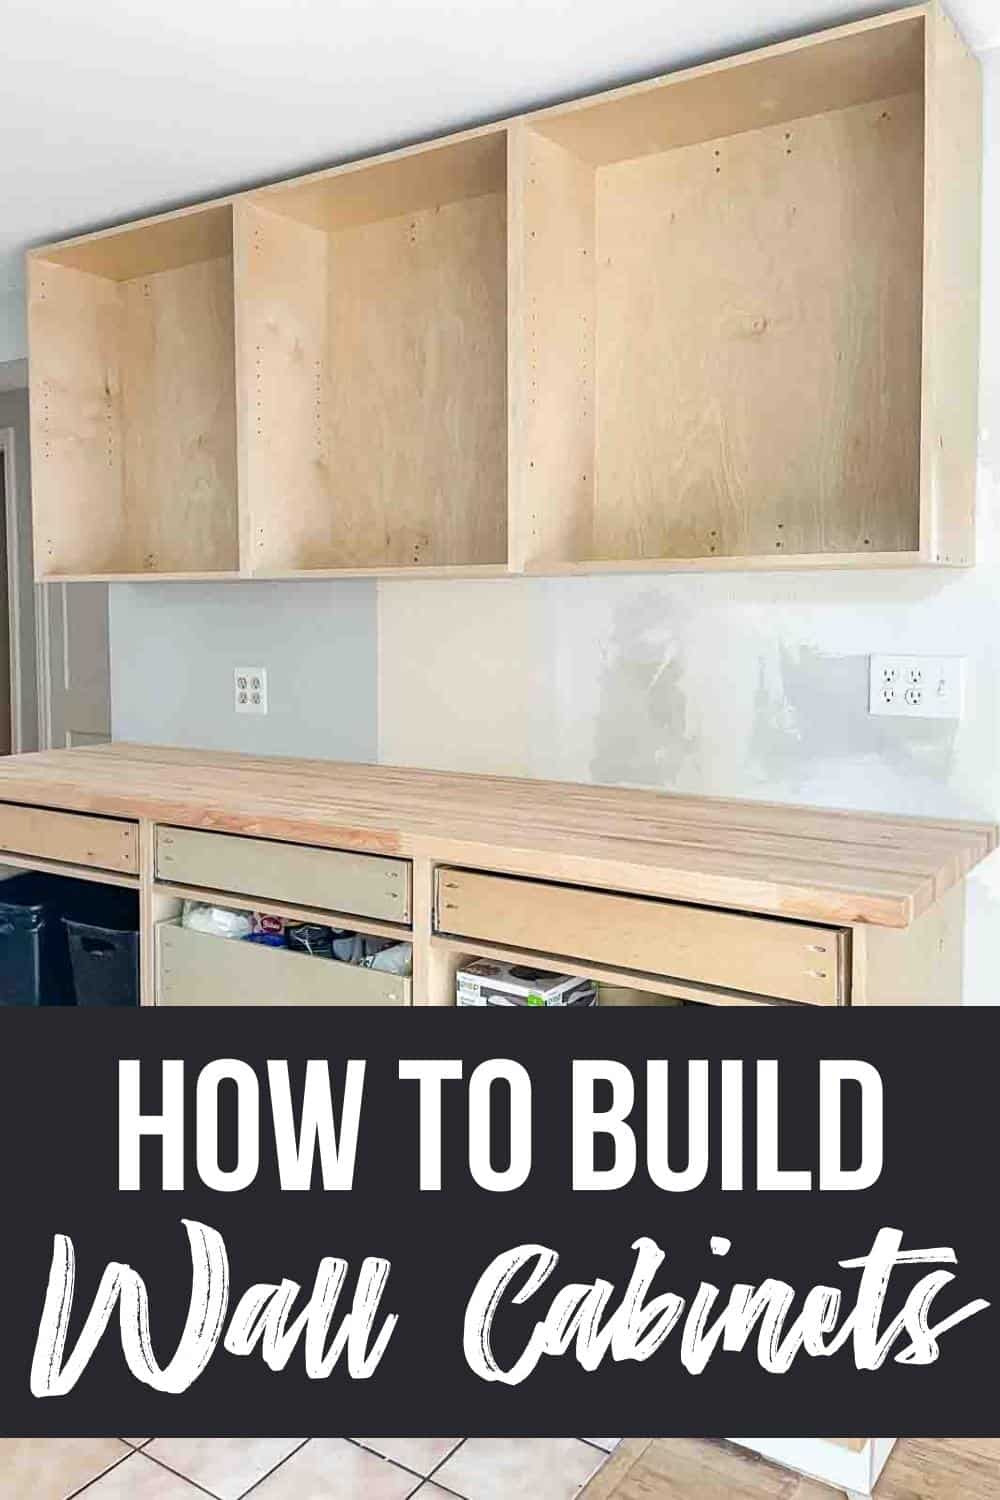
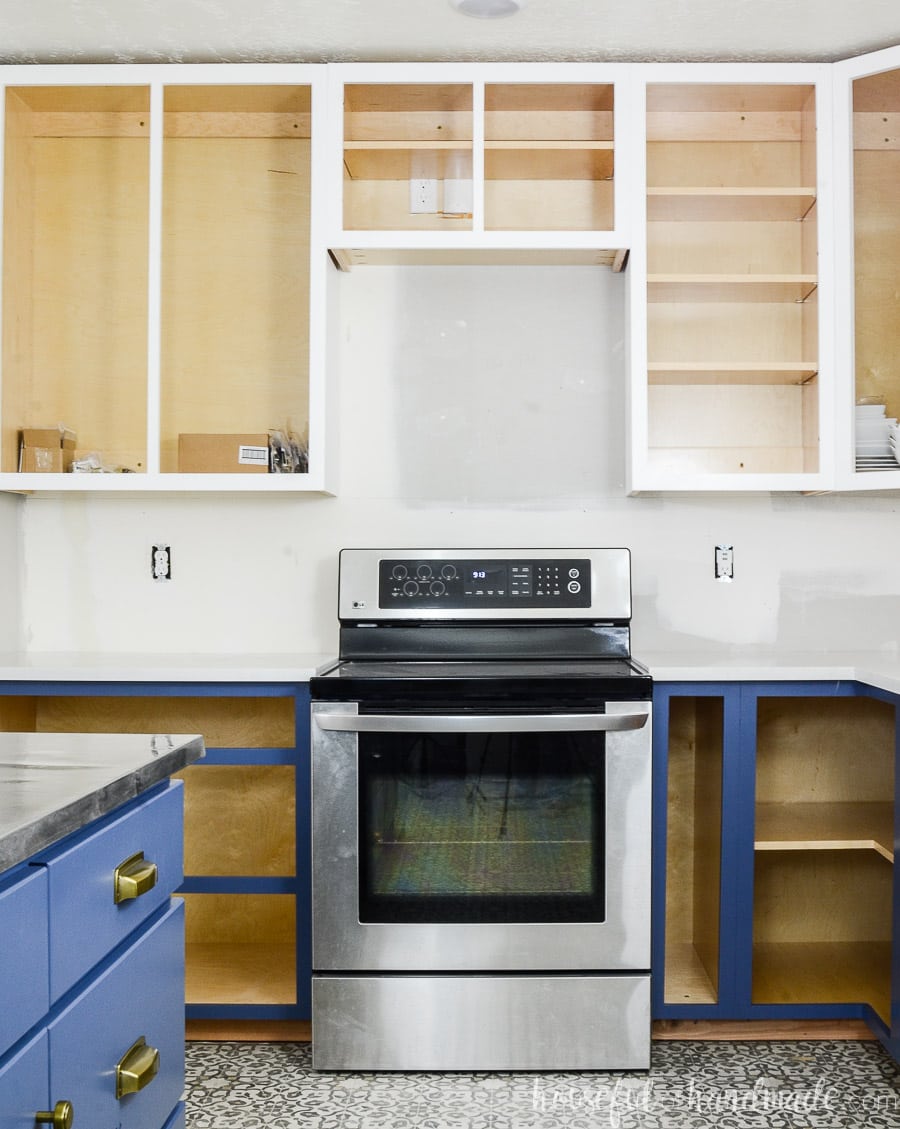
How to Build Cabinets – The Complete Guide {Houseful of Handmade }
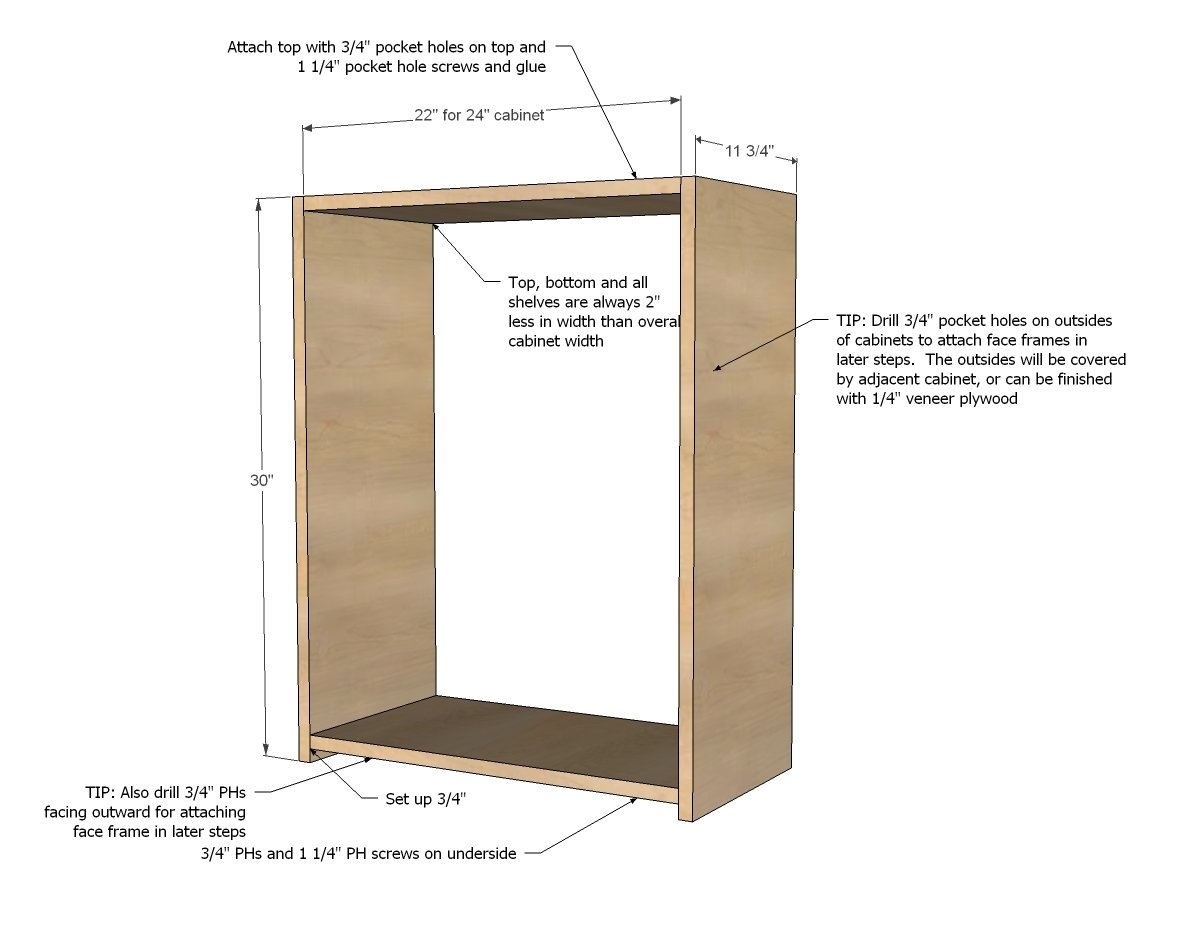
Wall Kitchen Cabinet Basic Carcass Plan Ana White
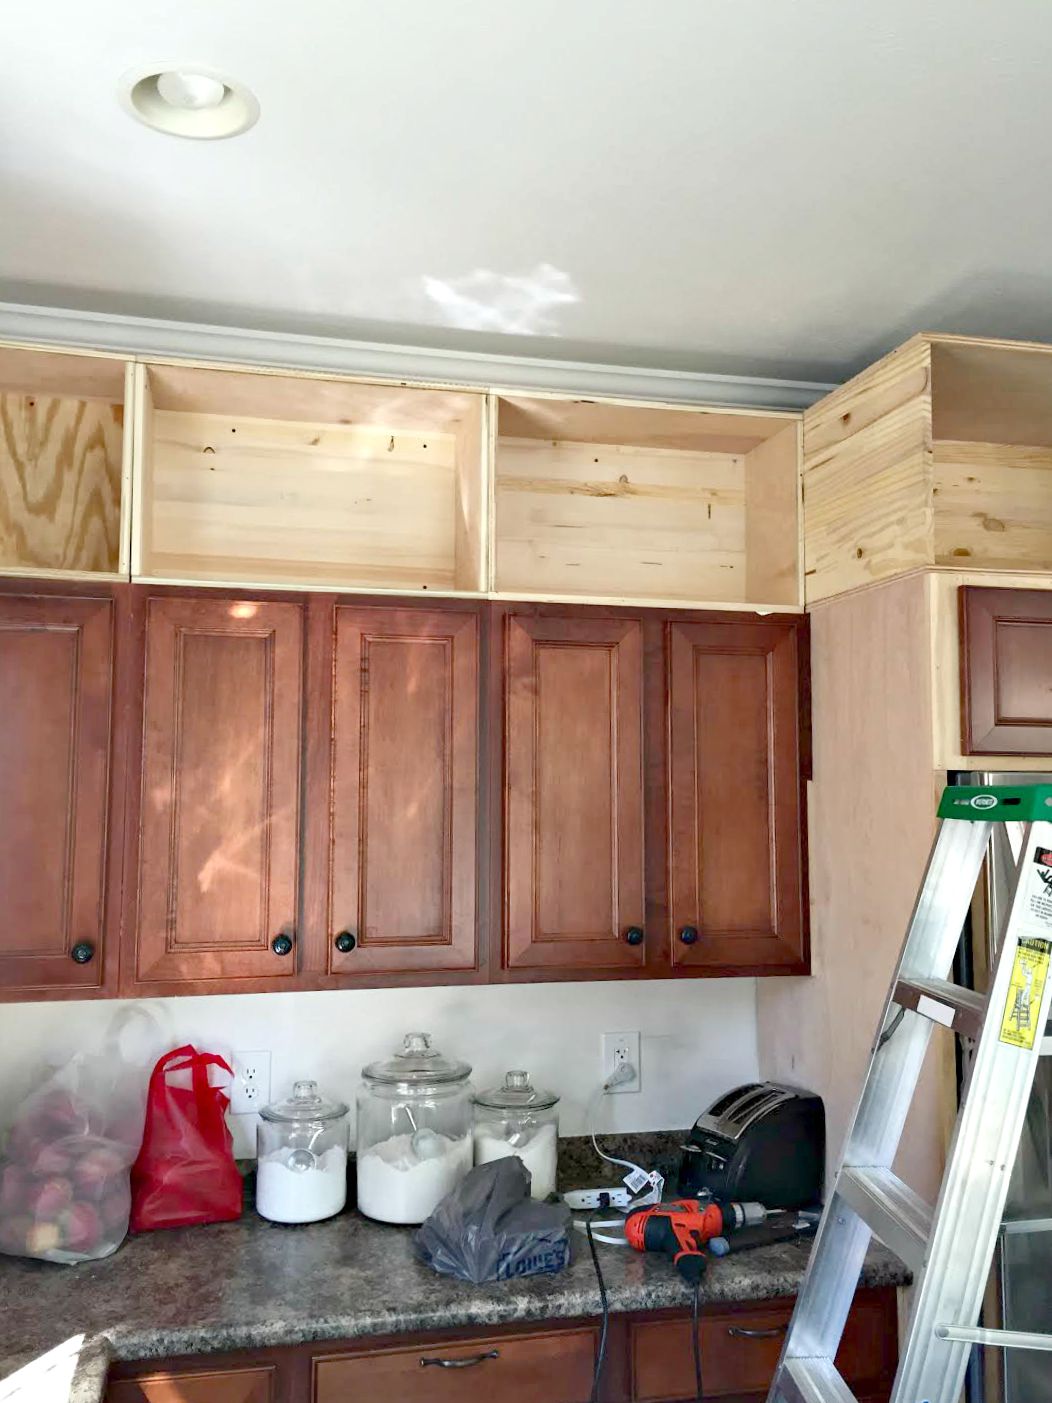
Extending Kitchen Cabinets Up to the Ceiling Thrifty Decor Chick
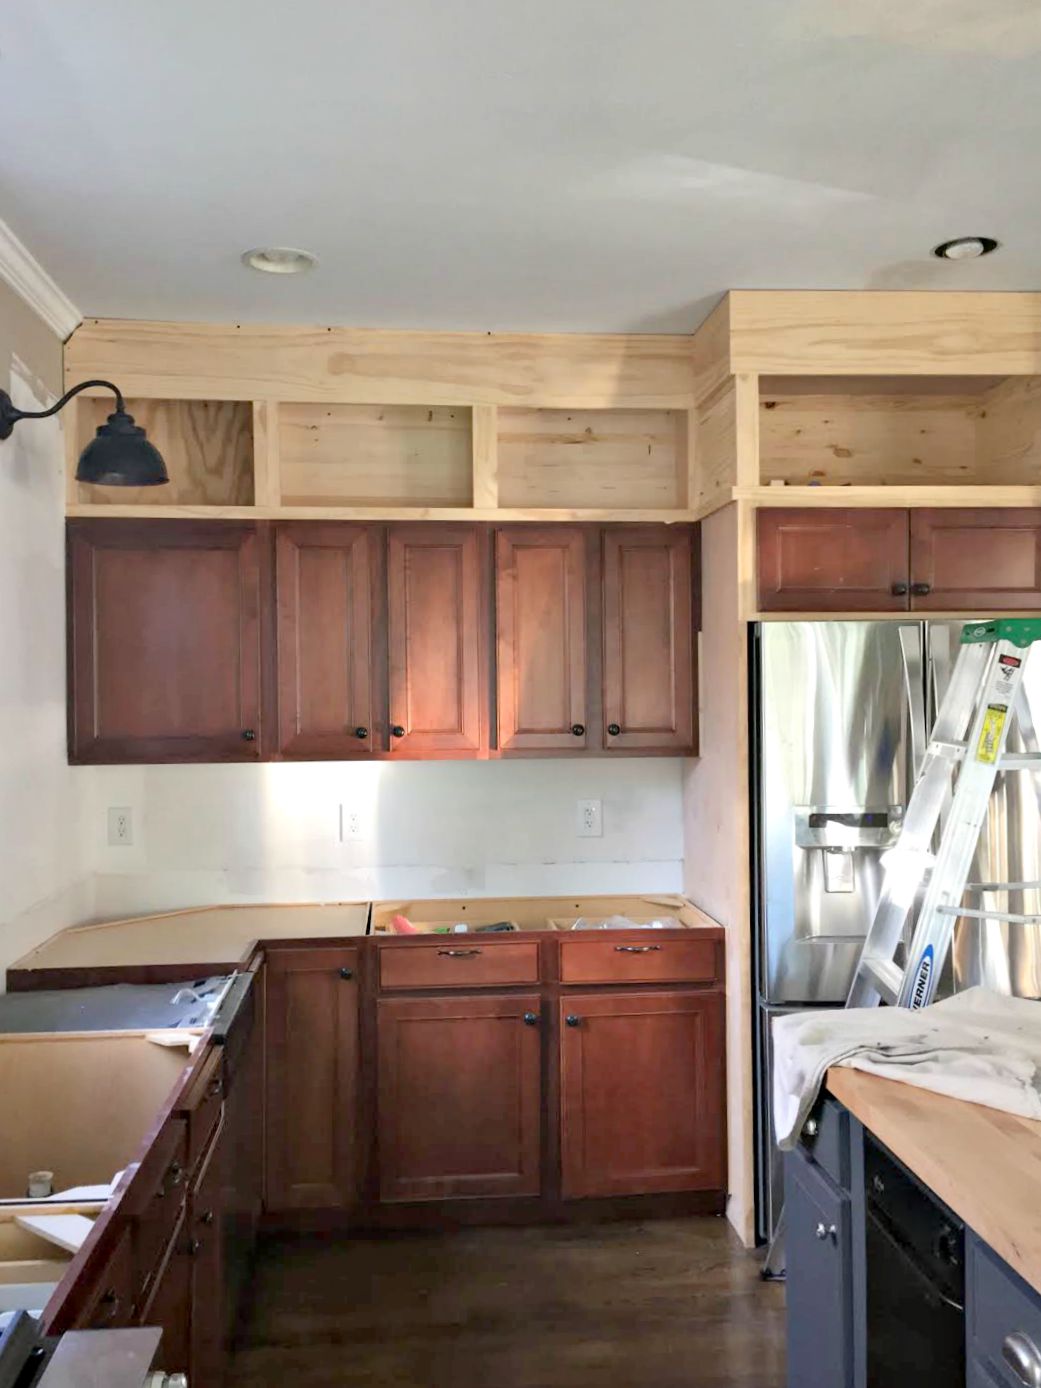
Extending Kitchen Cabinets Up to the Ceiling Thrifty Decor Chick
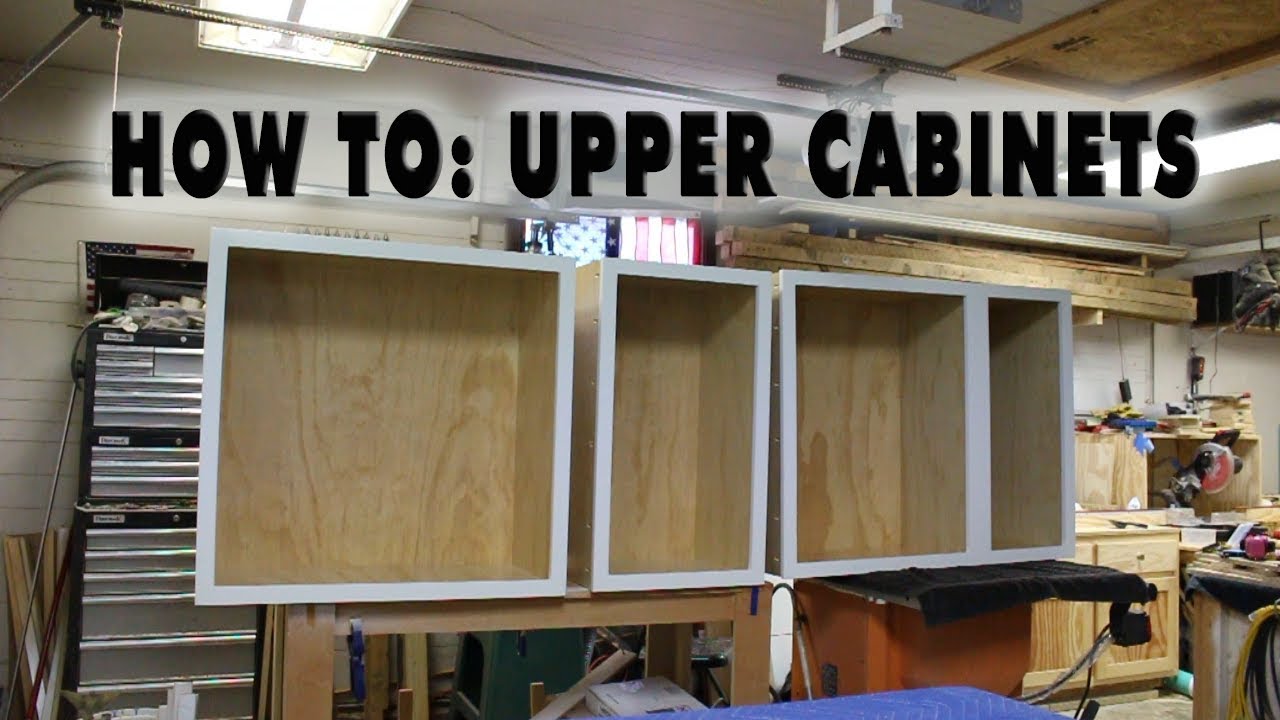
DIY Upper Cabinet Carcasses (Frameless)

Wall Kitchen Cabinet Basic Carcass Plan Ana White
Custom Kitchen Cabinets Woodworking Project Woodsmith Plans

Related Posts: