When I began planning my Tuscan-style kitchen renovation, I quickly realized that lighting would make or break the entire aesthetic. I’d spent weeks choosing the perfect tile, cabinets, and countertops, but it was the light fixtures that would ultimately bring that warm, Old World Italian ambiance I was dreaming of. After months of research, shopping trips to lighting stores, and yes, a few purchasing mistakes along the way, I finally created the perfect lighting scheme. Let me share everything I learned about selecting, installing, and living with Tuscan kitchen light fixtures that transformed my space into a Mediterranean haven.
Understanding Authentic Tuscan Lighting Characteristics
My education in Tuscan lighting started with understanding what makes these fixtures genuinely feel Italian rather than just vaguely Mediterranean. I studied photos from actual villas in Tuscany and noticed recurring elements: hand-forged iron, warm amber or cream glass shades, and a weathered, aged appearance that suggests centuries of use. These weren’t shiny, perfect fixtures, but pieces with character and imperfection.
The materials were crucial to achieving authenticity. I learned that genuine Tuscan fixtures feature wrought iron with a dark, sometimes slightly rustic finish, often hand-hammered or hand-twisted. The metalwork frequently incorporates scrollwork, leaf motifs, or simple curved arms that feel organic rather than geometric. I fell in love with fixtures that looked like they could have been crafted by a village blacksmith generations ago.
Scale and proportion surprised me as an important consideration. Tuscan fixtures tend to be substantial and bold, never dainty or minimalist. In traditional Italian homes, lighting serves both function and decoration, commanding visual presence in the room. I measured my ceiling height and island dimensions carefully, ensuring any fixture I chose would have an appropriate impact without overwhelming the space or hanging too low for practical use.
Selecting the Right Chandelier for Your Kitchen
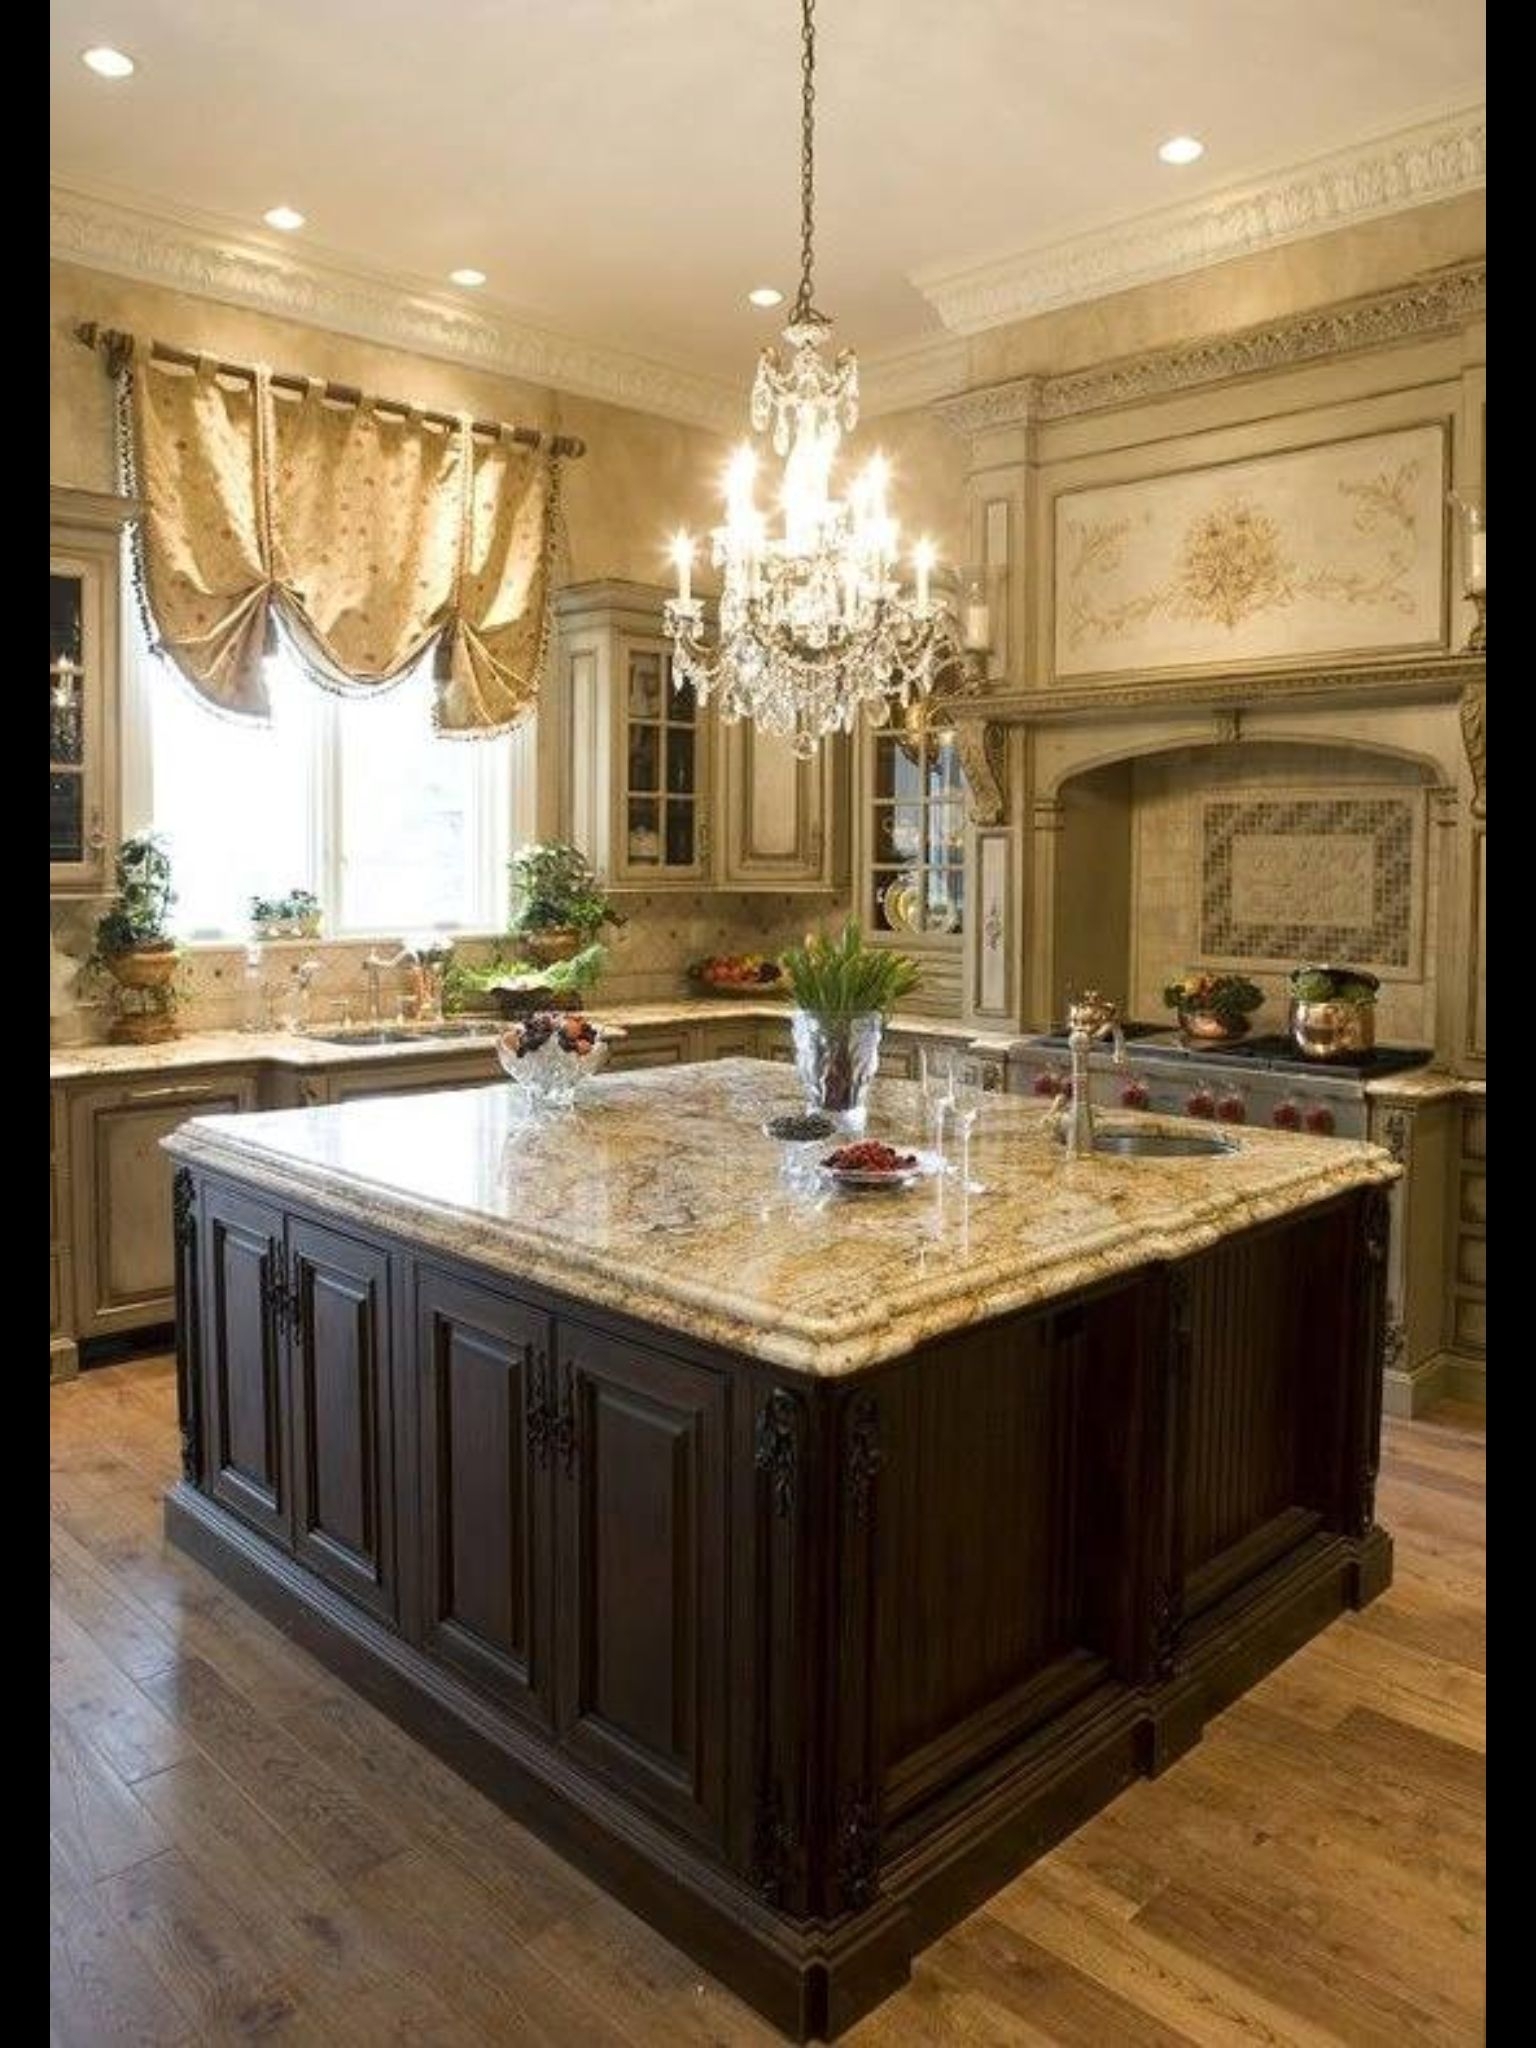
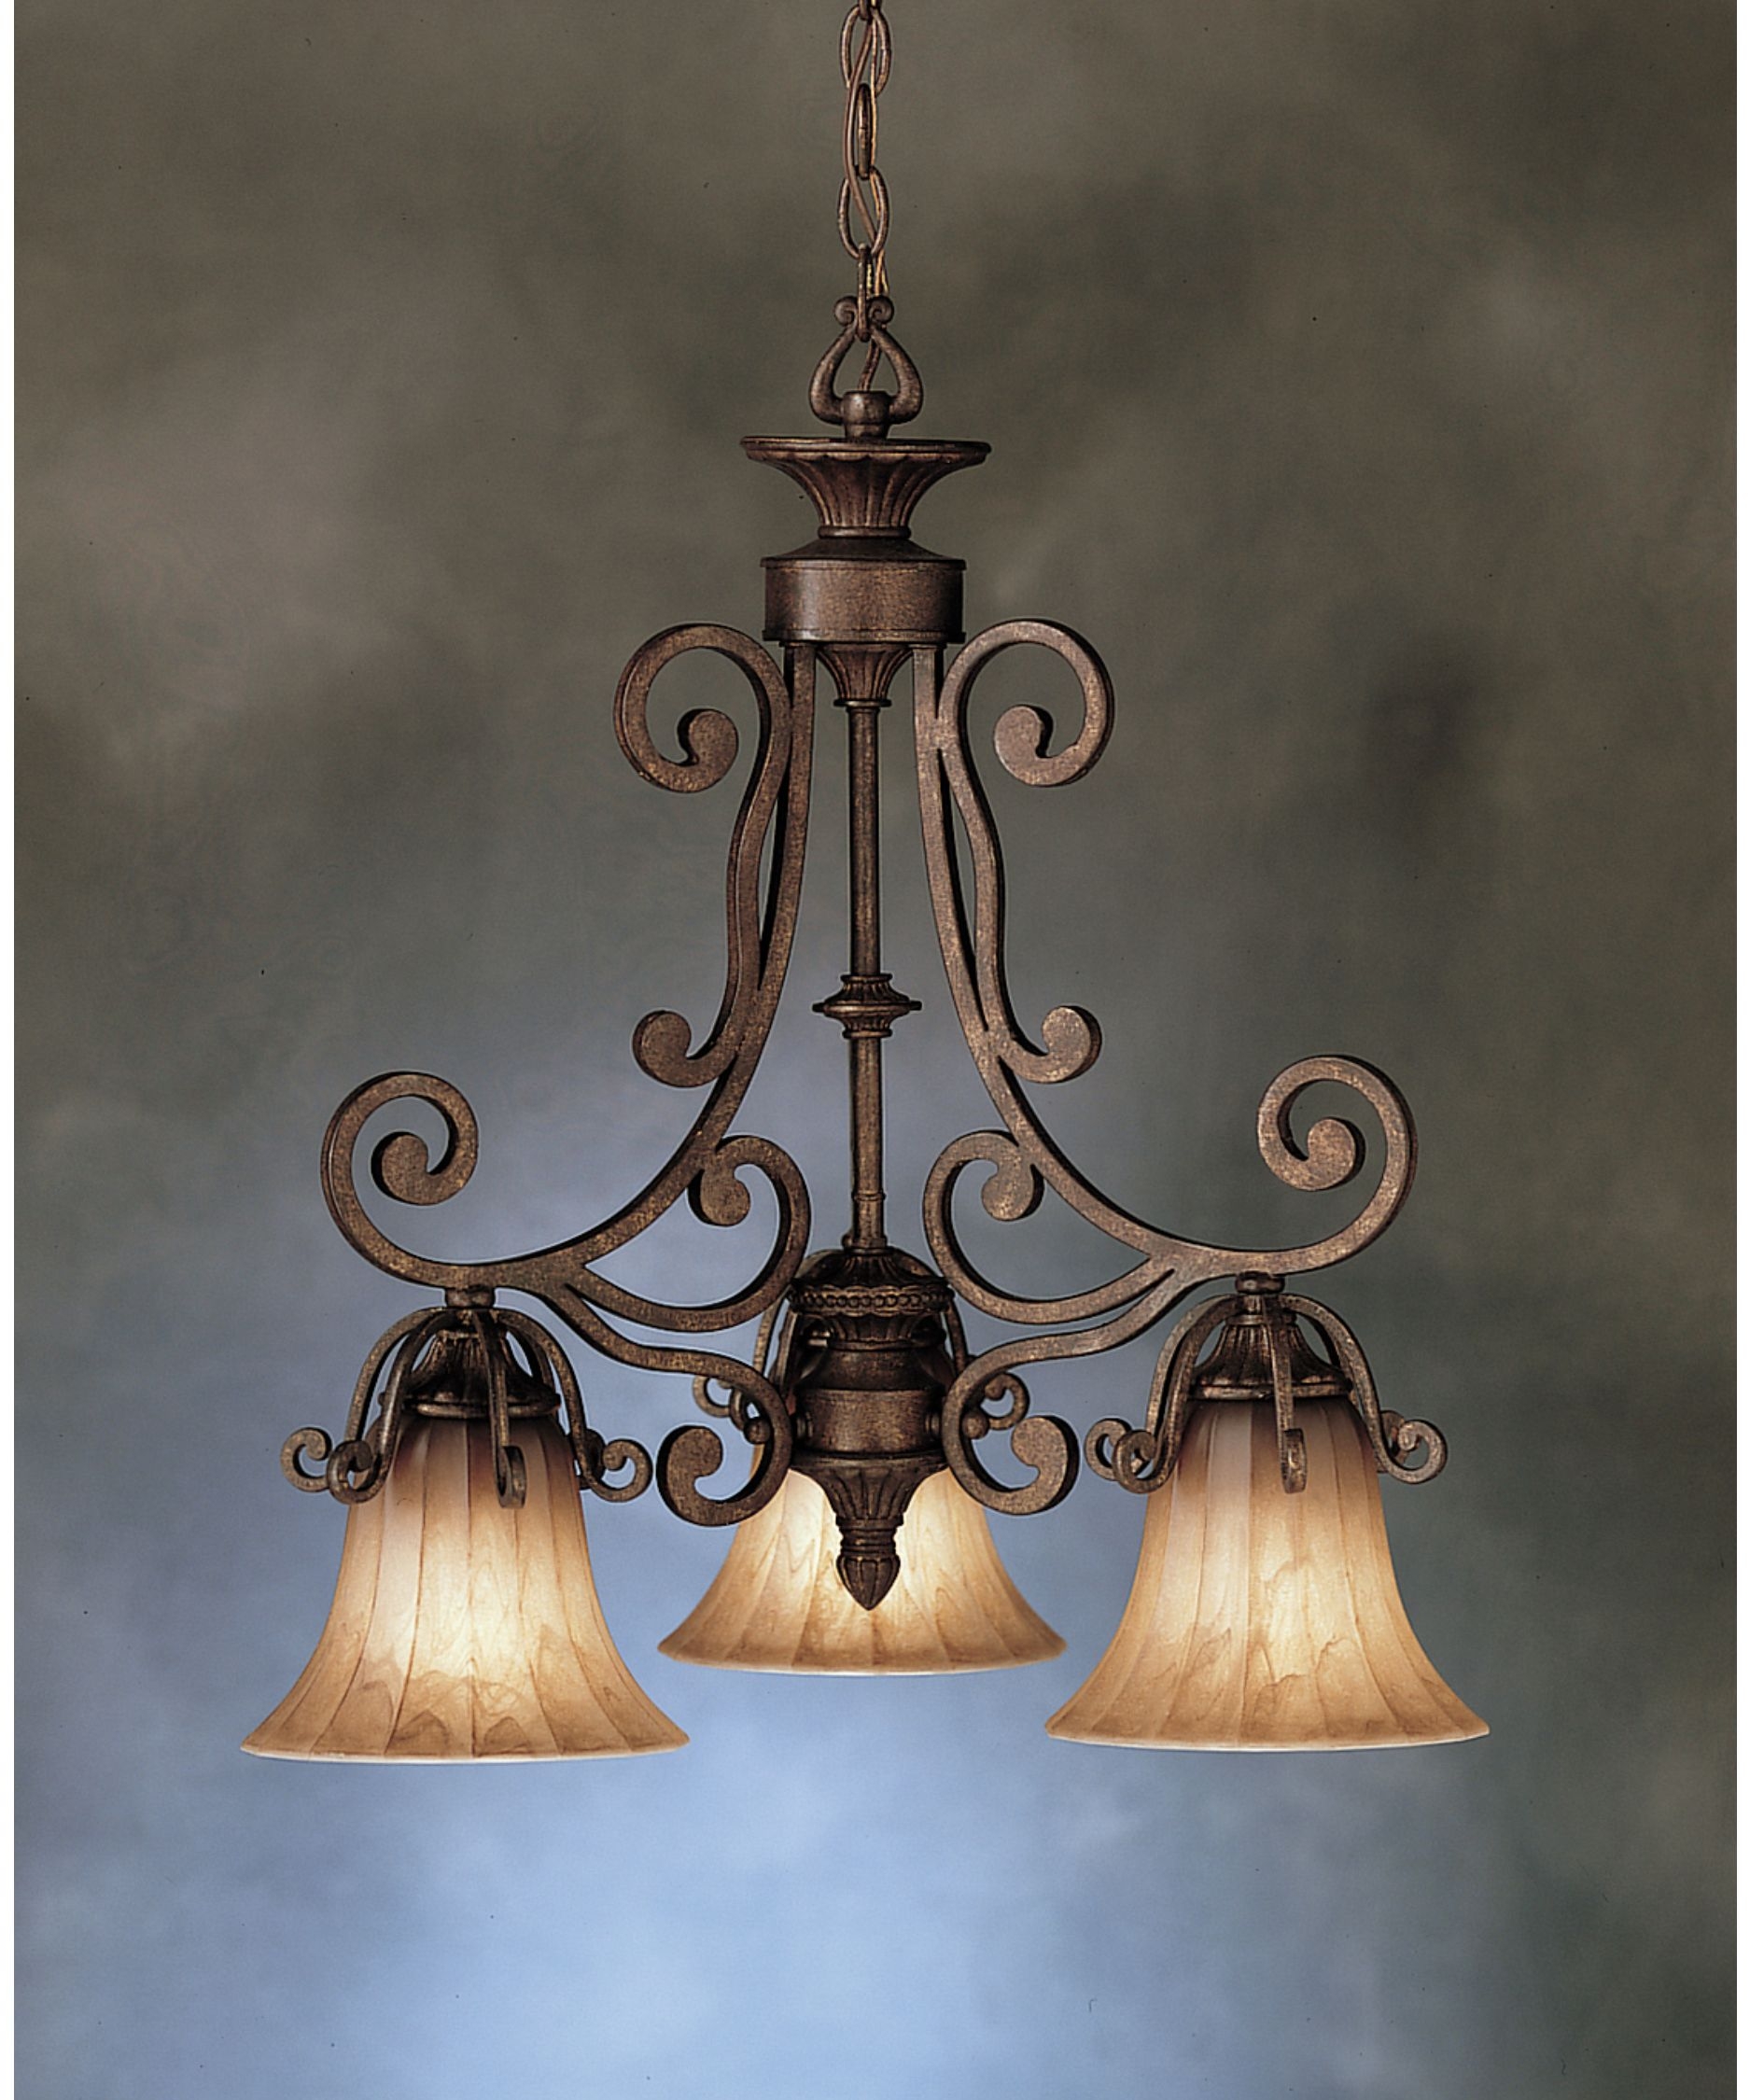
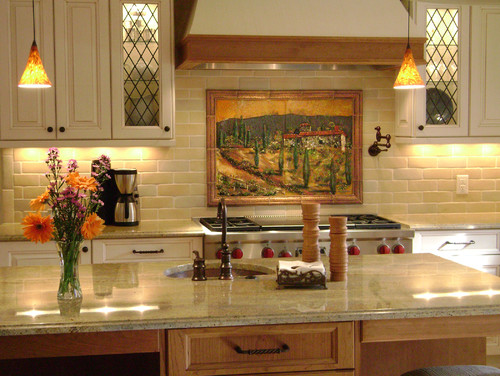
Choosing my main kitchen chandelier was both exciting and intimidating. I knew this fixture would be the focal point, the piece guests notice immediately upon entering. I visited at least a dozen lighting stores before finding the perfect wrought iron chandelier with six arms, each topped with amber glass shades that cast the most beautiful warm glow.
The chandelier’s size required careful calculation. My kitchen has 9-foot ceilings, and the fixture measures 32 inches in diameter and hangs about 36 inches from the ceiling. I learned that chandeliers should be roughly one-third the width of the table or island they’re illuminating. Since my island is 6 feet long, my 32-inch fixture creates proper visual balance.
Installation height was another lesson I learned through research and consultation with my electrician. I hung my chandelier so the bottom sits about 30 inches above my island countertop. This height provides adequate clearance for working at the island while ensuring the fixture remains a prominent visual element. Initially, I thought it should hang higher, but my lighting designer convinced me that lower placement creates intimacy and better task lighting, and she was absolutely right.

Incorporating Pendant Lights with Tuscan Character
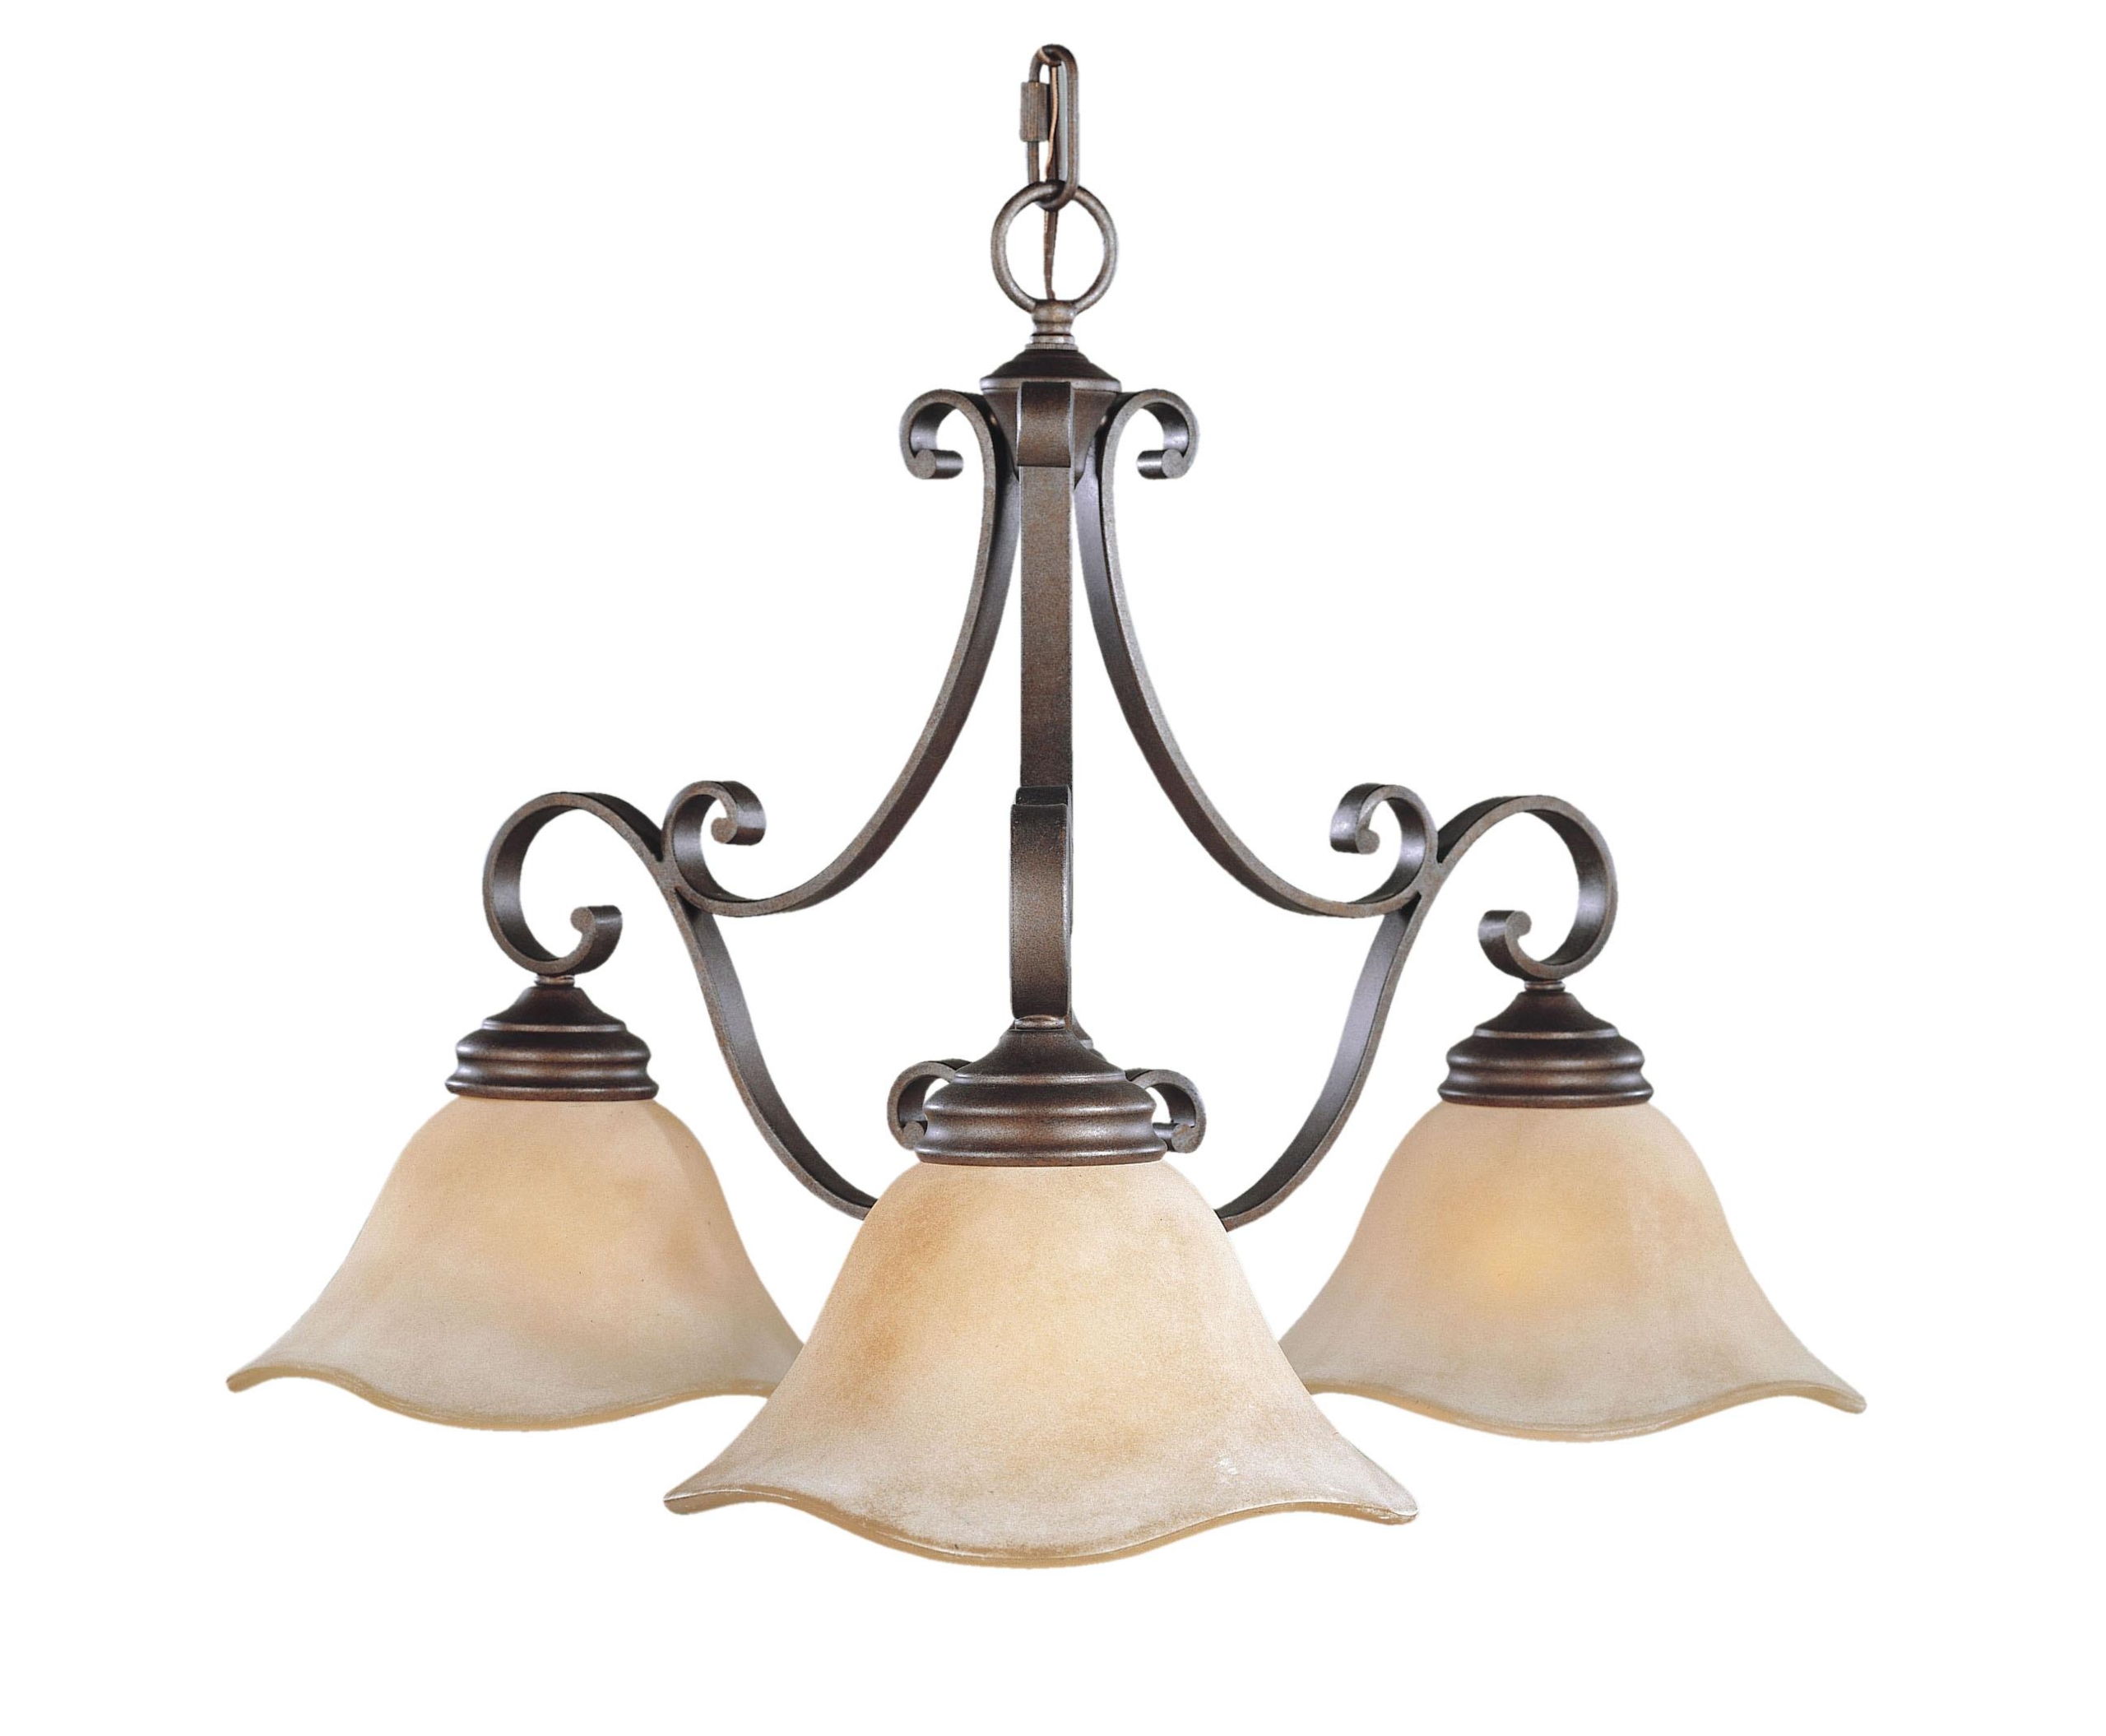
After selecting my chandelier, I needed task lighting over my sink area. I chose three smaller wrought iron pendant lights with seeded glass shades that coordinate with but don’t exactly match my chandelier. This intentional variation creates that collected-over-time feeling characteristic of authentic Tuscan homes rather than looking like everything came from the same catalog page.
The pendant lights hang at slightly different heights, which I initially thought was an installation error. My electrician explained that this subtle variation adds visual interest and references the handmade, imperfect quality of Old World craftsmanship. The heights vary by only about two inches, but this small detail makes a surprising difference in how organic and authentic the lighting scheme feels.
I selected pendants with adjustable rods, which proved invaluable. I could customize the exact hanging height based on my ceiling height and the specific location of each fixture. One hangs over my main sink, while the other two flank it, providing ambient lighting for the entire prep area. The flexibility meant I could fine-tune the installation after living with the fixtures for a few days and understanding how the light actually functioned in the space.

Choosing Under-Cabinet and Accent Lighting
While my decorative fixtures provide ambiance, I needed practical task lighting for food preparation. I installed under-cabinet LED strips along my perimeter counters, choosing warm white bulbs (2700K) that complement rather than compete with my Tuscan fixtures. The warm color temperature was essential because cool white LEDs would have destroyed the Mediterranean atmosphere I’d worked so hard to create.
I initially resisted under-cabinet lighting, thinking it felt too modern for Tuscan style. However, my kitchen designer showed me how proper installation could be invisible, with the light source hidden completely beneath the cabinet lip. The result illuminates my work surfaces beautifully while remaining concealed, providing function without compromising aesthetics during the day when the decorative fixtures are off.
Accent lighting became my secret weapon for highlighting Tuscan architectural details. I added small adjustable spotlights above my open shelving to illuminate displayed pottery and cookbooks. I also installed a discreet strip light inside my glass-front cabinets, creating a warm glow that showcases my collection of Italian ceramics. These subtle touches create depth and drama, especially in evening hours when the kitchen transforms into a truly magical space.

Finding the Perfect Wall Sconces and Additional Fixtures
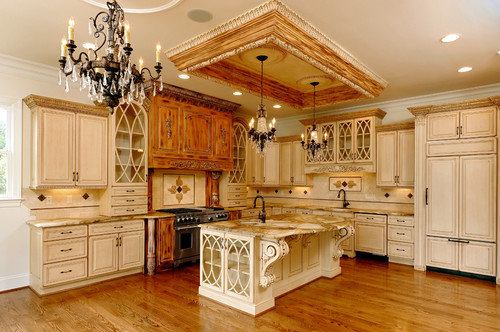
Wall sconces added the final layer to my lighting scheme, and finding the right ones took patience. I wanted fixtures that felt substantial but didn’t protrude too far into my kitchen’s circulation space. I eventually found wrought iron sconces with amber glass shades flanking my range hood, providing both task lighting for cooking and decorative impact.
The sconce placement required strategic thinking. I positioned them about 60 inches from the floor, which places them at eye level and creates flattering light distribution. This height also ensures they’re visible and appreciated rather than installed so high they become ceiling fixtures or so low they create glare. My electrician had to add new junction boxes, but the improvement in both function and beauty justified the extra expense.
I added one more unexpected light fixture, a small wrought iron ceiling fixture in my butler’s pantry. This space needed its own lighting, and I found a semi-flush mount fixture with hammered glass that coordinates with my kitchen fixtures while being appropriately scaled for the smaller room. Extending the Tuscan lighting aesthetic into adjacent spaces creates cohesion and makes the entire area feel intentionally designed rather than just the kitchen receiving attention.
Maintaining and Caring for Wrought Iron Fixtures
Living with wrought iron light fixtures for the past two years taught me important maintenance lessons. The hand-forged metal develops a natural patina over time, which I’ve learned to embrace rather than fight. I wipe my fixtures monthly with a soft, dry cloth to remove dust and cooking residue. For deeper cleaning, I use a barely damp cloth and immediately dry the metal to prevent water spots.
The glass shades require more frequent attention because kitchen cooking inevitably leaves grease film. I remove the shades every few months and wash them in warm, soapy water, then dry them thoroughly before reinstalling. Seeded or textured glass hides minor spotting better than clear glass would, which makes maintenance more forgiving. I’ve learned to clean the shades before they become obviously dirty rather than waiting for buildup.
One challenge I didn’t anticipate was keeping the fixtures properly tightened. The heat generated by bulbs, especially in the chandelier, can cause connections to gradually loosen over time. Every six months, I carefully tighten any loose screws or connections. I also check that glass shades remain secure in their holders. This simple maintenance prevents potential problems and ensures my fixtures continue looking and functioning beautifully year after year.

How much should I expect to spend on Tuscan kitchen light fixtures?
Quality Tuscan fixtures range significantly in price. My main chandelier cost $850, while pendant lights ran $120-200 each. Wall sconces were about $180 per pair. I spent approximately $1,500 total on all decorative fixtures, not including electrician fees. You can find less expensive options at big box stores starting around $200 for chandeliers, though quality and authenticity vary. I recommend investing in one statement piece and economizing elsewhere.
What type of bulbs work best in Tuscan light fixtures?
I use LED bulbs exclusively now for energy efficiency and longevity. Choose warm white bulbs between 2700K-3000K to maintain the cozy Tuscan ambiance. Avoid anything labeled daylight or cool white, which creates harsh, modern light. I prefer 40-60 watt equivalent brightness, depending on the fixture’s purpose. Dimmable bulbs add versatility, letting me adjust lighting for different times of day and activities.
Can Tuscan light fixtures work in kitchens with low ceilings?
Absolutely! I’ve helped friends with 8-foot ceilings create beautiful Tuscan lighting. Choose semi-flush mount fixtures or shorter chandeliers specifically designed for low ceilings. Pendant lights work wonderfully because you control the hanging height. Wall sconces become even more important in low-ceiling spaces, providing necessary light without taking up vertical space. The key is selecting appropriately scaled fixtures rather than abandoning the style altogether.
How do I clean hard-to-reach chandelier bulbs and shades?
I use an extendable duster for regular maintenance on my chandelier without removing the shades. For thorough cleaning, I carefully remove each shade and wash it in my sink. For bulb replacement, I use a small stepladder and work slowly. If your chandelier hangs very high, consider hiring a handyman for annual maintenance. I also keep spare bulbs on hand so I can replace them immediately when they burn out.

Should all my Tuscan fixtures match exactly?
No, and this is important! Tuscan style embraces collected, coordinated pieces rather than matching sets. My chandelier, pendants, and sconces share similar characteristics like wrought iron and amber glass, but aren’t identical. They feel like they were acquired over time from different artisans. This approach looks more authentic than buying a complete matching collection. Coordinate finish colors and general style while allowing individual personality.
How do I know if a fixture is authentically Tuscan or just marketed that way?
Look for hand-forged or hand-finished details rather than mass-produced uniformity. Authentic Tuscan fixtures show slight variations and imperfections. Check for quality materials like actual wrought iron rather than painted steel or plastic. The finish should appear aged or distressed, not shiny and perfect. Research manufacturers known for quality Mediterranean lighting. I recommend buying from specialty lighting stores where staff understand the style rather than relying solely on online photos and descriptions.

Tricks to Give Your Outdated Tuscan Decor the Boot
Under the Tuscan Moon: Old-World & Italian Lighting Style Guide

Tuscan Style Chandeliers – Ideas on Foter
Most Outdated Home Decor Styles and Decorating Trends

Tuscan lighting ideas tuscan, lighting, tuscan kitchen

Give Your Kitchen That Warm Tuscan Look
Related Posts:
- Tuscan Kitchen Light Fixtures
- Cottage Kitchen Lighting Ideas
- Country Kitchen Lighting Ideas
- Retro Kitchen Pendant Lights
- Rustic Industrial Kitchen Lighting
- Vintage Kitchen Light Fixtures
- Farmhouse Style Lighting For Kitchen
- Contemporary Kitchen Lighting Design
- Kitchen Bench Pendant Lights
- Kitchen Vanity Lights