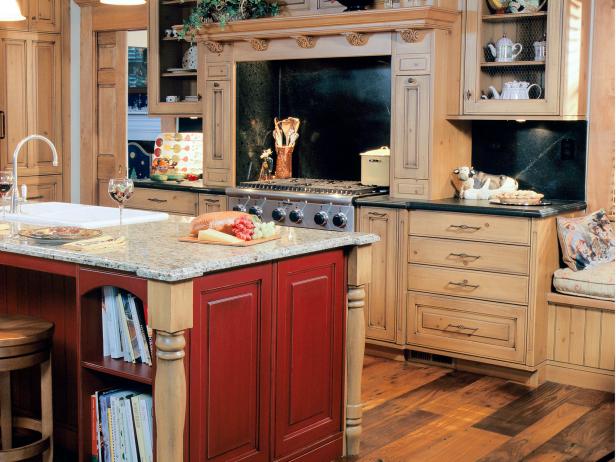
Three years ago, I faced the difficult decision between painted and stained kitchen cabinets during my major renovation. While painted cabinets dominated design magazines and social media feeds, something about showcasing natural wood grain called to me on a deeper level. I wanted my kitchen to feel warm and timeless rather than following trends that might look dated in a few years. The decision to stain my oak cabinets has proven to be one of the most rewarding choices I made, creating a kitchen that feels both sophisticated and deeply connected to nature’s inherent beauty.
The Warmth That Transformed My Kitchen Atmosphere
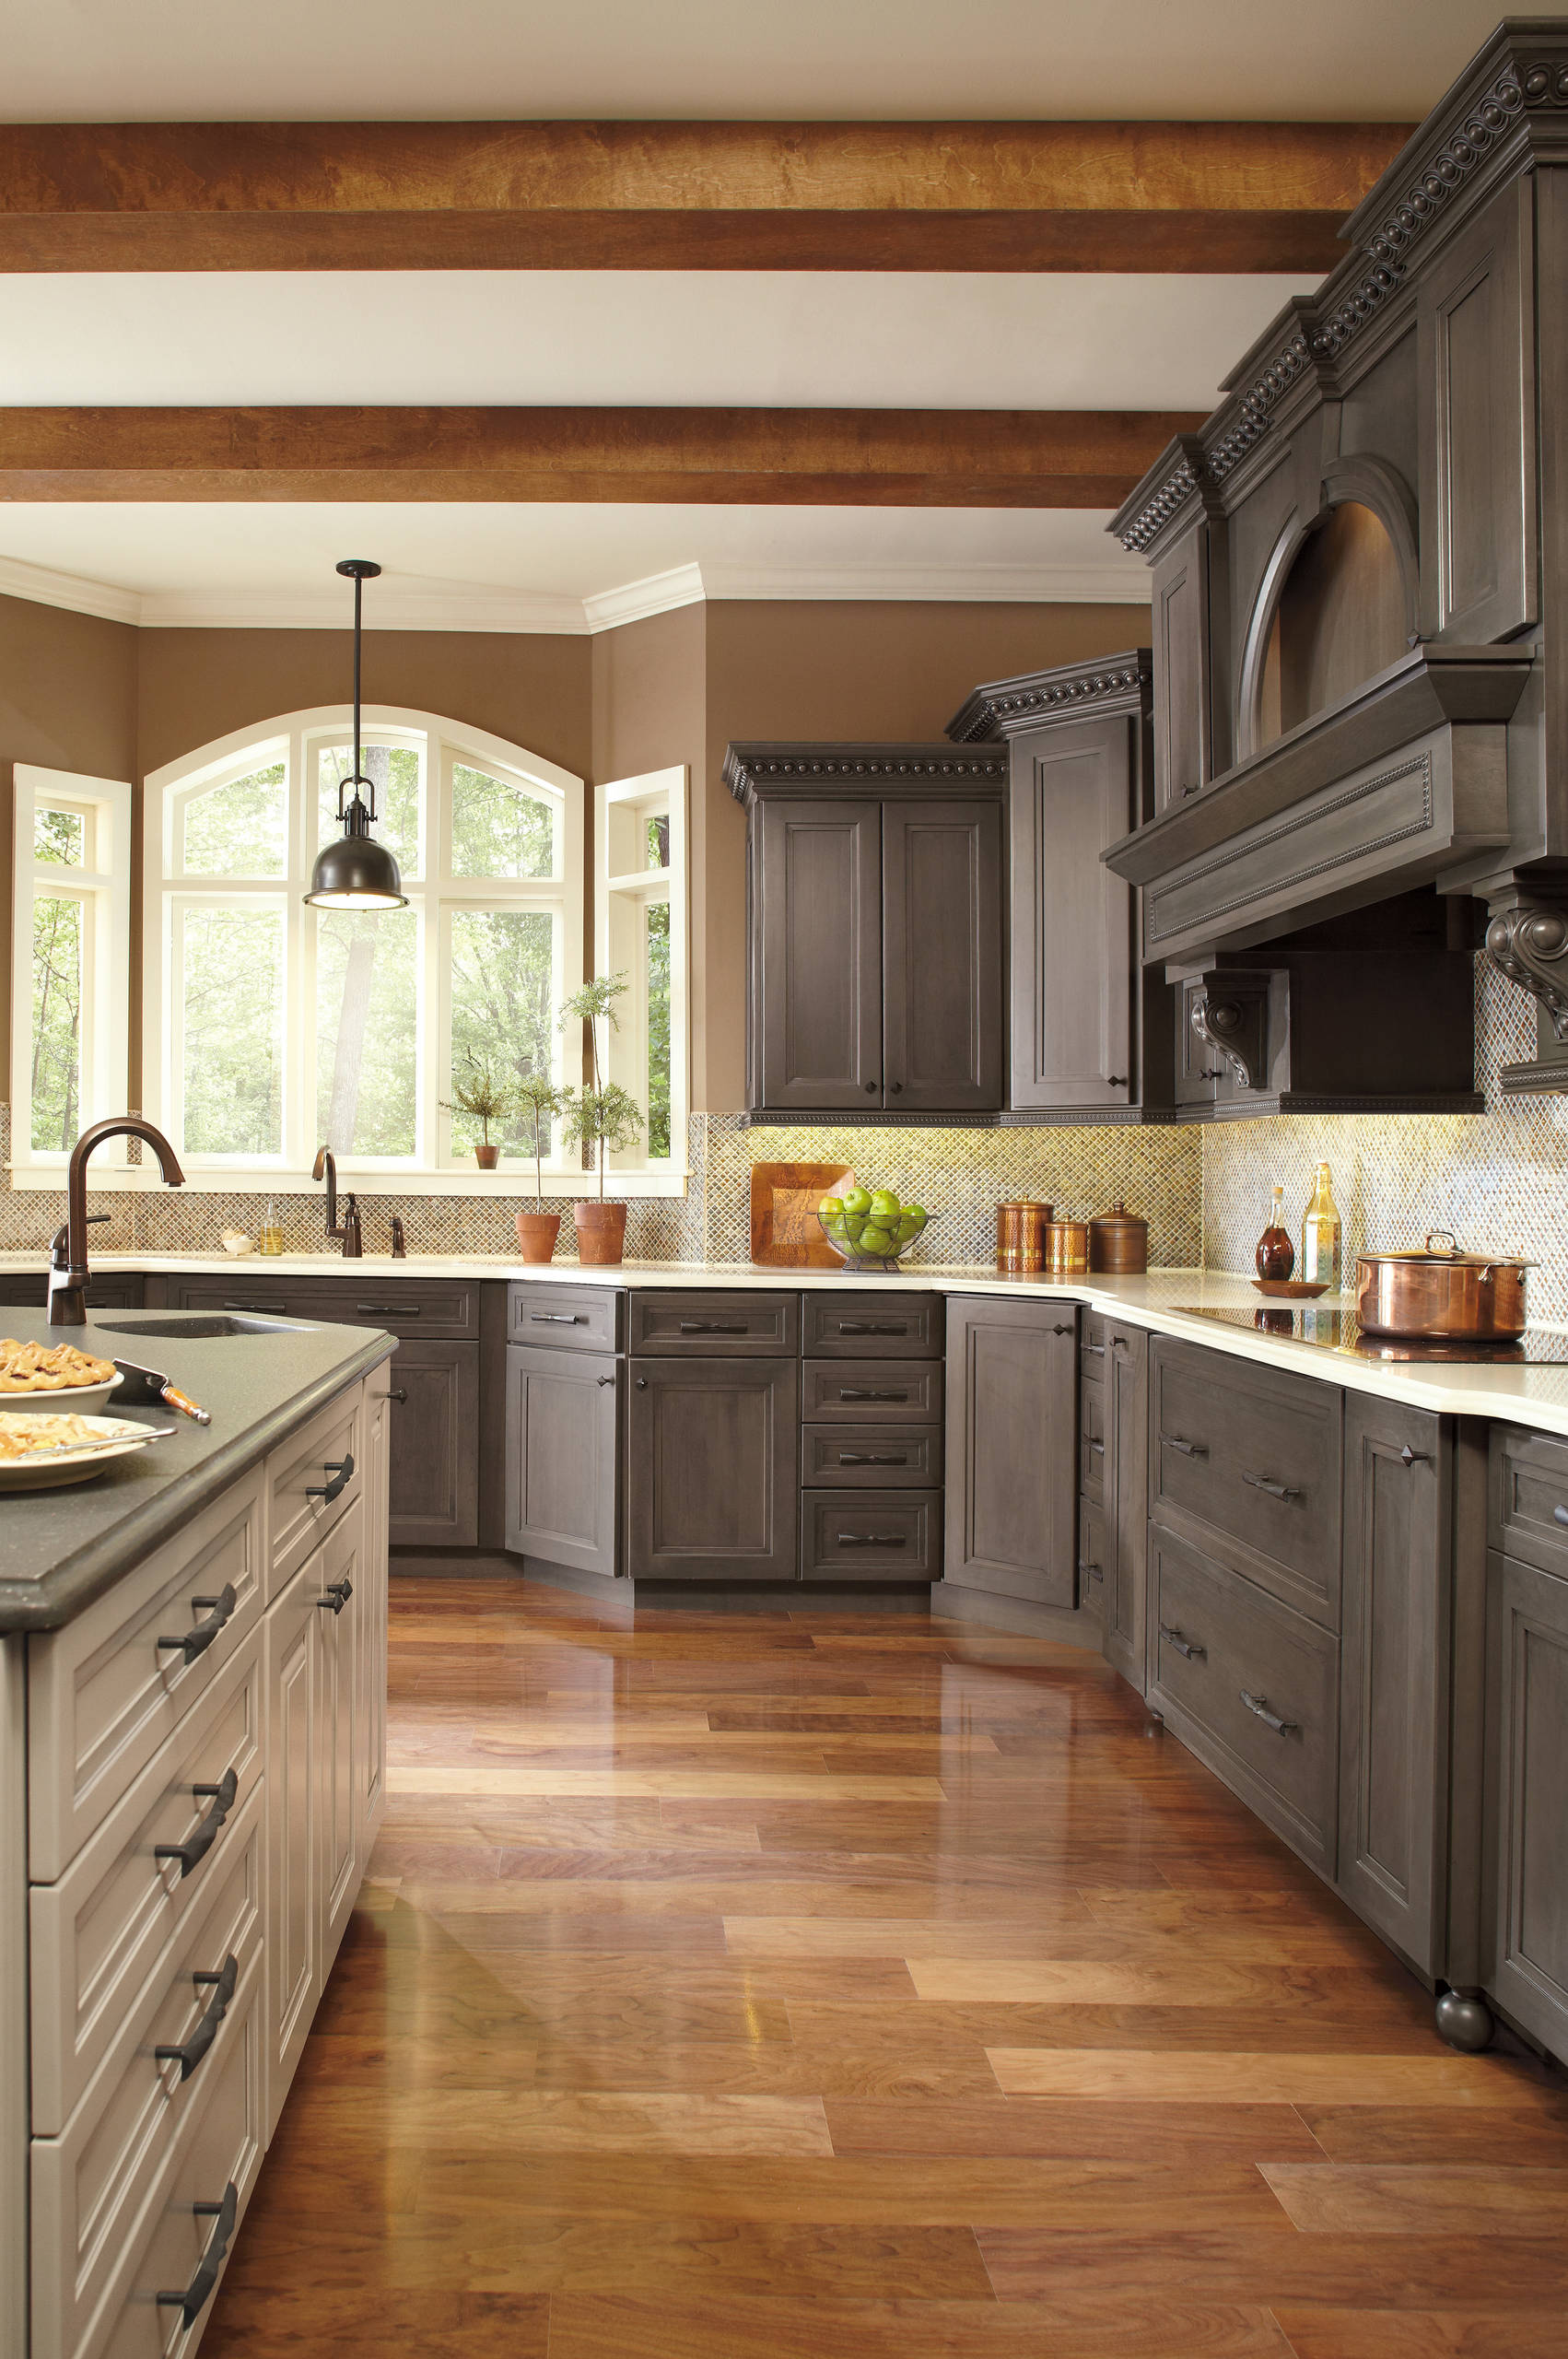
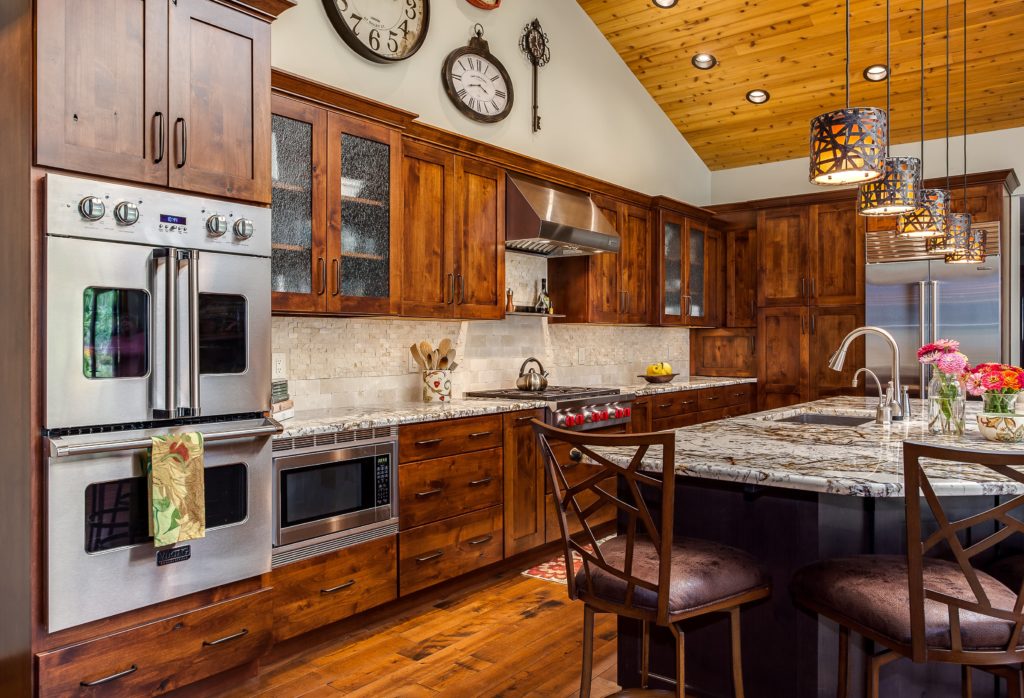
From the moment I applied the first coat of stain, I knew I had made the right choice for my kitchen’s overall ambiance. The rich, honey-colored finish brought an immediate warmth to the space that painted cabinets simply could not replicate. Natural wood grain creates depth and visual interest that changes throughout the day as light moves across the surfaces, making my kitchen feel alive and dynamic.
The organic patterns in the wood grain provide a sophisticated alternative to the flat, uniform appearance of painted surfaces. Each cabinet door tells its own story through unique grain patterns, knots, and natural variations that make every piece distinctive. This natural character adds personality to my kitchen that manufactured materials or painted finishes cannot match, creating a space that feels authentically mine.
I’ve discovered that stained cabinets create a calming backdrop that complements both warm and cool color schemes throughout my home. The neutral brown tones work beautifully with my granite countertops and stainless steel appliances while providing a foundation that allows me to change accessories and wall colors without clashing. This versatility has proven invaluable as my design preferences have evolved.
Durability Benefits I Never Expected
The protective qualities of quality wood stain have exceeded my expectations for daily kitchen use. Unlike painted surfaces that chip and show wear at handle areas, my stained cabinets have maintained their appearance despite constant opening and closing. The stain penetrates deep into the wood fibers, creating a durable finish that becomes part of the wood itself rather than sitting on top like paint.
Minor scratches and dings that would be catastrophic on painted cabinets virtually disappear into the natural grain patterns of stained wood. I’ve watched small accidents and daily wear blend seamlessly into the wood’s texture, making damage nearly invisible. This forgiving nature means my cabinets continue to look beautiful without requiring the constant touch-ups that painted surfaces often need.
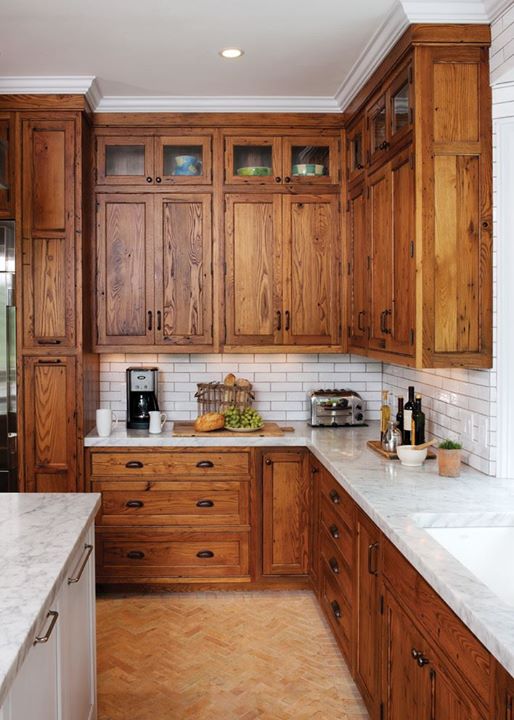
The aging process has actually improved my cabinets’ appearance over time. The stain has deepened slightly, developing a rich patina that adds character and sophistication. This natural maturation process contrasts sharply with painted cabinets that often look tired or worn after several years of use, making stained wood an investment that appreciates rather than depreciates over time.
Color Selection and Personal Style Expression
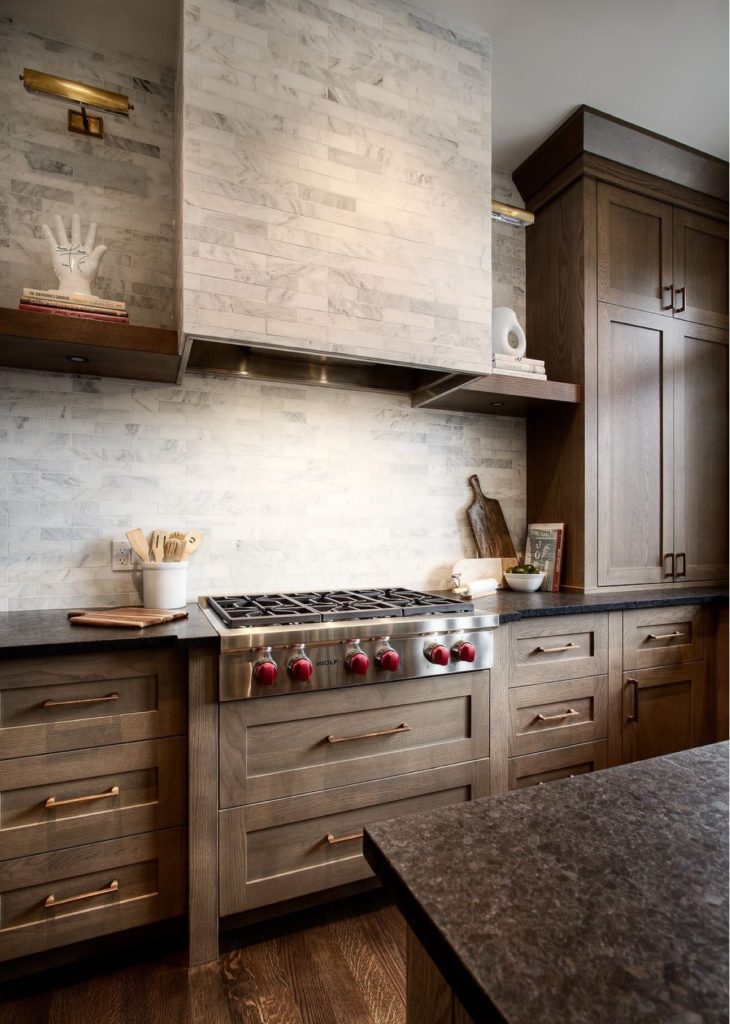
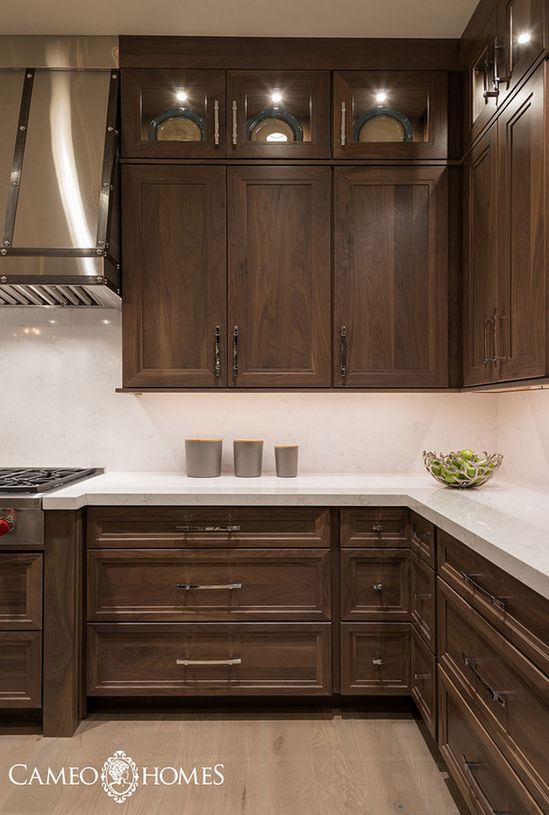
Choosing the right stain color required careful consideration of my kitchen’s existing elements and my long-term design vision. I tested multiple shades on sample pieces, observing how each looked under different lighting conditions throughout the day. The medium-toned honey oak I selected complements my warm-toned granite countertops while providing enough contrast to define the cabinet faces clearly.
The natural variation in wood grain means that stain color appears slightly different across each cabinet door, creating visual interest without being overwhelming. This organic variation prevents the monotonous appearance that can occur with solid painted surfaces, adding depth and character that makes my kitchen feel more sophisticated and thoughtfully designed.
I appreciate how stain allows the wood’s natural beauty to shine through while still providing the color impact I wanted for my design scheme. The transparency of stain preserves the grain patterns and natural characteristics that make wood so appealing, unlike opaque paint that completely obscures these attractive features beneath a uniform colored surface.
Application Process and Technique Mastery
Learning to apply stain properly required patience and practice, but the process became meditative and rewarding once I developed the right technique. I discovered that consistent application depends on maintaining wet edges and working systematically across each surface. The key is applying stain evenly and wiping excess material before it becomes tacky or uneven.
Preparation proved crucial for achieving professional-looking results on my cabinet project. I spent considerable time sanding each surface to ensure smooth, uniform stain absorption. Proper preparation eliminates blotches and ensures consistent color across all cabinet surfaces, making the extra effort worthwhile for the final appearance and long-term durability.
The multiple coat process allowed me to build up color gradually and achieve the exact shade I envisioned for my kitchen. Each additional coat deepened the color while maintaining the wood’s natural transparency. This layered approach provides control over the final appearance that single-coat applications cannot match, resulting in richer, more complex coloring.

Maintenance Realities and Long-Term Care
Daily maintenance of my stained cabinets involves simple cleaning with mild soap and water, followed by immediate drying to prevent water spots or damage. I avoid harsh chemicals or abrasive cleaners that could damage the stain or wood surface. A weekly application of quality wood polish keeps the finish looking rich and protected while nourishing the underlying wood.
Annual inspection and touch-up maintenance has become a routine part of caring for my stained cabinets. I examine high-wear areas like handles and door edges for signs of wear, applying additional stain as needed. This proactive approach prevents minor issues from becoming major problems while preserving the cabinets’ beautiful appearance year after year.
The long-term care requirements are actually less demanding than I initially feared. Quality stain and proper application create a durable finish that withstands normal kitchen use without constant attention. When eventual refinishing becomes necessary in 10-15 years, the process will refresh the entire kitchen’s appearance at a fraction of the cost of cabinet replacement.

Cost Comparison and Investment Value
The initial cost of staining my existing cabinets proved significantly less expensive than replacement with new painted units of comparable quality. Professional staining services cost approximately 30% of new cabinet installation, while DIY staining reduced costs even further. This economical approach allowed me to allocate more budget toward high-quality countertops and appliances.
Stained cabinets retain their value better than painted alternatives, particularly as design trends shift toward natural materials and authentic finishes. The timeless appeal of wood grain ensures my kitchen won’t look dated as quickly as trend-driven painted colors might. This longevity protects my investment while maintaining strong resale appeal for potential buyers.
The return on investment for cabinet staining has exceeded my expectations through increased home value and personal satisfaction. Real estate professionals consistently note that quality wood finishes appeal to buyers seeking permanent, high-end kitchen features. The combination of cost savings and value retention makes staining an intelligent choice for homeowners seeking maximum impact per dollar invested.

How long does cabinet staining typically take to complete?
Cabinet staining timelines depend on kitchen size and whether you hire professionals or tackle the project yourself. My 25-cabinet kitchen took professional contractors three days to complete, including preparation, staining, and drying time. DIY projects typically require 1-2 weeks working evenings and weekends, allowing proper drying between coats. Factor in additional time for hardware removal, cleaning, and reinstallation. Rushing the process compromises results, so plan adequate time for each step. Weather affects drying times, with humid conditions extending the process considerably.
What types of wood take stain best for kitchen cabinets?
Oak, maple, cherry, and hickory accept stain beautifully due to their open grain structure and natural porosity. My oak cabinets absorbed stain evenly, creating rich, consistent coloring across all surfaces. Maple requires careful technique due to its tight grain but produces stunning results when done properly. Pine and other softwoods can blotch without proper preparation and conditioning. Existing cabinet wood species largely determines staining success, though proper preparation techniques can improve results on challenging woods. Consider wood characteristics when planning your staining project.
Can I stain cabinets that were previously painted?
Staining previously painted cabinets requires complete paint removal, which significantly increases project complexity and cost. I consulted professionals who explained that paint must be completely stripped to bare wood for stain penetration. Chemical strippers, sanding, or heat guns remove paint but require proper ventilation and safety equipment. The underlying wood condition determines whether staining produces attractive results after paint removal. Often, replacement or re-painting proves more cost-effective than attempting to stain over previously painted surfaces. Evaluate carefully before committing to this challenging process.
How do I choose the right stain color for my kitchen?
Test stain colors on actual cabinet wood samples, observing results under various lighting conditions throughout the day. I tested five different shades before selecting my final color, noting how each looked with my countertops and flooring. Consider your kitchen’s overall color scheme, natural lighting, and personal preferences for warm versus cool tones. Popular choices include honey oak, cherry, walnut, and espresso shades. Order sample stains and apply to hidden cabinet areas to preview results before committing to full application across your entire kitchen.

What’s the difference between gel stain and traditional liquid stain?
Gel stain provides more control and even coverage, making it ideal for vertical surfaces like cabinet doors, while liquid stain penetrates deeper but requires more skill to apply evenly. I used gel stain for its forgiving nature and reduced dripping on vertical surfaces. Gel stain sits on the surface longer, allowing more working time and easier blending. Traditional liquid stain penetrates deeper, potentially creating richer color but requiring faster work and more experience. Both types require proper preparation and technique for professional results. Choose based on your skill level and desired appearance.
How often do stained kitchen cabinets need refinishing?
Quality stained cabinets typically need refinishing every 10-15 years depending on usage, care, and environmental conditions. My three-year-old cabinets still look excellent with basic maintenance and annual touch-ups of high-wear areas. Kitchens with heavy use or harsh conditions may require more frequent attention. Signs indicating refinishing needs include dull appearance, worn areas around handles, or color fading. Proper maintenance extends refinishing intervals significantly. When refinishing becomes necessary, the process refreshes the entire kitchen appearance at reasonable cost compared to cabinet replacement. Plan for this eventual maintenance when budgeting long-term kitchen costs.
Painted vs Stained Cabinets – JM Kitchen and Bath Design
Stunning Kitchens with Stained Cabinets – Sincerely, Marie Designs
Pros and Cons of Painted vs. Stained Cabinets
Related Posts: