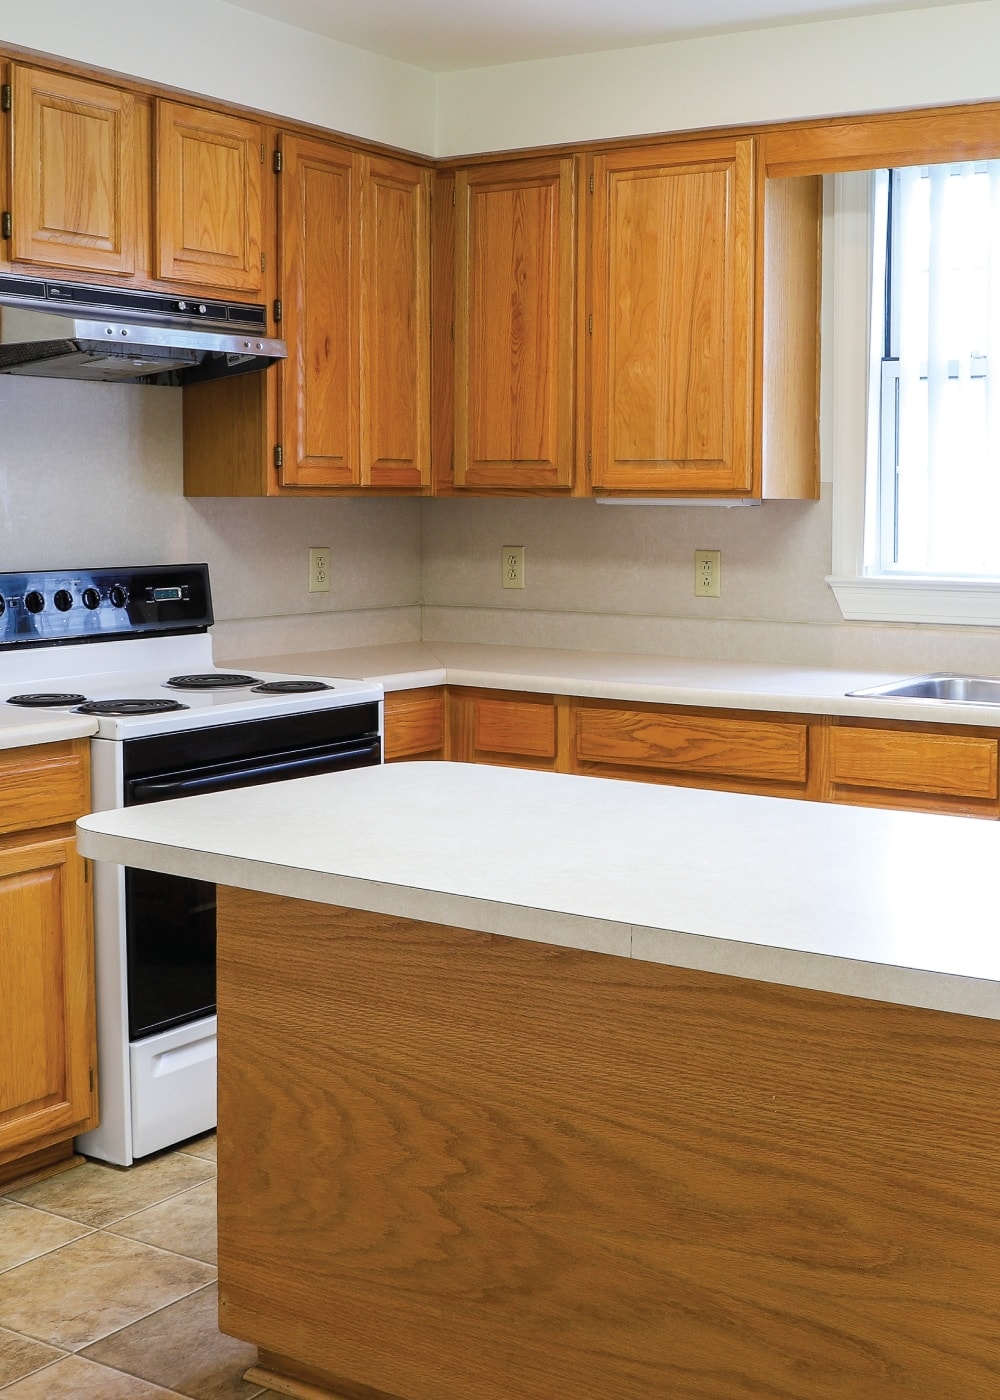
When I initially went into my old kitchen three years ago, the faded laminate countertops instantly drew my notice. When visitors arrived, they were chipped, discolored, and, frankly, embarrassed. I knew that replacing my countertops would be one of the most significant adjustments I could make to enhance my kitchen. After months of research, planning, and execution, I gained vital insights that I’d want to share with anyone thinking about this fascinating home improvement project.
Selecting the Suitable Material for Your Lifestyle
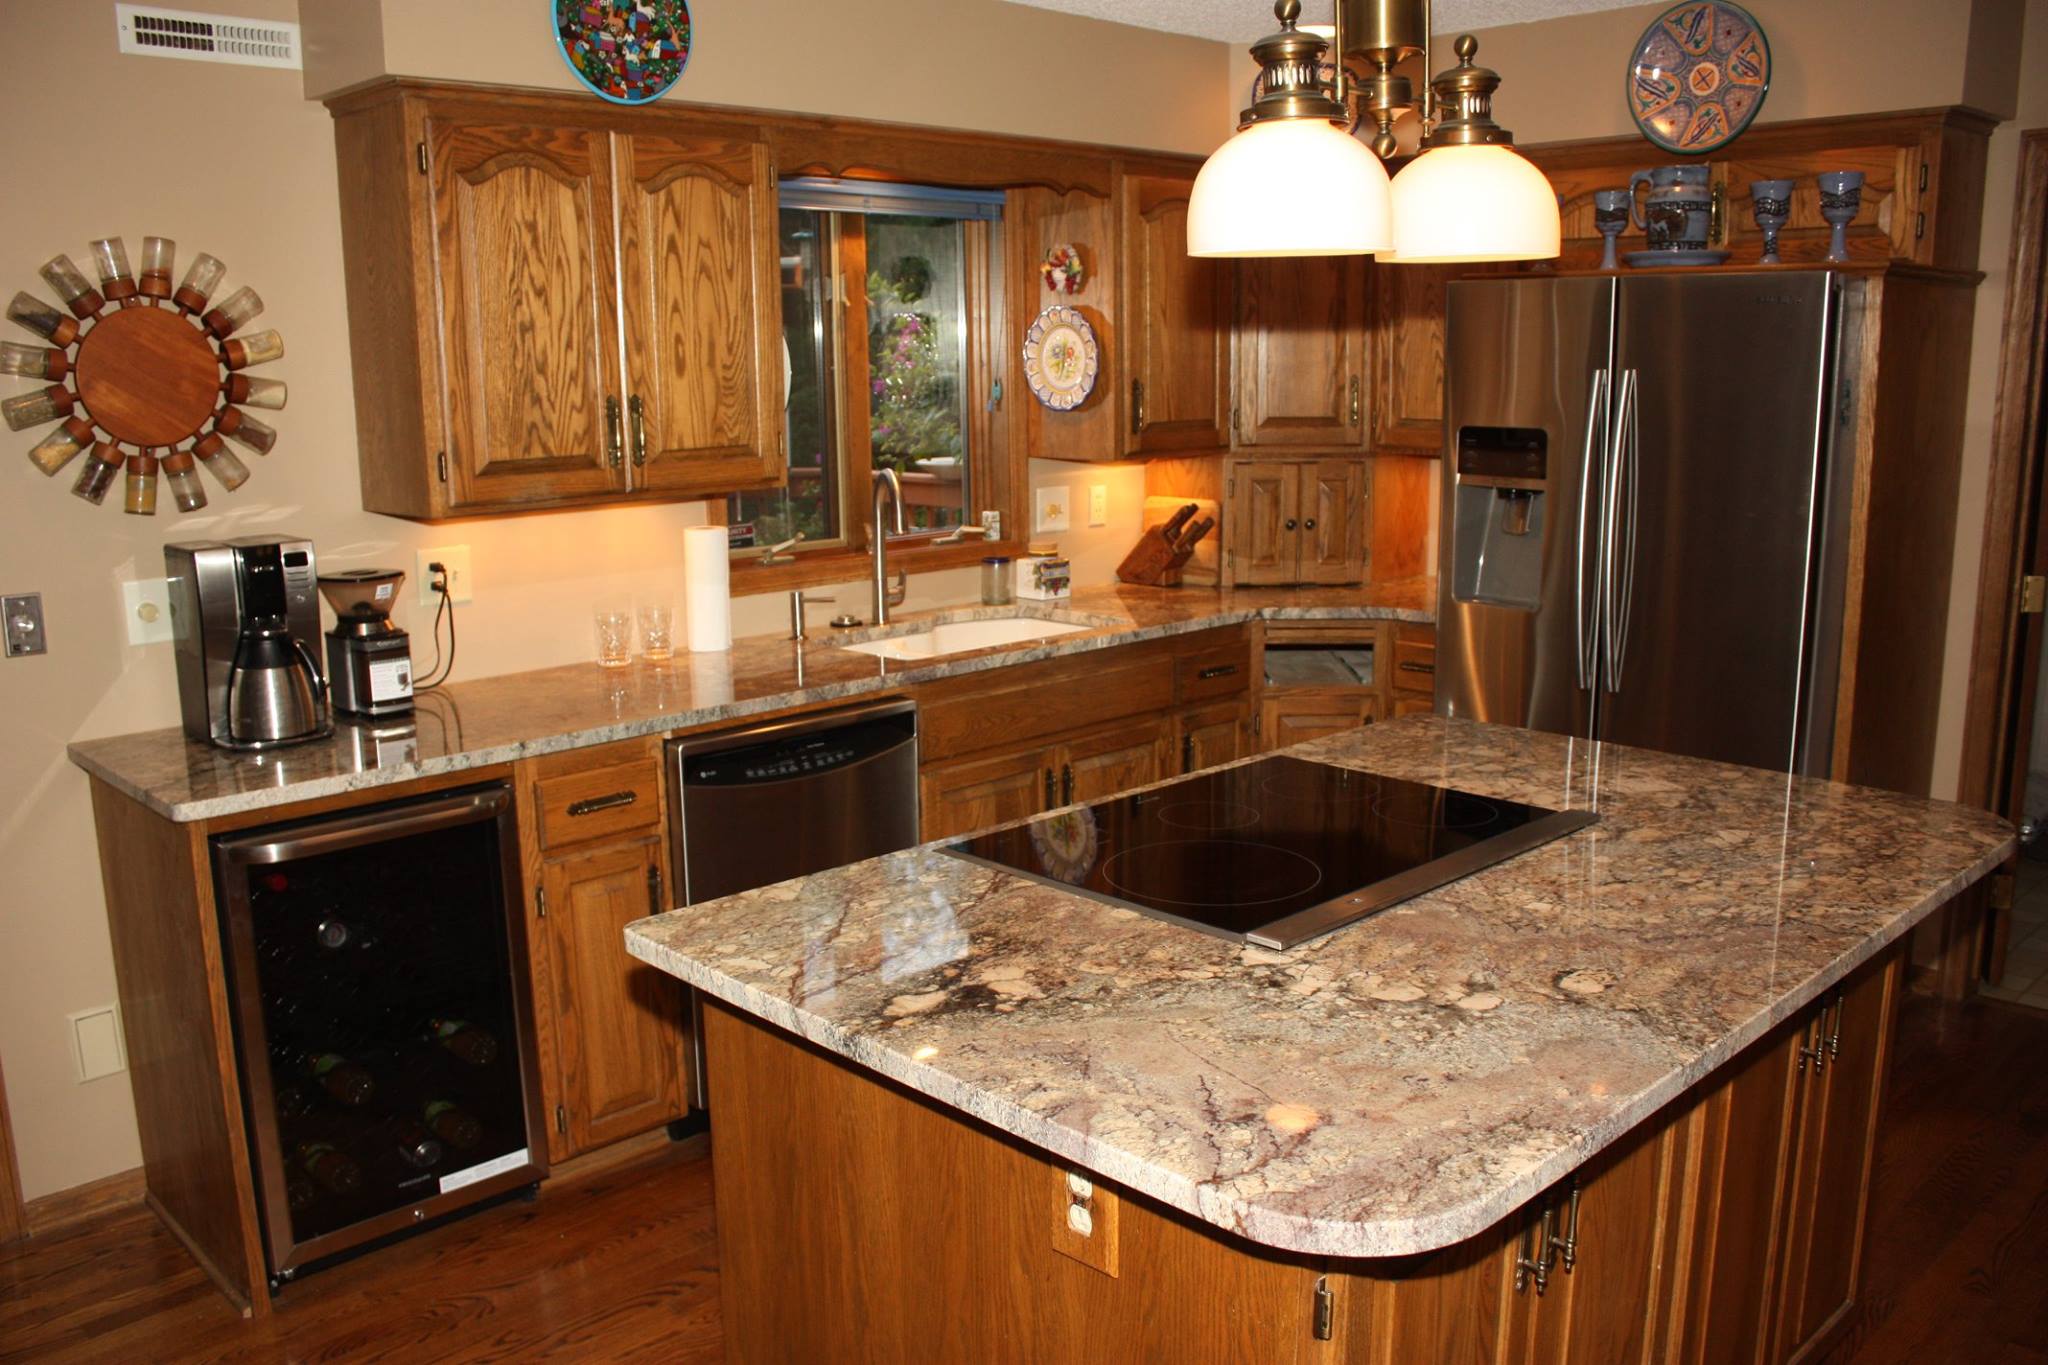
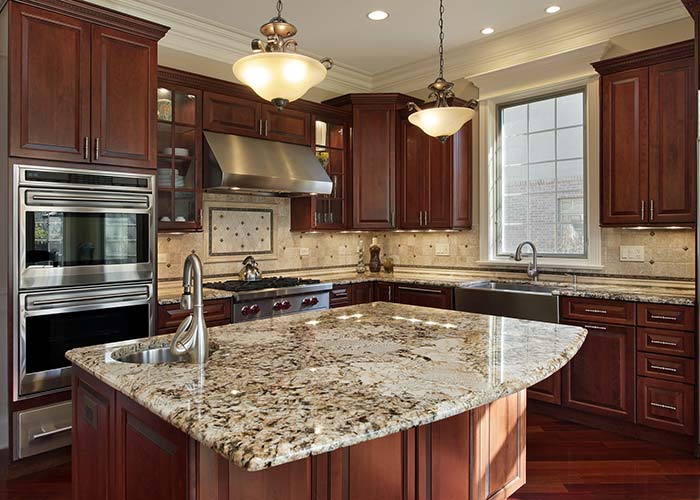
My first significant decision entailed choosing the ideal countertop material. I spent weeks going to showrooms, handling samples, and picturing how each option would appear in my home. Granite first attracted to me due of its natural beauty and durability, but the upkeep requirements put me off.
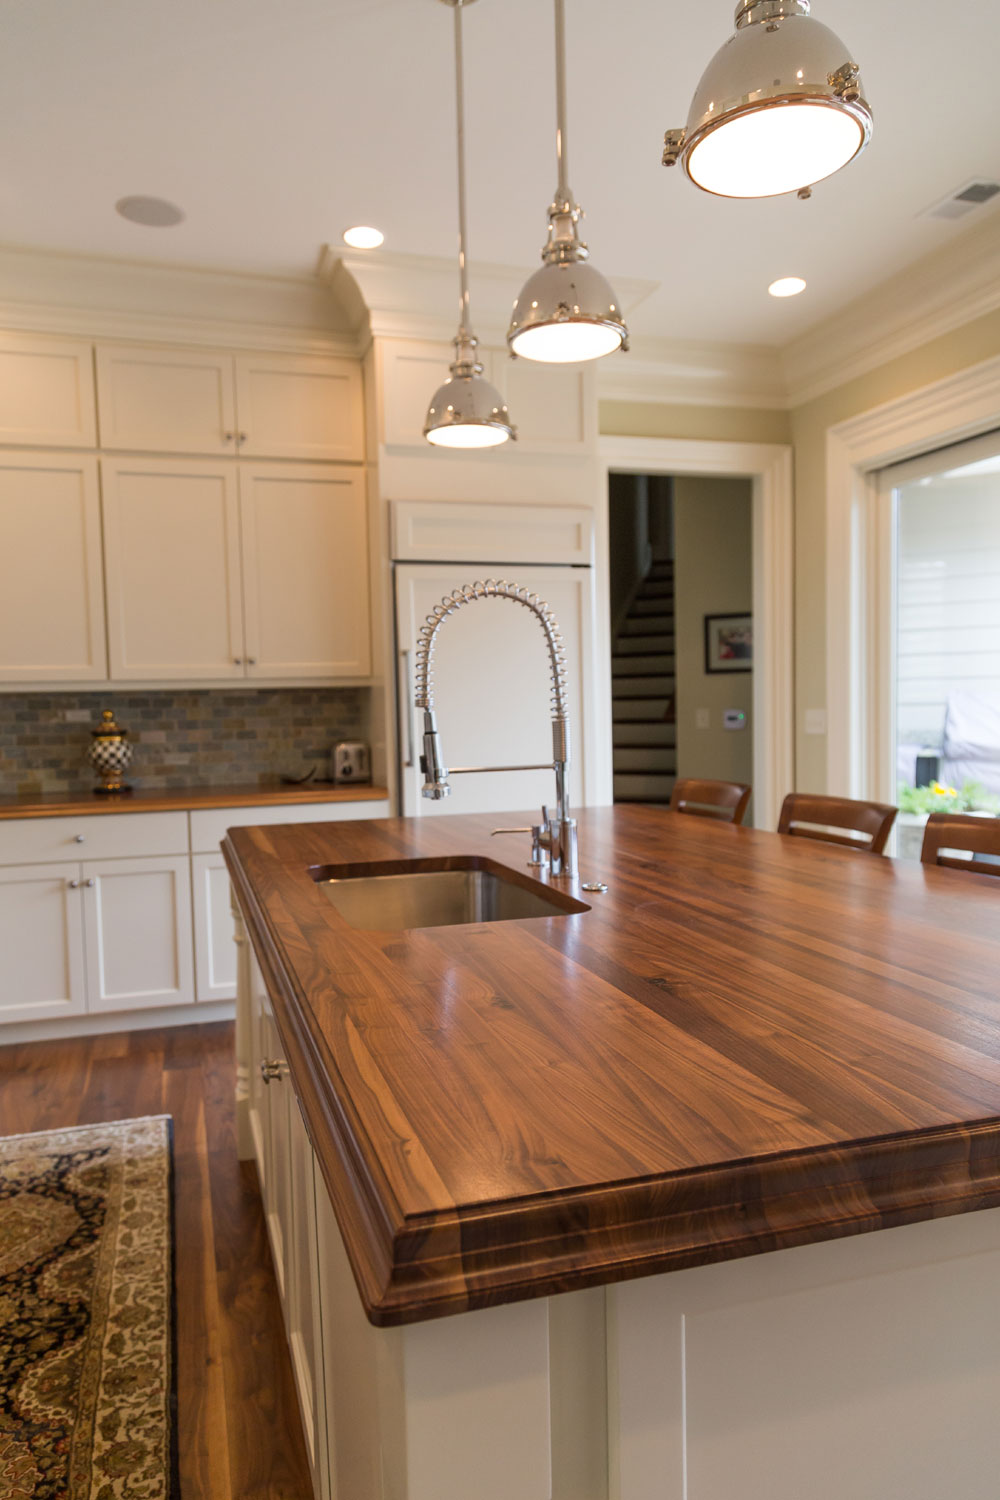
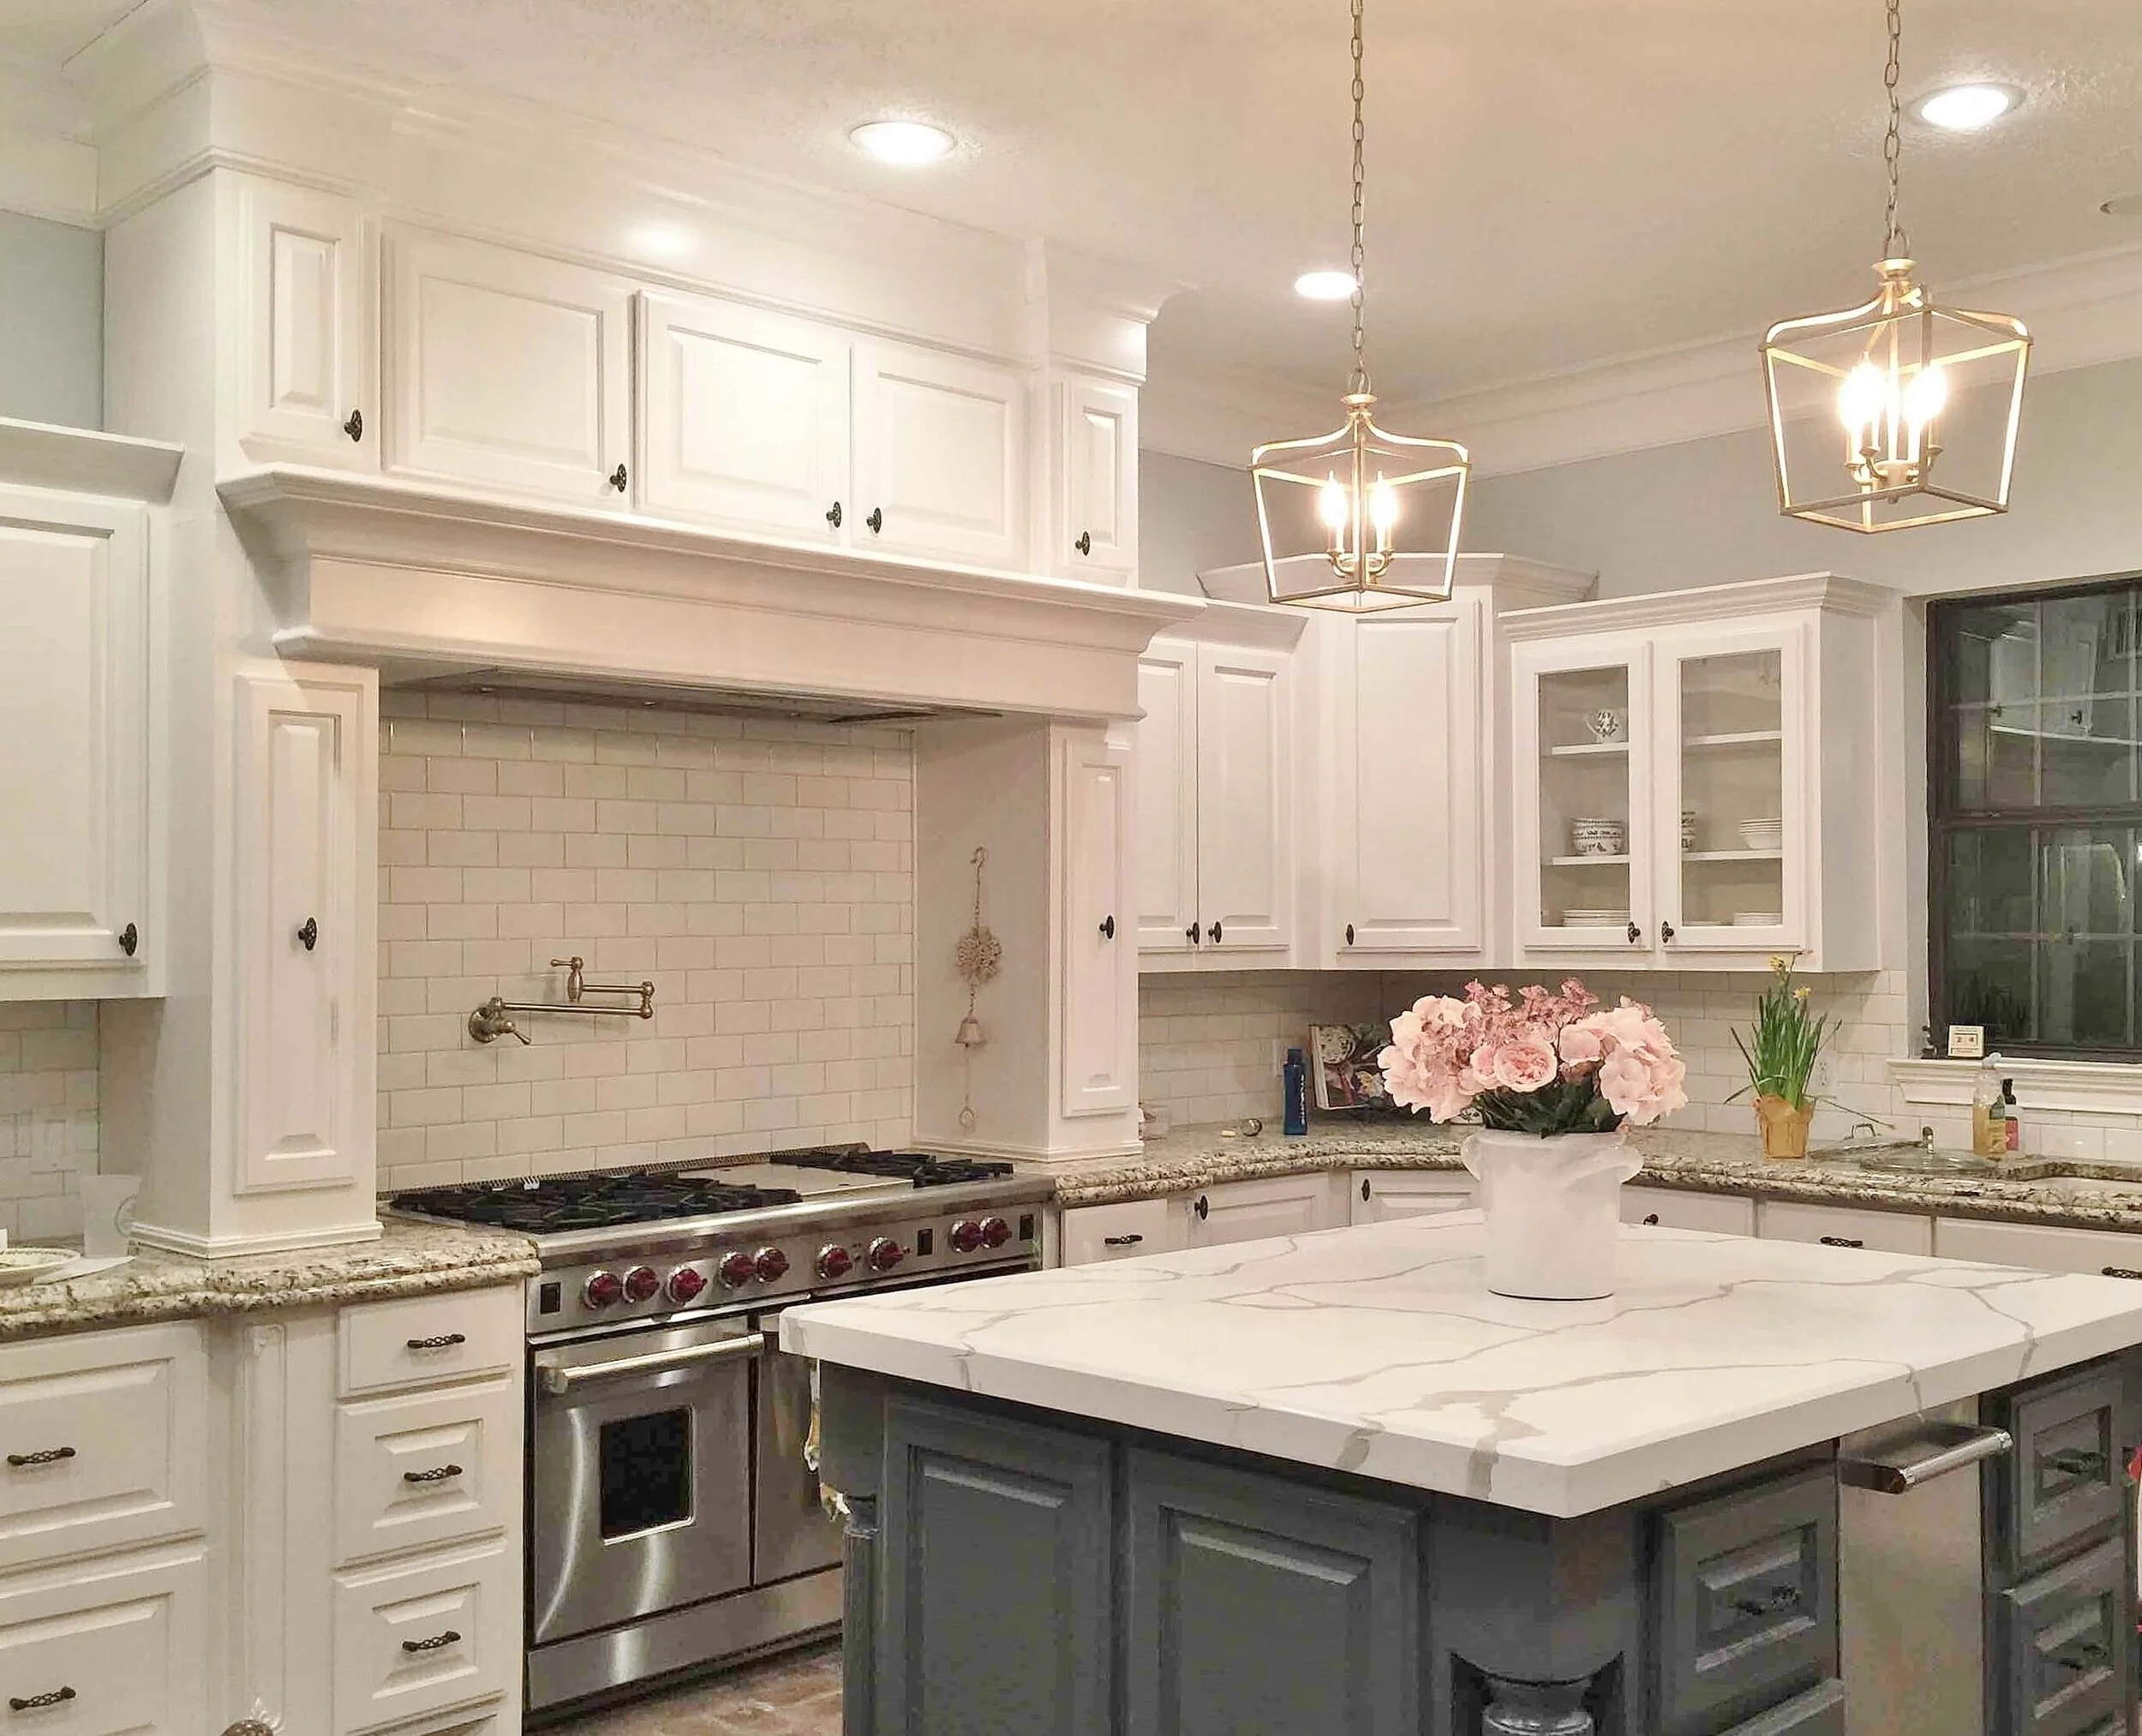
Quartz rapidly became my preferred material after learning about its nonporous surface and constant patterns. Unlike natural stone, it does not require frequent sealing and has excellent stain resistance. The diversity of colors and finishes offered allowed me to choose something that completely complemented my concept for the room.
After examining my cooking habits and my family’s demands, I determined that investing in high-quality materials now would save me money in the long run. The decision-making process showed me that the cheapest option is not always the most cost-effective when considering durability and maintenance costs over time.
Plan Your Budget and Timeline
Setting a realistic budget proved more difficult than I expected. Aside from the material expenses, I needed to budget for the removal of existing worktops, probable plumbing upgrades, and professional installation. When I took into account all of the hidden charges, my initial estimate was about 30% off.
I learnt how to collect numerous bids from various contractors and vendors. The price differences were enormous, often ranging from thousands of dollars for the same items and services. Taking the time to carefully analyze choices enabled me to make educated judgments without sacrificing quality.
The schedule became critical when I learned my kitchen would be useless throughout installation. I planned meals with minimal prep effort and set up temporary cooking options. Understanding the entire magnitude of interruption allowed me to better prepare my family for the next construction period.

The Measurement and Templating Process
Accurate measurements formed the basis of my entire effort. I made the mistake of taking initial measurements myself, only to find out later that expert templating was required for custom manufacturing. Standard measuring tools cannot offer the level of precision required for precise fit.
Professional templaters arrived after my cabinets were entirely finished and the old counters were removed. They made detailed templates using specialist technology that recorded every angle, curve, and irregularity in my cabinet plan. This method usually takes several hours but produces flawless results.
I observed the templating process closely and inquired about edge treatments, overhang specifications, and cutout placements. Understanding these specifics allowed me to communicate effectively with fabricators and avoid costly mistakes during the manufacturing and installation processes.

Installation Day Preparations
Preparing for installation day needed more organization than I anticipated. I emptied all objects from cupboards, removed any appliances that might obstruct access, and covered the surrounding regions from dust and dirt. The preparation took all day but made the installation go much more smoothly.
My contractor urged me to establish a backup meal plan in case the kitchen became absolutely unusable. I put up a temporary culinary station in my dining room, complete with a microwave, coffee maker, and basic ingredients. This was quite useful during the two-day installation process.
Communication with my installation team prior to their arrival helped set appropriate expectations. We talked about the order of work, anticipated issues, and cleanup methods. Having these chats in advance avoided misunderstandings and ensured that everyone was prepared for success.
Dealing With Unexpected Challenges
Despite cautious planning, I ran into a few unforeseen challenges during my restoration. The previous plumbing connections did not properly align with my new sink location, necessitating extra changes that added time and money to the job. These unexpected expenses showed me the value of having emergency savings on hand.
My old countertops had masked some cabinet damage, which was only revealed after removal. The old installation caused water damage in one area, which needed to be repaired before new countertops could be fitted. Addressing these difficulties appropriately was critical to long-term success.
When complications emerged, I learnt to be flexible and rely on my contractor’s knowledge. Their experience allowed them to overcome hurdles effectively while maintaining quality standards. Having realistic expectations about potential setbacks reduced stress and made the entire process more tolerable.

Maintaining Your New Investment
After my lovely new countertops were completed, I wanted to maintain my investment correctly. I investigated the finest cleaning chemicals and processes for my chosen material. Establishing appropriate maintenance habits from the start has preserved my surfaces in pristine condition after three years of continuous use.
Daily cleaning got easier than with my previous laminate surfaces. Most spills and messes can be effectively cleaned up with a microfiber cloth and mild soap. I avoid using abrasive cleansers and cutting directly on the surface to protect the finish and prevent damage from happening.
Seasonal deep cleaning and occasional inspections allow me to identify potential problems early. I look for loose edges, strange stains, or evidence of deterioration that may require professional treatment. This proactive approach has helped to preserve the beauty and usefulness of my investment.
How long does it generally take to complete a countertop restoration from start to finish?
My remodeling took around six weeks, from first consultation to final installation. This comprised two weeks for material selection and design finalization, two weeks for fabrication after templating, and additional time for scheduling to accommodate my contractor’s availability. The actual installation took two days, but preparation and planning consumed the most of the time. I recommend allowing extra time for unexpected delays, especially if you’re working with numerous contractors or need specialized fabrication.
What is the best cost-effective technique to renovate countertops while maintaining quality?
After considering several possibilities, I discovered that mid-range quartz or granite with conventional edge treatments provided the best value. Avoiding exotic materials and intricate edge profiles resulted in substantial cost savings while preserving durability and look. Shopping during discount seasons and getting various quotations allowed me to negotiate better prices. I also saved money by doing the demolition of old worktops myself, albeit this needs the right tools and safety procedures.

Should I try DIY installation or hire a professional for countertop renovation?
Based on my observations of the process, I strongly advocate expert installation. The precision required for good fitting, the specialized tools required for cutting and manipulating heavy materials, and the expertise required for plumbing connections necessitate the use of experienced contractors. While DIY may appear to be a low-cost option at first, errors can be highly costly to fix and may negate material warranties. Professional installation often includes a workmanship guarantee.
How can I decide between natural stone and engineered materials for my kitchen?
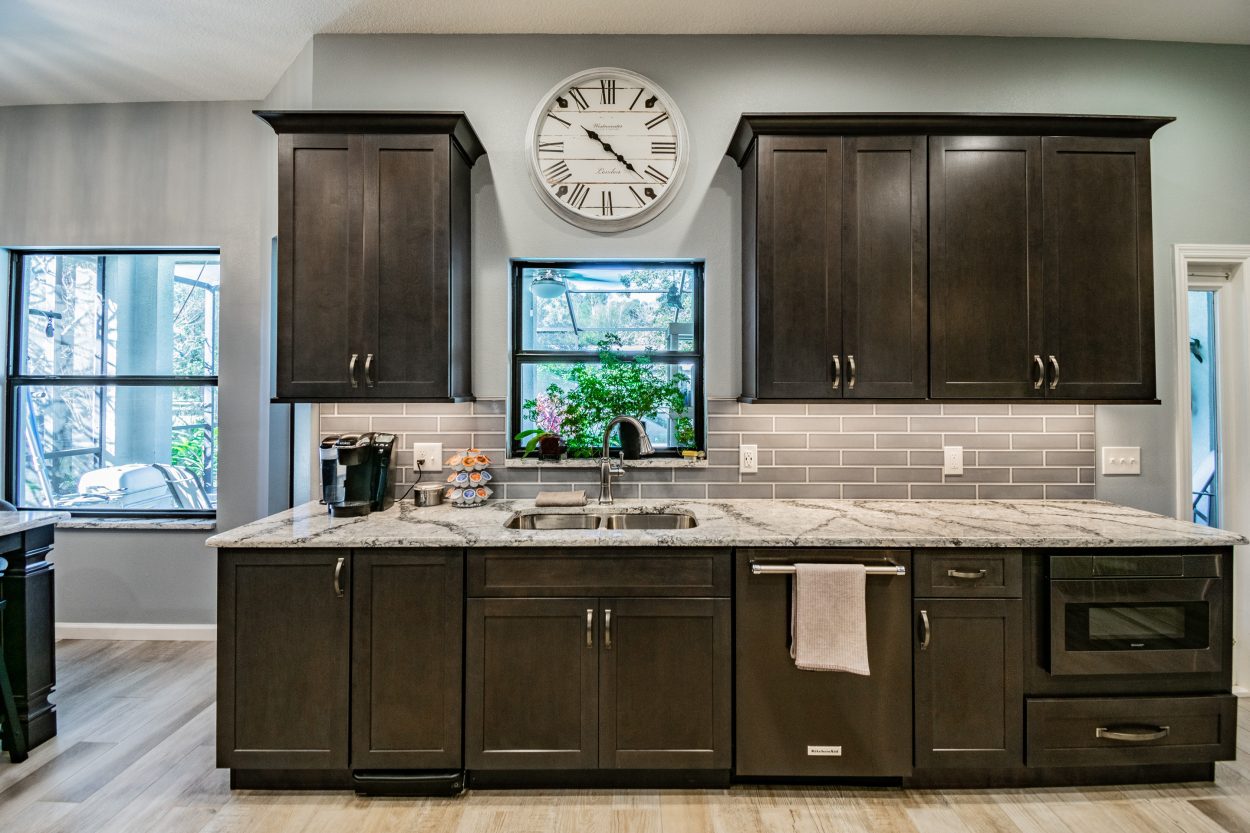
My decision-making process included assessing maintenance requirements, appearance preferences, and lifestyle factors. Natural stone has distinctive patterns and character, but it requires regular sealing and more careful upkeep. Engineered materials such as quartz offer a consistent appearance, greater stain resistance, and low care requirements. Consider your cooking habits, willingness to maintain surfaces, and long-term care budget while making this decision. When used correctly, both techniques can produce outstanding results.
How should I prepare before the installation staff arrives?
Preparation was critical for a flawless installation in my experience. Clear all cabinet contents and remove small appliances from counter tops. Disconnect and remove any equipment that may block entry, such as dishwashers or cooktops. Protect neighboring surfaces and valuables from dust and debris. Plan alternate meal preparation plans because your kitchen will be useless. Communicate with installers regarding parking, access routes, and any building restrictions that may impact their work schedule.
How can I ensure that my new countertops complement my current kitchen design and color scheme?
I spent a long time gathering samples and examining them under various lighting situations in my actual kitchen environment. Natural and artificial lighting can significantly alter how materials seem, therefore examining samples in your specific setting is critical. When choosing colors for cabinets, backsplashes, and flooring, keep undertones in mind. I made a mood board with all of my kitchen pieces to see how everything worked together. Many vendors provide big samples or even small remnants, allowing for more thorough inspection before making final judgments.

Resurfacing Kitchen Countertops
New Countertops in Kitchen Remodel – Granite Countertops
Tips For Partial Kitchen Makeovers
Best Kitchen Countertops Boise Idaho North Star Remodels
Kitchen Remodeling Tampa Why Do Non-Porous Kitchen Countertops
Plan Kitchen Remodel HouseLogic Kitchen Remodeling Tips
Related Posts: