When I first saw my antiquated countertops, I realized something needed to change. They were scratched and soiled, making the entire kitchen appear worn out. I did not want to employ a contractor or spend a lot of money, so I took matters into my own hands. It was both tough and rewarding to remodel my kitchen countertops myself. It required forethought, patience, and a lot of sweat, but the end result was well worth it. Here’s how I transformed my tired counters into something I’m pleased with.
Choosing the Right Countertop Materials
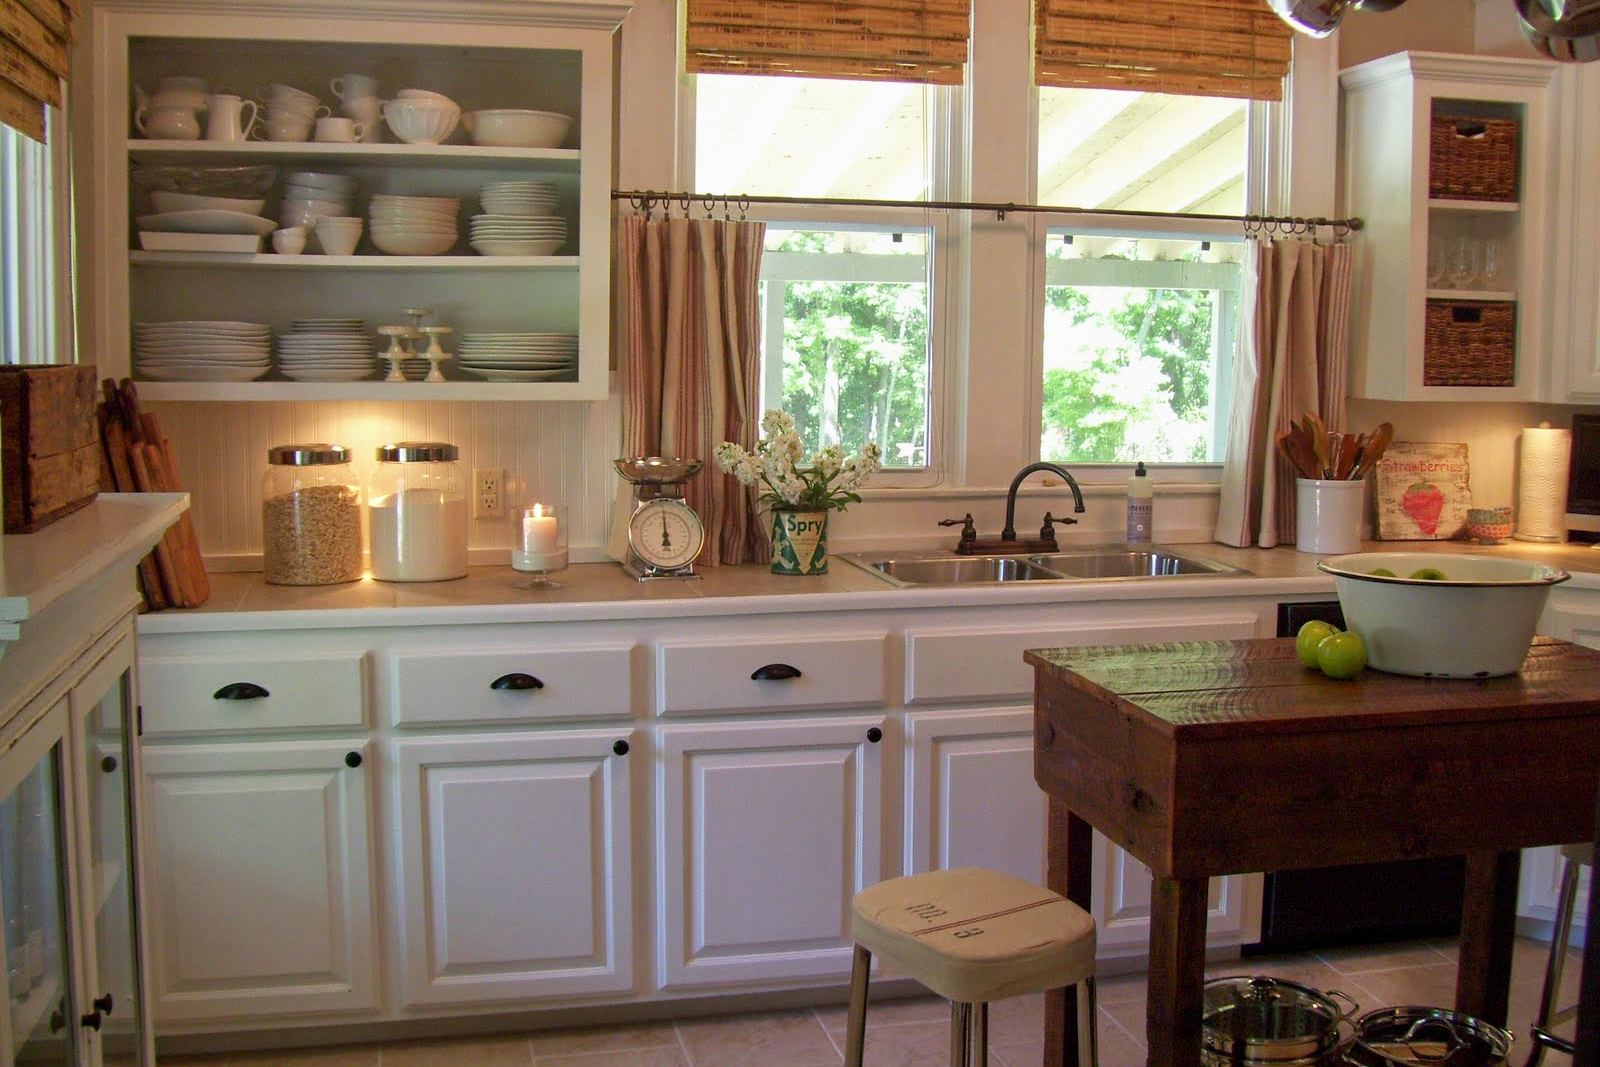
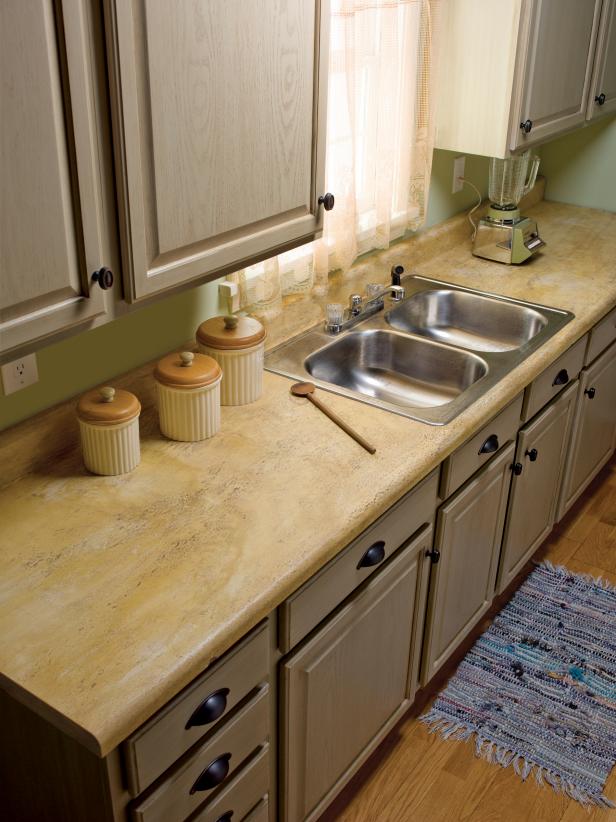
The first stage in my endeavor was selecting the appropriate material. There are numerous possibilities, but not all are appropriate for DIY. I considered granite and quartz, but these often require professional installation. Eventually, I decided on laminate. It’s inexpensive, lightweight, and comes in a variety of colors and patterns. It also doesn’t require any special tools, which was ideal for a beginner like me who wants to keep things simple.
Laminate provided more design versatility than I thought. I discovered a design that imitates the appearance of marble without the high expense. It was also forgiving of installation faults. I enjoyed how simple it was to cut and glue in place. It may not be as prestigious as stone, but it created a fresh, clean look that revolutionized the kitchen. Furthermore, it was a fraction of the price, making it even better.
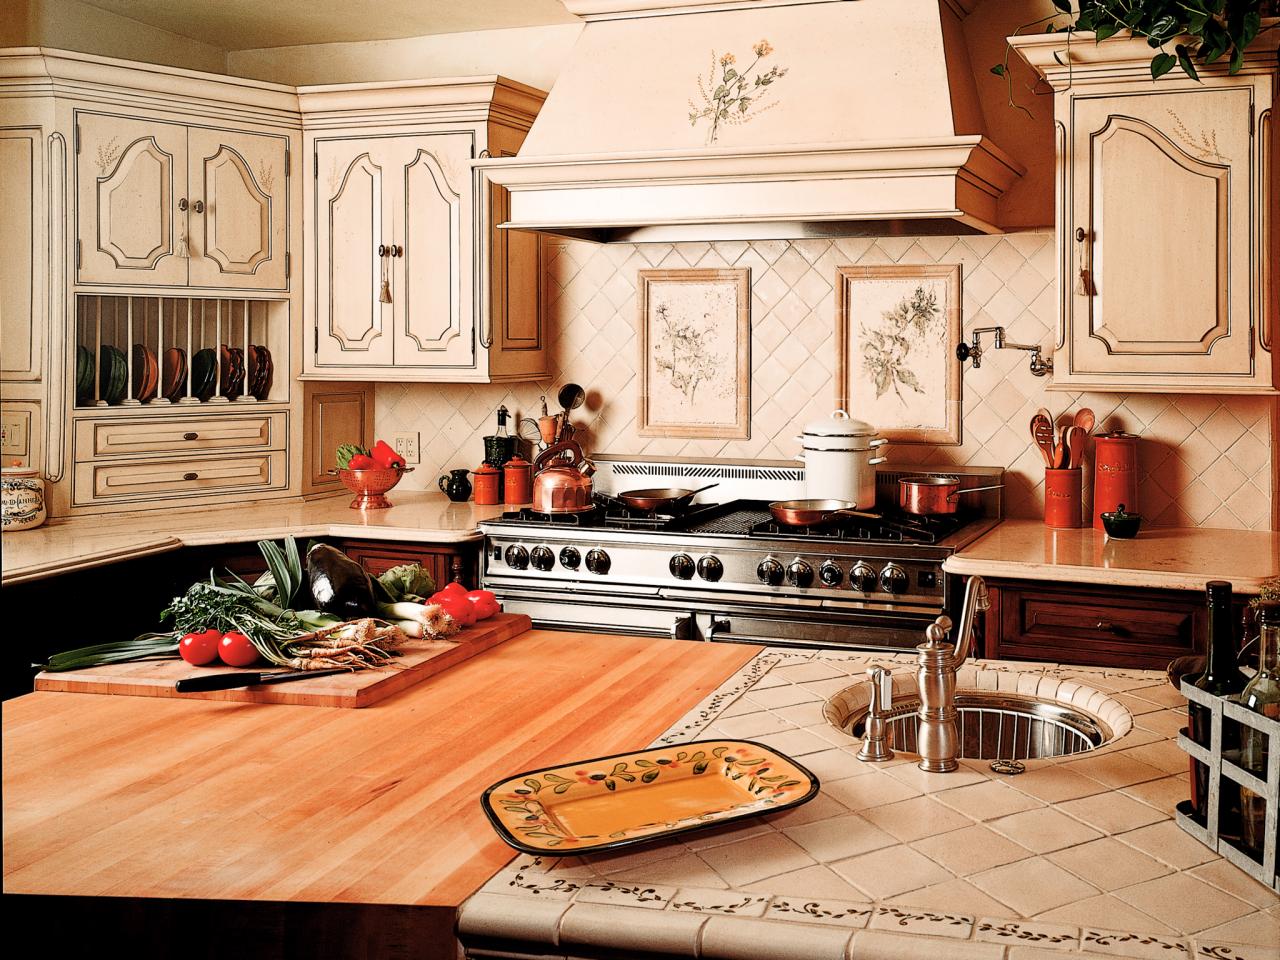
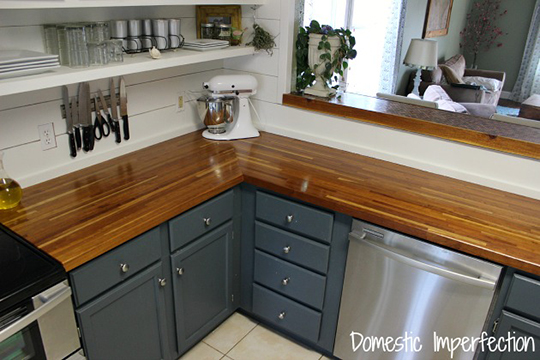
Another option I investigated was a wooden butcher block. It’s another DIY-friendly material that provides warmth to your kitchen. In the end, I chose laminate due of its low care requirements. Wood necessitates sealing and regular maintenance, and I want something more easy. When choosing the correct material, it is crucial to consider your lifestyle and how much maintenance you are ready to undertake.
Measuring and Prepping The Space
After I choose my material, I had to carefully measure everything. This part took longer than I expected. I needed to account for overhangs, backsplashes, and sink cutouts. Accuracy was crucial. A single incorrect measurement could result in wasted material or a bad fit. I double-checked all of the numbers and created diagrams to stay organized throughout the process.
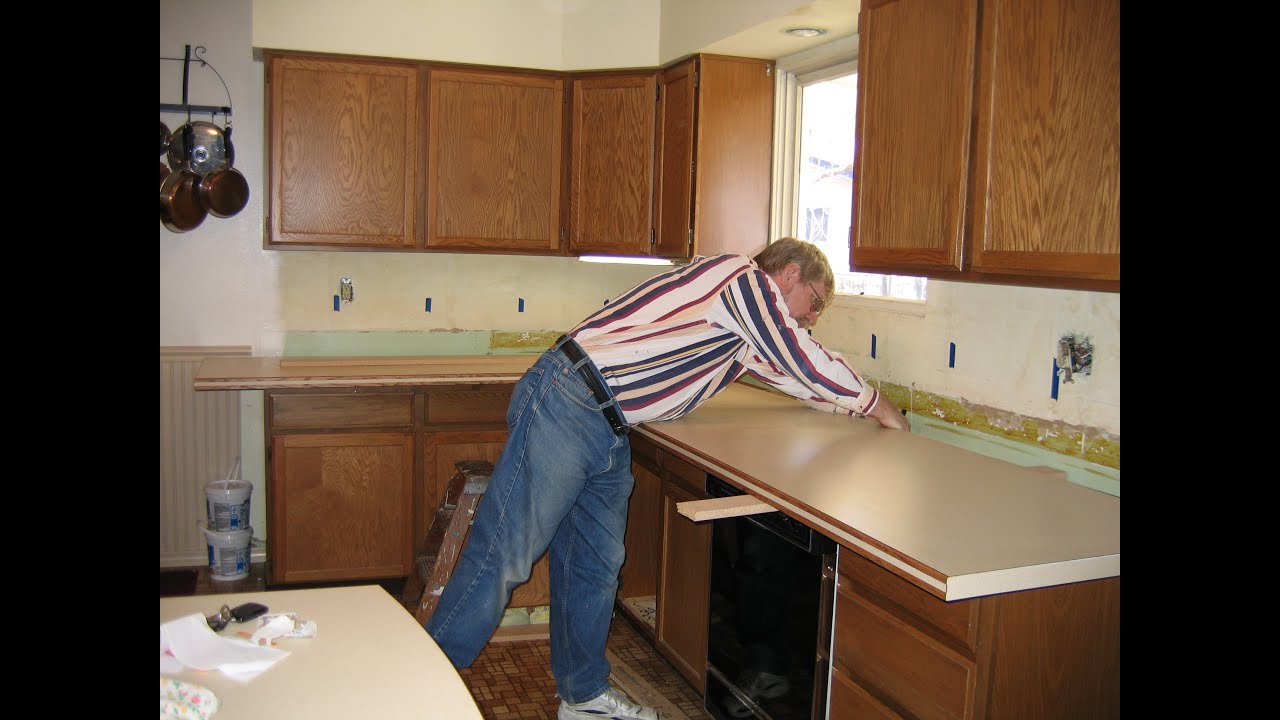
With my measurements ready, I cleared out and removed the old countertops. This section was not too difficult, although I had to be cautious near the plumbing and walls. I used a pry bar and a tool knife to loosen and lift the old countertops. Removing them allowed me to have a good look at the base cabinets, which I reinforced for safety. I did not want any surprises after installing the new surface.
Preparing the base was also crucial. I ensured that everything was level and secure. A smooth surface is required for proper adhesion, particularly with laminate. I used sandpaper to smooth off any rough parts and wood filler to fill gaps. Taking the effort to prepare the room made the installation procedure smoother and more efficient. It’s one of those tasks that must be taken slowly if you want to see long-term results.

Cutting and Fitting New Countertops
Cutting the new laminate to size was the scariest aspect of the process. I used a circular saw with a fine-tooth blade to get crisp edges. To reduce chipping, I noted all of my cuts ahead of time and used painter’s tape to cover them. I drilled beginning holes for the sink cutout before completing the form with a jigsaw. Taking it slow allowed me to avoid costly blunders.
Fitting the parts together was wonderful. I dry-fitted everything before gluing to ensure perfect alignment. It took a few modifications to get everything snug, particularly around the edges. I also had to notch one portion to accommodate a wall bump-out. This stage made me realize how unique each kitchen is, and how important it is to plan for them in order to have a successful installation.
Once I was satisfied with the fit, I used contact cement on both the laminate and the substrate. I allowed it to dry slightly before pressing the surfaces together. The link was immediate, so I had to be accurate. I used a roller to apply pressure uniformly and guarantee proper adherence. It was a little nerve-racking, but seeing the new surface put in place made it all worthwhile.
Finishing the Edges and Installing the Backsplash
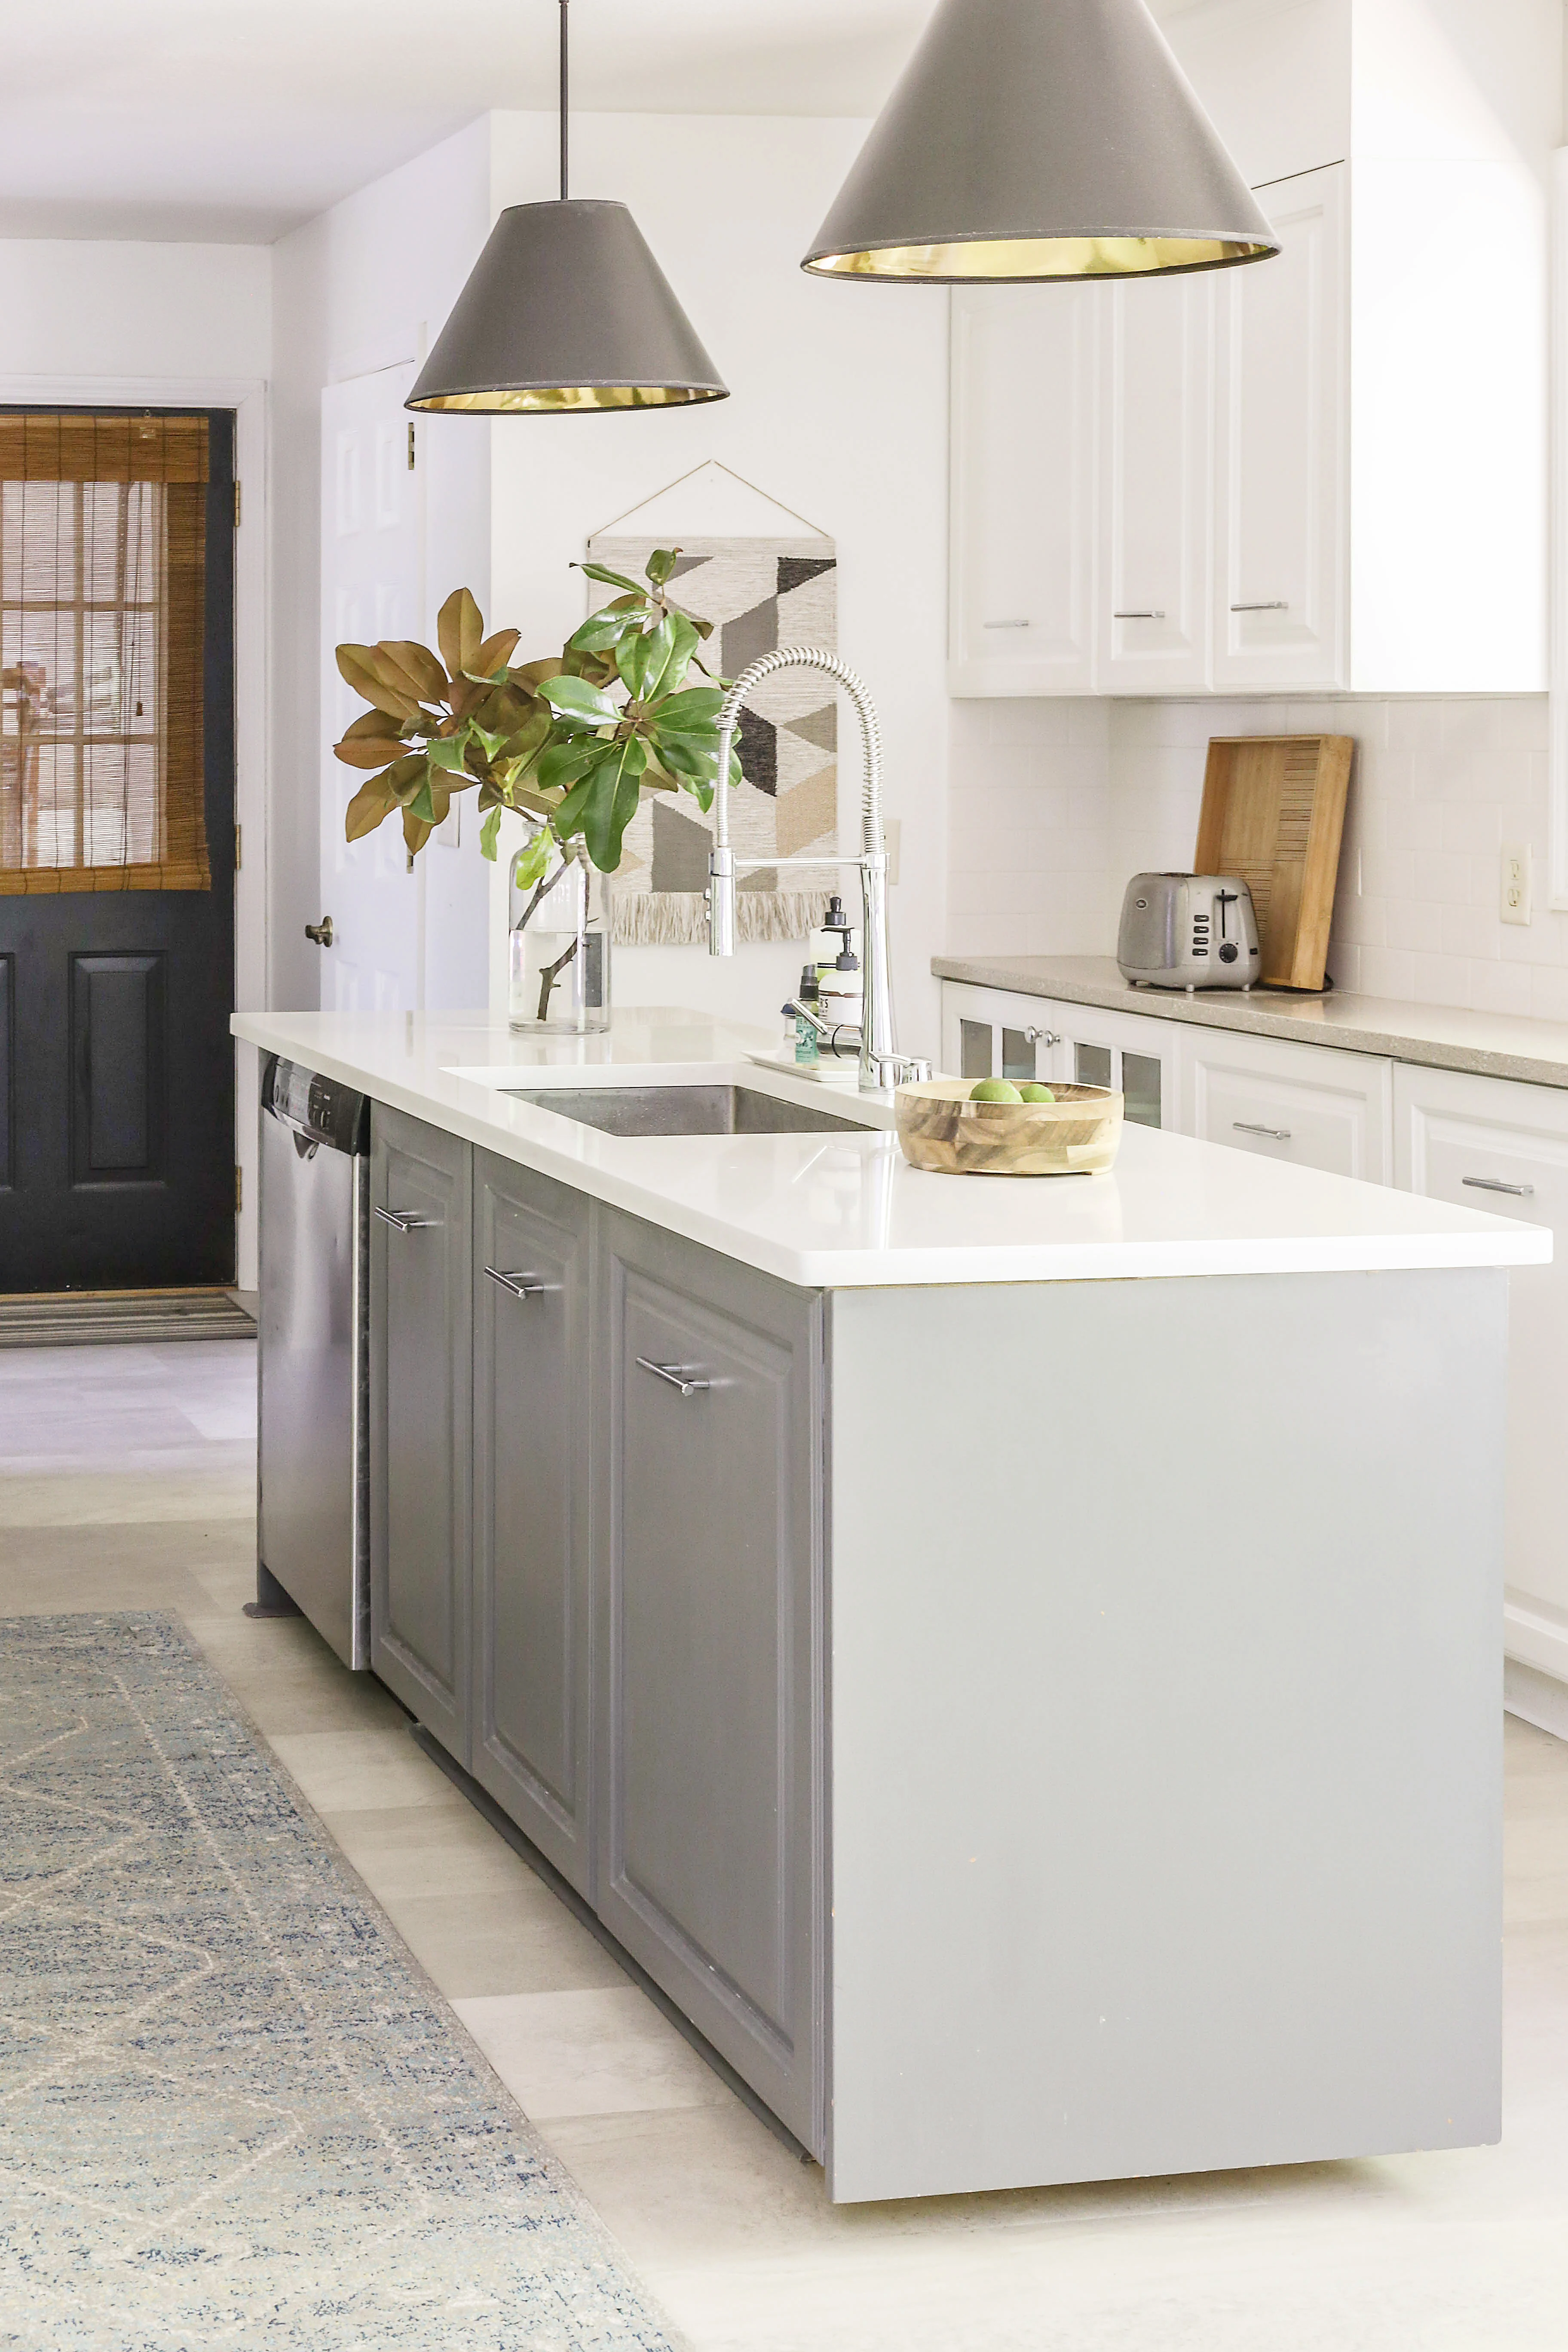
The margins of the counters were equally significant as the surface. I used laminate strips on the sides and front. These required precise cutting, gluing, and trimming. I used a laminate trimmer to create clean lines and sandpaper to flatten any rough edges. Paying attention to these details helped the counters appear professionally polished, even though I did them myself.
I installed a new backsplash to complement the kitchen’s design. I chose peel-and-stick tiles since they are light and simple to install. They added texture and color to match the new counters wonderfully. Applying them was comparable to applying stickers, but I made sure to line everything up for a neat appearance. I also caulked the edges where the tiles met the counter for a finished look.
The last steps were sealing the countertop seams and reinstalling the sink. To prevent water damage, I used a waterproof silicone caulk around the sink and backsplash. Installing the sink was a little difficult, but with the help of an online video and a wrench, I got it done. These final processes significantly improved the project’s durability and attractiveness.

Cost Analysis and Time Management
The materials cost under $500. This contained laminate sheets, glue, tools that I didn’t previously have, and a peel-and-stick backsplash. I saved thousands of dollars by doing the work myself instead of hiring someone. I completed the job over two weekends. The first weekend was dedicated to demolition and preparation, while the second was spent installing and completing. It was hard labor, yet it didn’t disrupt my everyday routine.
Sticking to a timetable allowed me to stay focused. I made a list of daily duties and marked them off as I completed them. That way, I didn’t feel overwhelmed by the scope of the endeavor. Breaking it down into tiny chunks made it easier and kept me motivated. Even when I faced setbacks, I had a plan for moving forward.
Looking back, the savings and happiness were well worth the effort. I developed new talents and became more confident in my abilities. Doing it yourself also allowed me complete control over the design and timeframe. It was a learning experience, but it resulted in a stunning new kitchen feature. I would undoubtedly do it again, and I advise others to try it as well.

Lessons Learned & Maintenance Tips
One thing I learnt was that patience is essential. Rushing through any phase can result in blunders. Whether it’s measuring, cutting, or gluing, every step of the process requires attention. I needed to remind myself to calm down and concentrate. Spending more time on preparation made the installation go more smoothly and produced a better end product.
I also learnt the importance of using the correct tools. A good saw, sharp blades, and the appropriate adhesives made the job easier and the results cleaner. If you have a limited budget, borrowing or renting tools is a viable alternative. I didn’t need anything particularly spectacular, but having equipment appropriate for the task made a significant difference in both safety and precision.
Maintaining my new countertops has been straightforward. I clean them with a light dish soap solution and avoid using harsh chemicals. I use cutting boards and trivets to shield the surface from scratches and heat. Regular upkeep has kept them looking good. With a little care, I believe these countertops will survive for years. I’m proud of this effort, and I’d recommend it to any dedicated DIYer.
Can I renovate my kitchen countertops without professional help?
Yes, I had no prior knowledge and was still able to rebuild my countertops. I performed extensive study, followed tutorials, and took my time. Begin with a DIY-friendly material, such as laminate or butcher block. With minimal tools and patience, the technique is doable. The secret is to prepare ahead, measure properly, and avoid rushing. If you’re willing to learn as you go, it’s certainly feasible.
What tools are required for a DIY countertop remodel?
I utilized a circular saw with a fine-tooth blade, a jigsaw for sink cuts, clamps, a level, a laminate trimmer, a roller, and hand tools such as a utility knife and measuring tape. Most tools were inexpensive or already in my toolbox. Some equipment, like as the trimmer, were optional but improved the job’s cleanliness. You do not need professional-grade tools, only those appropriate for the material you choose.
How long does it take to remodel countertops on your own?
For me, the endeavor lasted around two weekends. The first weekend was dedicated to removing the old countertops and preparing the base. The second weekend was dedicated to cutting, fitting, and installing the new laminate. If you prepare ahead of time and work methodically, you may complete the task in a comparable time frame. Extra days may be required for drying adhesive or resolving unanticipated issues.

Which materials are the easiest to work with for beginners?
Laminate is the easiest, in my opinion. It is lightweight, inexpensive, and does not require sealing or heavy tools. Butcher block is another good alternative, although it requires more care. Avoid using hefty stone materials unless you are knowledgeable or have aid. Choose something that you can cut and handle. Before you make a decision, consider your budget, available resources, and level of comfort.
How can I cut laminate countertops precisely?
I used a circular saw with a fine-tooth blade and a straightedge to mark my lines. To prevent chipping, I placed painter’s tape over the cut line. I bored holes in the corners of the sink and finished the shape with a jigsaw. Going slowly and double-checking measures helped me prevent costly errors. Making practice cuts on leftover pieces also helped to boost confidence.
How can I maintain my DIY countertops looking excellent over time?
Daily care is straightforward. I clean with light soap and avoid abrasive pads and harsh chemicals. I chop on cutting boards and use hot pads for everything that has to be heated. Caulking around the sink and backsplash protects against moisture damage. My laminate countertops continue to look wonderful months later thanks to regular cleaning and good practices. A little maintenance can go a long way.
Beginner’s Guide: DIY Kitchen Remodel on a Budget – Designing Vibes
How to Repair and Refinish Laminate Countertops
DIY Kitchen Countertop Remodel
Related Posts: