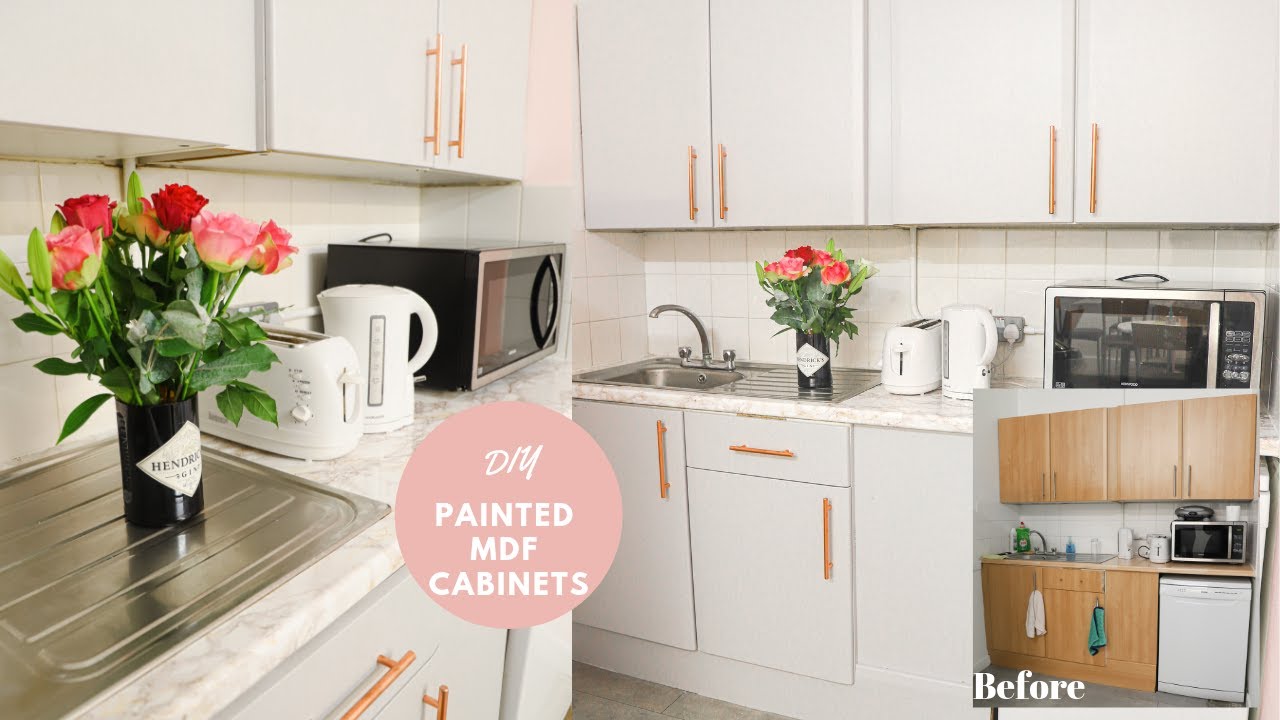
Many homeowners prefer vinyl kitchen cabinets because they are inexpensive and long-lasting, but their dated finishes can make your kitchen feel out of date. What is the good news? You don’t have to entirely replace them to achieve a fresh, modern appearance. Refinishing vinyl cabinets is a low-cost job that can completely improve your room. With the correct preparation, materials, and techniques, you can modernize your kitchen without having to replace all of the cabinets.
Inspecting Your Vinyl Cabinets’ Condition
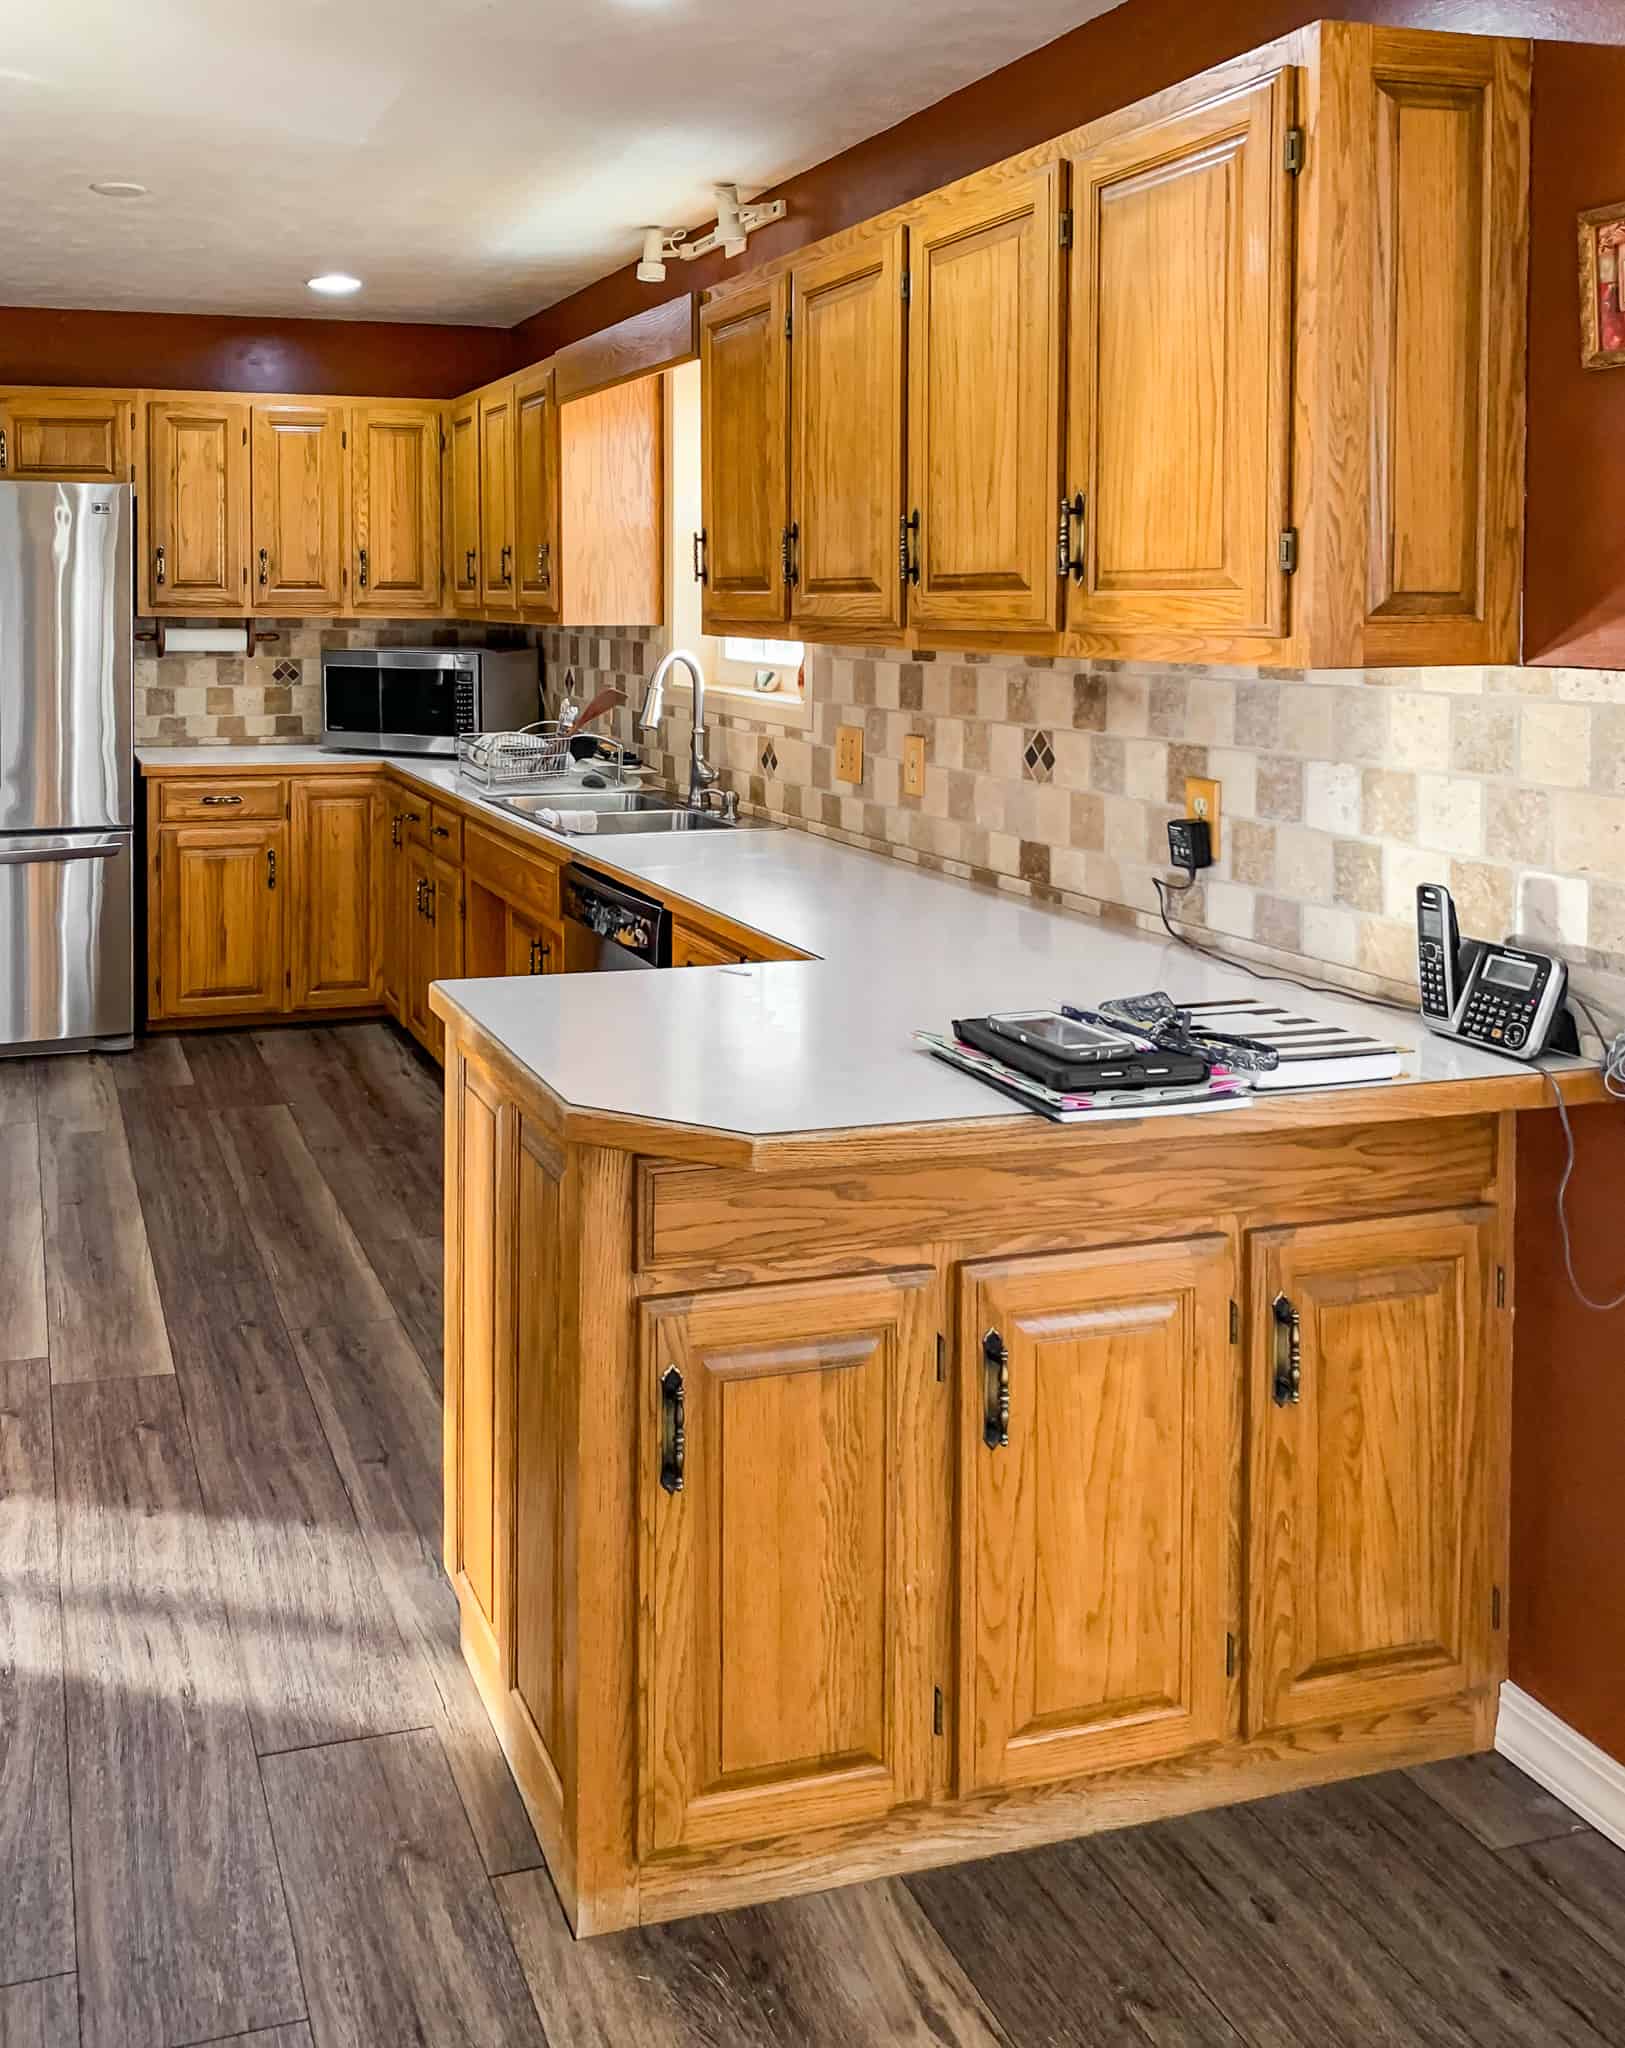
Before you begin any refinishing project, carefully inspect your vinyl cabinets. Look for peeling edges, deep scratches, or spots where the vinyl has bubbled or split from the substrate. Minor flaws can typically be rectified, but badly damaged cabinets may require vinyl replacement rather than refinishing. I’ve discovered that cabinets with intact vinyl coverings restore best because the smooth base provides a perfect painting surface.
Examine how the vinyl is connected to the cabinet frames. Some vinyl wraps can be gently removed if you want to paint the underlying surface, but others are permanently bonded. Test an inconspicuous location initially, such as within a cabinet door, to observe how the material reacts to cleaning and light sanding. In my experience, high-pressure laminate (HPL) vinyl withstands refinishing better than thinner vinyl wraps.
Consider the cabinet’s general structure. Refinishing is best done on solid cabinet boxes and doors. If the underlying particleboard is bloated or eroding, painting will not resolve structural difficulties. I always urge clients to remedy any water damage or warping before making cosmetic changes. A fast stability check guarantees that your work will last.
Proper Cleaning and Preparation
The most important stage is thorough cleaning, which many people skip. Vinyl surfaces collect oil, wax, and cleaning chemical residues, preventing paint from sticking correctly. I propose applying a degreaser designed specifically for kitchen surfaces and scrubbing with a gentle brush or non-scratch pad. Rinse well and allow cabinets to dry completely (at least 24 hours in humid locations).
The next step is light sanding, but be gentle. Use 220-grit sandpaper to rough up the glossy surface, giving the primer “tooth” to grab. Avoid sanding through the vinyl covering, since this can reveal the substrate beneath. After sanding, use a tack cloth to remove any remaining dust. I’ve discovered that compressed air is excellent for removing dust from grooves and decorative embellishments.
Don’t overlook the painter’s tape and safety precautions. Cover the countertops, appliances, and floors with drop cloths. Remove hardware whenever possible or thoroughly mask it. I like to designate each door and its associated hinge point with numbered tape; this saves me hours of frustration during reassembly. Proper preparation may seem tiresome, but it makes the actual painting go much more smoothly.
Choosing the Right Paint and Primer
Not all paints perform well on vinyl surfaces. You’ll need a high-quality bonding primer designed for slippery surfaces. I’ve had excellent experiences using shellac-based primers, albeit they do require adequate ventilation. Water-based bonding primers are very effective and easy to clean up. The primer creates a firm basis, allowing the topcoat to adhere properly and last longer.
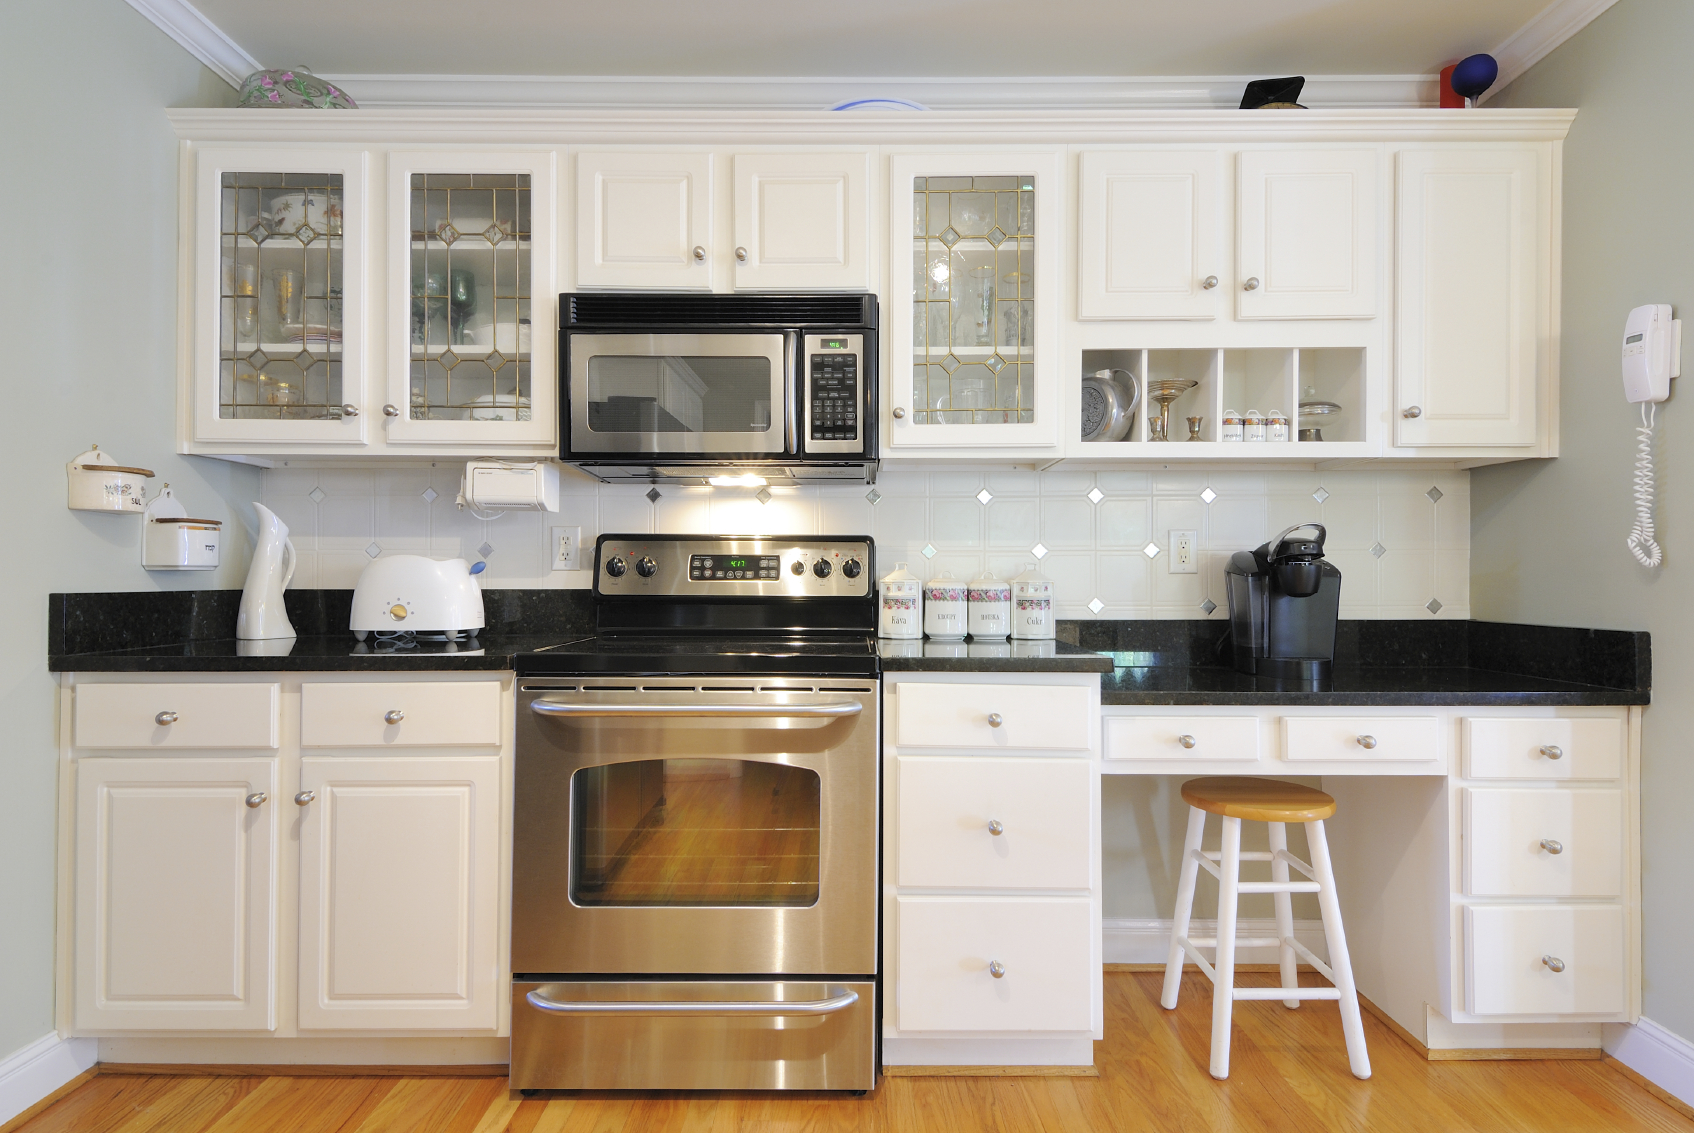
Acrylic enamel or urethane-modified acrylic paints produce the most lasting finish. These paints dry with a durable finish that can endure kitchen wear and strain. Semi-gloss or satin sheens are ideal since they are more durable and simpler to maintain than flat finishes while remaining not excessively shiny. I normally avoid using high-gloss on cabinets because it emphasizes flaws.
Color choice is also important. Lighter colors produce less brush strokes and wear patterns over time. If you insist on dark cabinets, consider having the paint professionally tinted at a paint store rather than purchasing off-the-shelf dark colors, which may necessitate additional applications. From experience, I can tell you that quality paint makes all the difference in attaining a professional finish.

Application Techniques for Maximum Results
Your skill level and cabinet design will determine whether you apply with a brush or spray. Spraying provides the smoothest finish, but requires additional equipment and masking. For DIYers, high-quality synthetic bristle brushes and tiny foam rollers are frequently the most effective. I prefer brushes for edges and rollers for flat surfaces, and I blend the edges while the paint is still wet. Several thin coats always outperform one thick coat.
Maintain a wet edge as you work to avoid lap marks. Paint one cabinet part at a time, such as the door frames first, followed by the doors. This keeps your process organized. Painting cabinet doors horizontally results in fewer drips than painting them vertically. Simply rotate them carefully between coats to ensure that all sides are painted evenly.
Drying time is critical. Rushing between coatings produces adhesion issues. Follow the paint manufacturer’s guidelines and keep humidity levels in mind; high humidity causes drying time to be longer. In my projects, I always leave at least 24 hours between coats, even if the can suggests to recoat sooner. Patience now prevents sticky cabinets later.

Add Decorative Touches
Once your base coat is finished, consider adding ornamental components. Light distressing can give cabinets character while concealing small flaws. After the last coat has dried, I lightly wear the edges with fine sandpaper. Glazing is another approach, which involves adding a thin, tinted wash to details and then wiping away the majority of it to create subtle dimension.
New hardware quickly enhances refinished cabinets. Measure existing holes before purchase to verify compatibility, or plan on filling and drilling new ones. I recommend purchasing one knob or pull to evaluate the size and finish before committing to a complete set. Combining hardware styles (such as door knobs and drawer handles) can provide designer flair.
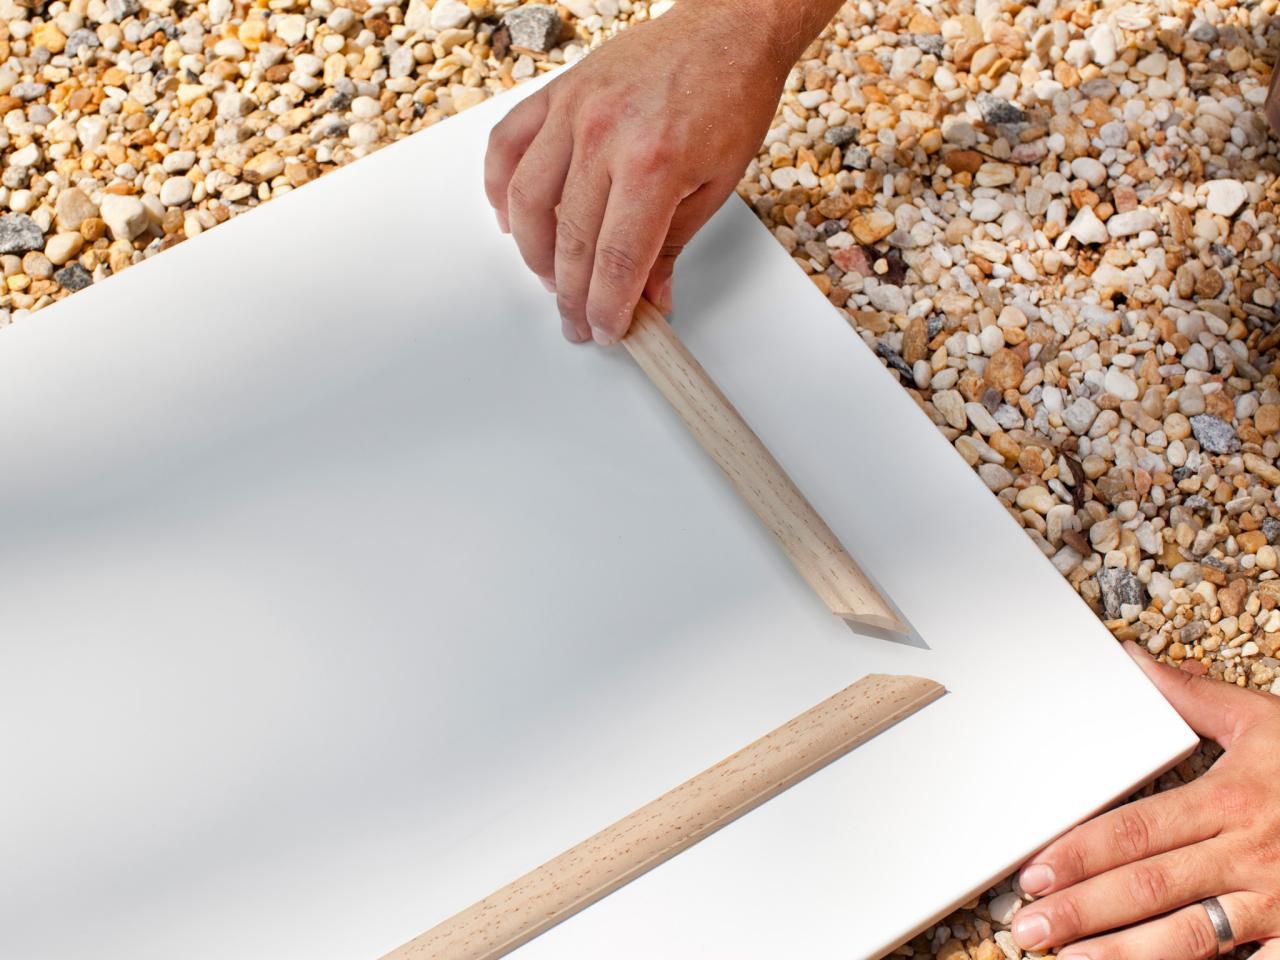
Consider adding trim or molding to flat cabinet doors to give them a truly personalized look. This inexpensive addition elevates basic cabinets. I’ve used basic lattice strips to make shaker-style panels on flat vinyl doors with amazing success. Simply ensure that any additions are properly attached and painted to match.

How to Maintain Your Refinished Cabinets
Proper care improves the lifespan of your cabinet makeover. Wait at least a week before performing a thorough cleaning to allow for complete cure time. After that, use gentle cleansers and soft cloths; abrasive pads or harsh chemicals might harm the finish. I urge clients to clean up spills immediately and prevent allowing water to pool on surfaces, particularly near seams.
Touch-up paint is your friend. Keep any remaining paint for future nicks and scratches. For small marks, I’ve discovered that using a little artist’s brush instead of trying to spot-apply with the original brush results in less apparent fixes. To ensure the longest shelf life, store paint in a sealed glass container (plastic can allow drying).
Consider spraying a clear protective topcoat every few years in high-traffic areas. Water-based polyurethane provides endurance without yellowing. Every couple of years, I recoat the drawer fronts and around the handles in my kitchen, which are the places that get the most damage. This upkeep takes little time but considerably extends your refinishing investment.

Can you paint over vinyl cabinets without sanding?
While some specialized paints claim to adhere without sanding, I never suggest missing this step. Sanding properly creates small grooves that allow primer to grasp the slippery vinyl surface more effectively. Without it, paint is more prone to peel or chip with time. However, you do not need to sand heavily; just enough to diminish the brilliant surface is sufficient. After moderate sanding, use the proper bonding primer to ensure that your paint finish lasts for years.
How long do refurbished vinyl cabinets last?
With careful preparation and high-quality materials, refinished vinyl cabinets can last for 5-7 years or more. The durability of your kitchen is determined by how frequently it is used and how well the finish is maintained. In my experience, cabinets in busy family kitchens may require touch-ups after 3-4 years, whereas sparsely used spaces might last considerably longer. The trick is to use paint designed for cabinets and avoid aggressive cleansers, which erode the finish over time.
What is the difference in price between refinishing and replacing vinyl cabinets?
Refinishing normally costs between 10 and 20% of full replacement. Materials for DIY restoration can range from $200 to $500, but professional refinishing costs between $1,500 and $3,500 for an ordinary kitchen. New vinyl cabinets typically start at $8,000 installed. I’ve helped numerous homes make remarkable transformations on a small budget by refinishing. Even with eventual replacement, refinishing adds several years of use at a fraction of the expense.
Can the color be changed from dark to light during refinishing?
Yes, but it requires additional steps. Dark cabinets require a high-hide primer or numerous primer applications to keep the old color from leaking through. I normally recommend a stain-blocking primer for significant color changes. To go from dark brown to white, you may need to apply two primer layers before your topcoat. Test a small area beforehand; even with primer, some dark vinyl might have a subtle effect on lighter paint colors. Patience with preparation pays off here.

What’s the most common error individuals make while refinishing vinyl cabinets?
The majority of refinishing failures result from rushing the preparation process. Peeling and chipping occur when surfaces are not thoroughly cleaned, sanded properly, or painted before they are entirely dry. I’ve seen gorgeous paint jobs fail because someone neglected to remove grease buildup or attempted to recoat too rapidly. Another typical blunder is applying the wrong paint – wall paint does not adhere to cabinets. Taking the time to correctly complete each phase makes a huge difference in the end results.
Are there vinyl cabinets that cannot be refinished?
Severely damaged vinyl with huge peeling patches or water-soaked substrates may not be suitable candidates. Furthermore, some very low-quality vinyl coverings are so thin that sanding always shows through. If more than 30% of the surface is heavily damaged, replacement may be more practical. However, I have successfully repaired numerous “hopeless” cabinets by patching damaged parts with wood filler prior to painting. If you’re unsure about the state of your cabinets, it’s always a good idea to get professional advice.

How to Paint Laminate Kitchen Cabinets Easy Kitchen Cabinets Update

Cabinet Refinishing in Evanston, IL N-Hance of Suburban Chicago

Ideas for Refacing Kitchen Cabinets
Vinyl Wrapped Kitchens: What You Need to Know
Common Materials for Refinishing Your Cabinet – Better Than New

Related Posts: