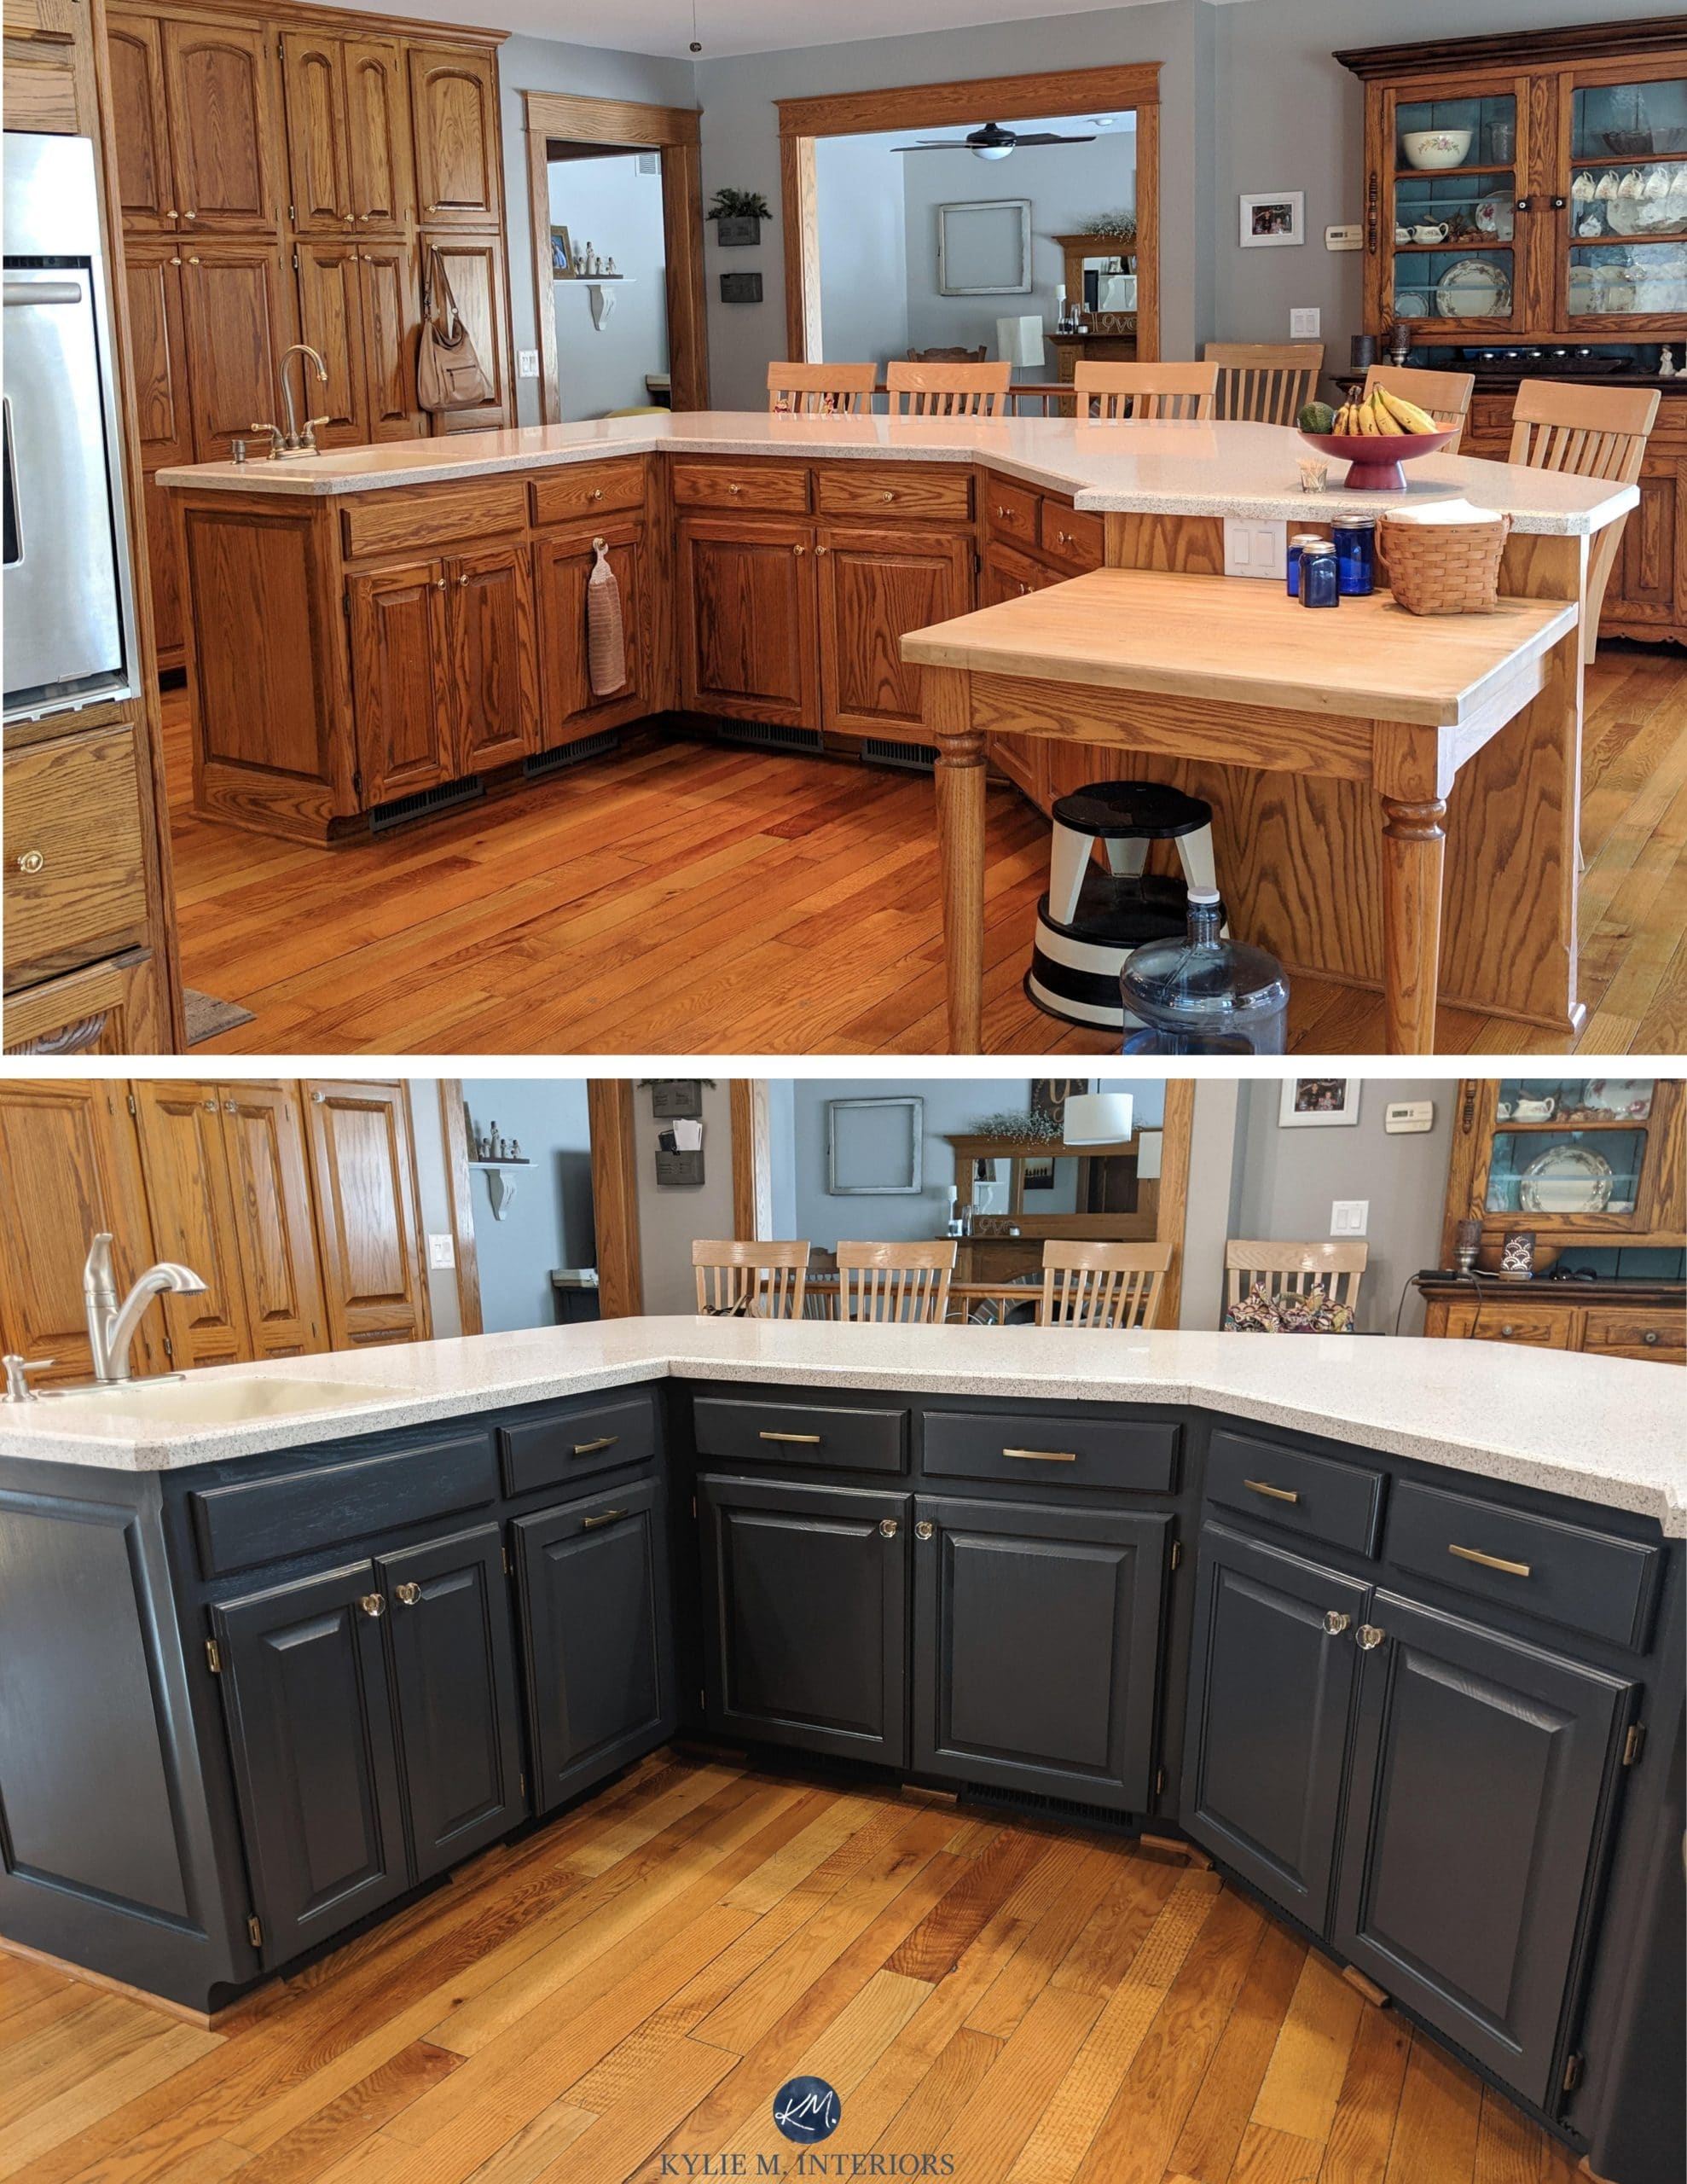
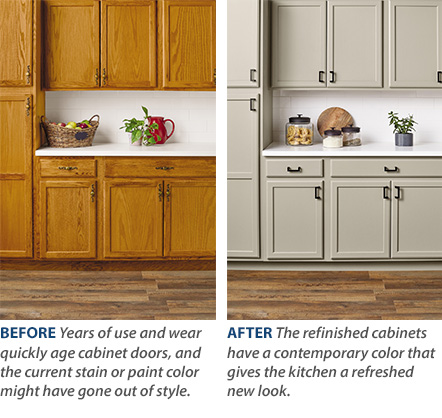
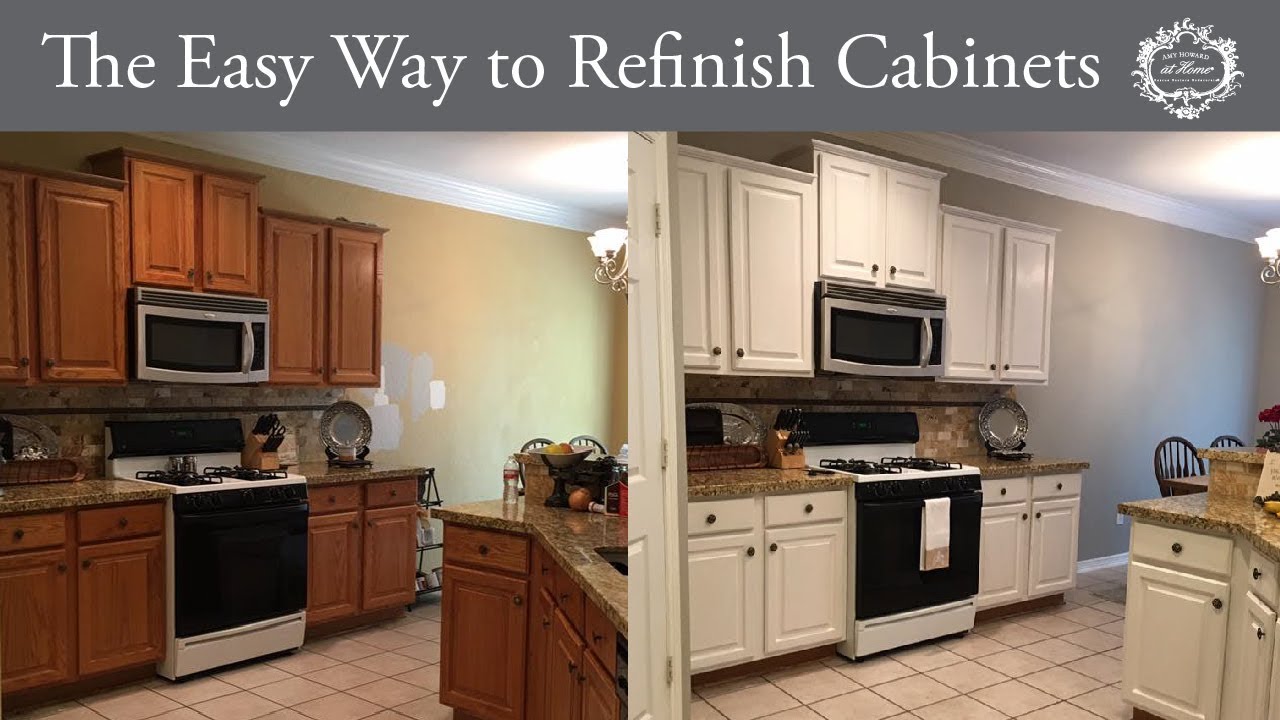
Refinishing kitchen cabinets is a fantastic method to update your space without incurring the cost and effort of a complete overhaul. Refinishing is an affordable option if you want to modify the color, restore worn-out surfaces, or change the style. You can create a professional-looking finish that will revitalize your kitchen with the proper preparation, supplies, and techniques. To get you started, we’ve broken down six crucial aspects of refinishing kitchen cabinets.
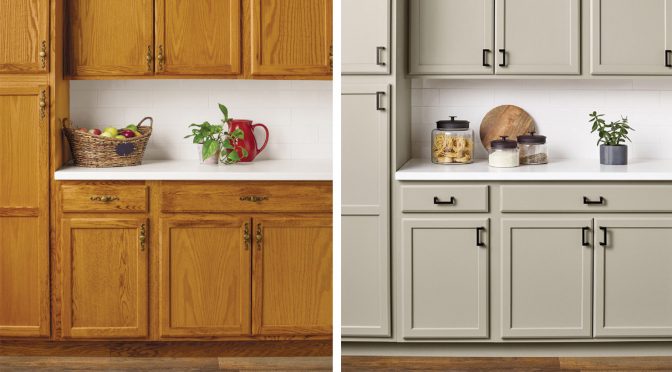
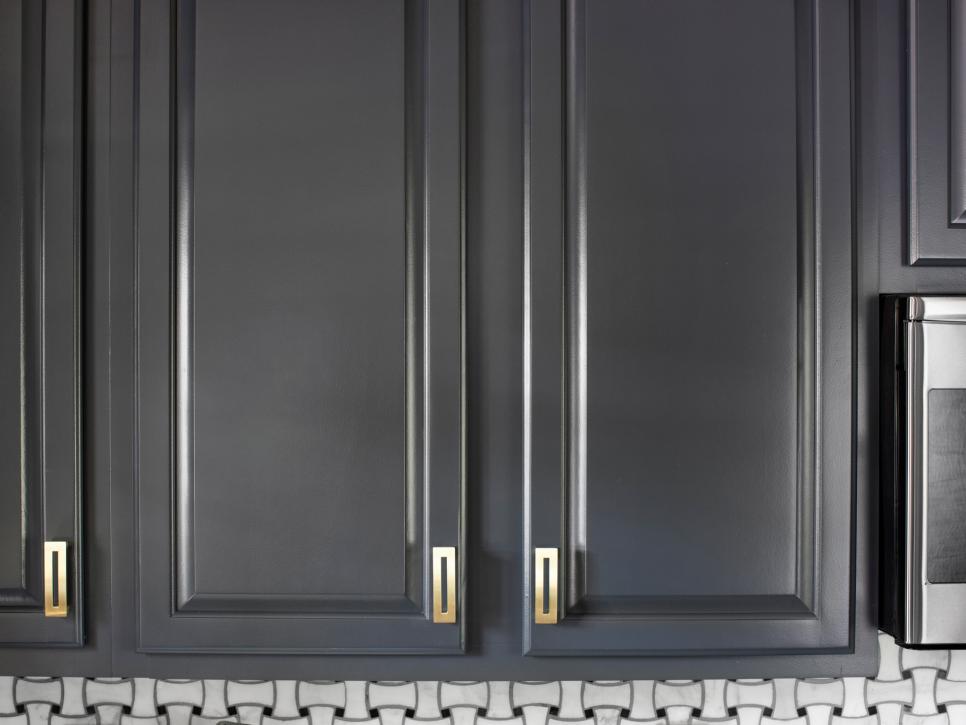
Choosing the Right Paint or Stain
The first step in refinishing cabinets is determining whether to paint or stain. Paint provides a firm, opaque finish that is great for creating a modern, clean appearance. Latex and oil-based paints are popular options, with latex being easier to clean and oil-based providing more longevity. Stains, on the other hand, highlight the natural wood grain and are best suited for cabinets with visually appealing wood patterns.
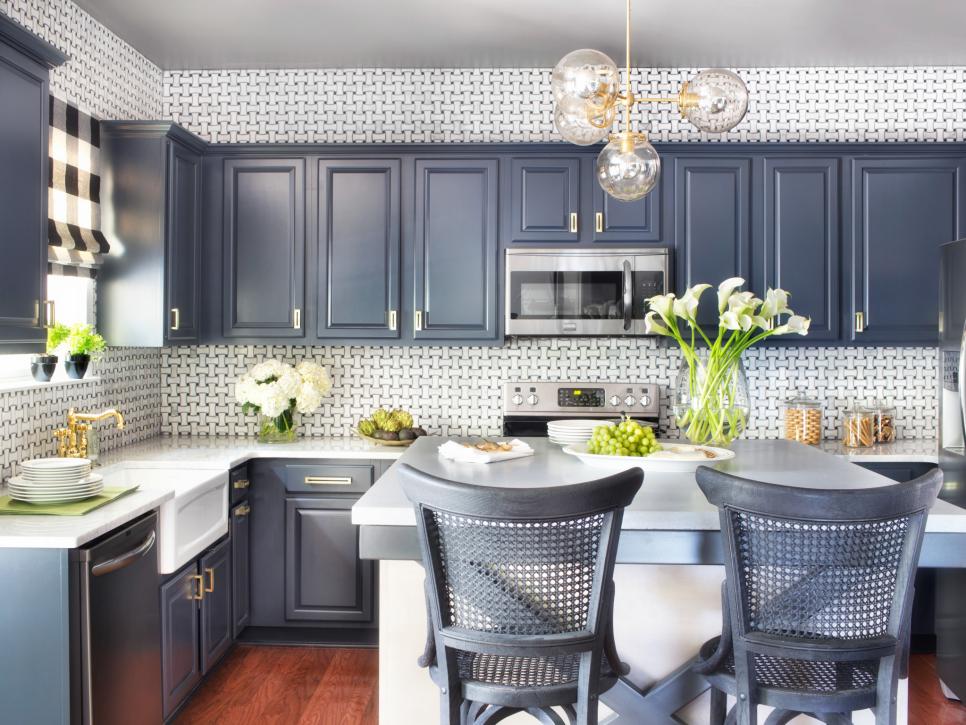
Consider the overall look of your kitchen when choosing a hue. White, grey, and navy are popular paint colors for a classic look. Stains like walnut, cherry, and oak can compliment a variety of décor styles. Before making a final decision, always test samples on a tiny piece of the cabinet to see how the color looks under your kitchen lighting.
Preparation is essential for a flawless finish. If painting, sanding and priming are required to achieve appropriate adherence. Sanding eliminates old finishes and opens the wood pores, allowing for greater dye absorption. Using a high-quality brush or sprayer will help to prevent streaks and guarantee a uniform application.
Proper Preparation for a Flawless Finish
Thorough preparation is required before to refinishing to provide long-lasting effects. Begin by removing the cabinet doors, drawers, and hardware. Label each piece so that reassembly is easier afterward. A degreaser cleans surfaces of built-up filth, grease, and residue that can interfere with paint or stain adhesion.
Sanding is the next crucial step. For painted cabinets, begin with medium-grit sandpaper (120 to 150 grit) to remove the old finish, then progress to fine-grit (220 grit) for a smooth surface. Sanding stained cabinets ensures that the stain is evenly applied. Before beginning to prime or stain, always use a tack cloth to remove any dust.
Filling defects such as scratches or dents with wood filler results in a smooth appearance. If you plan to paint the filled areas, apply a primer after sanding them. A stain-blocking primer is especially useful for keeping wood tannins from seeping into lighter paint colors. Proper preparation may take time, but it results in a professional-quality finish.
Paint Techniques for a Smooth Finish
Achieving a smooth, brush-free finish demands the proper technique. Using a high-quality synthetic brush or paint sprayer helps to reduce streaks. If brushing, apply paint in thin, uniform coats, following the wood grain to eliminate noticeable brush marks. A little foam roller can help smooth out the paint for a more consistent appearance.
Spray painting produces the cleanest finish, but it necessitates careful masking of adjoining areas to avoid overspray. If using a sprayer, keep a constant distance from the surface and use steady, overlapping strokes. Multiple light coats are superior to one thick coat because they dry faster and eliminate drips.
Allow each coat to fully dry before applying the next. Lightly sanding between applications with fine-grit sandpaper (320 grit or higher) eliminates flaws and improves adherence. Finish with a clear topcoat to increase longevity, particularly in high-traffic kitchens where cabinets are frequently worn.
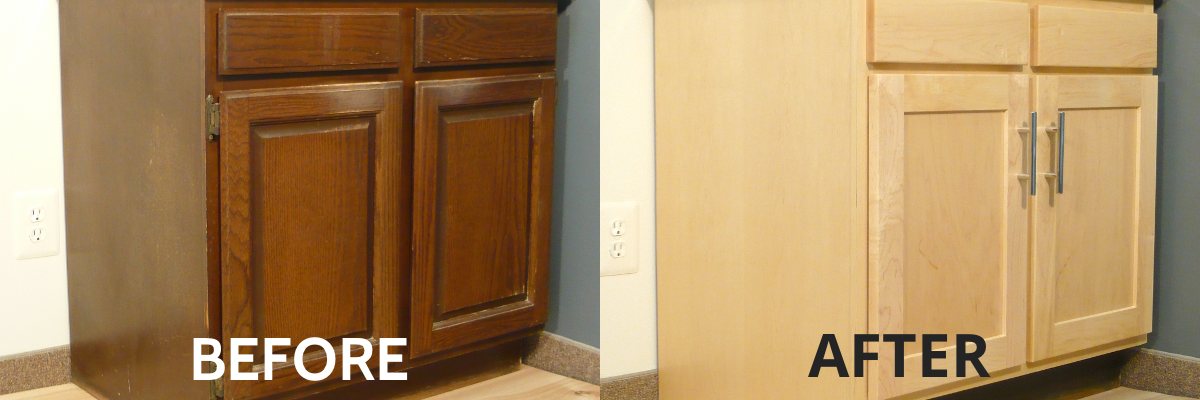
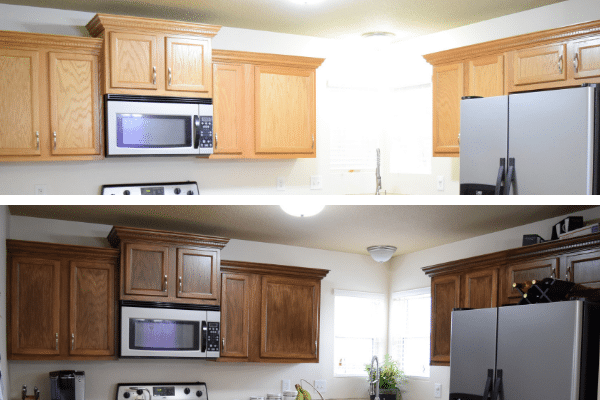
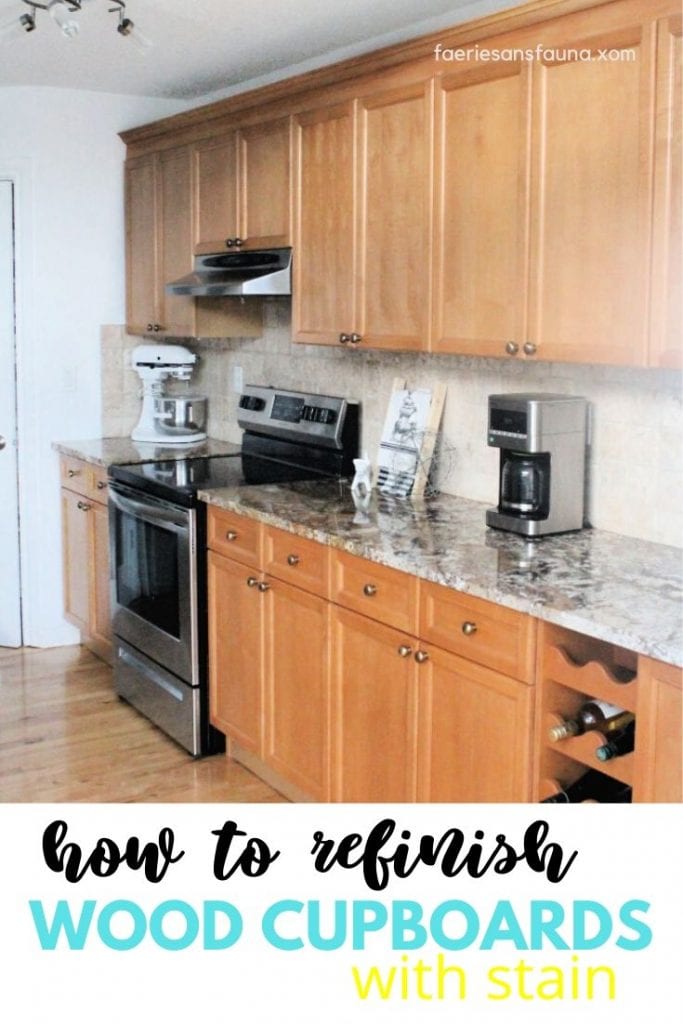
Staining Cabinets to Create a Natural Wood Look
Staining cabinets preserves the wood’s intrinsic charm while updating its appearance. Start by sanding the wood to remove any existing finishes and level the surface. Before applying the stain, wipe away any dust with a tack cloth. Using a brush or cloth, apply the stain evenly in the direction of the grain, working in small pieces.
Allow the stain to settle for a few minutes before removing any excess with a clean cloth. This determines the color intensity; longer sitting times result in a darker hue. After the first coat has dried completely, apply a second coat to achieve a darker color. Always test the stain on an inconspicuous spot to verify the correct color.
Once the stain has dried, seal it with a clear polyurethane or varnish. Water-based polyurethane dries clear and resists yellowing, whilst oil-based variants are more durable. Apply thin, even coatings, sanding lightly between each application to get a smooth, long-lasting surface.
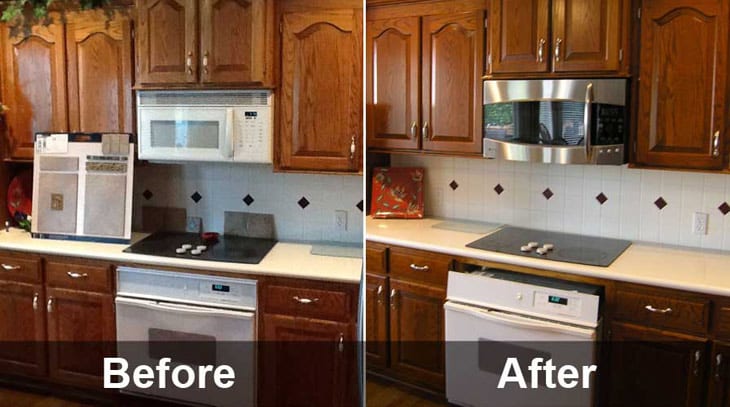
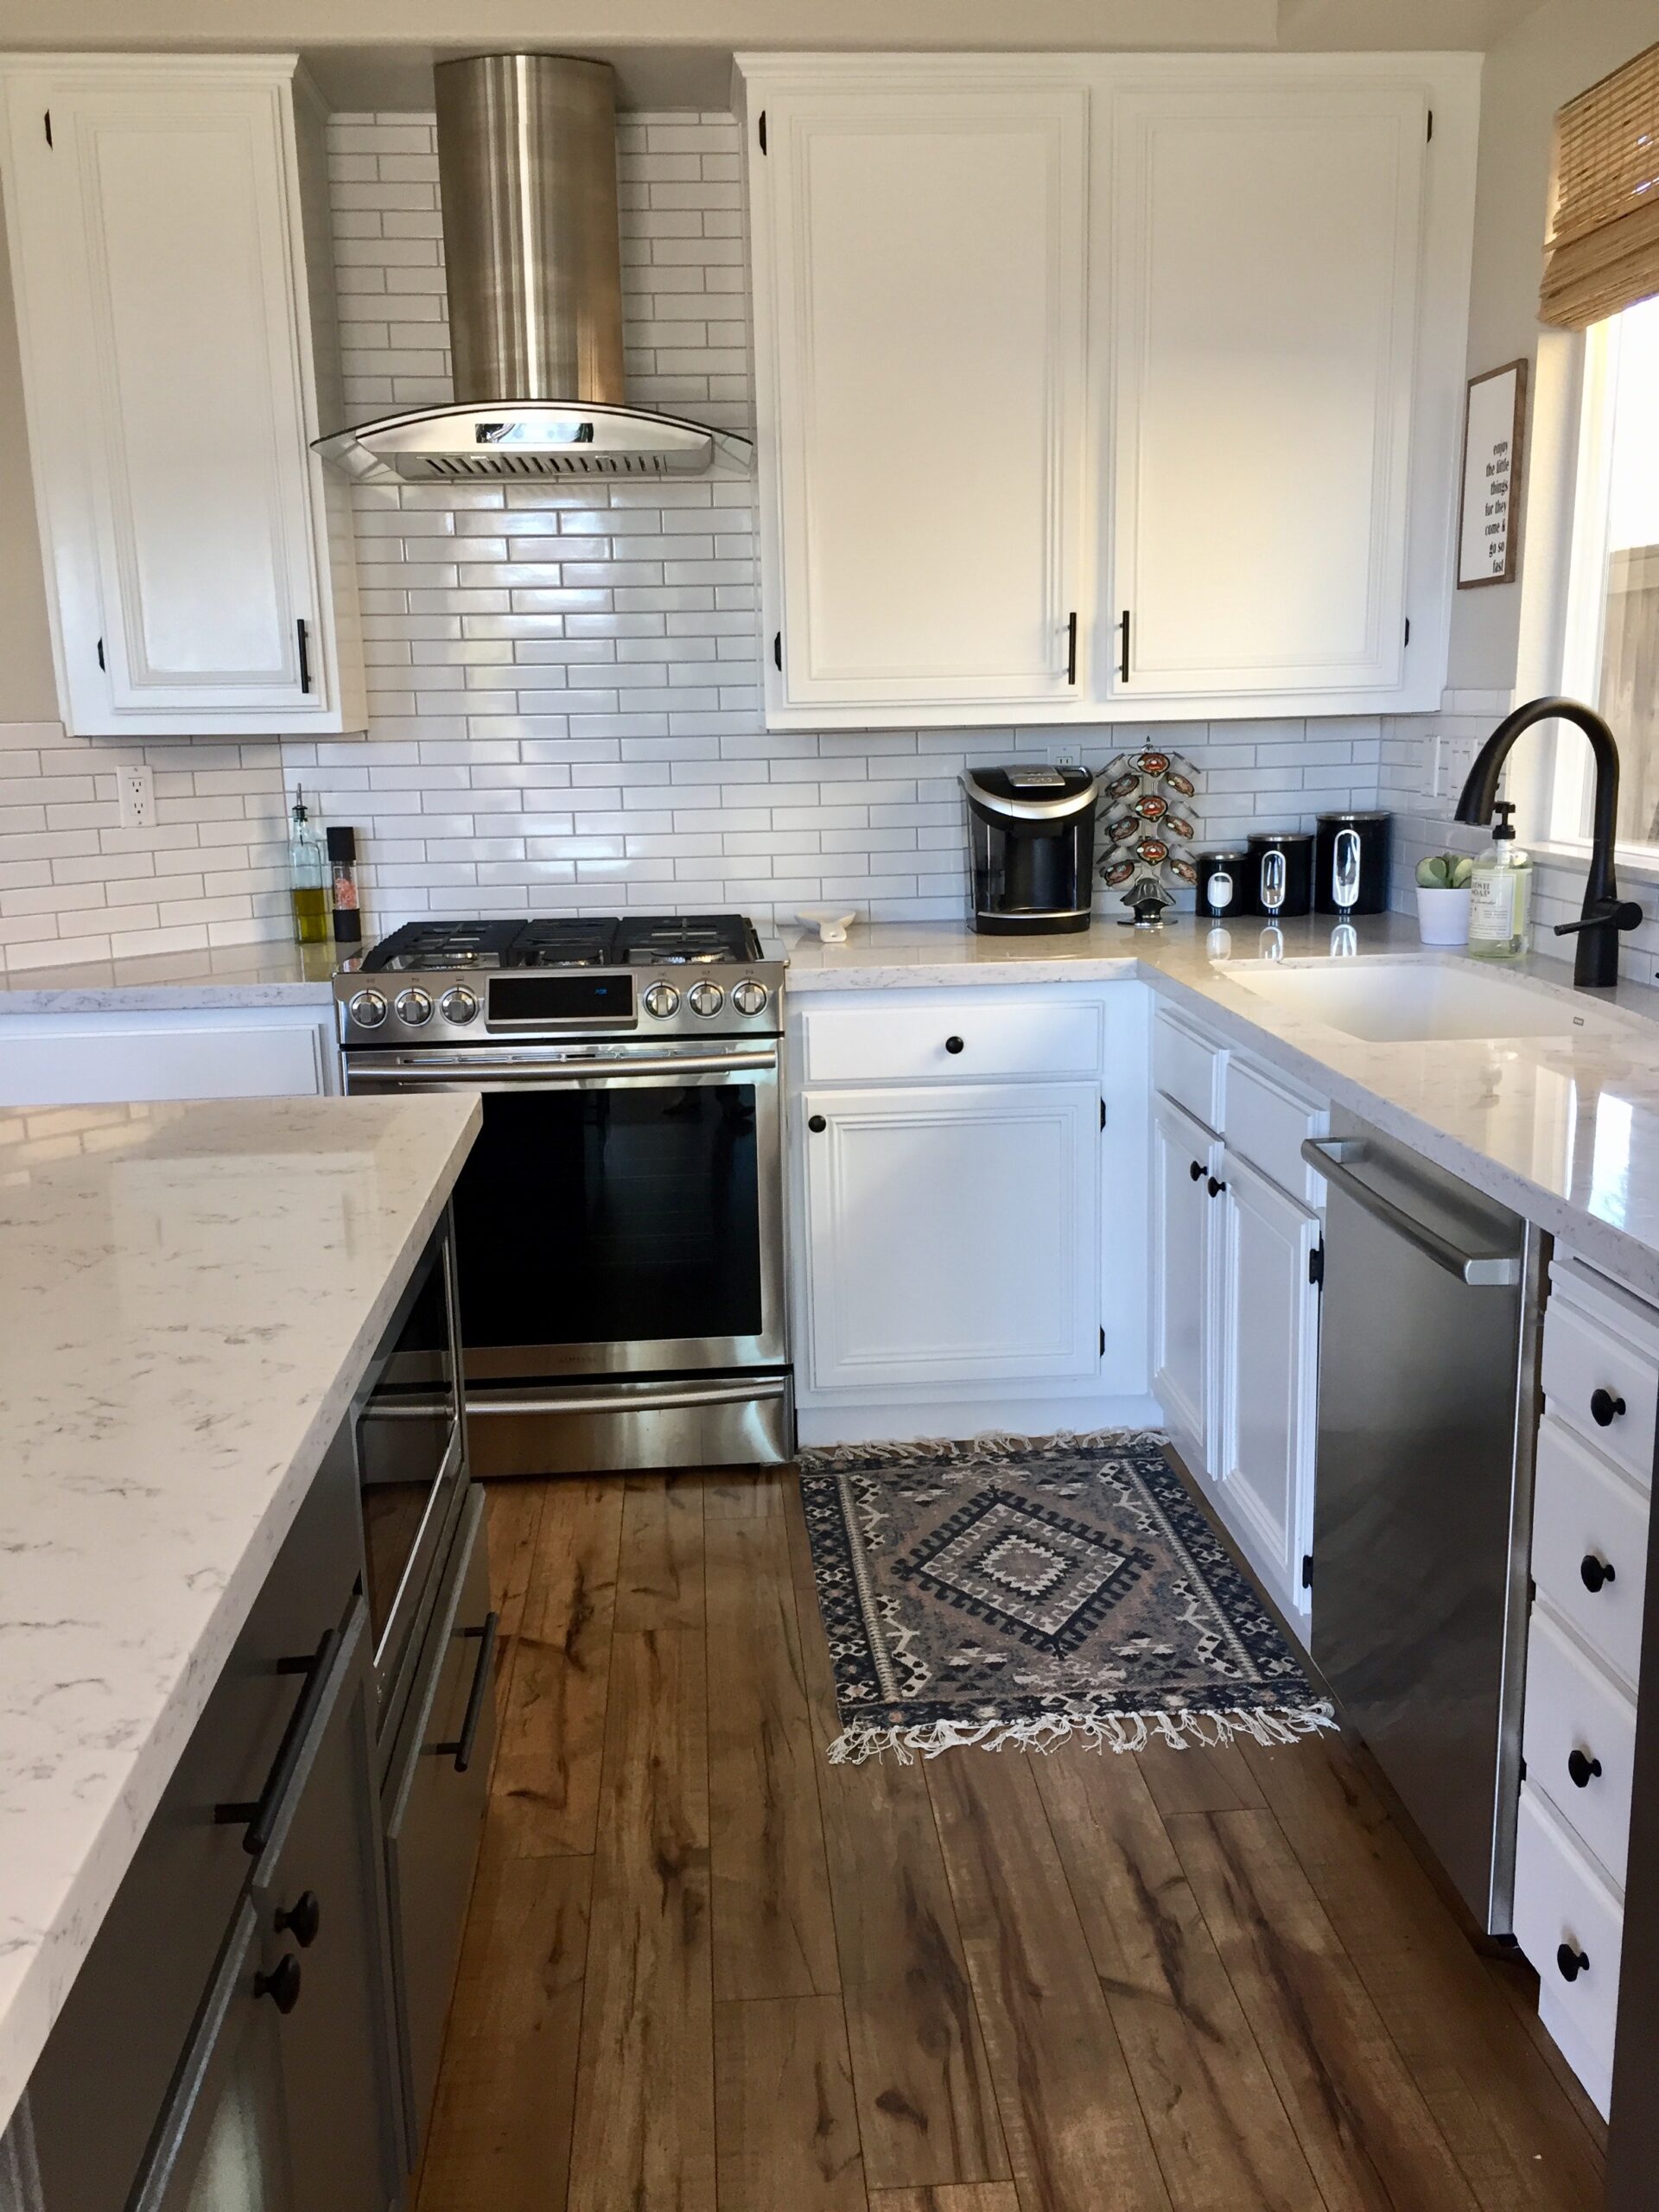
Updating Hardware for Complete Transformation
New hardware can greatly improve the appearance of refinished cabinets. Knobs, knobs, and hinges come in a variety of styles, from modern to vintage, allowing you to personalize the kitchen’s appearance. Before purchasing new hardware, measure the existing holes to ensure a suitable fit that does not require any further drilling.
Matte black, brass, and brushed nickel are popular finishes that look great with many cabinet colors. To get a consistent look, match the hardware style to the general design of the kitchen—sleek bar pulls for contemporary settings, ornate knobs for classic kitchens. Consider soft-close hinges for more practicality and a more luxurious feel.
Installing new hardware is a simple final step after refinishing. Before fastening the new pulls or knobs, make sure they are properly aligned. This minor modification can have a significant impact, giving cabinets a polished, contemporary appearance.

How to Maintain Refinished Cabinets for Longevity
Refinished cabinets can last for years with proper upkeep. For routine cleaning, avoid aggressive chemicals that can peel paint or stain. Instead, use a gentle soap and water solution. Spills should be wiped up immediately to avoid staining, especially on lighter-colored cabinetry.
To keep the look of painted cabinets consistent, patch up tiny chips or scratches with matching paint. In high-traffic areas, stained cabinets may require periodic reapplication of polyurethane. To avoid wear, check the hinges and hardware for looseness on a regular basis and tighten screws as needed.
Protecting cabinets from excessive moisture and heat increases their lifespan. To prevent humidity while cooking, use exhaust fans and keep hot pans away from cabinet surfaces. Refinished cabinets can last a long time if they are properly cared for.
Can I refinish cabinets without disassembling them?
Yes, you can refinish cabinets without removing them, although removing the doors and drawers simplifies the procedure. Working in place necessitates meticulous masking of walls, worktops, and appliances to prevent paint or stain splatter. When sanding, use a vacuum sander to reduce dust distribution. However, eliminating the hardware provides better coverage and a more professional finish.
How long does it take to refinish kitchen cabinets?
The time required is determined by the scope of the project and the drying times. Typically, preparation (cleaning, sanding, and priming) takes one to two days. Painting or staining necessitates at least two coats, with drying times between them. Including reassembly, the complete procedure can take three to five days. Rushing can result in defects, so give enough of drying time.
Is it preferable to paint or stain kitchen cabinets?
The choice is based on the desired look and cabinet material. Paint provides a firm, opaque surface and works well on laminate or previously painted cabinets. Stain highlights wood grain and complements solid wood cabinets. Paint provides additional color options, whereas stain creates a natural, warm appearance. Consider durability as well—painted cabinets may chip, whereas stained cabinets require regular resealing.
What is the average cost for refinishing kitchen cabinets?
Refinishing cabinets is substantially less expensive than replacing them. DIY projects might cost between $200 and $600 for paint, stain, brushes, and supplies. Depending on the size of the kitchen and the finish chosen, hiring an expert can cost anywhere from $1,500 to $4,000. High-end paints, stains, and other repairs (such as repairing damage) might raise costs.

Should I sand cabinets before refinishing?
Yes, optimal paint or stain adherence requires sanding. It eliminates old finishes, smoothes flaws, and opens wood pores to improve stain absorption. Skipping sanding can result in flaking paint or uneven stains. For laminate cabinets, minor sanding and a bonding primer improve paint adhesion. Always wipe the surfaces after sanding to remove dust.
How long do refinished cabinets last?
With adequate preparation and upkeep, refinished cabinets can last 8 to 15 years. Durability is enhanced by using high-quality paint or stain and a protective finish. Areas of high use, such as near sinks or stoves, may wear faster. Regular cleaning and touch-ups assist to maintain the finish, making refinishing a more cost-effective option than full replacement.
How to Refinish your Kitchen Cabinets – Brushed By Brandy

Cabinet Refinishing: An 8-Step Guide for Pro Painters – PPC
How to Refinish Wood Cabinets the Easy Way – Love Remodeled
How to Refinish Cabinets Like a Pro
How to Refinish Wood Cabinets
Refinish your Kitchen Cabinets like a Pro – DIY Project
Related Posts: