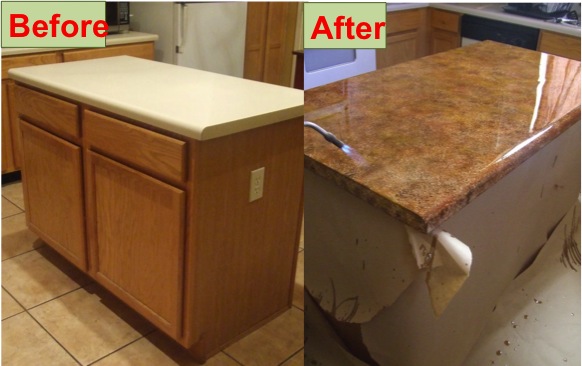
Redoing a kitchen countertop can feel like a major project, but it’s also one of the most rewarding changes you can make in your home. Whether you’re upgrading from a worn surface or simply want a new aesthetic, the transformation has a big impact on your kitchen’s function and style. A fresh countertop can improve food prep, ease cleaning, and redefine the entire look of the space. It’s not just about replacing an old surface—it’s about making the heart of your home work better for you every day.
Choosing the Right Material for Your Needs
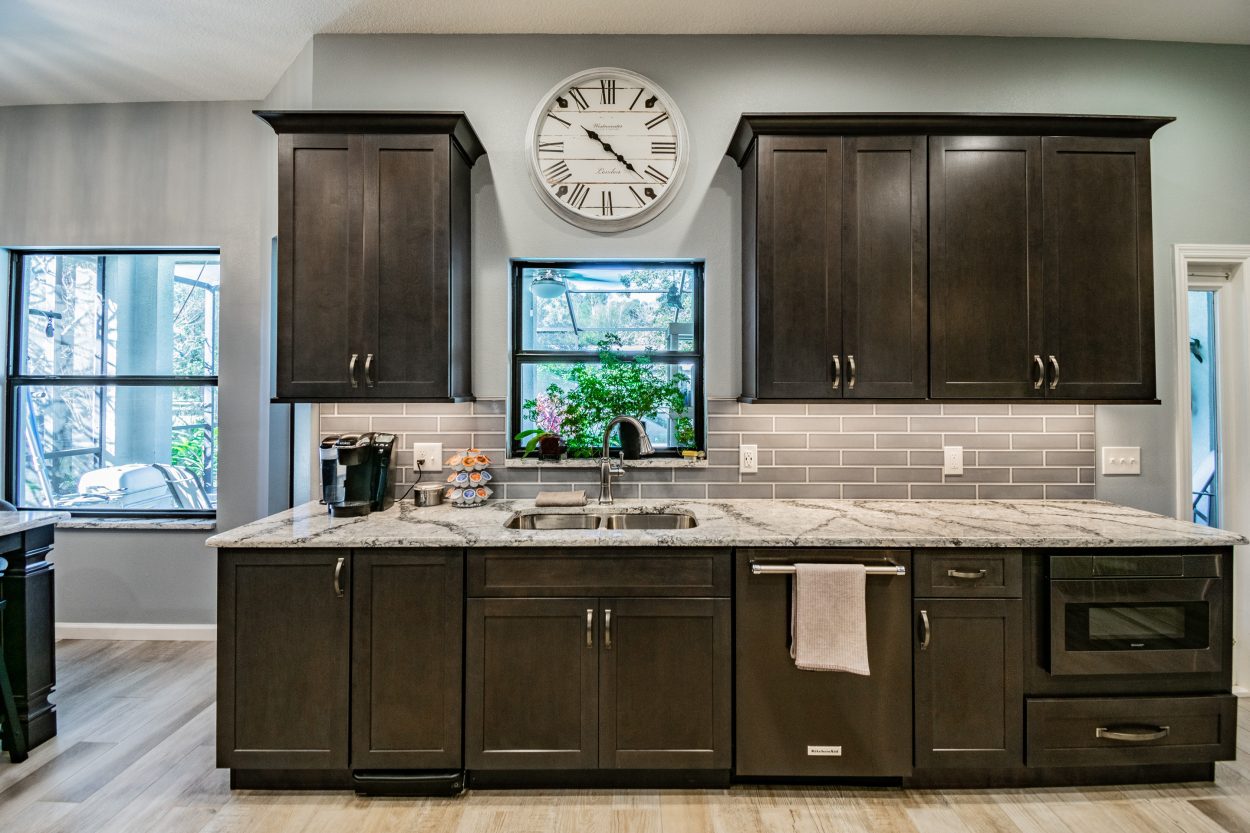
The first decision when redoing your kitchen countertop is choosing the right material. There are plenty of options—granite, quartz, laminate, butcher block, marble, and more. Each one has its own advantages and drawbacks depending on your lifestyle, cooking habits, and overall kitchen usage. Think about how often you cook, how much maintenance you’re willing to do, and the look you want before selecting a material.
Granite is a popular choice for its durability and natural patterns, while quartz is loved for being non-porous and easy to clean. Laminate is more budget-friendly and comes in endless styles, but it doesn’t always last as long under heavy use. Butcher block gives a warm, rustic feel and can be refinished when worn, although it needs frequent sealing. What’s right for you will depend on how you balance function and design.
It’s also wise to consider your climate and humidity. For instance, butcher block may warp in more humid homes, while marble can etch with acidic foods. No material is perfect, so knowing what issues might come with each option will help you make a smart, long-lasting investment. Ask yourself what you can live with and what will drive you crazy in six months of daily use.
Preparing Your Kitchen for the Upgrade
Before the installation starts, your kitchen needs proper preparation. Remove everything from your existing countertops and nearby cabinets, including dishes, appliances, and décor. Clearing the space not only protects your belongings but gives the installers room to work efficiently and safely. You’ll also want to shut off water lines if a sink is involved in the remodel.
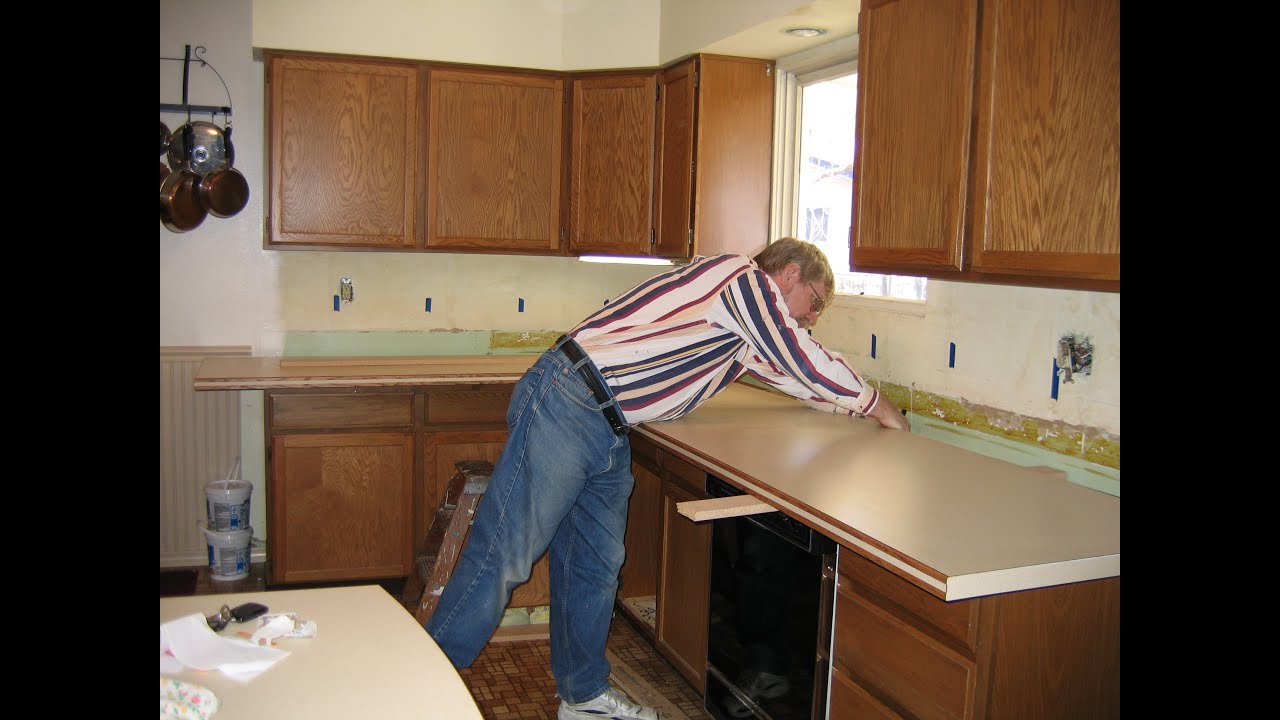
If you’re removing old countertops yourself, be careful. Detaching countertops can get messy, especially if they’re glued down tightly or sealed into the wall. Use a utility knife to break caulk seals and a pry bar to lift the counter gently. It’s best to do this slowly to avoid damaging your cabinets or backsplash in the process. If it’s a first-time project, having a friend help can make a huge difference.
Once the area is cleared and cleaned, take measurements again. Even if the contractor has already measured, double-checking ensures nothing was missed. This step might feel repetitive, but it’s essential to avoid costly installation errors. A quarter inch off in one spot can throw off the whole countertop fit. Mark any special cutouts needed for sinks or stovetops clearly before the install.
Deciding on the Edge Style and Finish
The edge profile of your new countertop might seem like a small detail, but it significantly affects the final look. From clean, squared edges to decorative ogee curves, the style can influence how modern, classic, or custom your kitchen feels. This is a chance to match the counter’s edge to your cabinet style and overall kitchen theme.
A straight edge offers a sleek, minimalist appearance and is a go-to choice for modern kitchens. On the other hand, a beveled or bullnose edge softens the corners and suits transitional or traditional designs better. If you want something elegant, consider an ogee or waterfall edge. These tend to cost more, but they add a dramatic visual effect that’s hard to ignore.
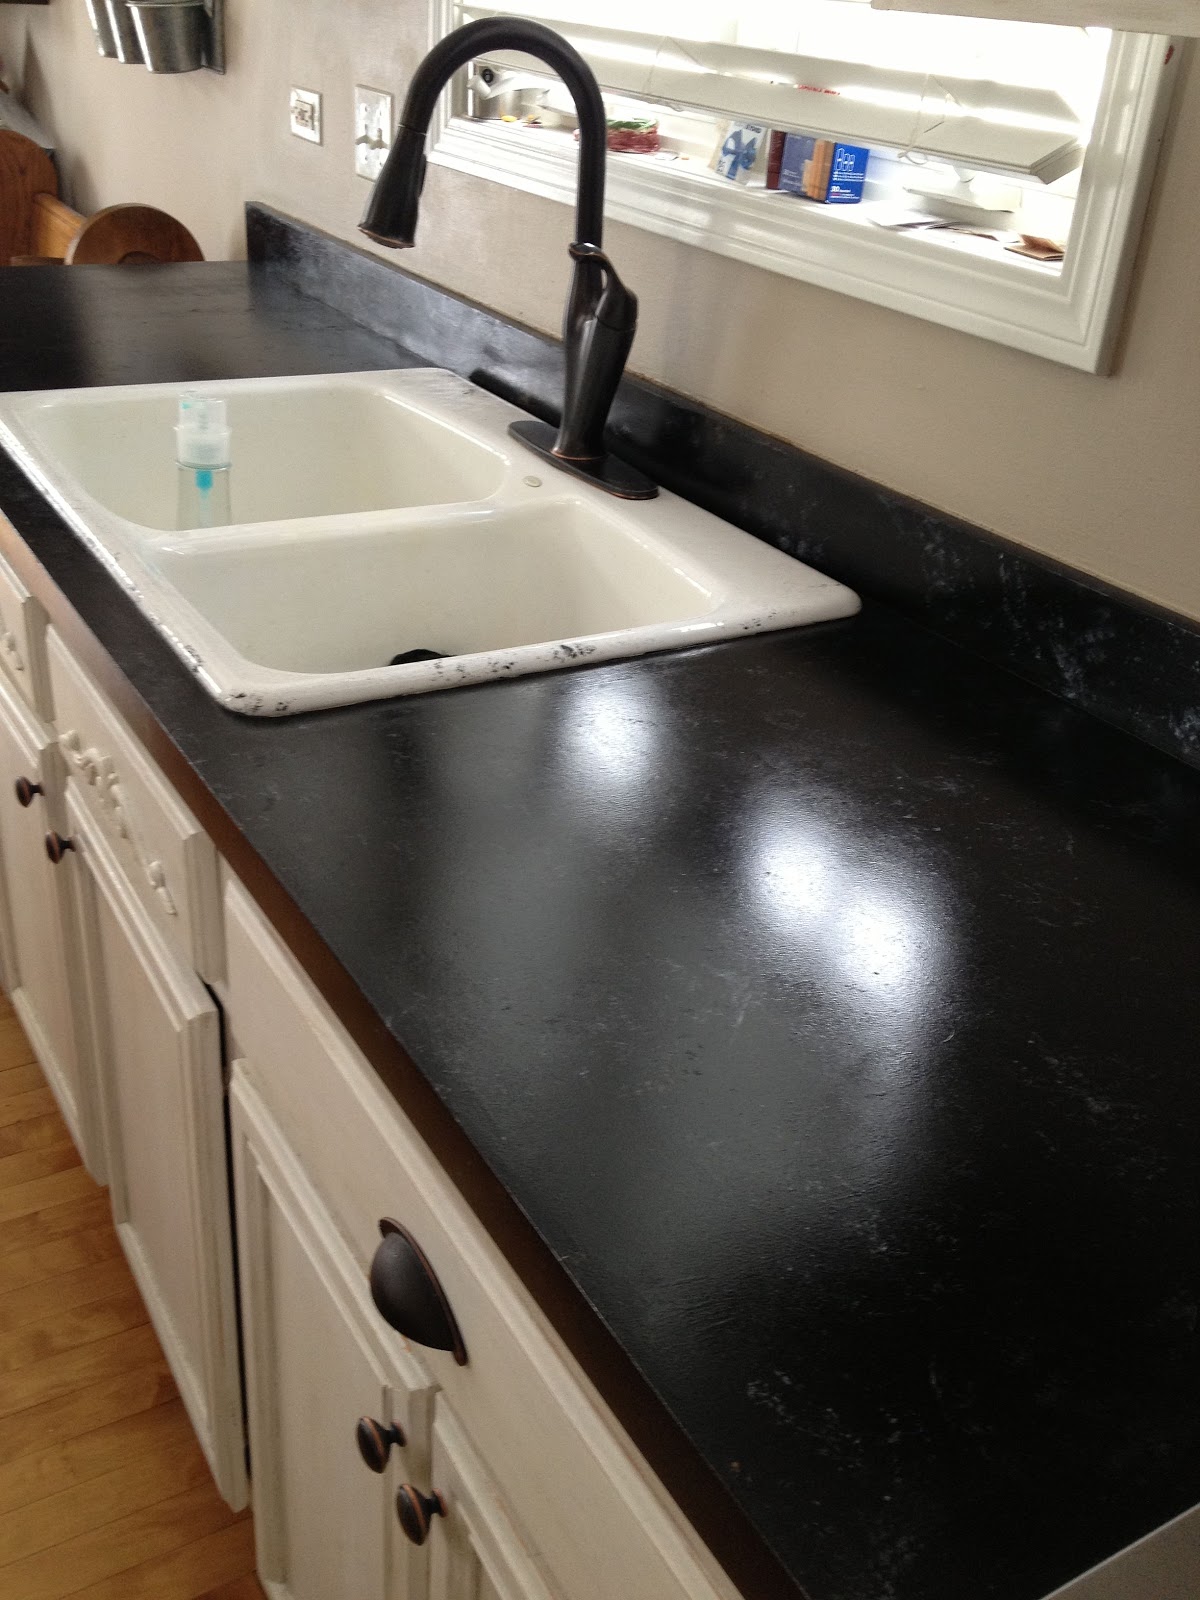
Finish matters too. Polished finishes give your countertop a glossy, reflective surface that feels smooth to the touch. Honed finishes are more matte, which reduces glare and hides small scratches better. Textured or leathered finishes add visual interest and grip but can trap more dust. Each finish affects how the surface looks and feels daily, so choose one that matches how you live in the kitchen.
Installing the Countertop: What to Expect
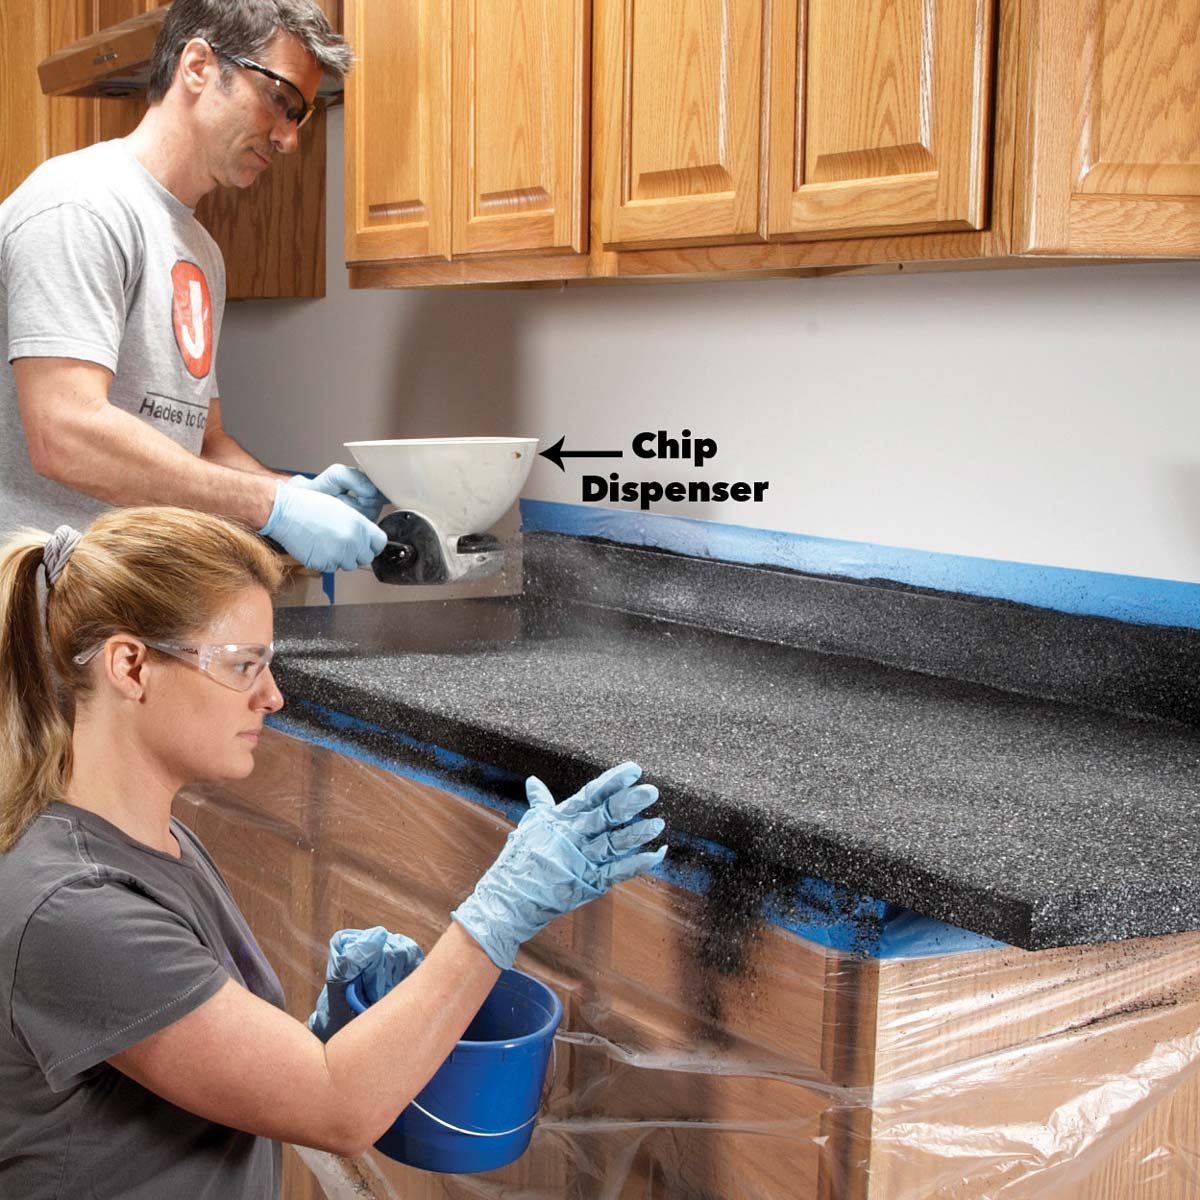
Installation day is exciting, but it’s good to know what’s coming. Professionals usually arrive with the prefabricated pieces, which they fit, level, and secure in place. Depending on the complexity of the project, this could take anywhere from a few hours to a full day. If there are backsplashes, cutouts, or special edges involved, plan for extra time.
Noise, dust, and a bit of chaos are normal. Keep kids and pets out of the work zone for safety. If you’re home during the installation, you might hear power tools or smell adhesive products. Don’t worry—it’s all part of the process. Most professionals clean up afterward, but having a vacuum ready can speed up your own cleanup when they’re done.
Once installed, give the countertop time to set before placing anything heavy on it. If your counters were sealed or glued, the adhesives may take hours to cure fully. Ask your contractor when it’s safe to use your sink or reinstall appliances. The waiting time might feel long, but it ensures a secure bond and a long-lasting finish.

Adding the Finishing Touches
After the counter is in place, don’t forget the details that complete the upgrade. Caulking between the countertop and backsplash or walls prevents water from seeping into gaps. It’s a small but crucial step that protects your investment from moisture damage. Matching caulk colors with the countertop gives a clean, seamless look.
Next, consider sealing the surface if the material needs it. Natural stones like granite or marble benefit from sealing, which helps repel stains and moisture. Some newer quartz products don’t need sealing, but always check the manufacturer’s instructions. Regular maintenance, even if it’s minimal, will help preserve the beauty and durability of your new counters.
Finally, bring back your appliances and decor, but consider rearranging things to fit the new layout. A freshly installed countertop might give you more room—or make it easier to add accessories like cutting boards or small organizers. Take this chance to make your kitchen not just prettier, but more practical and efficient too.
Keeping Your New Countertop in Top Shape
Now that the project’s complete, it’s time to keep your countertop looking and performing its best. Daily cleaning with a soft cloth and gentle cleaner goes a long way. Avoid harsh chemicals that can dull finishes or erode seals. Even if your counter is highly durable, treating it with care will extend its life.
Use cutting boards instead of chopping directly on the surface, especially for softer materials like laminate or butcher block. Place hot pots on trivets to avoid heat damage, even with stone countertops. These habits don’t take much effort but can prevent common wear and tear that shortens the countertop’s lifespan.
Every few months, inspect your countertop for chips, scratches, or stains. Spot-clean any marks quickly, and reseal if needed according to the care guidelines of your material. Staying on top of small issues before they grow keeps your kitchen looking fresh and prevents expensive repairs later. With a little attention, your countertop can stay just as stunning as the day it was installed.

Ideas for the Kitchen: Renew Kitchen Countertops (DIY) Family
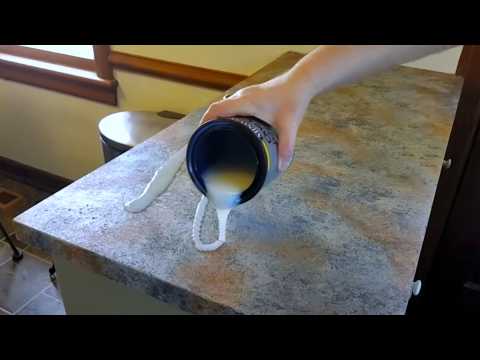
How to Paint Countertops – Looks Like Slate – $65 DIY Budget Friendly Kitchen Update
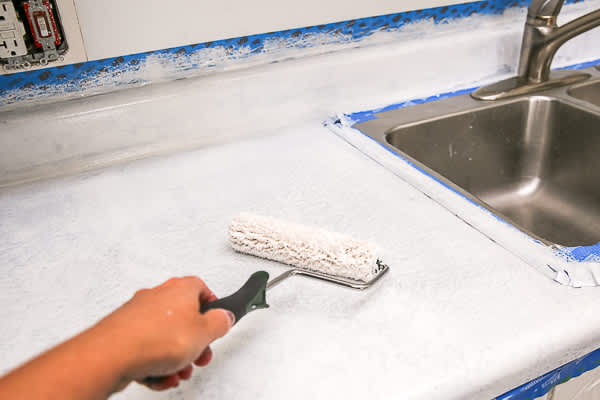
Laminate Counter Refinishing Ideas – Cool DIY Hacks for Laminate
Which Kitchen Countertops To Choose When You Can’t Redo Them All

Amazing DIY Countertops you can make for cheap

Kitchen Renovation: Choosing a Quartz Countertop – Jenna Burger

Ideas for Updating Kitchen Countertops + Pictures From HGTV HGTV

Kitchen Remodeling Tampa Why Do Non-Porous Kitchen Countertops
Related Posts: