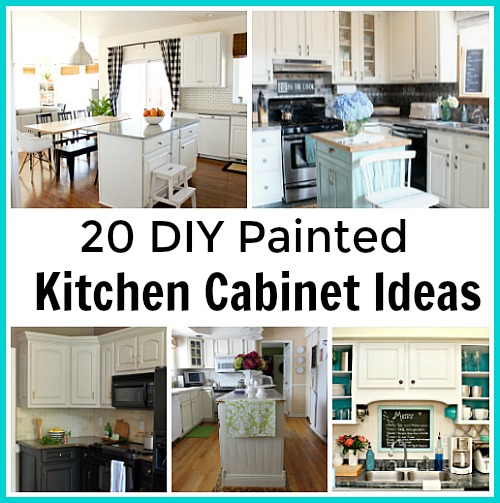
Updating your kitchen cabinets with a fresh coat of paint is one of the most cost-effective ways to transform your space. Whether you’re going for a modern, rustic, or classic look, the right color and technique can make a huge difference. I’ve gathered some of the best ideas to help you achieve a professional finish while adding personality to your kitchen. From bold hues to subtle neutrals, there’s something for every style. Let’s explore these inspiring ideas to give your cabinets a brand-new look.
Choosing the Right Paint Color
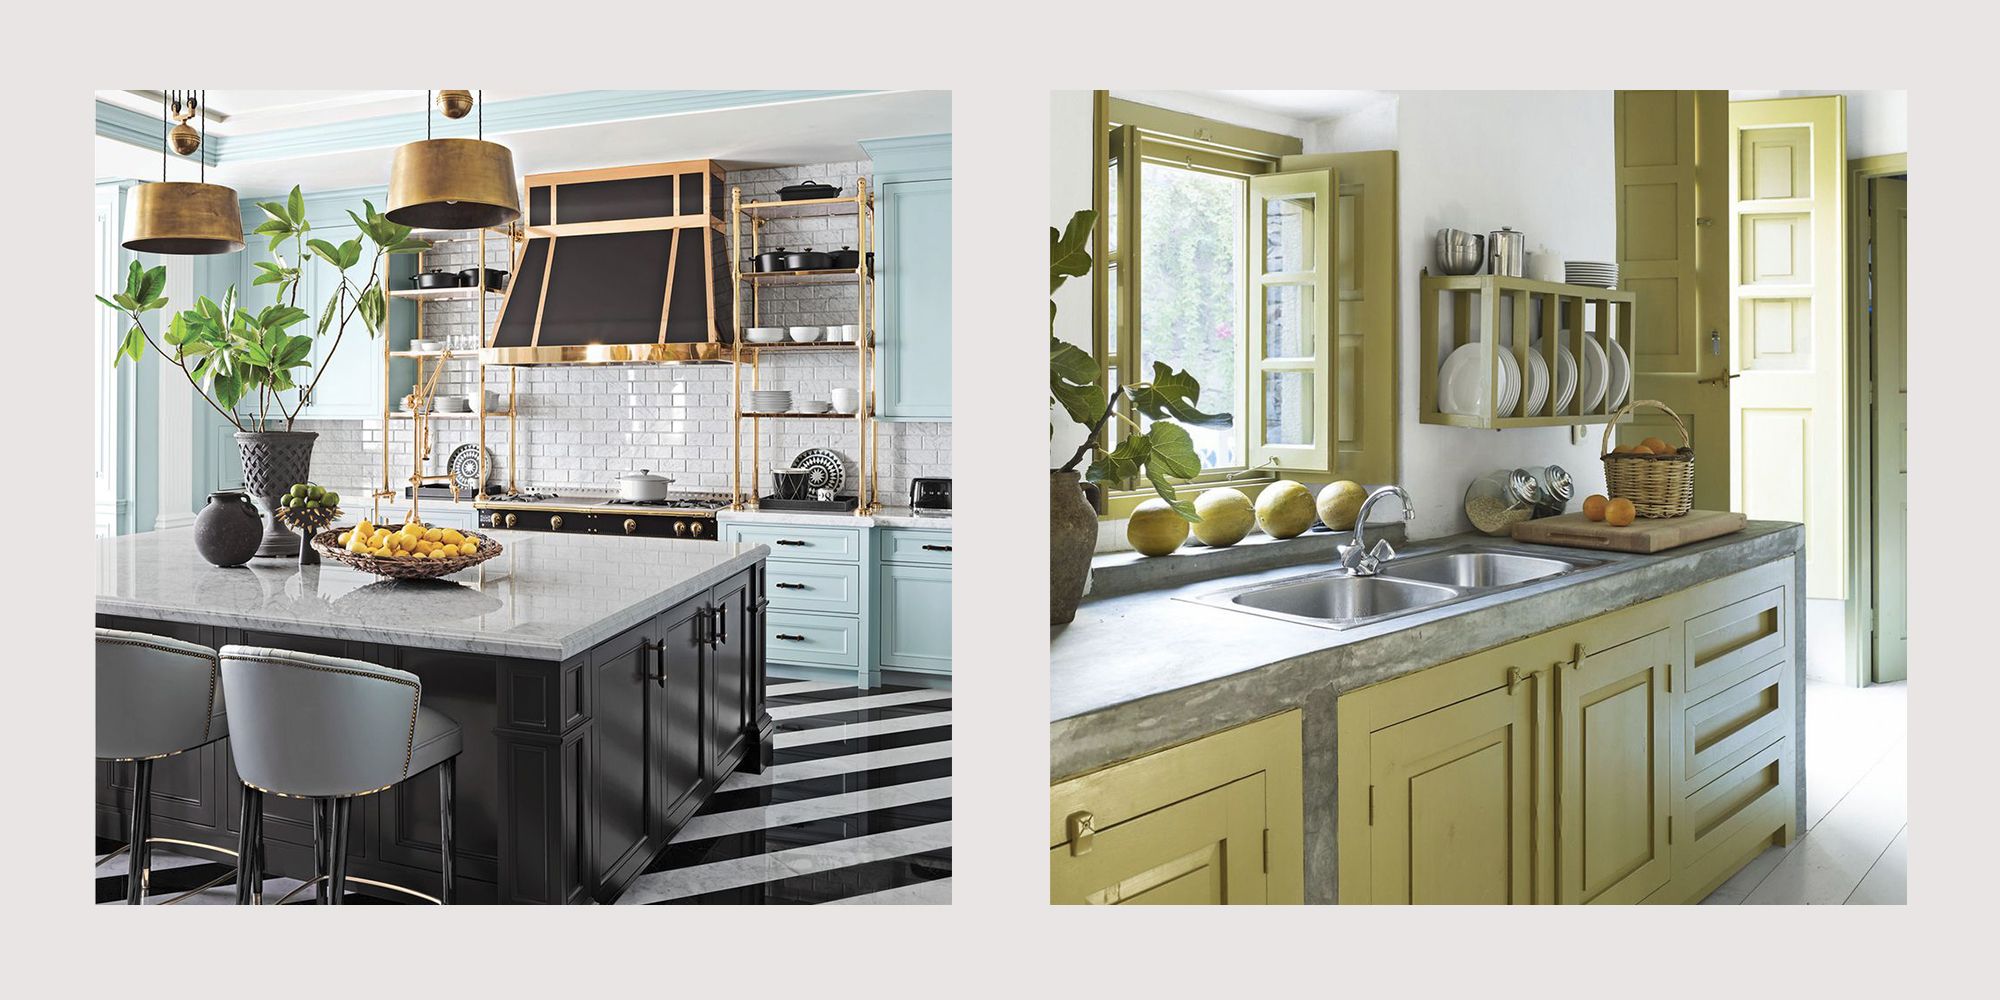
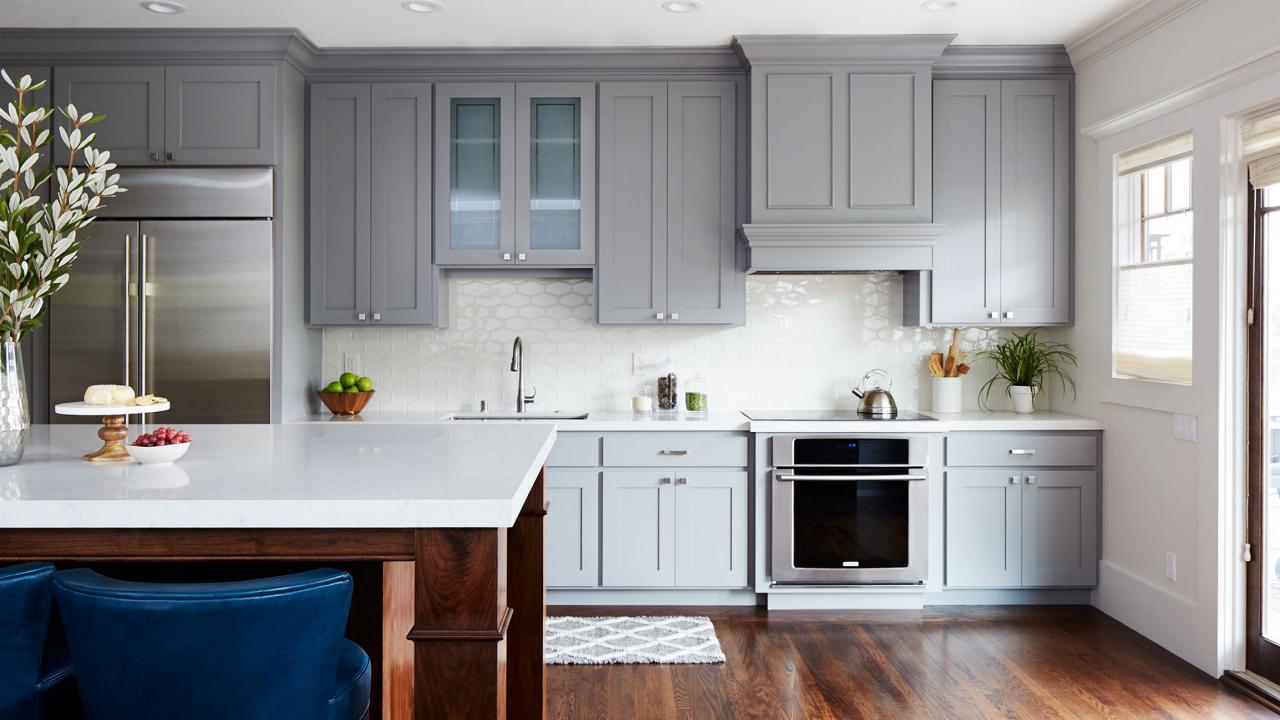
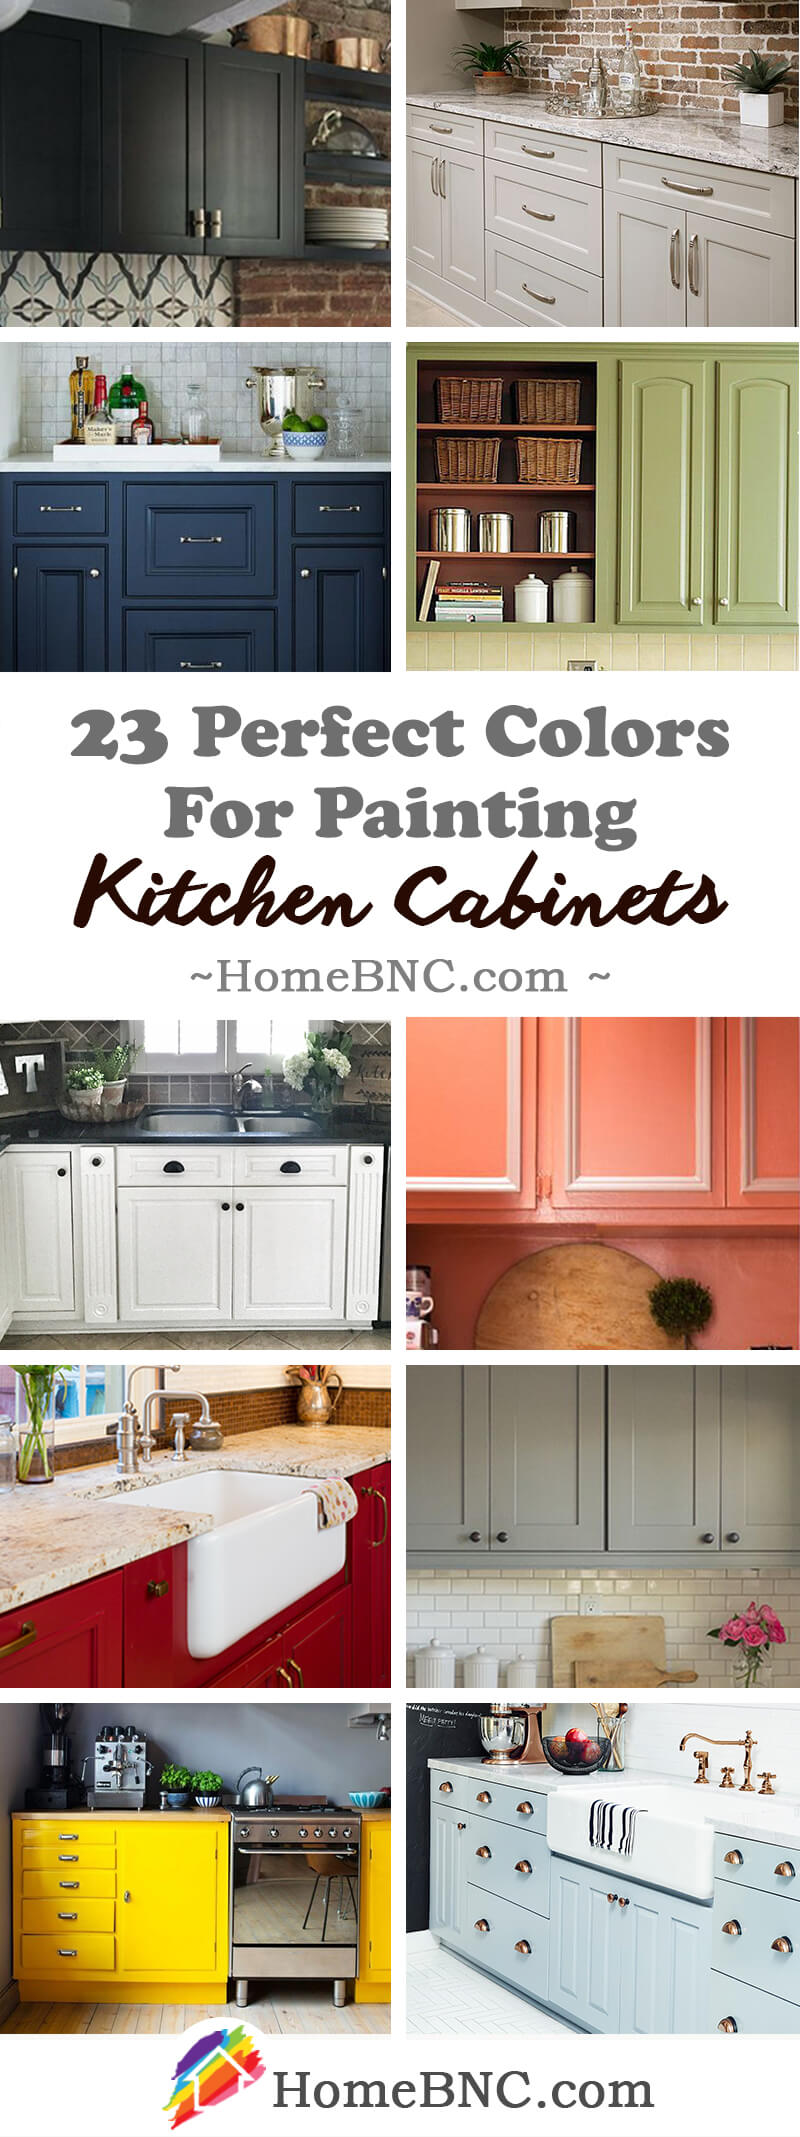
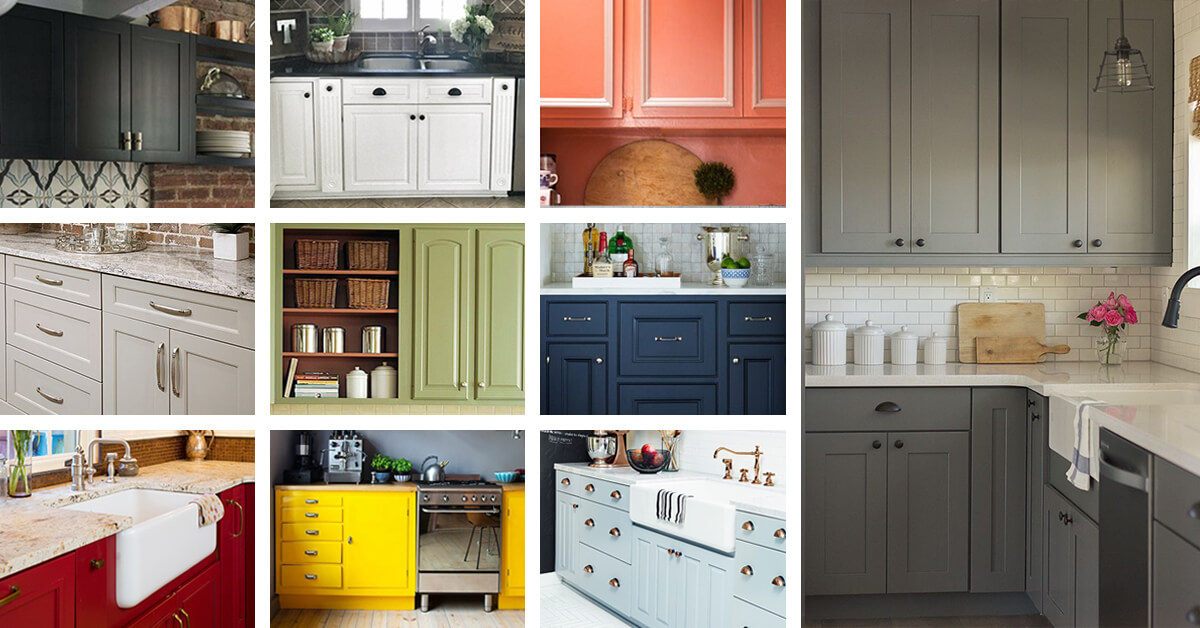
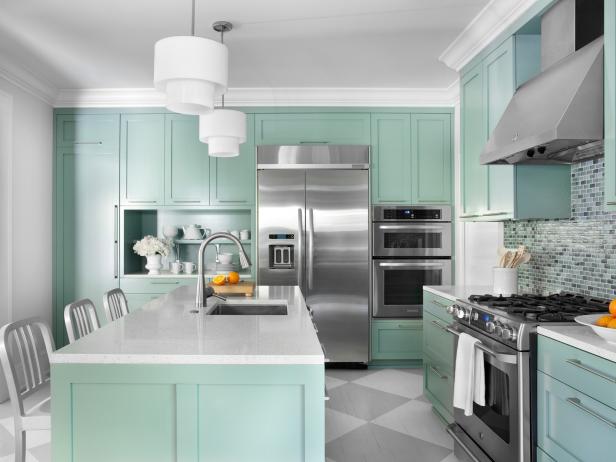
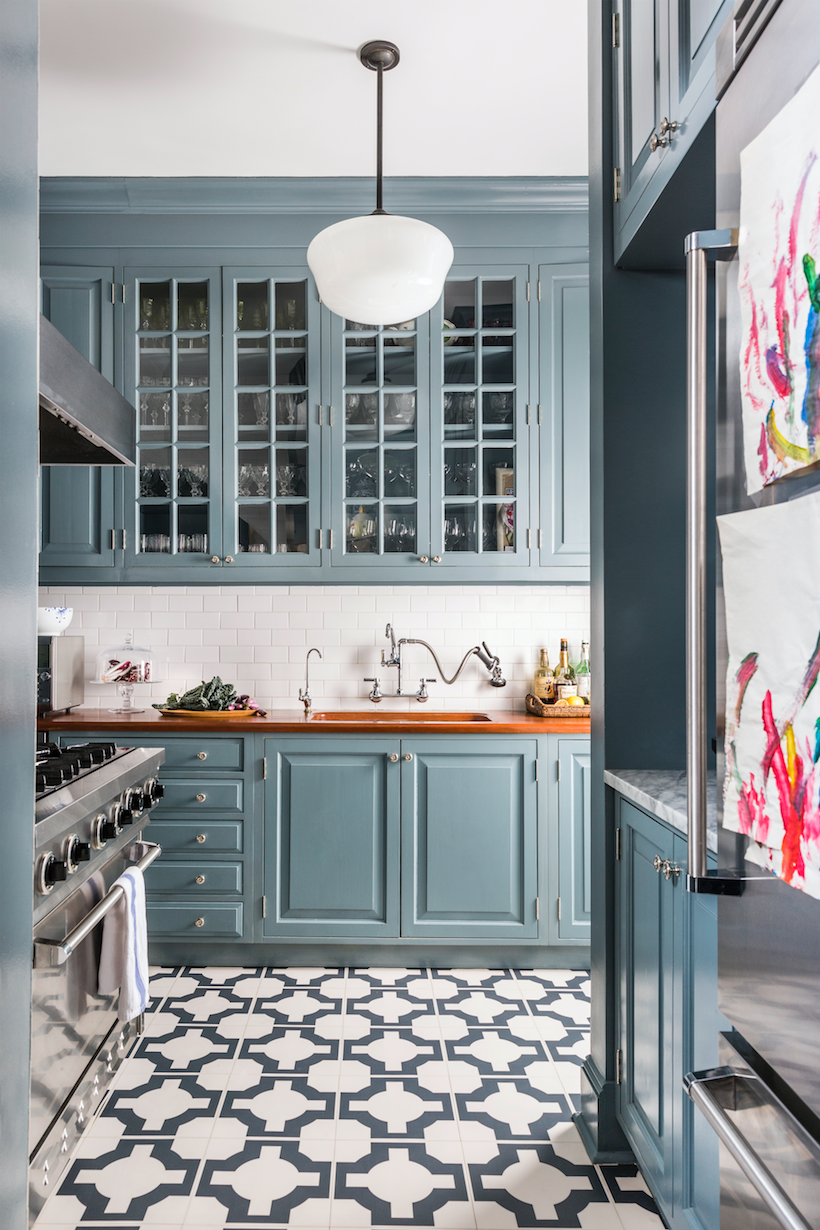
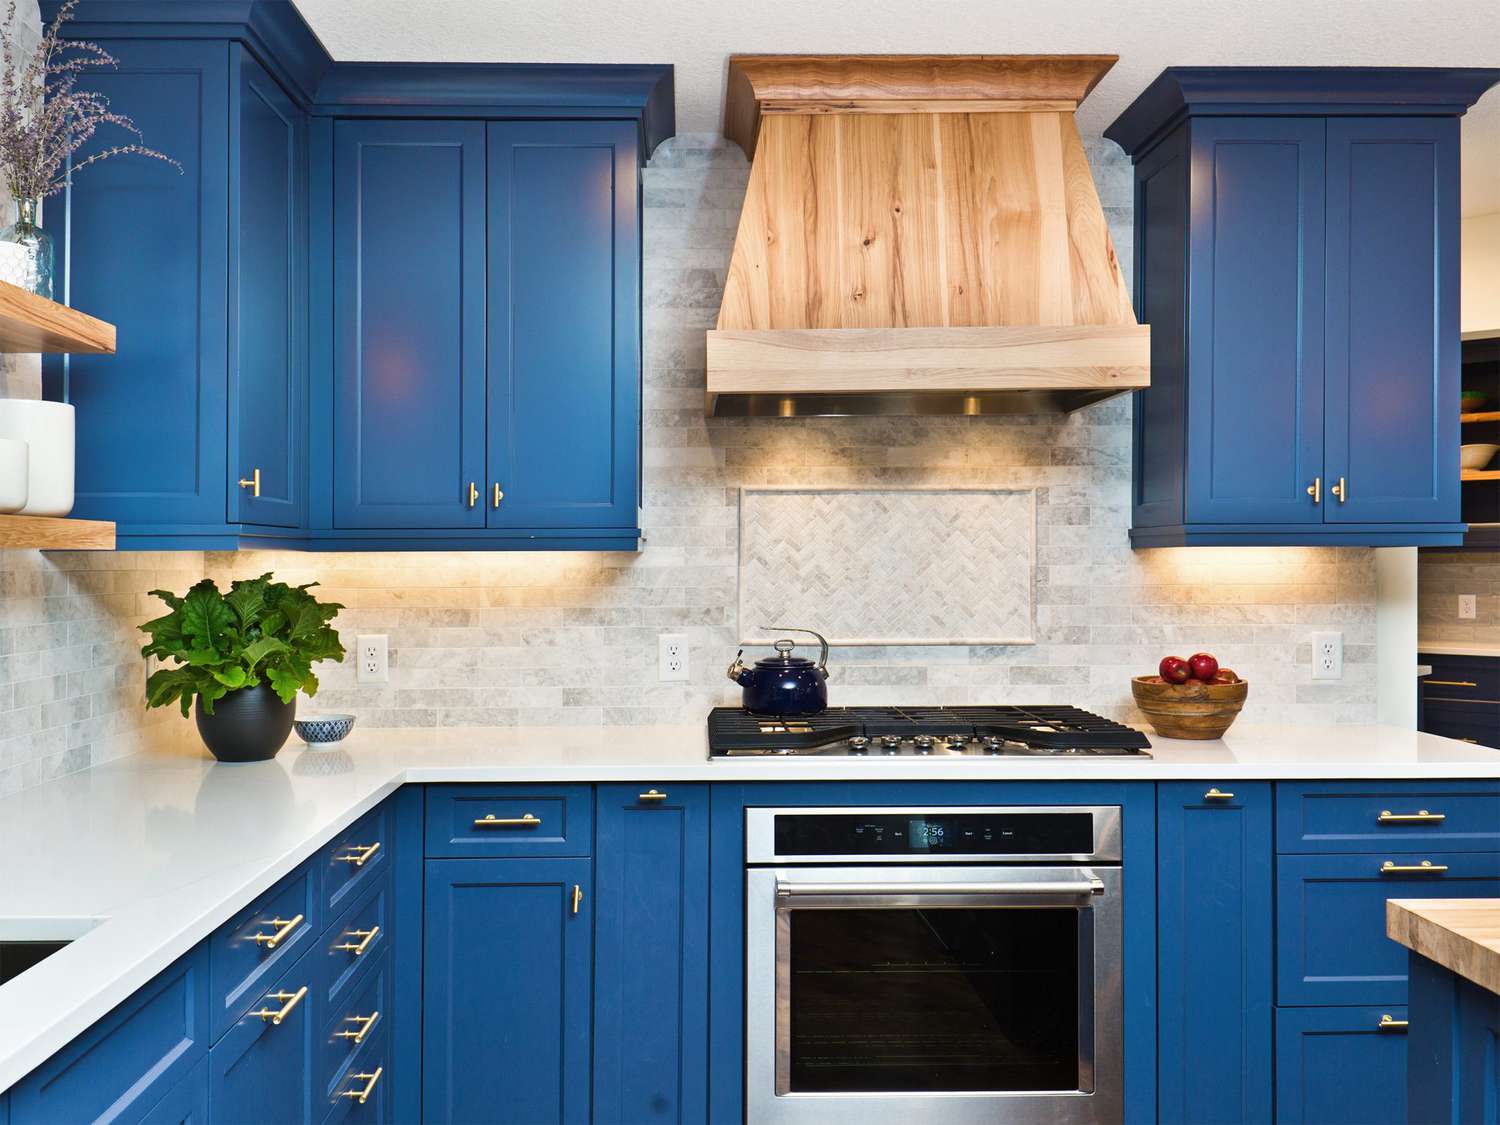
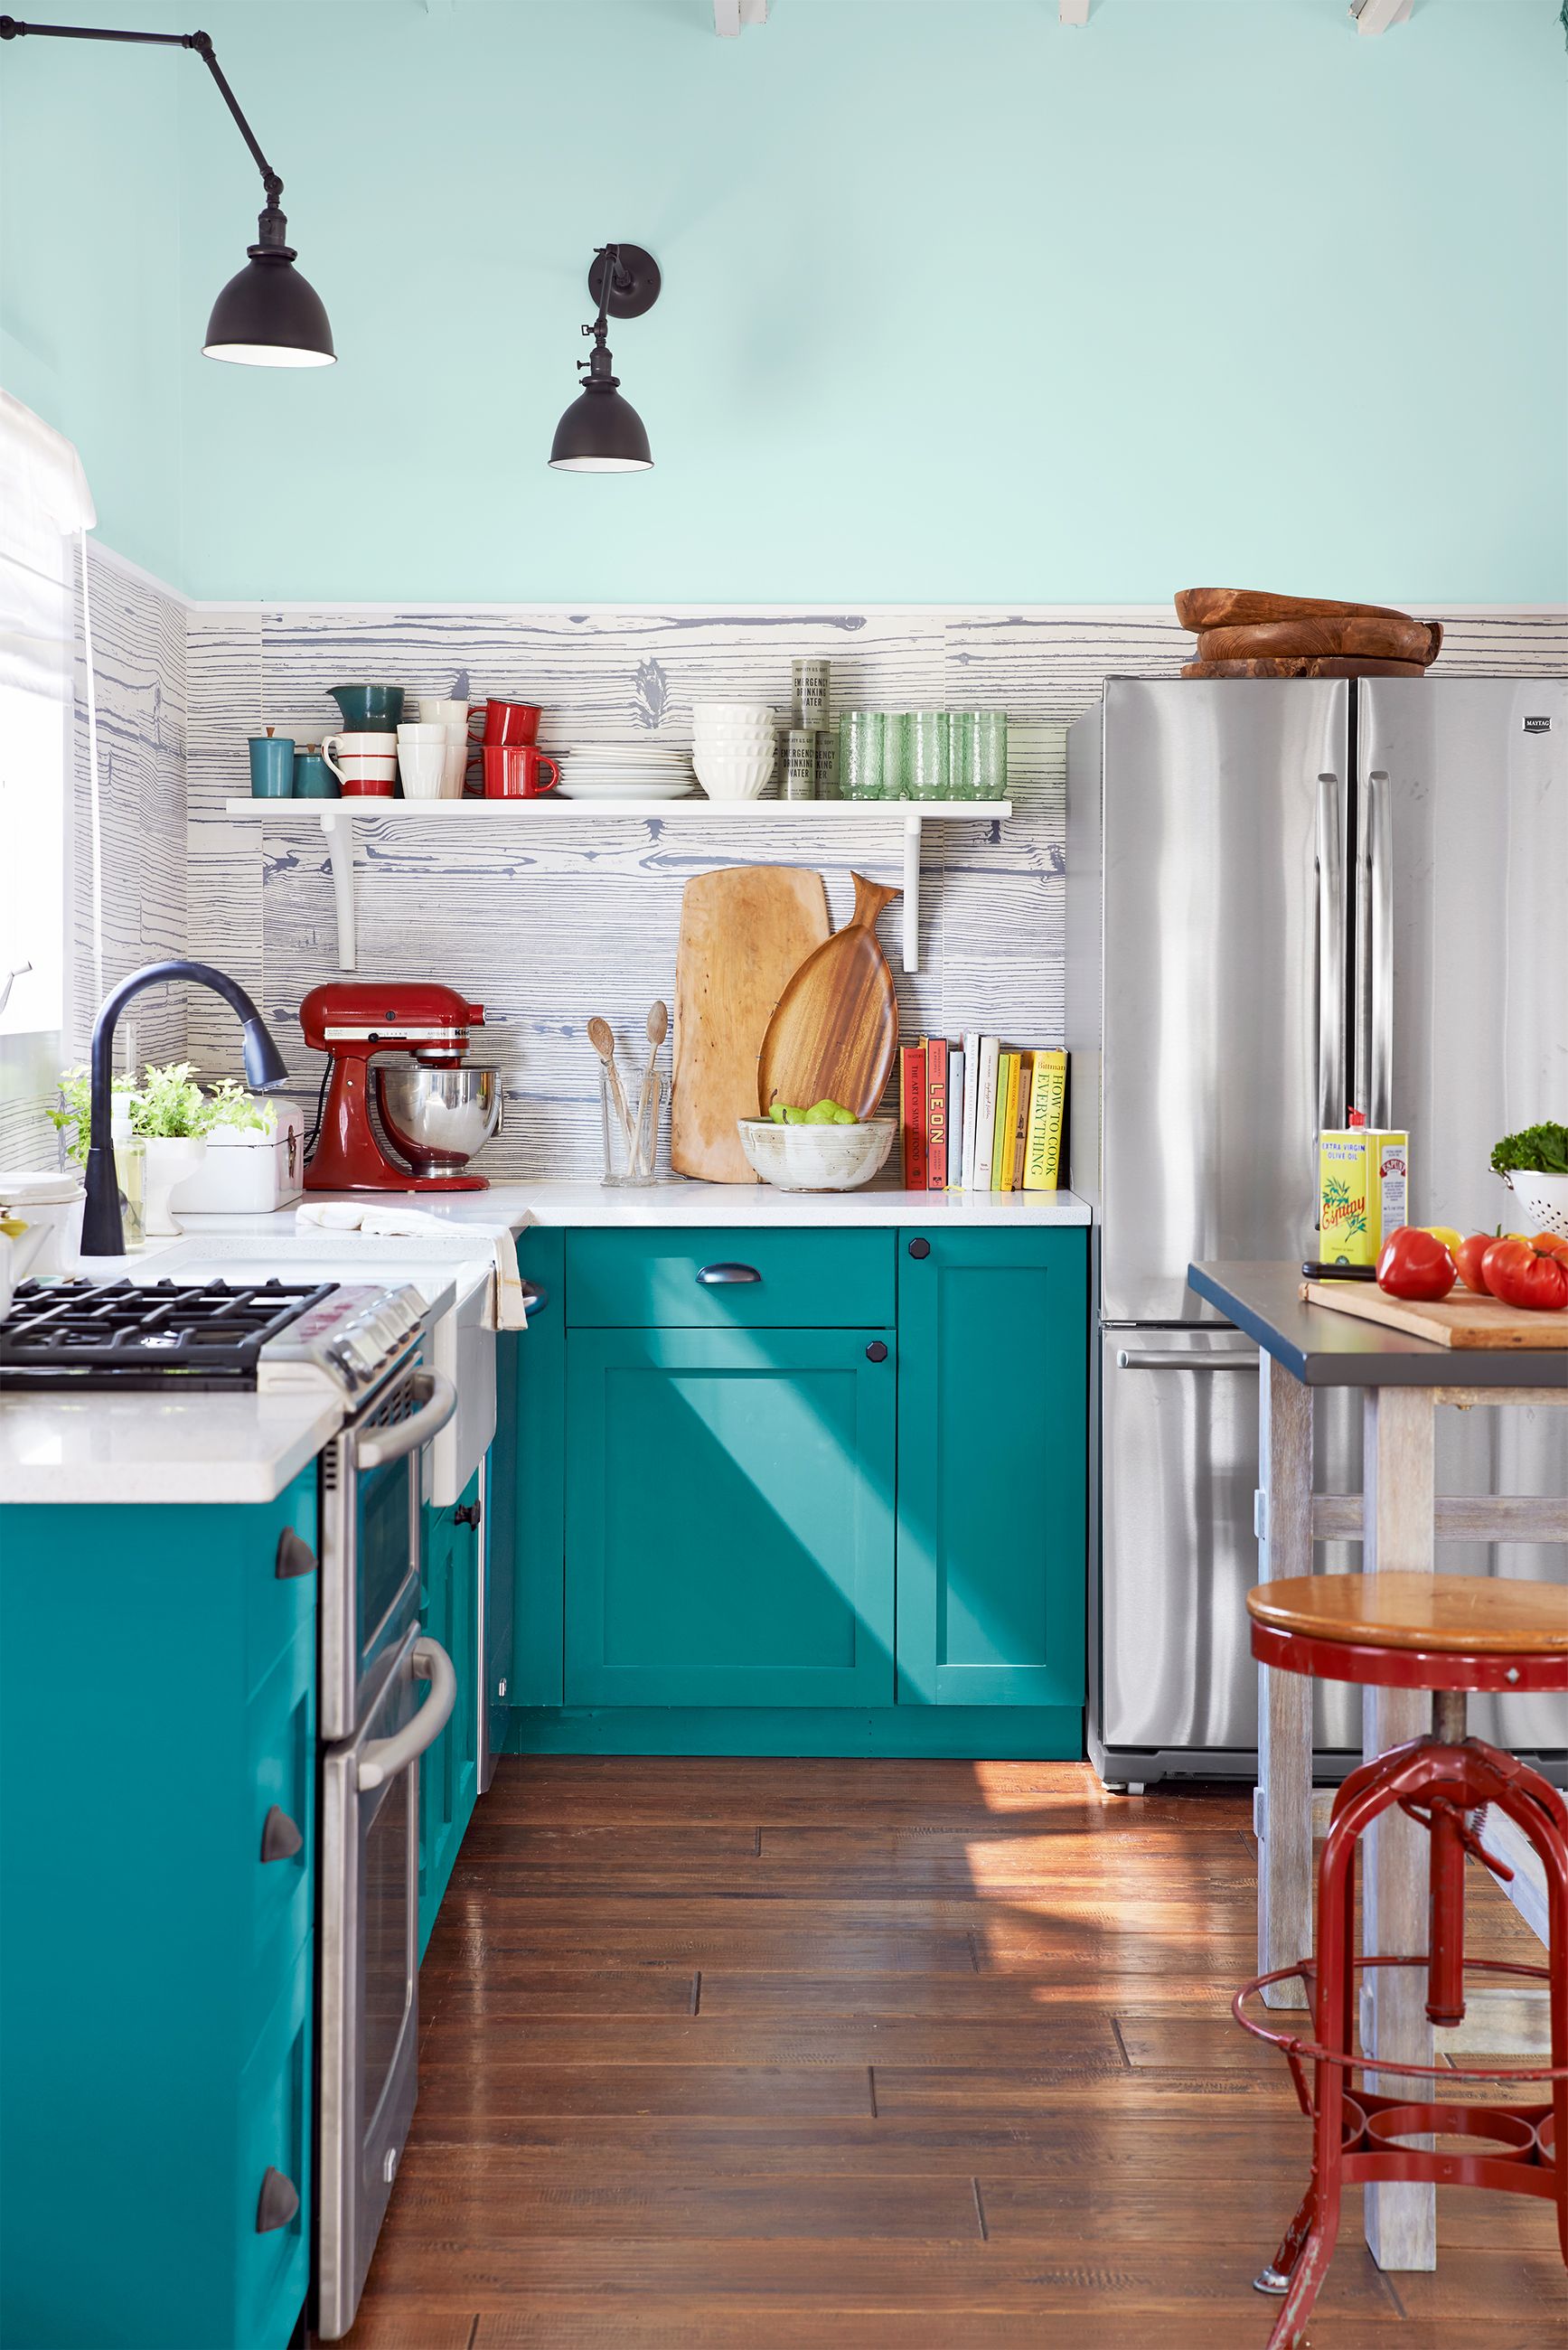
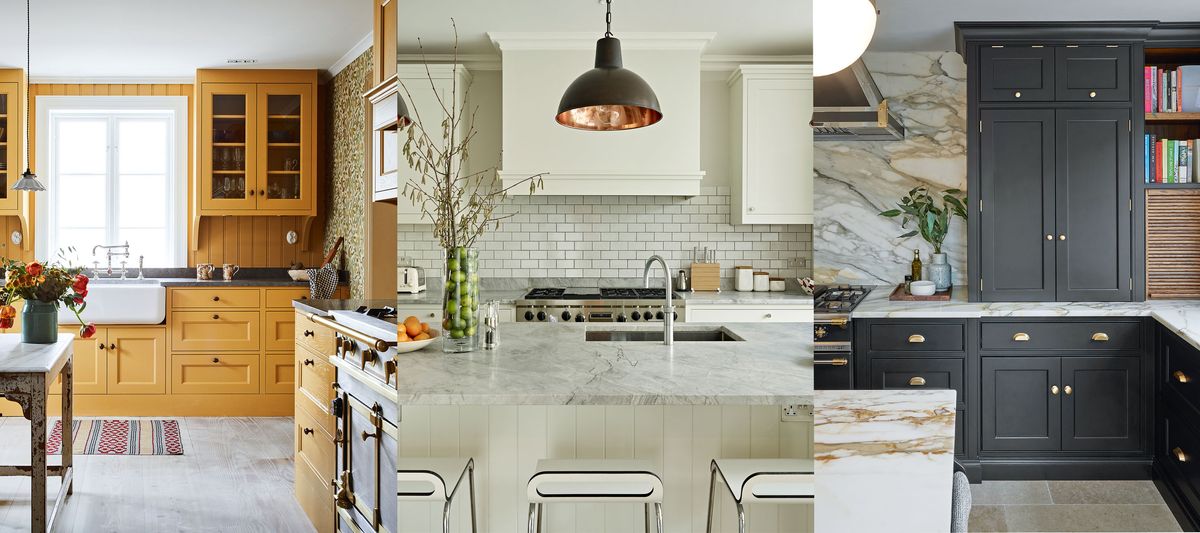
The first step in painting your kitchen cabinets is selecting the perfect color. Neutral shades like white, gray, or beige create a timeless look that pairs well with any decor. If you want something bolder, deep blues, emerald greens, or even black can add drama and sophistication. I always recommend testing swatches in different lighting to see how the color changes throughout the day.
Consider the overall vibe of your kitchen before committing to a shade. Lighter colors make small kitchens feel more spacious, while darker tones add warmth and depth. Two-tone cabinets, where upper and lower cabinets are different colors, are also trending. For example, white uppers with navy lowers create a balanced yet striking contrast. Don’t forget to factor in your countertops and backsplash when choosing a color.
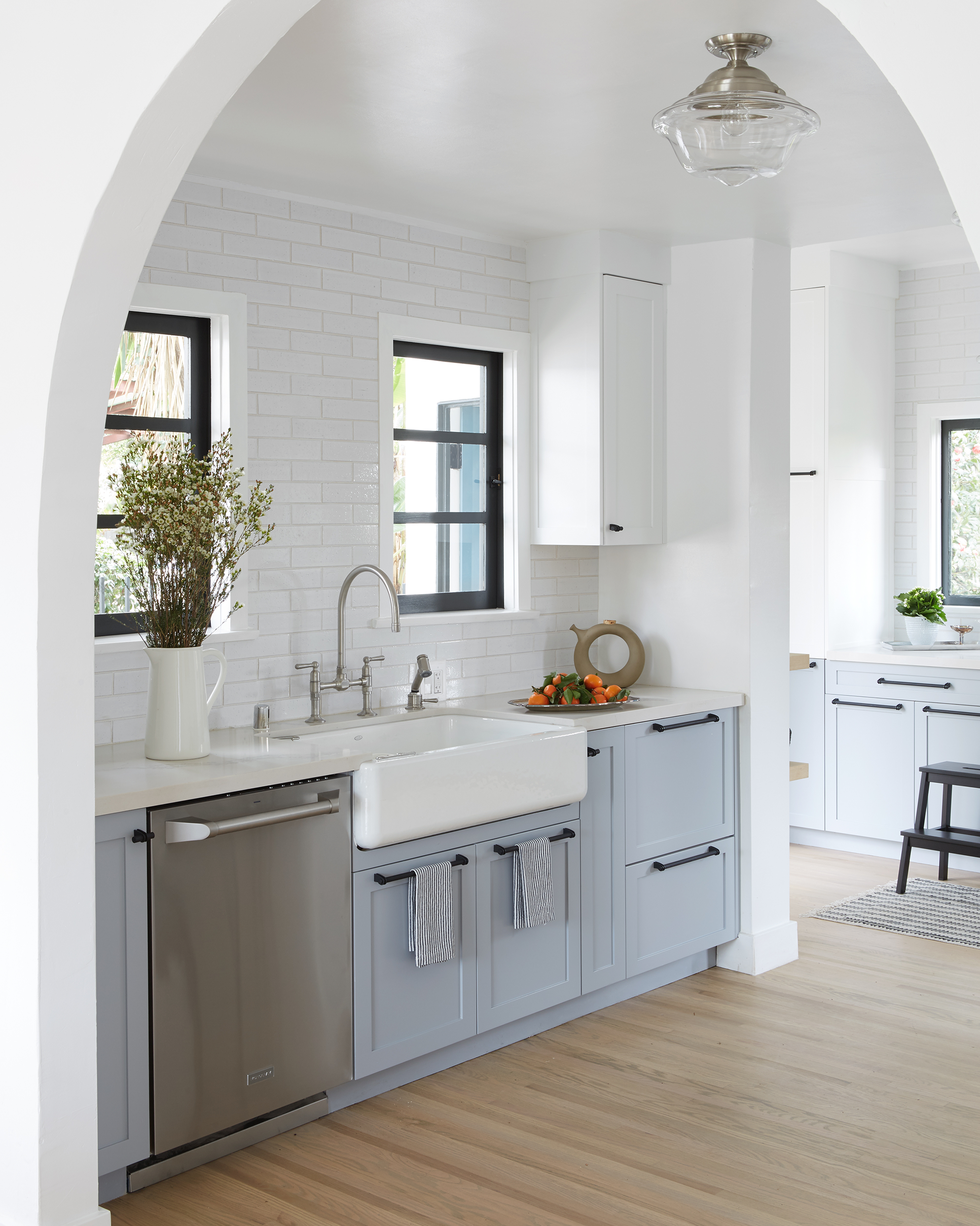
Another great option is muted pastels like soft sage or blush pink for a subtle pop of color. These work especially well in farmhouse or Scandinavian-style kitchens. If you’re unsure, classic white is always a safe bet—it’s clean, bright, and never goes out of style. Just remember, the right color can completely change the mood of your kitchen, so take your time deciding.
Prepping Your Cabinets for Paint
Proper preparation is key to a flawless finish. Start by removing all cabinet doors, drawers, and hardware. Cleaning the surfaces with a degreaser is crucial because grease and grime can prevent paint from adhering properly. Sanding is the next step—it helps the paint bond better and smooths out imperfections. I always use 120-grit sandpaper for this step.
After sanding, wipe everything down with a tack cloth to remove dust. If your cabinets have deep scratches or dents, use wood filler to repair them before priming. Primer is essential, especially when painting over dark wood or laminate. It creates a uniform base and improves paint durability. I prefer oil-based primer for its strong adhesion, but water-based works well too.
Once the primer dries, lightly sand again with 220-grit sandpaper for an ultra-smooth surface. Don’t skip this step—it makes a big difference in the final result. If you’re painting laminate cabinets, look for a primer specifically designed for slick surfaces. Taking the time to prep properly ensures your paint job lasts longer and looks professional.
Best Painting Techniques for a Smooth Finish
The way you apply paint matters just as much as the color you choose. For the smoothest finish, I recommend using a high-quality brush for edges and a foam roller for flat surfaces. Spray painting gives the most professional look, but it requires skill and proper ventilation. If you’re brushing, always follow the wood grain to avoid streaks.
Thin coats are better than thick ones—they dry faster and prevent drips. Let each coat dry completely before applying the next. Two to three coats are usually enough for full coverage. If you notice brush marks, lightly sand between coats with fine-grit sandpaper. This extra step ensures a glass-like finish.
For a distressed or vintage look, try techniques like dry brushing or adding a glaze after painting. Chalk paint is another great option if you want a matte, rustic finish without much prep work. No matter which method you choose, patience is key. Rushing the process can lead to uneven coverage or visible imperfections.
Adding Unique Finishing Touches
Once your cabinets are painted, consider adding decorative elements for extra charm. Glass inserts in a few upper cabinets can break up solid colors and display pretty dishware. Open shelving is another trendy alternative—just paint the brackets to match your cabinets for a cohesive look.
Hardware makes a big impact too. Swapping out old knobs and pulls for modern or vintage-style ones instantly updates your kitchen. Matte black, brass, or brushed nickel are popular choices. If you want a seamless appearance, try hidden handles or push-to-open mechanisms for a sleek, minimalist vibe.
For a final touch, add under-cabinet lighting to highlight your new paint job. LED strips or puck lights create a warm glow and improve functionality. If you’re feeling creative, stenciling or hand-painted designs on cabinet fronts can add a personalized touch. Small details like these elevate the overall look without overwhelming the space.
Maintaining Your Painted Cabinets
Keeping your newly painted cabinets looking fresh requires some care. Use gentle cleaners—avoid harsh chemicals that can strip the paint. Microfiber cloths work best for dusting and wiping down surfaces. If you notice chips or scratches, touch them up quickly to prevent further damage.
High-traffic areas, like around handles, may need occasional repainting. To protect the finish, consider adding a clear topcoat if your paint isn’t already durable. Water-based polyurethane is a great option because it doesn’t yellow over time. Just apply thin, even coats for the best protection.
Over time, your style might change, but that’s the beauty of painted cabinets—they’re easy to update. If you get tired of the color, simply repaint them. With proper care, your cabinets will stay beautiful for years, making this project well worth the effort.
What type of paint is best for kitchen cabinets?
The best paint for kitchen cabinets is durable and easy to clean. I recommend acrylic latex or oil-based paints because they resist moisture and wear. Semi-gloss or satin finishes are ideal—they’re scrubbable and have a slight sheen that hides imperfections. Chalk paint is another option for a matte, vintage look, but it requires sealing with wax or polyurethane. Always choose high-quality paint to ensure long-lasting results. Proper prep and priming also play a big role in how well the paint holds up over time.
Do I need to sand my cabinets before painting?
Yes, sanding is essential for a smooth, lasting finish. It removes the glossy top layer, allowing the primer and paint to adhere better. Even if your cabinets are already matte, light sanding helps smooth out imperfections. I use 120-grit sandpaper for initial sanding and 220-grit between coats. If you’re painting laminate cabinets, sanding is even more important since the surface is non-porous. Skipping this step can lead to peeling or chipping paint later on.
How long does it take to paint kitchen cabinets?
The entire process usually takes 3 to 5 days, including drying time. Removing doors, cleaning, and sanding can take a full day. Priming requires another day, plus drying time. Painting takes 1 to 2 days, depending on the number of coats. Reassembling everything is the final step. Rushing can cause smudges or uneven drying, so patience is key. If you’re working in a busy household, consider doing it over a weekend when the kitchen is less used.
Can I paint over stained wood cabinets?
Absolutely! Stained wood can be painted, but proper prep is crucial. Clean the surfaces thoroughly, then sand to rough up the finish. Apply a high-quality primer designed to block stains and tannins from bleeding through. Oil-based primers work best for this. After priming, sand lightly before painting. Without these steps, the stain may show through, or the paint may not adhere properly. The extra effort ensures a flawless, long-lasting result.
What’s the best way to avoid brush marks?
To minimize brush marks, use a high-quality angled brush and a foam roller. Apply thin, even coats and follow the wood grain when brushing. Lightly sand between coats with 220-grit sandpaper to smooth any imperfections. If possible, consider using a paint sprayer for the smoothest finish. Keeping a wet edge while painting also helps—work in small sections and blend as you go. Taking your time with each coat makes a big difference in the final look.
How do I clean painted cabinets without damaging them?
Use a soft microfiber cloth and a mild cleaner, like dish soap mixed with water. Avoid abrasive sponges or harsh chemicals, which can scratch or dull the finish. For tougher grease, a vinegar-water solution works well. Always wipe gently and dry immediately to prevent water spots. If your cabinets have a topcoat, they’ll be more resistant to stains and easier to clean. Regular dusting helps maintain their appearance without heavy scrubbing.
DIY Painted Kitchen Cabinet Mistakes – How to Paint Kitchen
Kitchen cabinet colors: best colors for your cabinets
DIY Painted Kichen Cabinet Ideas- A CUltivated Nest
Best Painted Kitchen Cabinets
Related Posts: