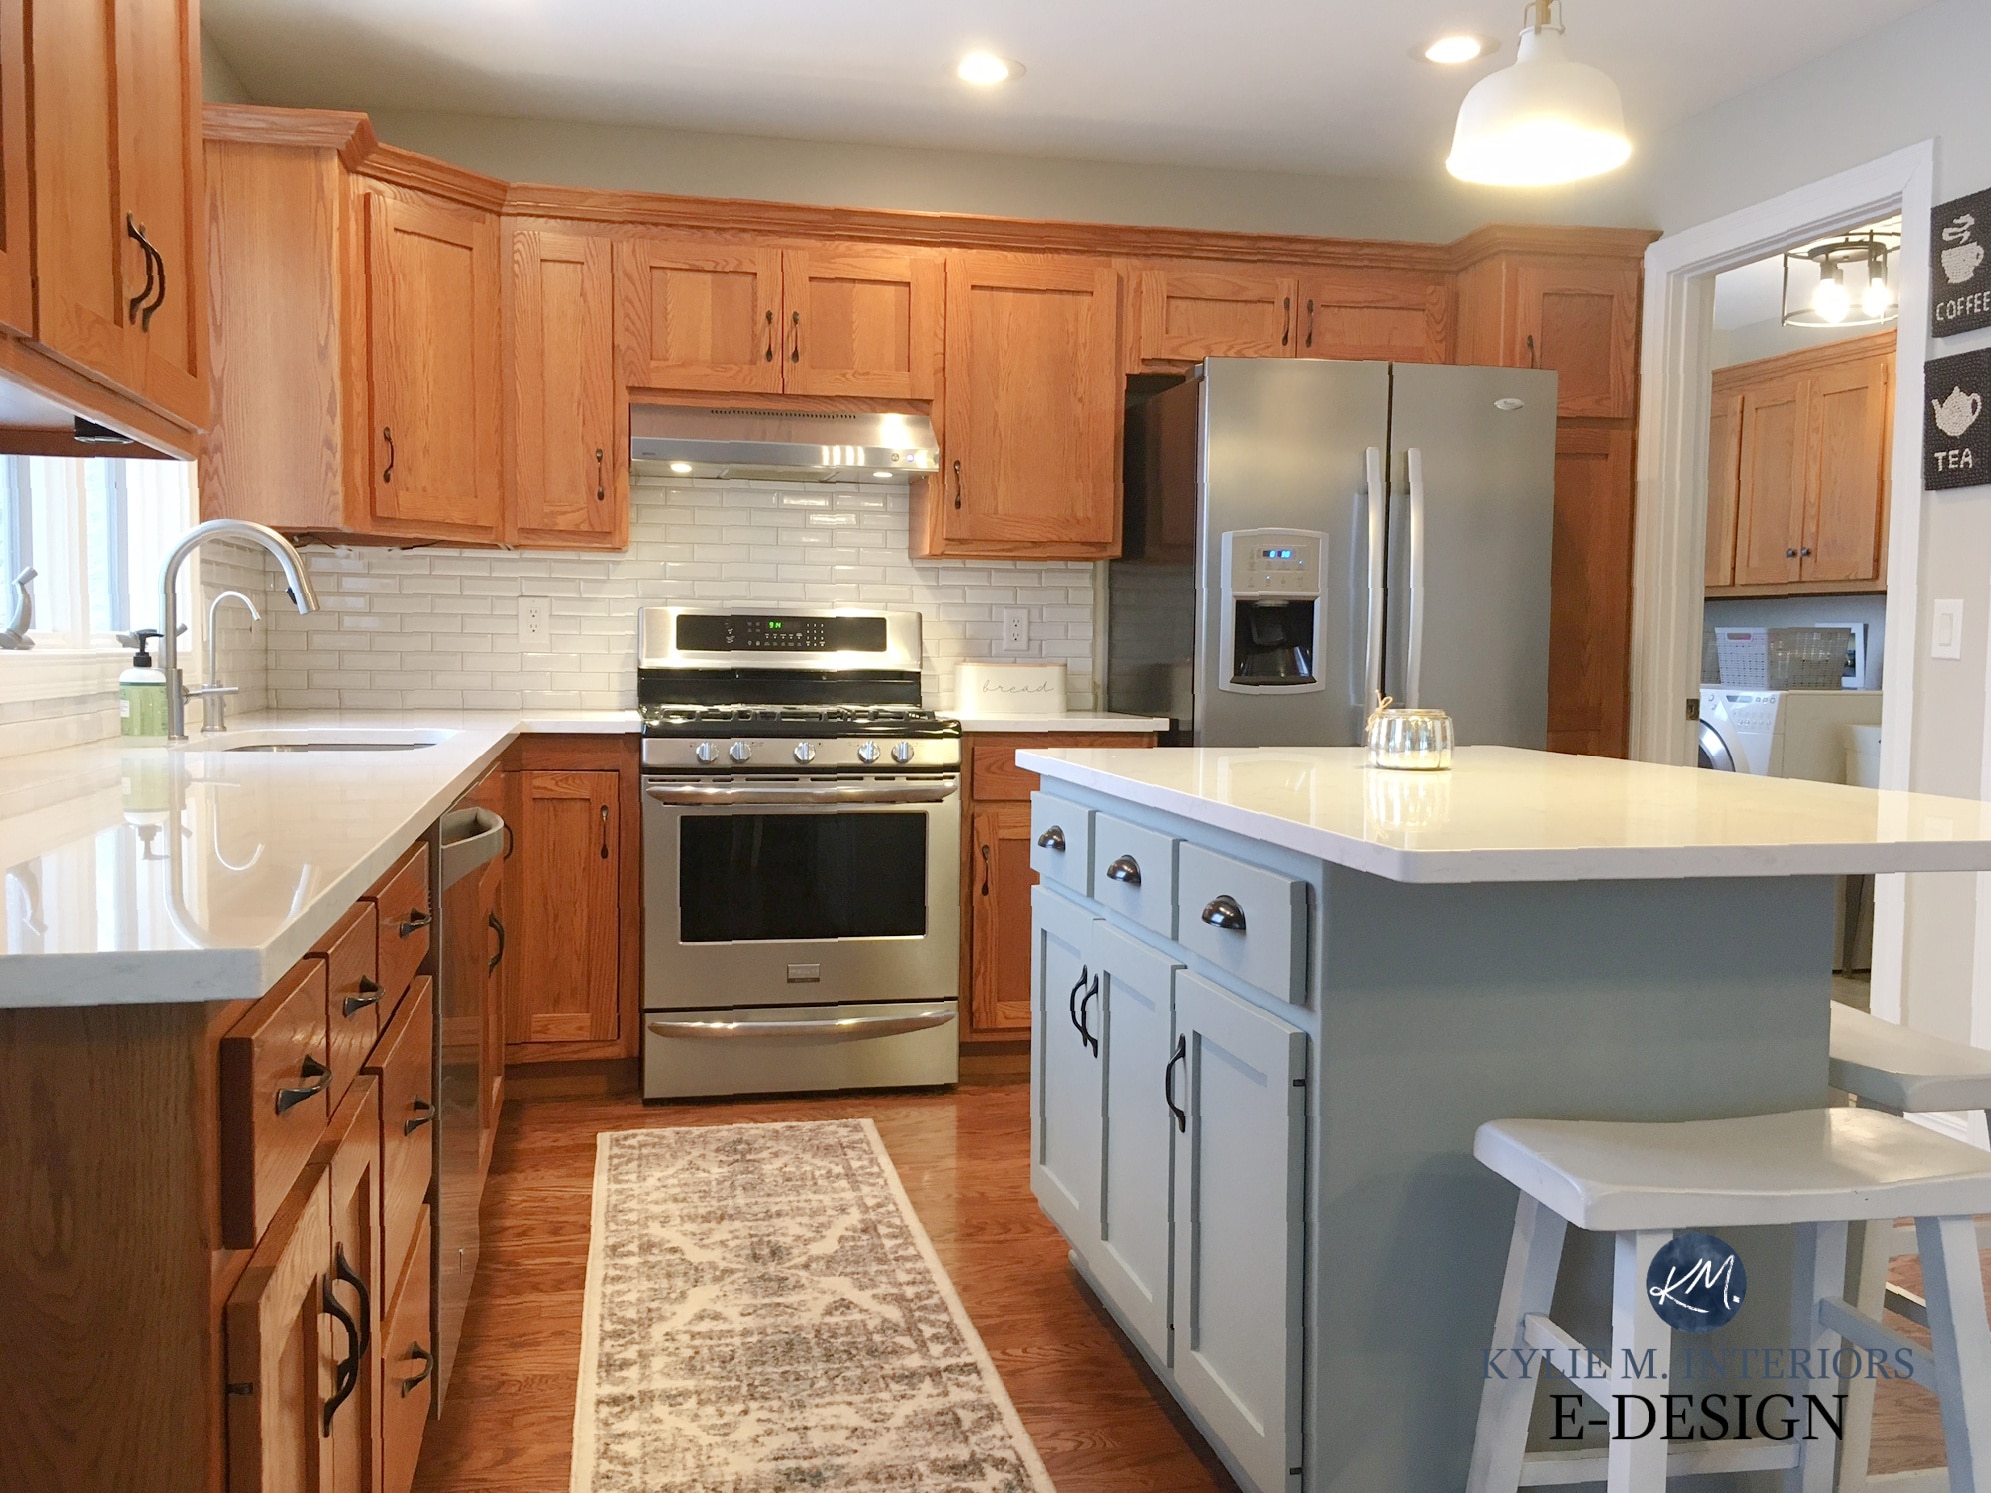
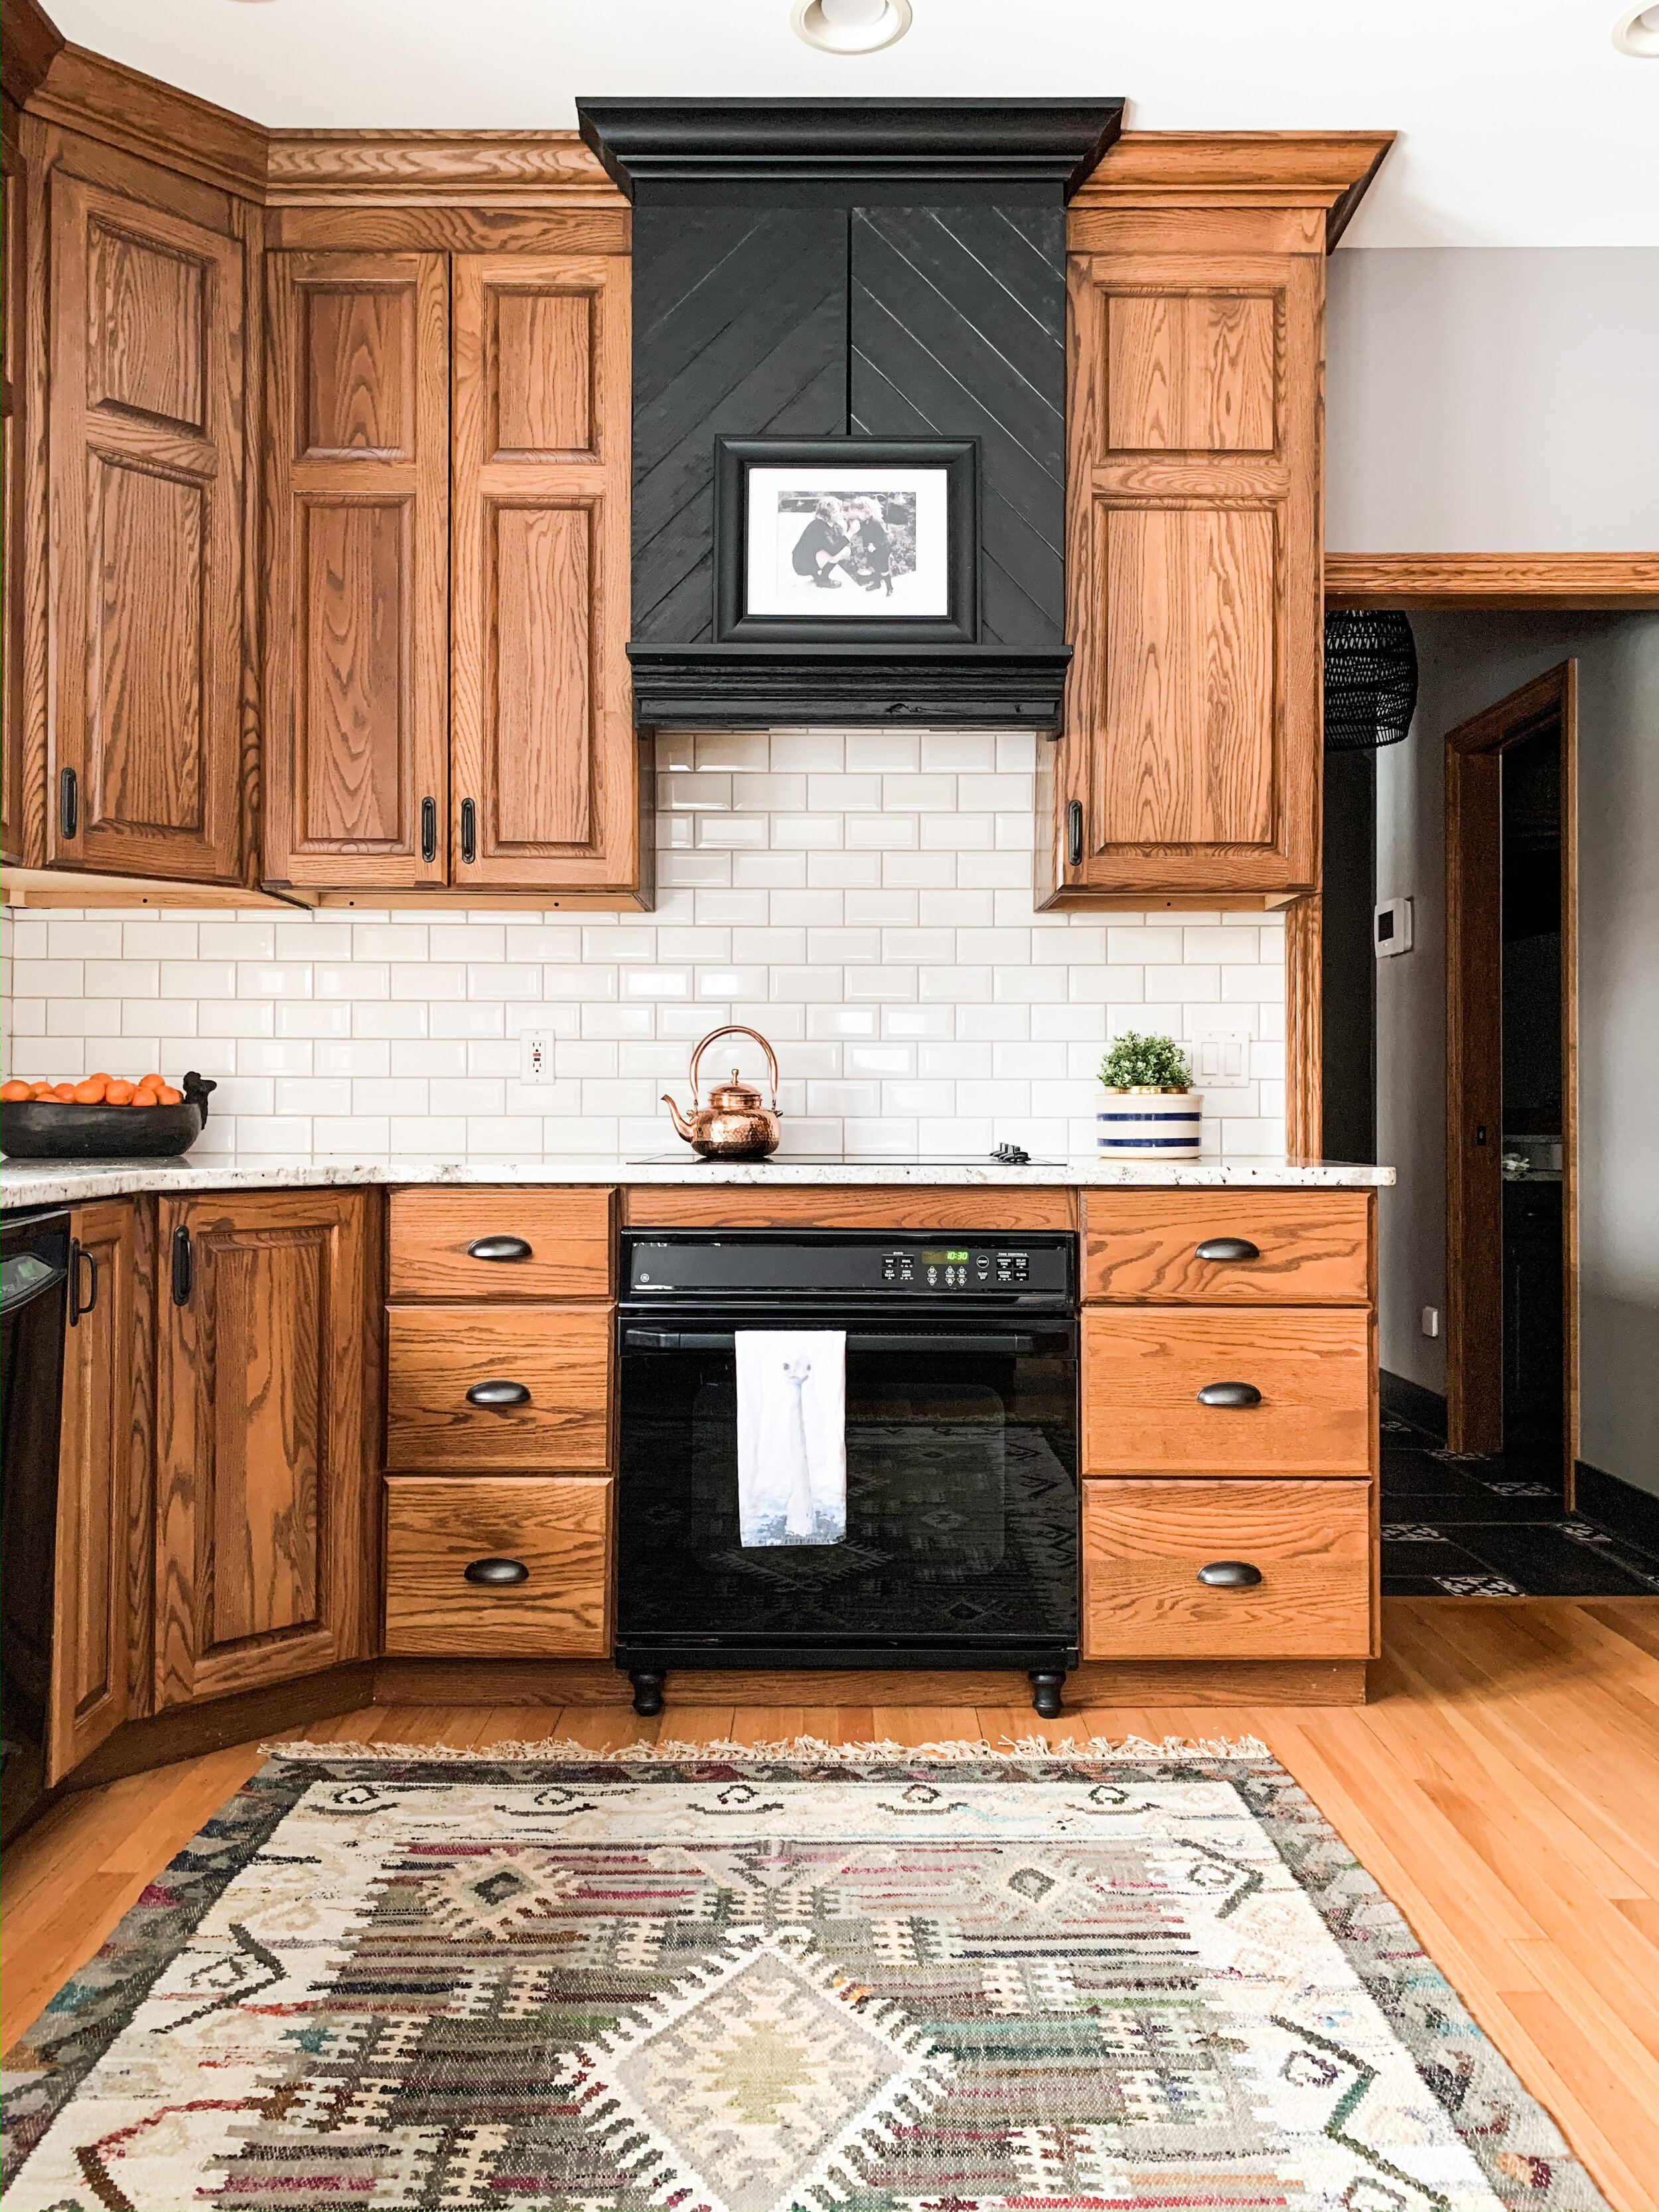
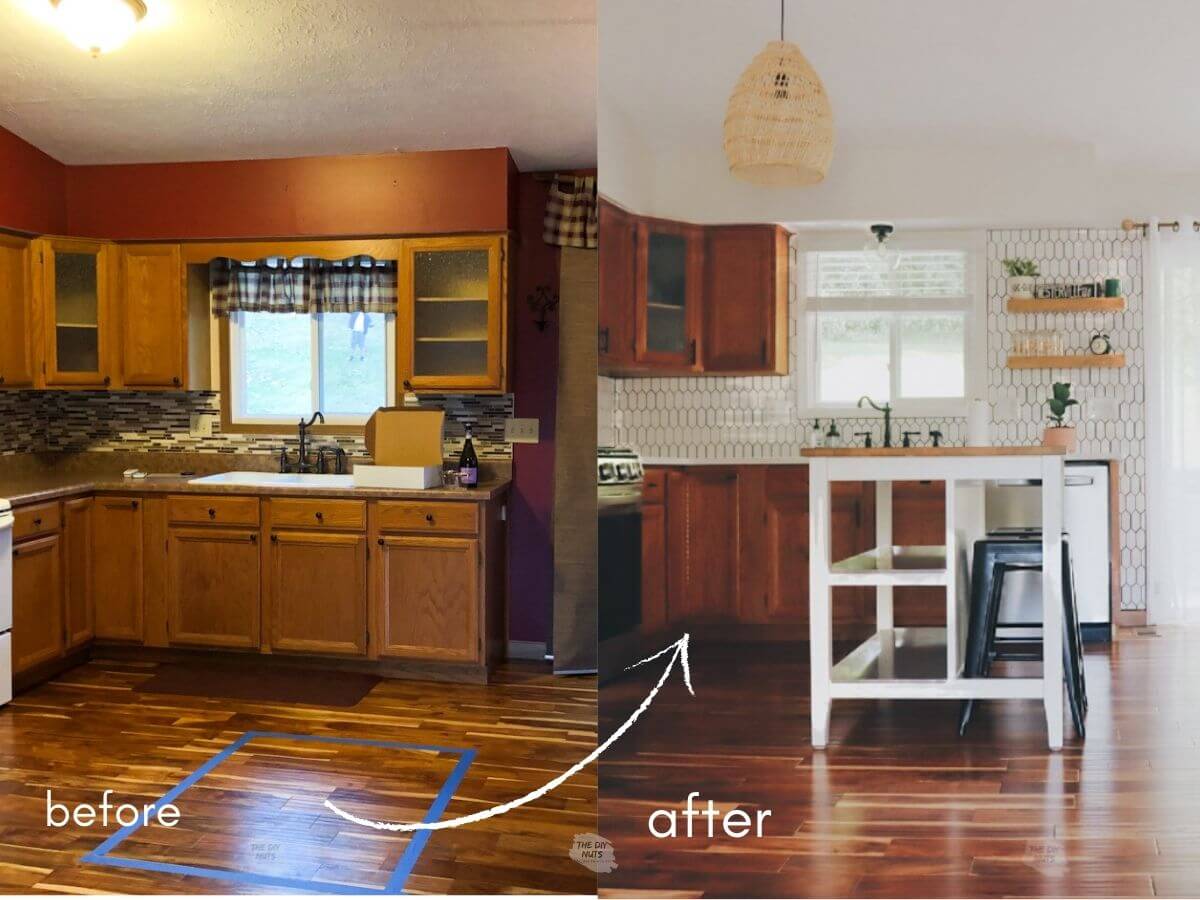
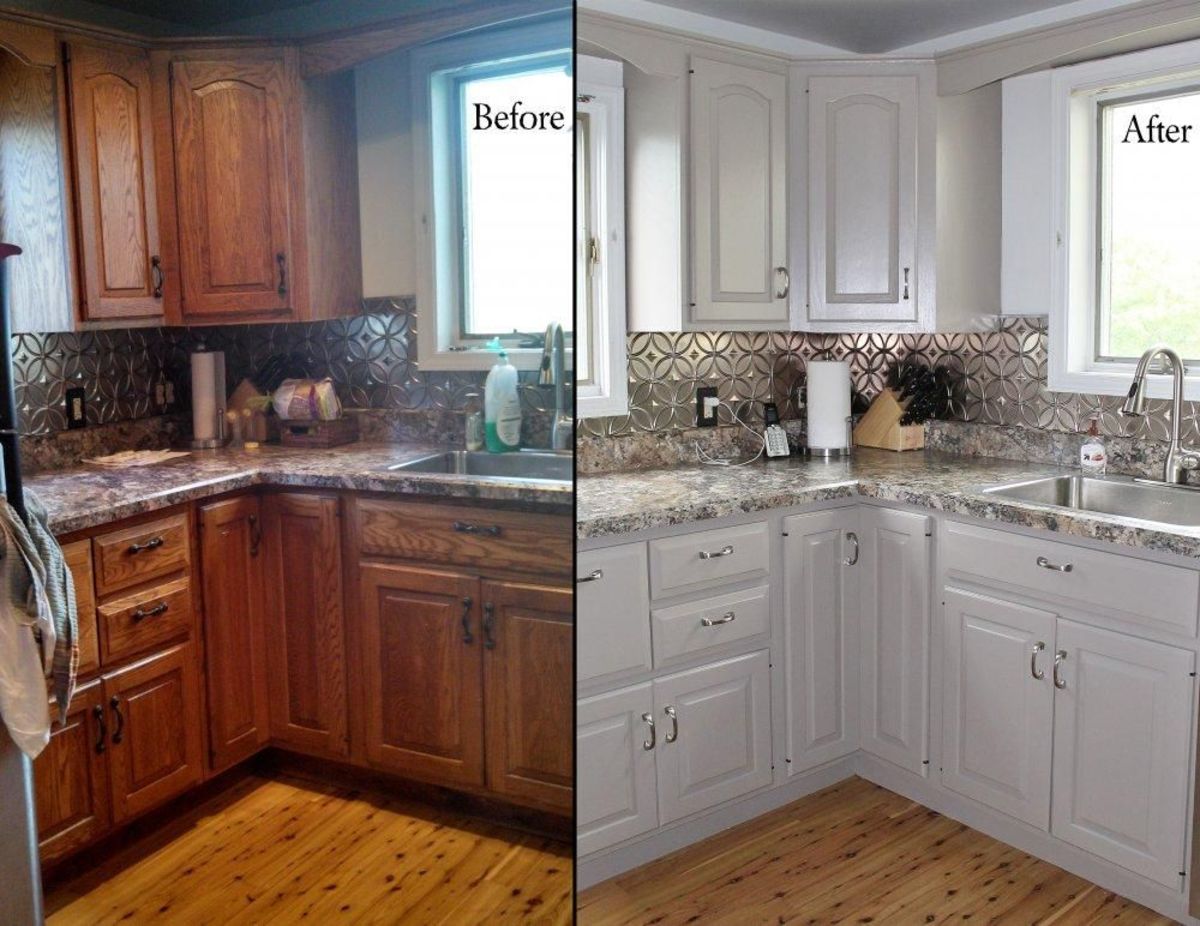
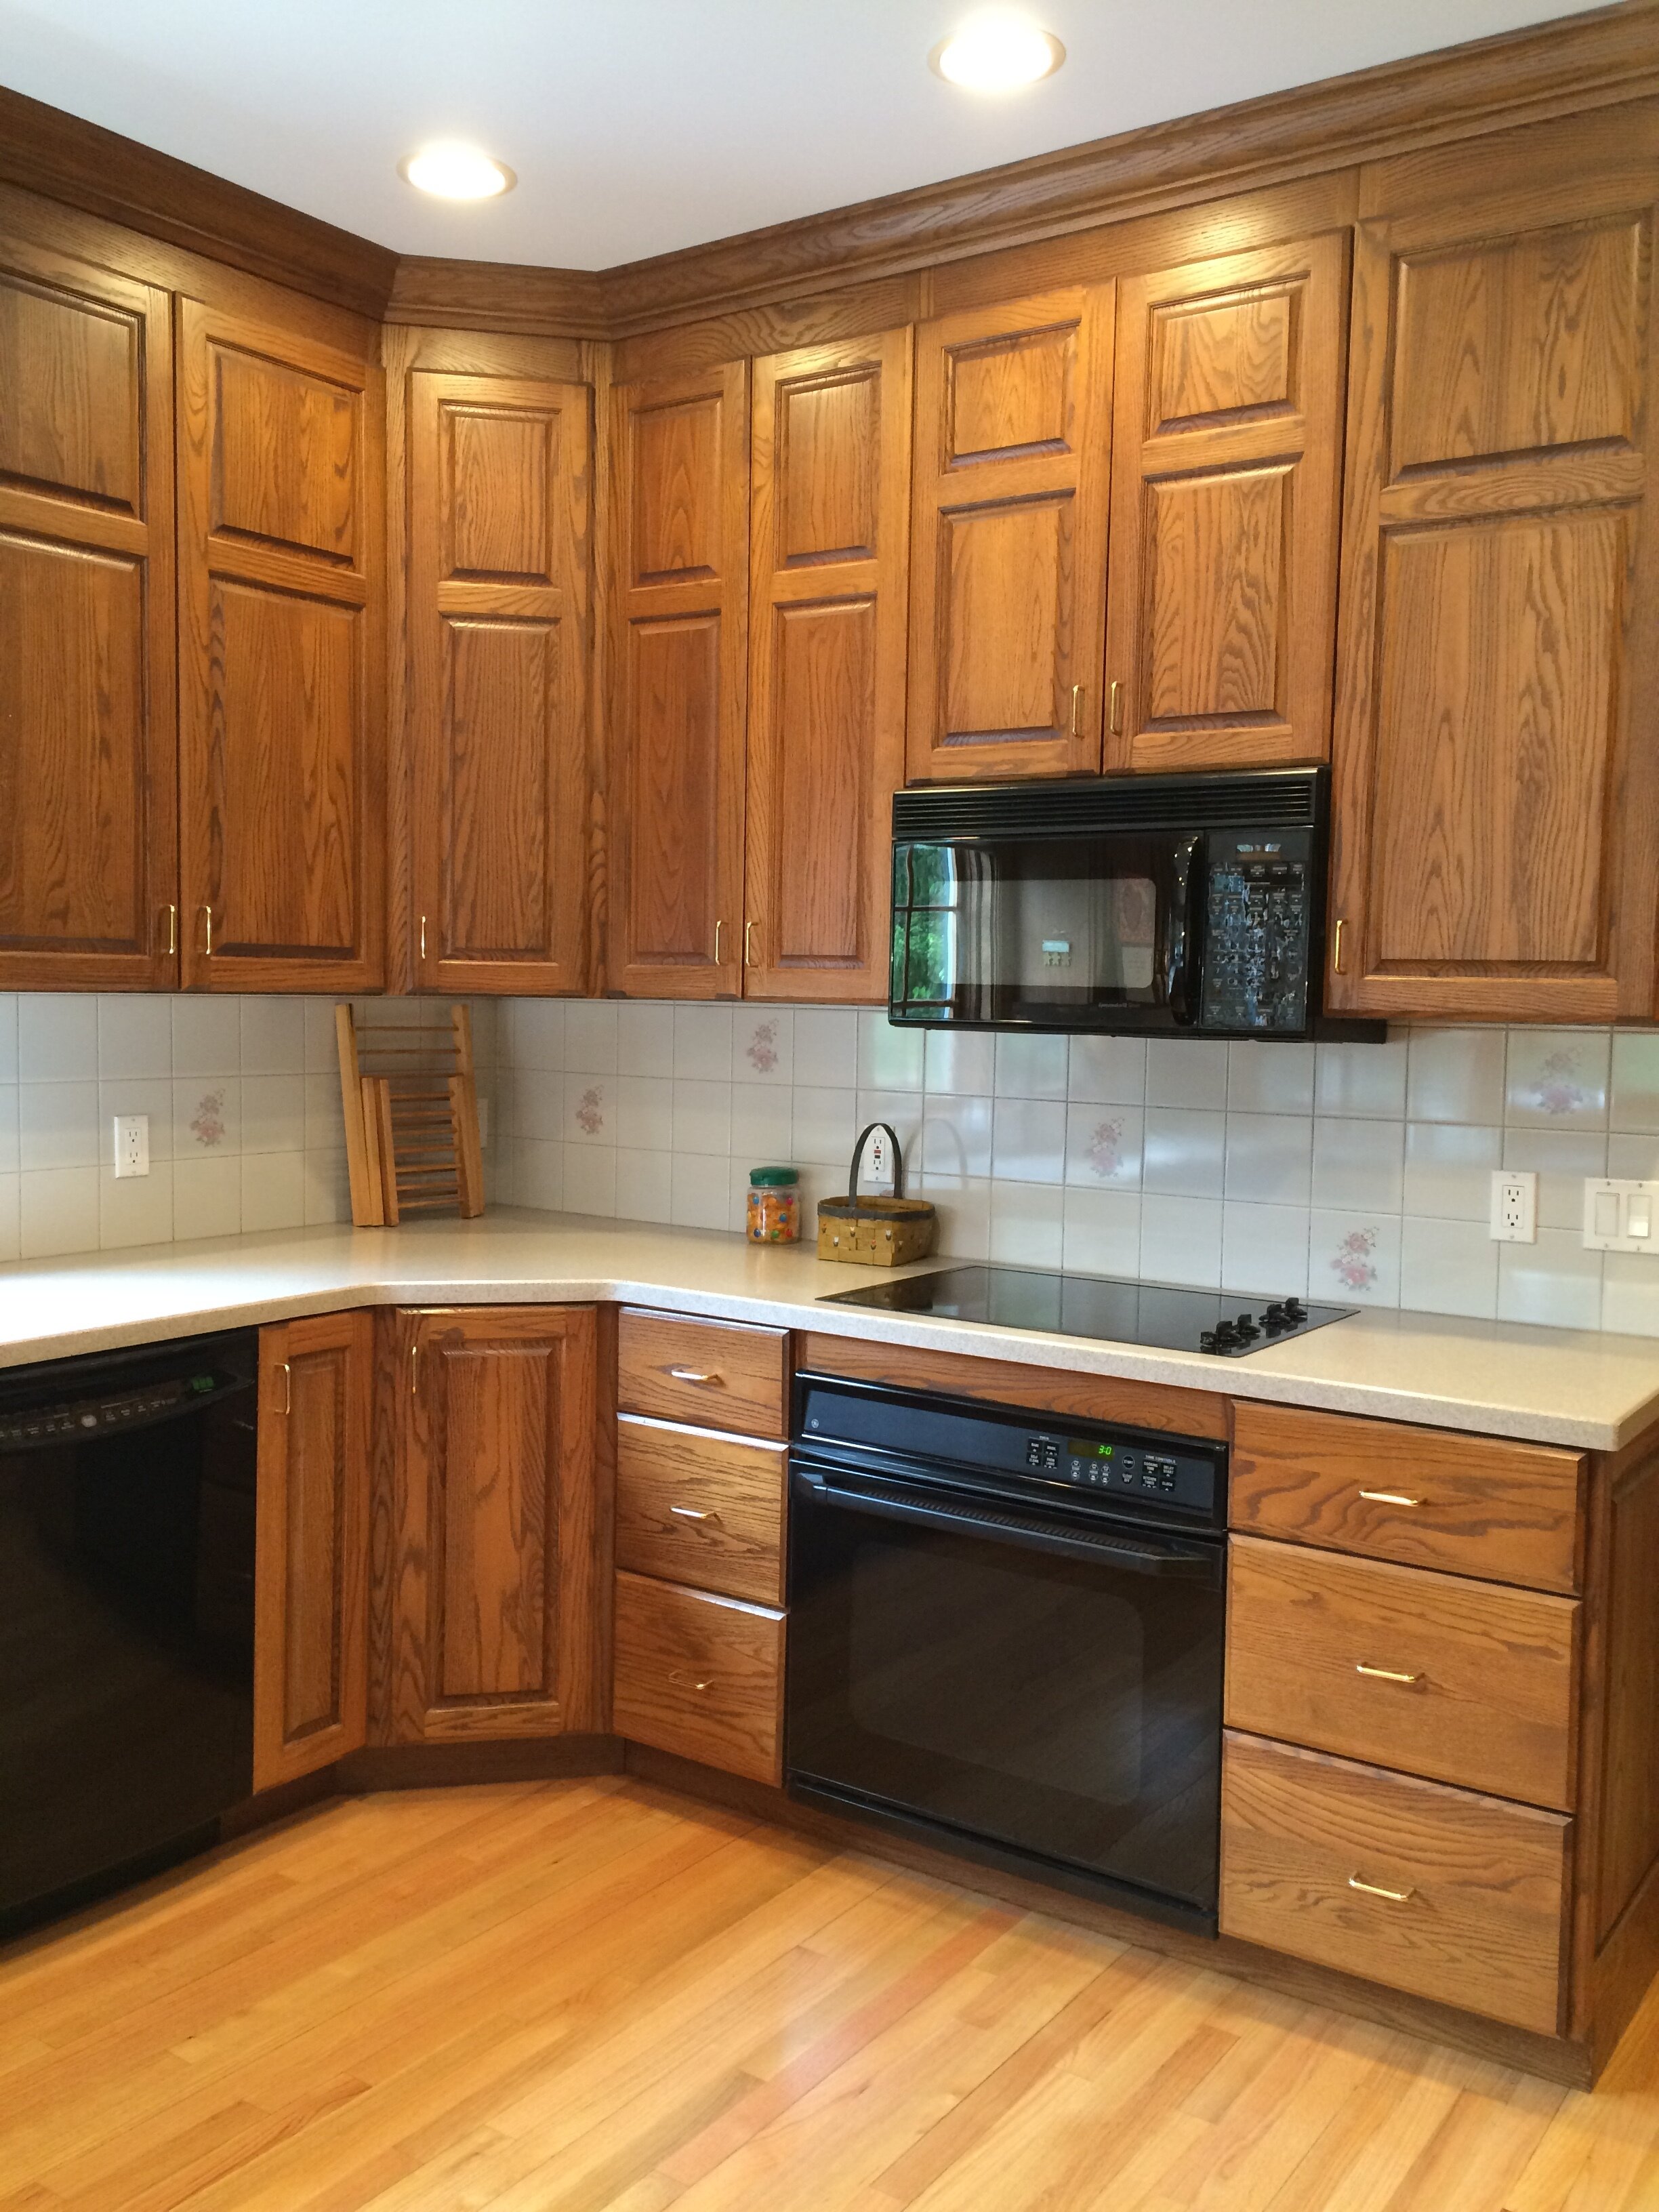
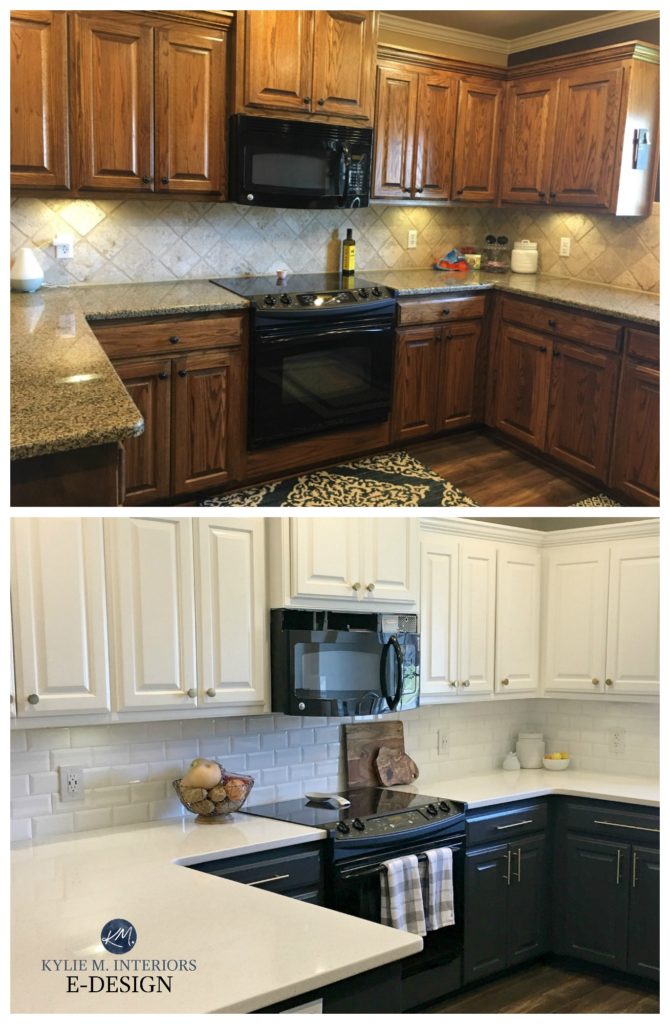
Oak kitchen cabinets are a classic choice, known for their durability and distinctive grain patterns. However, over time, their natural finish may feel outdated or clash with modern design trends. Painting oak cabinets is an excellent way to refresh your kitchen without the cost of a full renovation. With the right preparation, materials, and techniques, you can achieve a professional-looking finish that breathes new life into your space. This guide covers everything you need to know, from choosing the right paint to applying the final coat.
Preparing Your Oak Cabinets for Painting
Proper preparation is the most critical step in painting oak cabinets. Start by removing all doors, drawers, and hardware. Label each piece to ensure easy reassembly later. Clean the surfaces thoroughly with a degreaser to remove built-up grime, grease, and residue. Oak has an open grain, so sanding is essential to create a smooth base. Use 120-grit sandpaper to scuff the existing finish, then switch to 220-grit for a finer surface.
After sanding, wipe down all surfaces with a tack cloth to remove dust. Fill any dents or imperfections with wood filler, then sand again once dry. If your cabinets have a heavy grain texture, consider using a grain filler to create a smoother finish. Primer is a must for oak cabinets—choose a high-adhesion primer designed for wood. Apply two thin coats, sanding lightly between layers. This ensures the paint adheres properly and lasts longer.
Finally, protect your workspace with drop cloths and painter’s tape. Cover countertops, floors, and nearby walls to avoid accidental spills. Proper ventilation is also important, especially when working with oil-based primers or paints. If possible, work in a garage or well-ventilated area. Taking these steps will help you achieve a flawless finish and prevent costly mistakes.
Choosing the Right Paint for Oak Cabinets
Selecting the best paint for oak cabinets depends on durability, finish, and ease of application. Latex paint is a popular choice because it dries quickly, has low odor, and is easy to clean up. However, for a harder finish, consider an acrylic enamel or hybrid paint, which offers better resistance to wear and moisture. Oil-based paints provide an ultra-durable finish but require longer drying times and mineral spirits for cleanup.
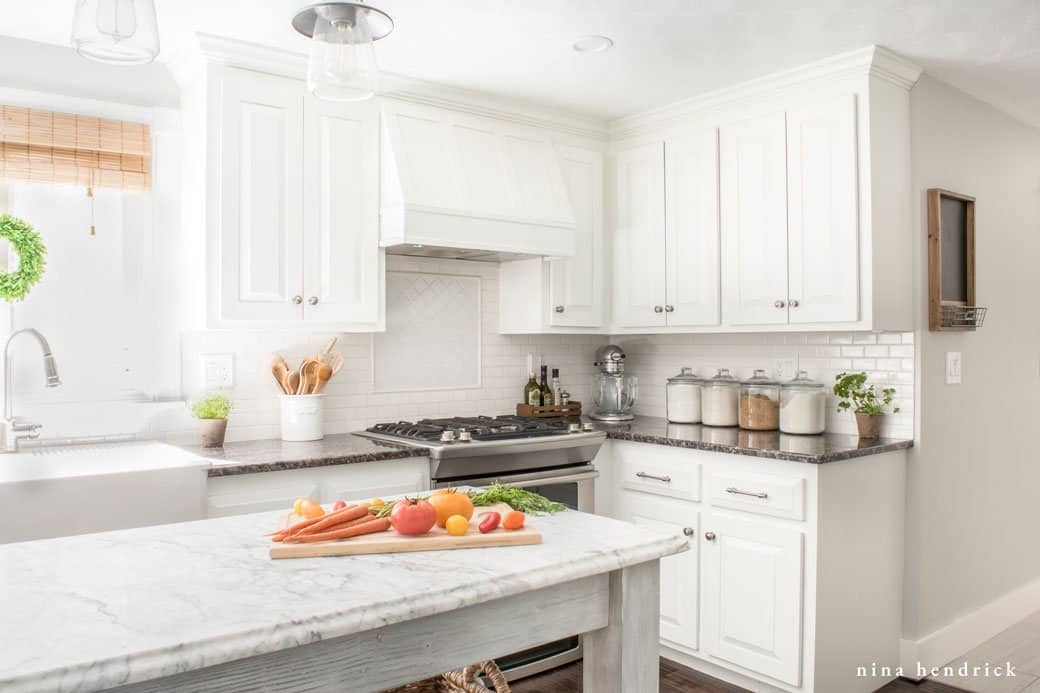
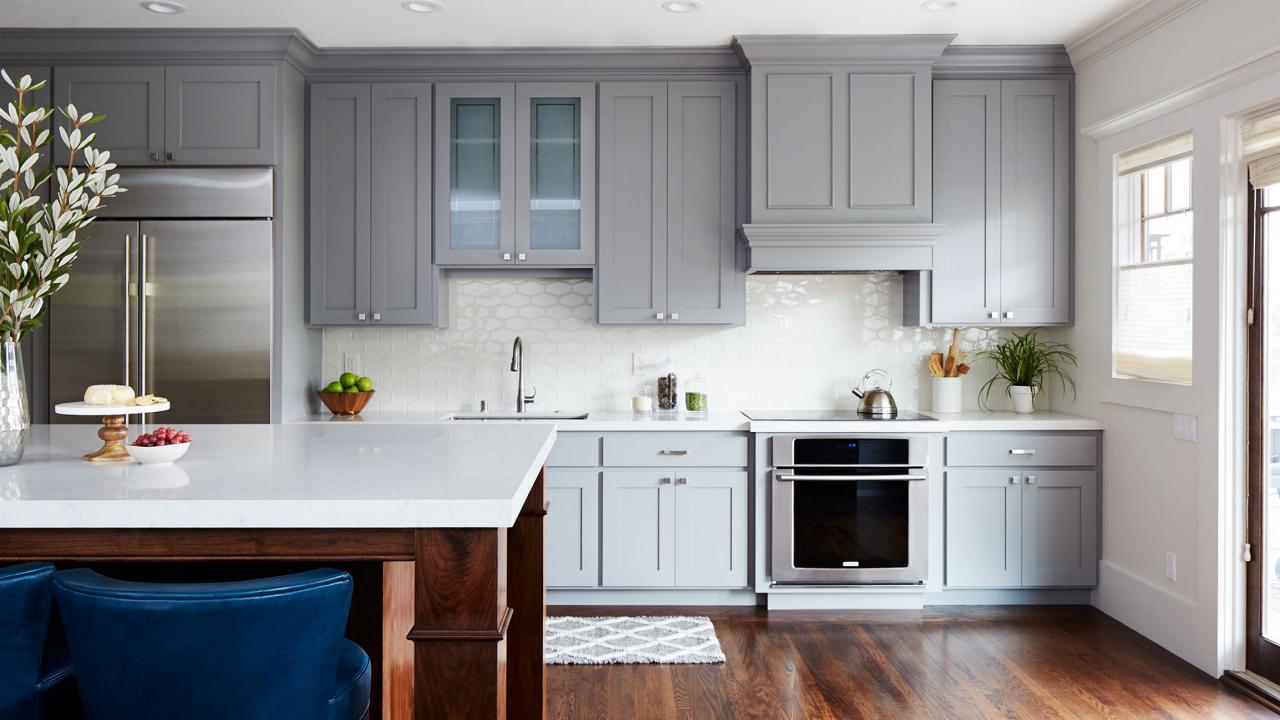
The sheen of the paint also matters. Semi-gloss and satin finishes are ideal for kitchen cabinets because they resist moisture and are easy to clean. Avoid flat or matte paints, as they show stains and wear more easily. If you prefer a modern look, soft whites, grays, or muted blues are excellent choices. For a timeless appeal, classic white or cream works well with oak’s natural grain.
Before committing to a color, test samples on a small section of your cabinets. Lighting can drastically affect how a color appears in your kitchen. Observe the samples at different times of the day to ensure you’re happy with the result. Investing in high-quality paint may cost more upfront but will save you time and effort in the long run by requiring fewer touch-ups.

Applying Paint for a Smooth, Professional Finish
Once your cabinets are prepped and primed, it’s time to apply the paint. Use a high-quality synthetic brush for edges and corners, and a foam roller for larger, flat surfaces. This combination helps minimize brush marks and ensures an even coat. Start with the cabinet frames, then move on to doors and drawers. Apply thin, even layers rather than one thick coat to prevent drips and uneven drying.
Allow the first coat to dry completely before applying the second. Lightly sand between coats with 320-grit sandpaper to remove imperfections and improve adhesion. Most cabinets need at least two coats for full coverage, but some darker colors or lower-quality paints may require a third. Be patient—rushing the process can lead to visible flaws and a less durable finish.
For the best results, consider using a paint sprayer. Sprayers provide a factory-like finish with no brush marks, but they require practice and proper masking to avoid overspray. If you’re not confident using a sprayer, stick with brushes and rollers. After the final coat dries, reattach the hardware or install new knobs and pulls for a fresh, updated look.

Dealing with Oak’s Pronounced Grain Texture
One challenge when painting oak cabinets is dealing with the wood’s prominent grain. Even after painting, the texture can still show through, which may or may not be desirable depending on your style. If you prefer a smooth, modern look, using a grain filler before priming is essential. Apply the filler with a putty knife, let it dry, and sand it smooth before moving on to priming.
If you don’t mind some grain visibility, you can skip the grain filler and embrace the natural texture. Some homeowners prefer this look, as it adds character while still modernizing the cabinets. Using a thicker primer or multiple coats of paint can also help minimize grain appearance. Experiment with scrap wood first to see which method you prefer.
Another option is to use a glaze or antiquing technique over the painted surface. This enhances the grain for a rustic or vintage look. Apply a dark glaze after the final paint coat, then wipe it off, leaving pigment in the grooves of the grain. This technique works well with traditional or farmhouse-style kitchens.
Maintaining Painted Oak Cabinets for Longevity
Painted cabinets require proper care to keep them looking fresh. Avoid harsh cleaners or abrasive sponges, as they can scratch the finish. Instead, use a mild soap and water solution with a soft cloth for routine cleaning. For tougher stains, a gentle all-purpose cleaner works well. Always wipe spills immediately to prevent staining or damage.
Over time, high-use areas like handles and edges may show wear. Keep leftover paint for touch-ups, and lightly sand and repaint these spots as needed. If your cabinets experience chipping or peeling, it may indicate poor preparation or low-quality paint. In such cases, a full repaint might be necessary.
To extend the life of your painted cabinets, consider adding a clear protective topcoat. Water-based polyurethane is a good option because it resists yellowing and adds an extra layer of durability. Apply it after the final paint coat has fully cured. With proper maintenance, your painted oak cabinets can look beautiful for years.

Final Thoughts on Painting Oak Cabinets
Painting oak kitchen cabinets is a cost-effective way to update your space without a full remodel. While the process requires time and attention to detail, the results are worth it. Proper preparation, high-quality materials, and careful application ensure a professional finish that enhances your kitchen’s aesthetic.
Whether you prefer a smooth, modern look or a textured, rustic feel, there are techniques to achieve your desired outcome. Testing paint samples and experimenting with grain-filling methods can help you make the best choice for your home. With the right approach, your oak cabinets can look brand new.
Finally, regular maintenance keeps your painted cabinets in top condition. Gentle cleaning, prompt repairs, and occasional touch-ups will preserve their appearance. If you follow these steps, your kitchen will feel refreshed and stylish for years to come.
How To Make Oak Kitchen Cabinets Look Modern
Oak Kitchen Cabinets: Pictures, Options, Tips & Ideas
Must-Have Tools and Supplies for Painting Wood Cabinets – Dengarden
How to make an oak kitchen cool again 🙂
Should I Paint My Wood Cabinets or Keep Them Stained
How to Paint Oak Cabinets and Hide the Grain Step-by-Step Tutorial
How to Paint Kitchen Cabinets Step-by-Step
Best painting wood cabinets ideas kitchen remodel, kitchen

Painting Kitchen Cabinets – Sometimes Homemade

Related Posts: