A painted kitchen table and chairs can instantly revitalize your dining area, adding personality and charm without the cost of new furniture. I’ve transformed countless sets with paint, and the results never fail to impress. Whether you prefer a distressed farmhouse look or a sleek modern finish, paint allows you to customize your furniture to match any style. Beyond aesthetics, a fresh coat of paint protects surfaces from daily wear while giving old pieces new life. Let’s explore how to choose colors, prepare surfaces, and apply finishes that will make your kitchen set shine.
Selecting the Right Paint and Finish
Chalk paint offers the easiest application for beginners. Its thick consistency hides imperfections and requires minimal prep work. I often use it for vintage-style pieces where brush strokes add character. For a more durable finish, I top it with clear wax or polyurethane. Milk paint creates authentic antique finishes but behaves unpredictably, perfect for those wanting organic variation. Modern furniture paints provide hard-wearing surfaces ideal for family kitchens.
The finish dramatically affects the final look. Matte paints hide scratches well but can stain easily. I recommend satin or semi-gloss for kitchen furniture, as they balance sheen with practicality. High-gloss finishes make a bold statement but show every fingerprint. For tabletops, I always use a protective clear coat regardless of the base paint. Water-based options dry quickly and clean up easily, while oil-based paints offer superior durability.
Color choice sets the room’s tone. Soft whites and creams keep spaces feeling open and airy. Bold hues like navy or emerald green create dramatic focal points. I often pull colors from existing elements like backsplashes or dishware. Two-tone designs, with chairs painted differently than the table, add playful contrast. Always test samples on furniture legs before committing, as colors appear different on vertical versus horizontal surfaces.
Proper Preparation for Lasting Results
Cleaning removes grease and grime that prevent paint adhesion. I wash surfaces with trisodium phosphate (TSP) substitute, paying special attention to chair spindles and table edges. After rinsing, I let pieces dry completely, sometimes using a fan to speed the process. Sanding comes next, even with “no-prep” paints. A light scuff with 120-150 grit sandpaper helps the paint grip better. I vacuum all dust before wiping with a tack cloth.
Repairing damage ensures smooth finishes. I fill dents and scratches with wood filler, sanding flush once dry. Loose joints get reglued and clamped overnight. For wobbly chairs, I tighten all screws and sometimes add corner braces underneath. Veneered surfaces require careful handling, as excessive sanding can penetrate the thin wood layer. I always check for wax or polish buildup that needs stripping before painting.
Priming is essential for certain materials. Bare wood absorbs paint unevenly, so I apply stain-blocking primer to prevent blotchiness. Previously varnished pieces need bonding primer for proper adhesion. Metal chairs require rust-inhibiting primer. I skip primer only when using specialty paints specifically formulated to go directly over finished surfaces. Proper prep might seem tedious, but it makes all the difference in longevity.

Painting Techniques for Different Styles
Brush painting works best for detailed pieces. I use high-quality angled brushes for edges and flat surfaces. Synthetic bristles suit water-based paints, while natural bristles work with oil-based. Thin coats prevent drips, with light sanding between layers. For smooth finishes, I brush in the direction of the wood grain, keeping a wet edge to avoid lap marks. Small foam rollers help cover flat areas quickly after brushing.
Distressing creates rustic character. After the final coat dries, I lightly sand edges and raised areas where natural wear would occur. For layered looks, I paint a base color, then dry brush a contrasting shade over the top. Wax applied before distressing allows the undercoat to show through more easily. I keep distressing subtle on tabletops where food contact occurs, focusing wear patterns on chair arms and legs instead.
Spray painting offers speed and uniformity. I use HVLP sprayers for large sets, working in a dust-free area. Multiple light coats prevent runs, with proper drying time between applications. Spray paint cans work well for metal chairs, using smooth sweeping motions. I always mask off areas not being painted and protect surrounding spaces with drop cloths. Proper ventilation is crucial when spraying indoors.
Protective Finishes for Kitchen Use
Clear topcoats shield painted surfaces from daily wear. For tables, I use water-based polyurethane in satin or semi-gloss. Three thin coats provide ample protection, sanding lightly with 220-grit between layers. Chairs get similar treatment, with extra attention to armrests and back slats. Oil-based poly yellows over time but offers superior durability for high-traffic pieces.
Wax finishes suit decorative pieces best. I apply clear furniture wax with a lint-free cloth, buffing to a soft sheen. Dark wax over base coats creates antique effects but requires sealing for kitchen use. Wax needs reapplying every 6-12 months, making it less practical for family tables. I reserve wax finishes for accent chairs or display pieces that won’t see heavy use.
Specialty sealants address unique needs. For outdoor-indoor sets, I use marine varnish that withstands moisture and UV rays. Chalk-painted surfaces benefit from protective waxes formulated specifically for porous finishes. Always check that the topcoat is food-safe if the table will host direct food preparation. Test finishes on inconspicuous areas first to ensure compatibility with the base paint.
Styling Painted Kitchen Sets
Mixing chair designs adds eclectic charm. I often paint mismatched chairs in a unified color palette for collected-over-time appeal. Varying chair heights and styles within the same hue creates visual interest. For cohesive contrast, I paint chair seats differently than frames. This approach works especially well with ladder-back or Windsor-style chairs.
Tabletop accessories complete the look. I use washable tablecloths or placemats that complement the paint colors. Centerpieces like wooden bowls or ceramic vases tie into the furniture’s finish. For farmhouse styles, I layer textured runners over painted tables. Seasonal decor refreshes the setup easily, with painted furniture serving as a versatile backdrop.
Coordinating with kitchen elements creates harmony. I repeat the table’s accent color in nearby open shelving or cabinet hardware. Wall art featuring similar tones reinforces the color story. If the set is boldly colored, I keep surrounding walls neutral to prevent visual overload. The painted furniture should feel like an intentional part of the overall design.

Maintaining Painted Kitchen Furniture
Daily care prevents premature wear. I use coasters under all drinks and placemats for hot dishes. Immediate wiping of spills prevents staining, especially on lighter paints. Microfiber cloths lift dust without scratching finishes. For tabletops, I avoid harsh cleaners that can dull protective coatings over time.
Periodic touch-ups keep pieces looking fresh. I keep leftover paint for small chips and scratches. A fine artist’s brush allows precise application to damaged areas. For larger wear spots, I lightly sand and repaint entire sections rather than spot-treating. Waxed surfaces need reapplying when water stops beading on the surface.
Seasonal deep cleaning maintains appearance. I wash chairs with mild soap and water, drying thoroughly. Table bases get vacuumed with a brush attachment to remove crumbs from crevices. Once a year, I assess the protective topcoat, reapplying if surfaces appear worn. With proper care, painted furniture lasts for years before needing a full refinish.

What’s the most durable paint for kitchen tables?
For high-use tables, I recommend acrylic-enamel or furniture-grade paints specifically formulated for heavy wear. Brands like Benjamin Moore Advance or Sherwin-Williams ProClassic provide hard, wipeable surfaces. Always topcoat with water-based polyurethane for added protection. Two-part epoxy paints offer the most durability but require careful application. Avoid regular wall paints, as they lack the necessary resilience for table surfaces. Proper preparation and multiple thin coats matter more than the specific product for long-lasting results.
Can I paint over laminate or veneer furniture?
Yes, with proper preparation. I lightly sand with 120-grit sandpaper to rough up the slick surface, then apply a bonding primer like Zinsser BIN or Stix. After priming, most paints adhere well. Avoid excessive sanding that might penetrate the thin veneer layer. For laminate, I sometimes use a deglosser instead of sanding. The key is creating a surface the paint can grip. Chalk paint works particularly well on these surfaces because of its excellent adhesion properties.
How do I prevent brush marks in my paint finish?
Quality brushes make a significant difference. I use angled sash brushes with synthetic bristles for smooth application. Thinning paint slightly with water (for latex) or mineral spirits (for oil-based) improves flow. Brushing in the direction of the wood grain, then lightly tipping off (dragging the brush lightly across wet paint) minimizes marks. Foam rollers can help smooth large flat areas after brushing. Most importantly, avoid overworking the paint once it starts setting up.
Should I paint the table and chairs the same color?
Matching sets create a unified look, but contrasting colors add personality. I often paint tables one shade and chairs another in the same color family. Another approach uses the same base color with chairs featuring painted details like striped spindles or dipped legs. For eclectic mixes, I choose one unifying element, like all chair seats in the same hue. Consider the room’s overall color scheme and whether you want the set to blend in or stand out.

How long should I wait before using painted furniture?
Drying time differs from curing time. Most paints feel dry to the touch within hours, but full hardening takes days. I wait at least 24 hours before light use, 72 hours for regular use. For protective topcoats, I allow each layer to dry completely (per manufacturer instructions) before applying the next. The full cure, when the finish reaches maximum hardness, typically takes 2-4 weeks. During this period, I use placemats and avoid placing hot items directly on the surface.
Can I paint over previously painted furniture?
Absolutely, after proper preparation. I clean the surface thoroughly, then sand lightly to rough up the existing finish. Any peeling or chipping paint gets scraped off and feathered smooth. A deglosser removes shine if I’m not sanding. Stains or strong odors from old paint may require a stain-blocking primer. When changing from dark to light colors, an extra primer coat ensures good coverage. There’s no limit to how many times furniture can be repainted if prepped correctly each time.
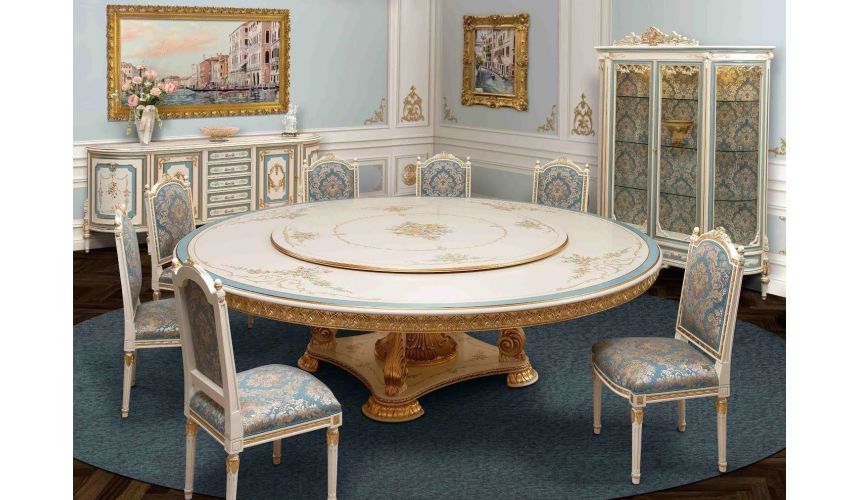
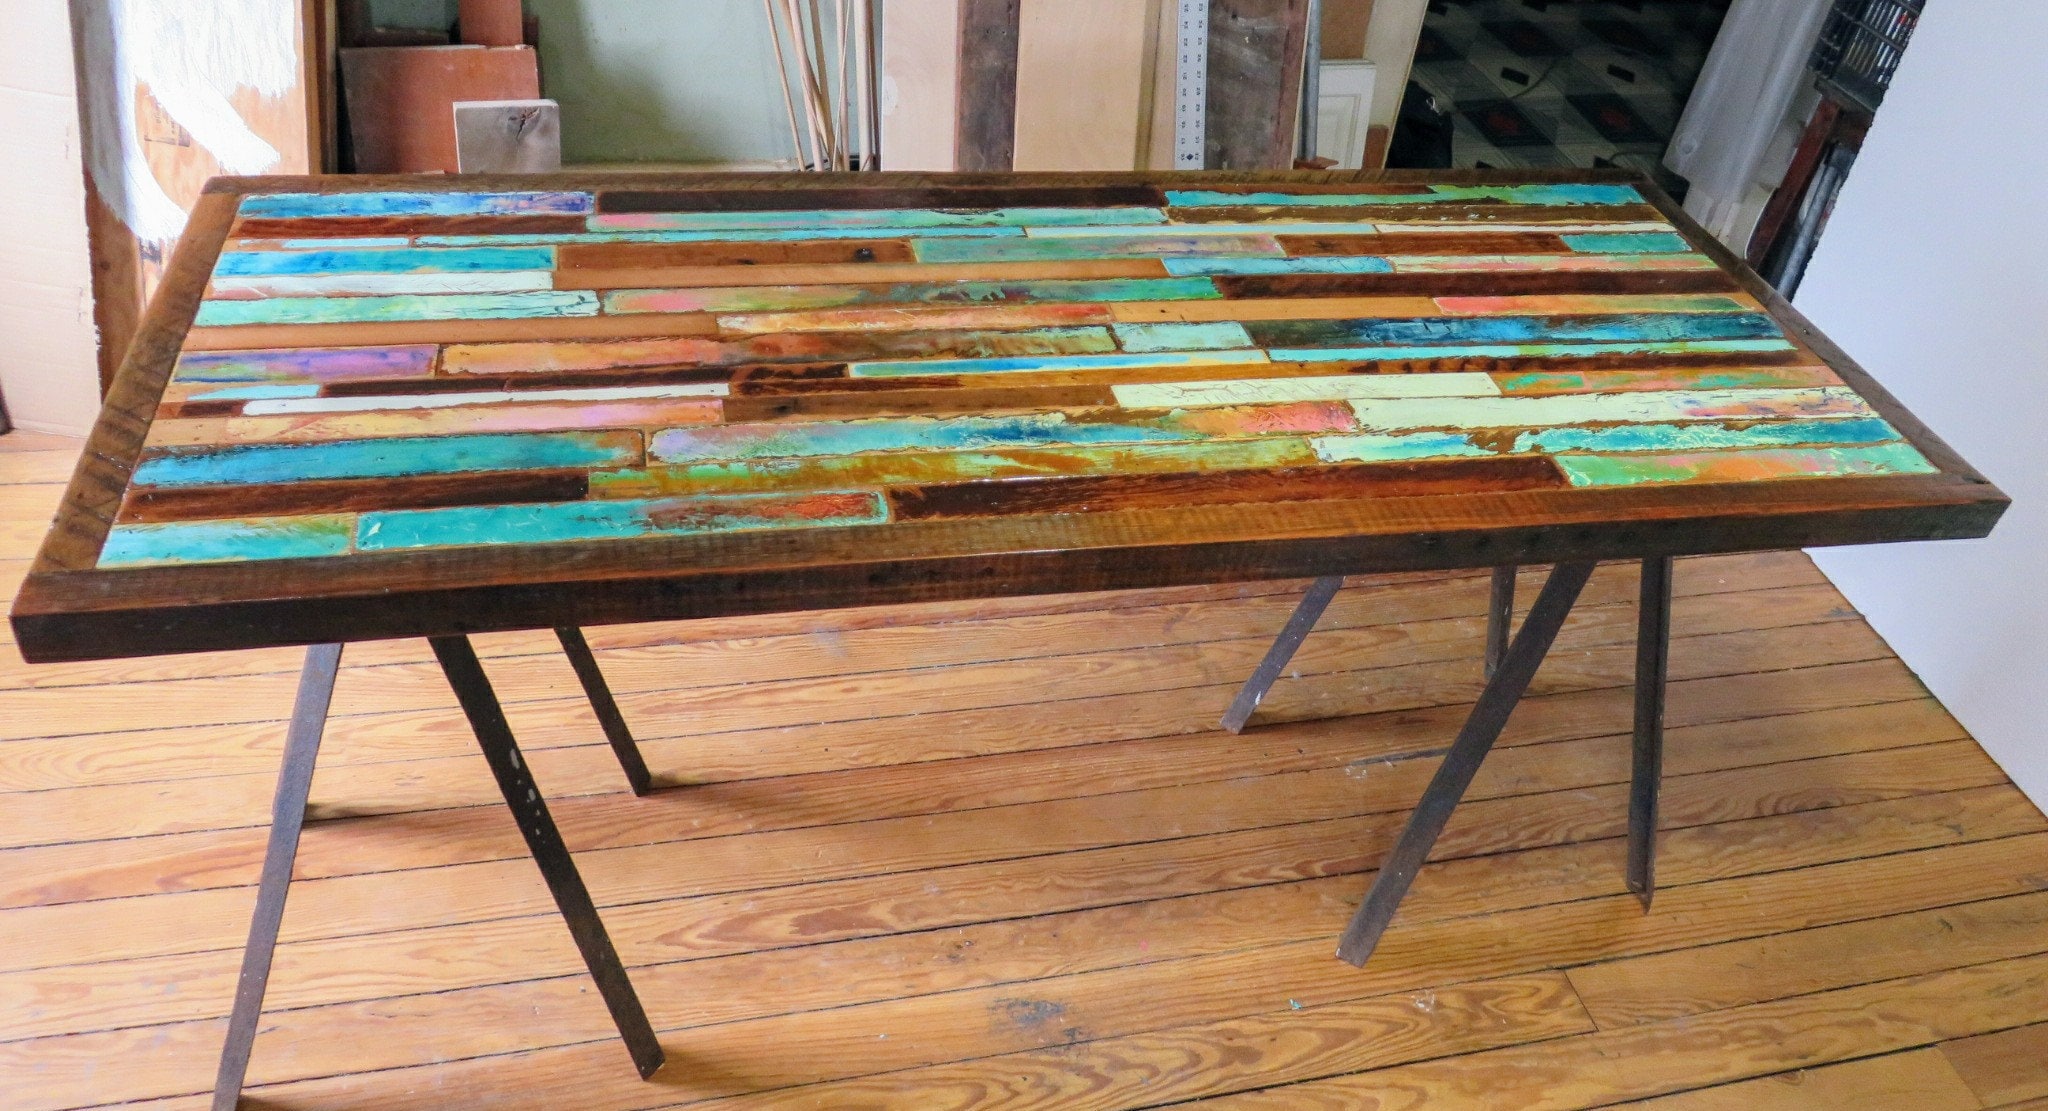
Hand Painted Dining Room Furniture
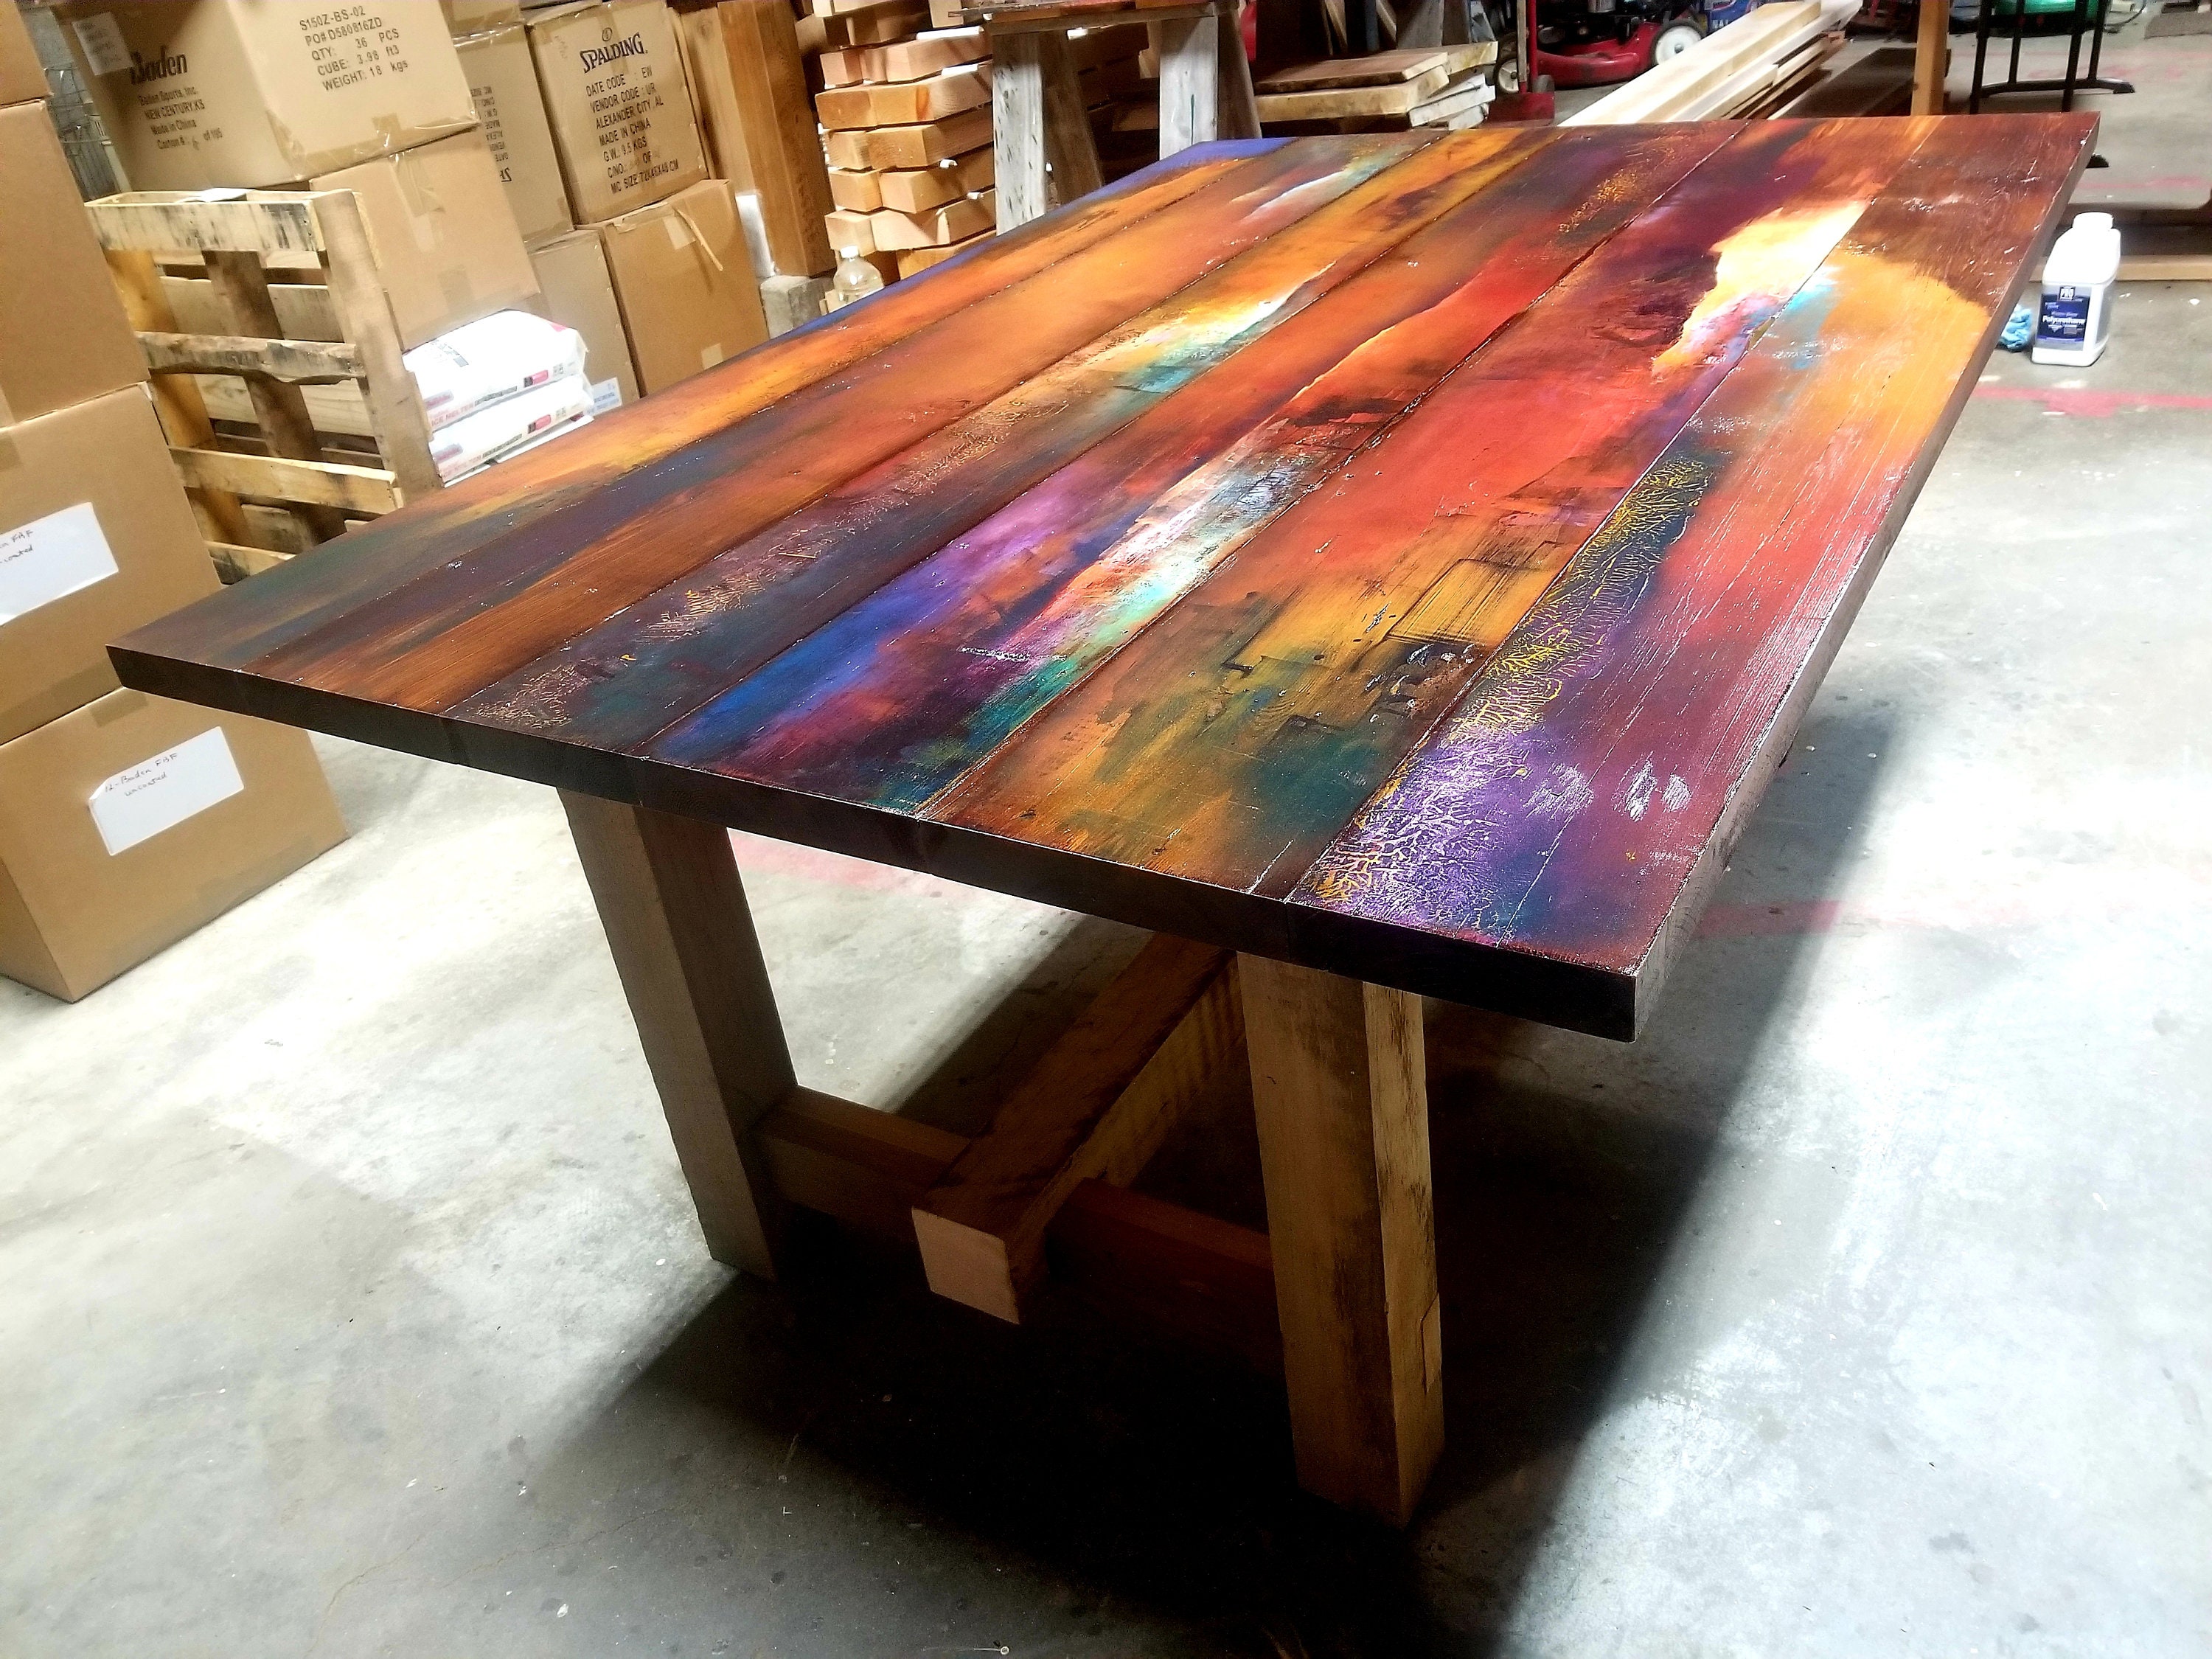
Colorful Barn Wood Dining Table. Hand Painted Kitchen Table. – Etsy
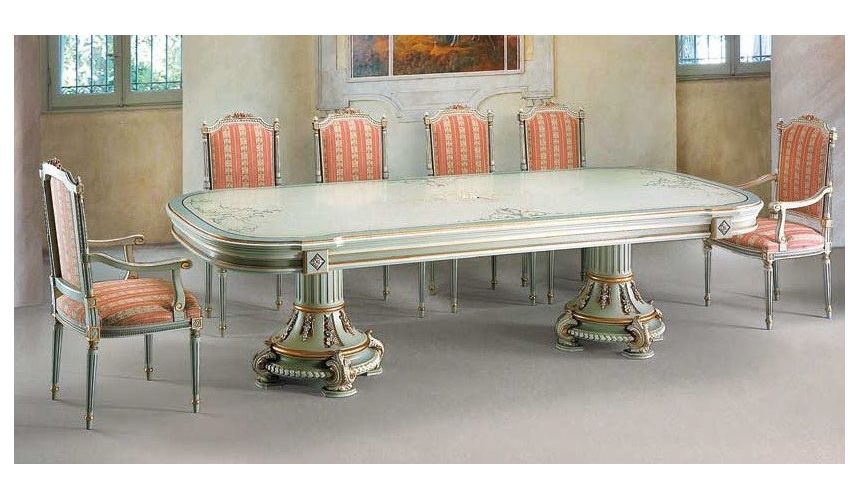
Round Dining Table With Pops Chairs by Sticks DIN032 DIN034 DIN036 CHR800 DIN038 12975

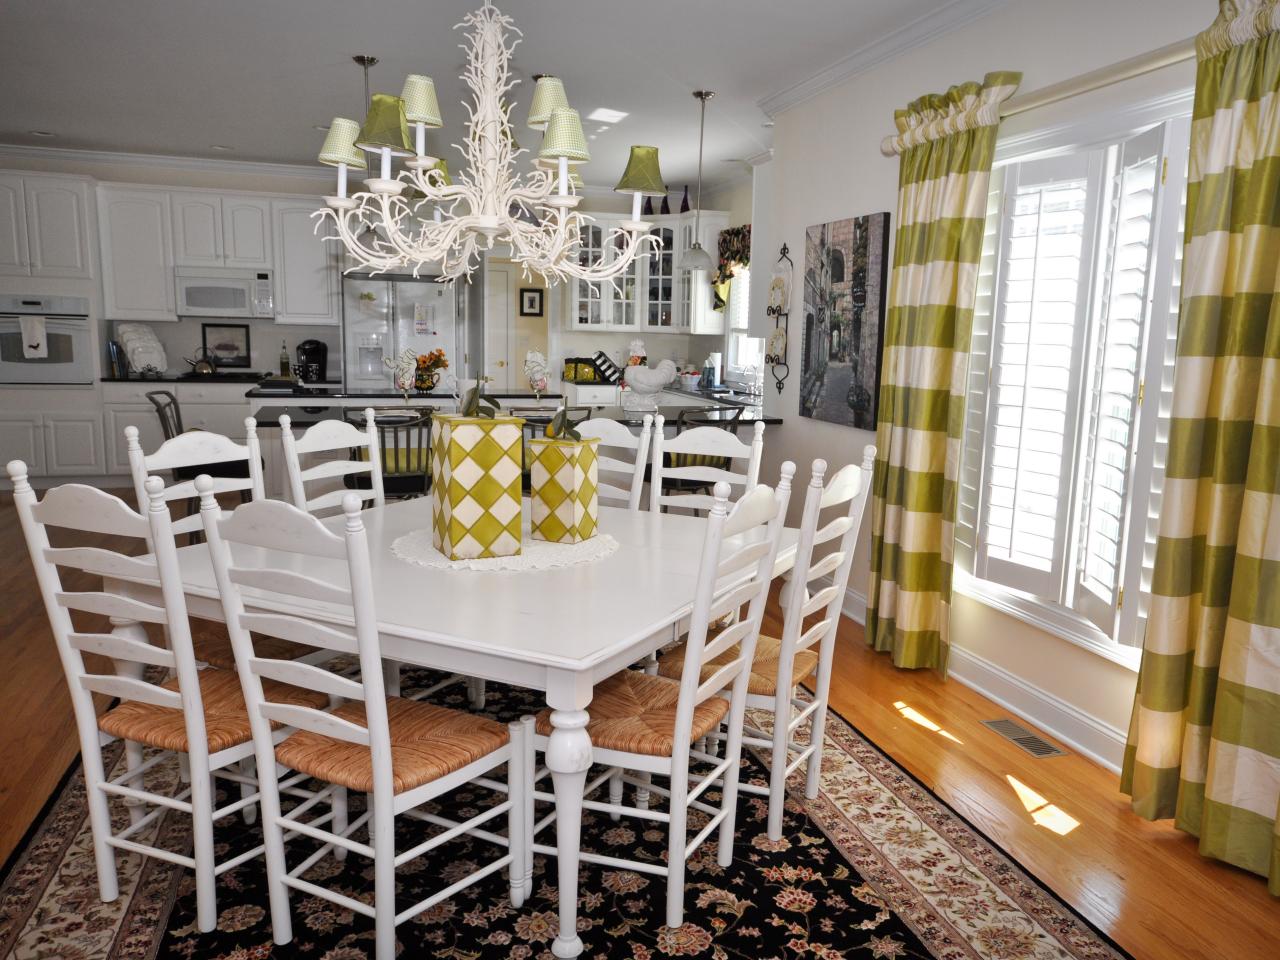
Pin on For the Home

Related Posts: