When I started planning my kitchen renovation three years ago, I knew the island would be the centerpiece that tied everything together. I’d fallen in love with the modern farmhouse aesthetic after visiting a friend’s newly renovated home, where her stunning kitchen island commanded attention while remaining incredibly functional. The challenge was creating something that balanced contemporary convenience with rustic charm, all while fitting our family’s busy lifestyle. After months of research, design changes, and hands-on construction, our kitchen island became exactly what I’d envisioned: a beautiful focal point that serves as homework station, breakfast bar, prep area, and gathering spot all in one. Let me share the journey of creating this perfect blend of style and substance.
Planning Size and Layout for Maximum Functionality
Determining the right size for our kitchen island became my first major challenge, and I quickly learned that bigger isn’t always better. I started by measuring our kitchen obsessively, using painter’s tape to outline different island sizes on the floor. Living with these mock layouts for weeks helped me understand how each option affected traffic flow and daily routines. The 36-inch walkway clearance rule became my bible, ensuring we could move comfortably around the island even when multiple people were cooking.
My initial design was far too ambitious for our 12×16 kitchen space. I dreamed of a massive 10-foot island with seating for six, but reality quickly set in when I realized it would dominate the room and make basic tasks like opening the dishwasher impossible. After much trial and error, I settled on a 7×3-foot island that provided generous workspace while maintaining proper circulation paths throughout the kitchen.
The relationship between our island and existing cabinetry required careful consideration to create visual harmony. I discovered that aligning the island’s depth with our base cabinets created cleaner sight lines, while positioning it parallel to the longest kitchen wall maximized both function and aesthetic appeal. The final layout created distinct zones for cooking, cleaning, and socializing that have made our kitchen incredibly efficient for daily family life.
Selecting Materials That Balance Style and Durability
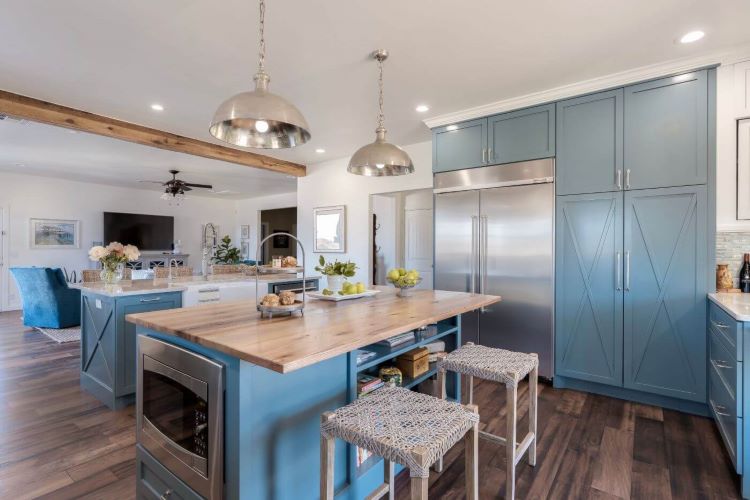
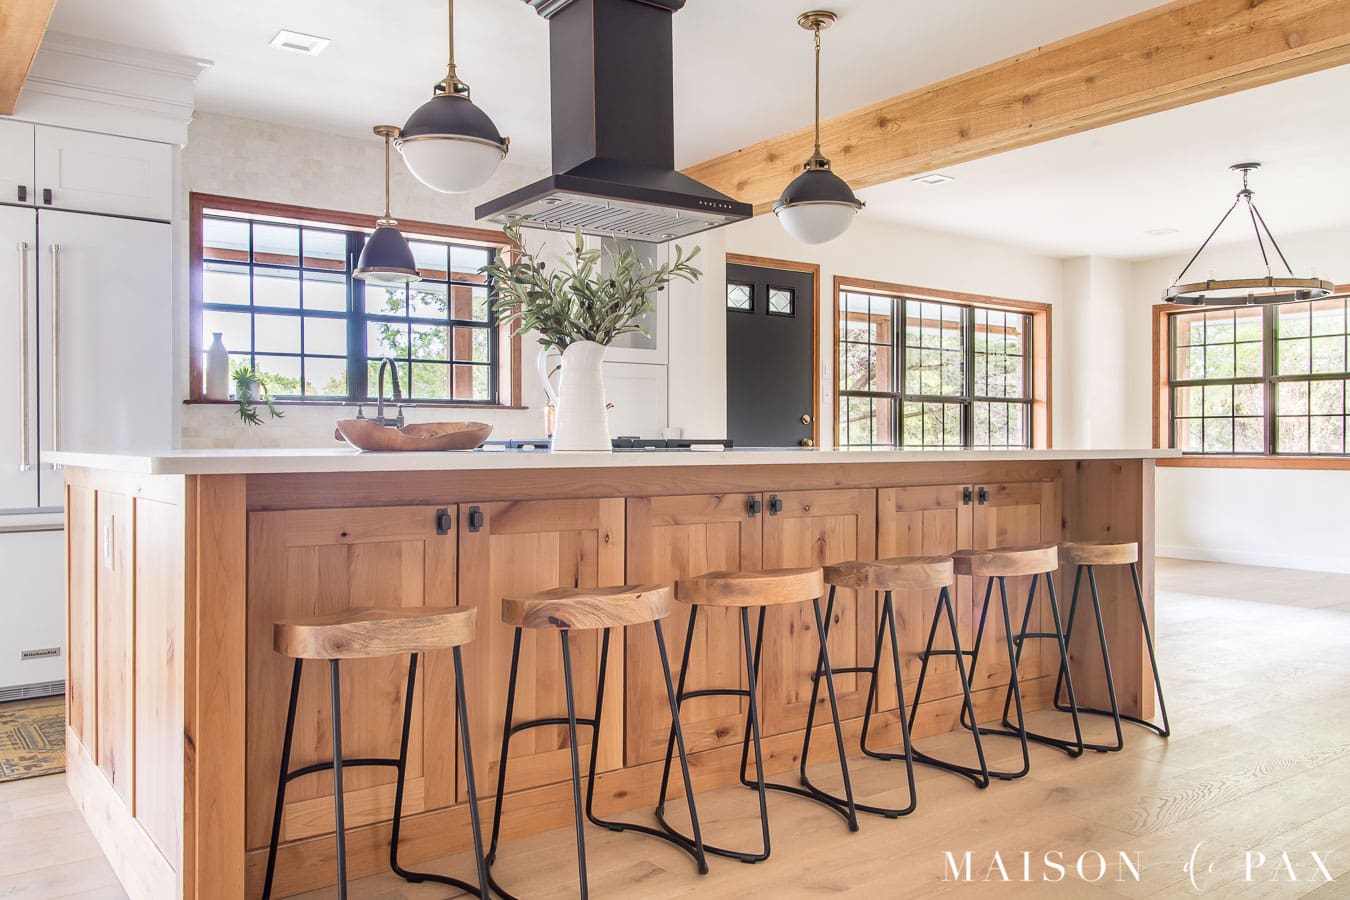
Choosing the right materials for our modern farmhouse island involved balancing authentic rustic elements with practical family-friendly surfaces. For the base, I fell in love with shiplap paneling that brought instant farmhouse character, but I worried about durability in a high-traffic area. After consulting with our contractor, we opted for painted MDF shiplap that mimics the look of reclaimed wood while providing superior resistance to dings and scratches from daily use.
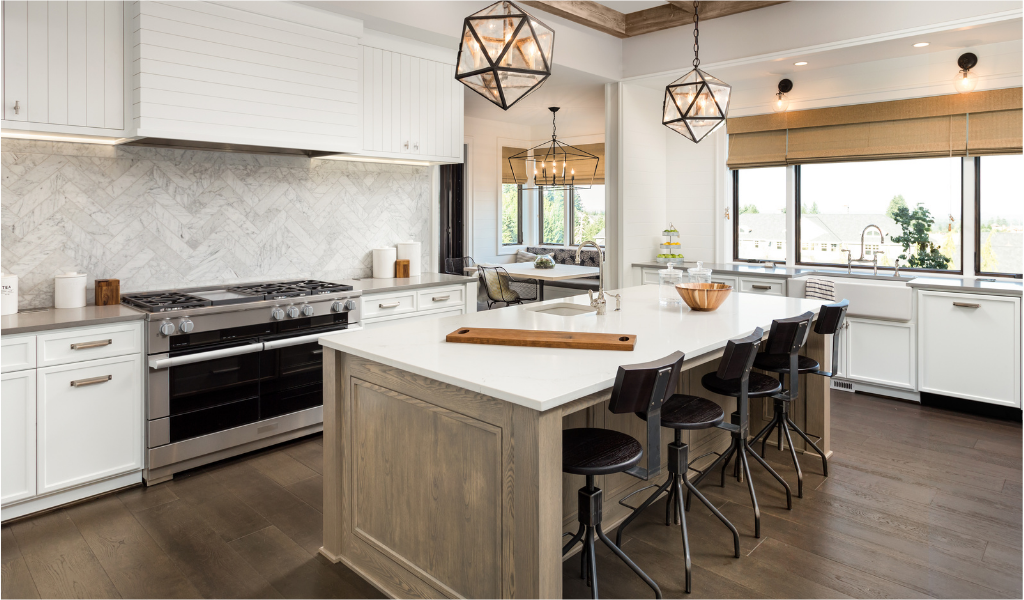
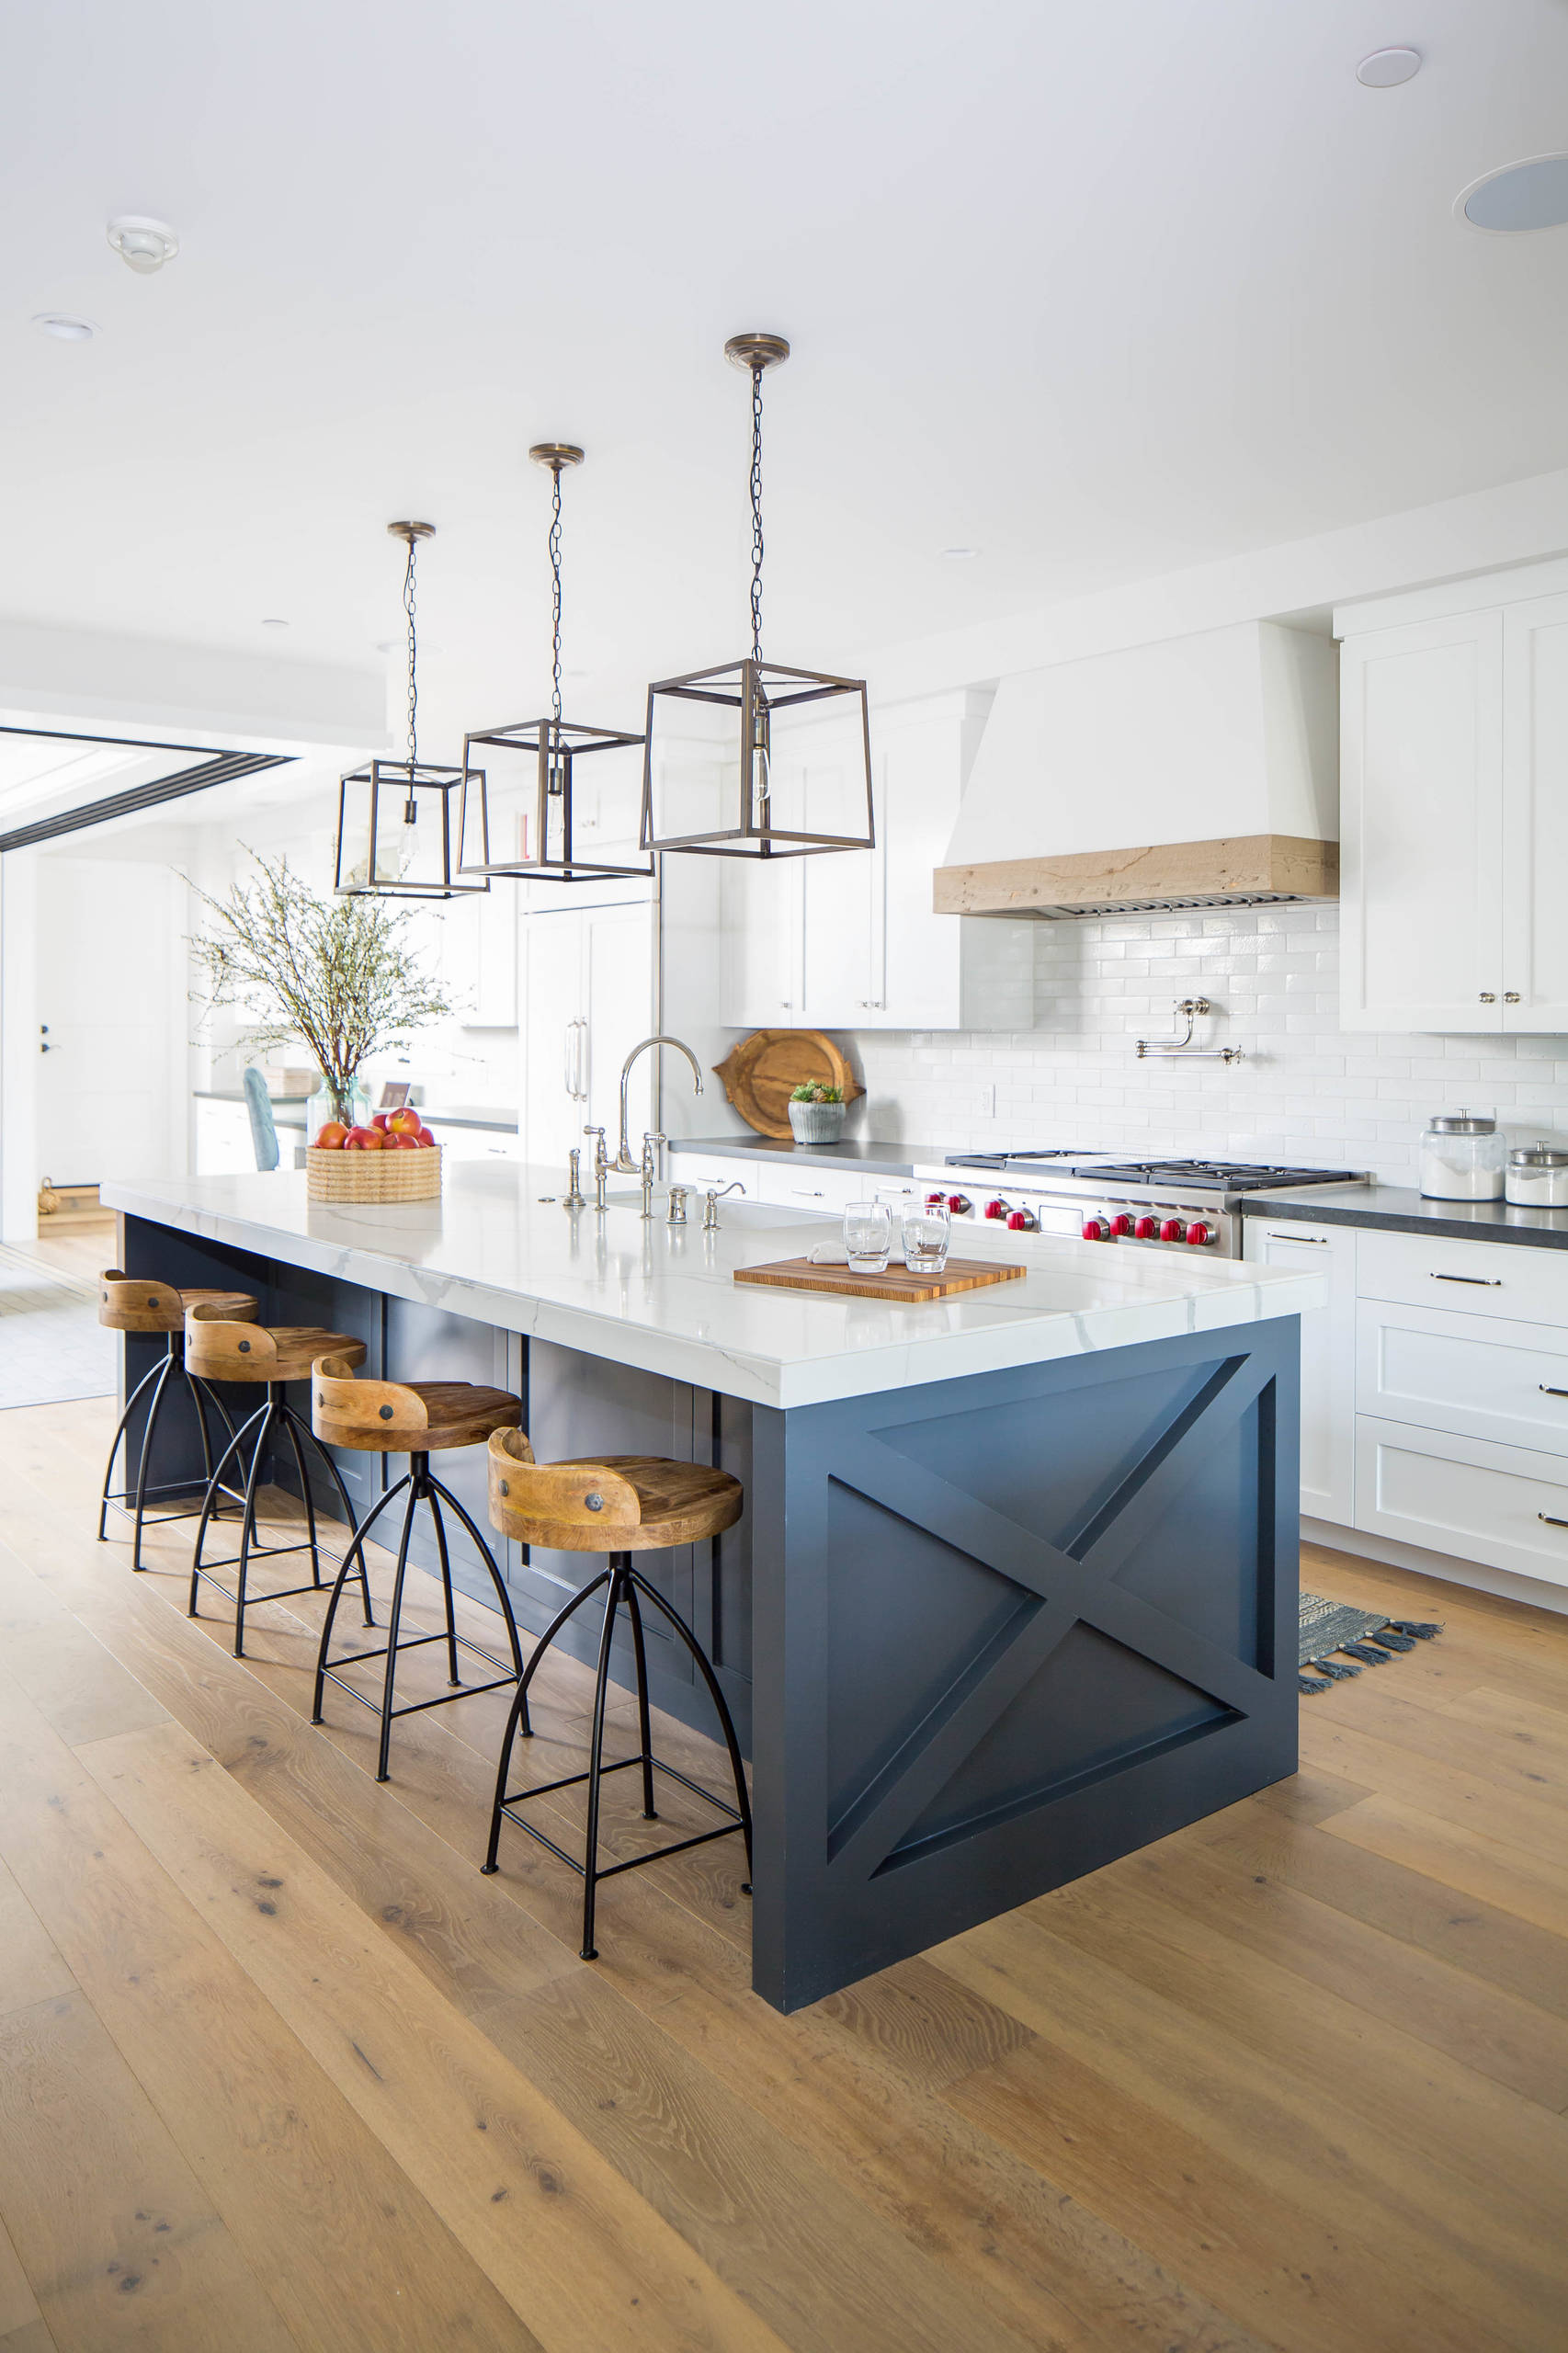
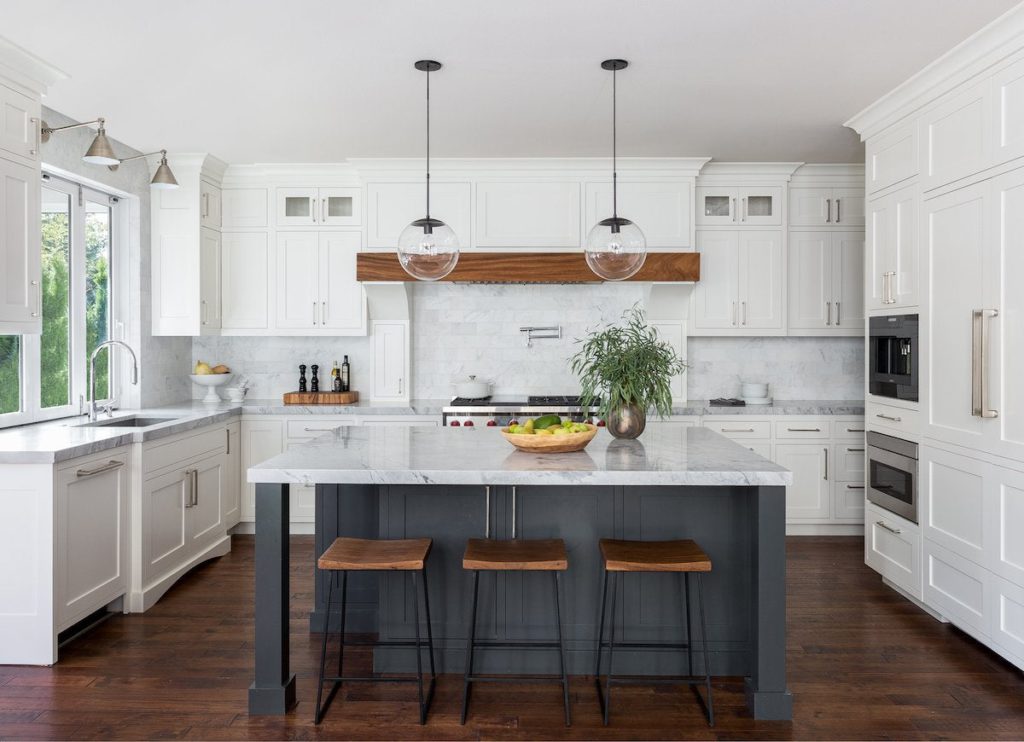
The countertop decision consumed weeks of research and showroom visits. Butcher block captured the warm, natural aesthetic I craved, but concerns about maintenance and water damage around our prep sink led me to explore alternatives. Quartz with wood-look veining became my compromise solution, providing the organic appearance I wanted with zero-maintenance convenience. The Calacatta Laza pattern I chose perfectly mimics marble while handling red wine spills and hot pots without stress.
Hardware selection proved more impactful than I anticipated in achieving the modern farmhouse balance. Mixing matte black cabinet pulls with brass accent pieces created visual interest while maintaining cohesive styling. I chose substantial, chunky hardware that feels authentic and substantial rather than delicate contemporary options that would look out of place. The combination of textures and finishes adds depth and character that makes the island feel collected over time rather than purchased all at once.
Incorporating Storage Solutions and Organization
Maximizing storage within our island design required strategic planning and creative solutions that I wish I’d considered from the beginning. I initially focused on aesthetics, but living on the island made me realize how crucial well-designed storage would be for maintaining the clean lines that make modern farmhouse style work. Deep drawers became far more valuable than traditional cabinets for storing pots, pans, and small appliances that we use daily.
The pot filler I installed above the island became an unexpected storage revelation. While primarily functional for filling large pots without carrying them from the sink, it also created an excuse to display beautiful copper and cast-iron cookware as decorative elements. Open shelving on one end of the island provides easy access to frequently used items while offering opportunities to showcase pottery, cookbooks, and seasonal decorations.
Hidden storage solutions transformed how we use our kitchen daily. I incorporated electrical outlets inside drawers for charging devices and small appliances, keeping cords organized and surfaces clear. A built-in trash pullout with separate compartments for recycling eliminated the need for visible bins while encouraging better waste sorting habits. These functional details maintain the island’s clean aesthetic while supporting our family’s real-life needs.

Choosing Between DIY and Professional Installation
The decision to tackle parts of our island project myself while hiring professionals for others taught me valuable lessons about realistic expectations and skill assessment. I confidently handled the painting, hardware installation, and basic assembly, but quickly realized that plumbing and electrical work required expertise I didn’t possess. The investment in professional installation for complex systems prevented costly mistakes and ensured everything met local building codes.
My DIY contributions included building the decorative end panels and installing the shiplap cladding, projects that saved significant money while allowing me to control quality and timeline. I spent weekends carefully measuring, cutting, and installing each piece, taking pride in the hands-on involvement that made the island feel truly custom. However, I learned to recognize when perfectionism was worth the extra time investment versus when good enough would suffice.
The coordination between DIY work and professional trades required more planning than I anticipated. Scheduling the electrician to run wiring before I installed the finished panels, then coordinating the countertop templating after cabinet installation, became a complex dance of timing and communication. Creating detailed schedules and maintaining open communication with all team members prevented delays and rework that could have been costly and frustrating.
Lighting and Electrical Planning for Multi-Purpose Use
Lighting our kitchen island properly required understanding how different activities would use the space throughout the day. I knew we’d need task lighting for food preparation, ambient lighting for family dinners, and accent lighting to highlight the island’s design features. The solution became a layered approach using pendant lights, under-cabinet LEDs, and strategic accent lighting that could be controlled independently for different occasions.
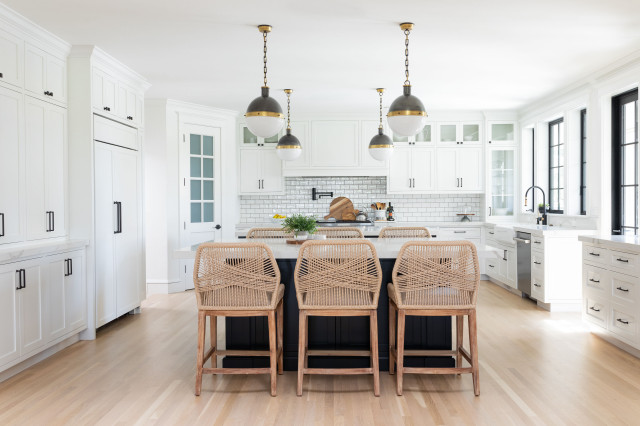
Pendant light selection consumed more time than any other single decision in our renovation. I tested dozens of options, from industrial black metal fixtures to rustic mason jar styles, before finding the perfect balance of modern and farmhouse aesthetics. The three brushed brass and black pendants I ultimately chose provide excellent task lighting while serving as sculptural elements that anchor the island visually within the larger kitchen design.
Electrical planning extended far beyond lighting to accommodate our family’s technology needs and small appliance usage. I installed dedicated circuits for high-powered appliances like stand mixers and blenders, preventing circuit overloads during holiday baking sessions. USB charging stations built into the island’s base keep devices powered while maintaining clean countertop surfaces. These practical considerations have made the island incredibly functional for homework help, recipe research, and staying connected while cooking.

Styling and Decorating Your Finished Island
Learning to style our completed island without cluttering its clean, modern farmhouse aesthetic became an ongoing process of trial and refinement. I initially over-decorated, displaying too many items that competed for attention and made the space feel busy rather than serene. The key was embracing negative space and choosing fewer, more impactful decorative elements that enhanced rather than overwhelmed the island’s architectural beauty.
Seasonal decorating opportunities presented themselves naturally as I lived on the island through different times of the year. Spring brought fresh flowers and light linens, while autumn called for pumpkins, warm candles, and cozy textures. I developed a rotation system for decorative items that keeps the island feeling fresh while maintaining the core modern farmhouse aesthetic that drew me to this style originally.
Balancing function with beauty required establishing systems for daily maintenance and organization. I designated specific areas for everyday items like salt and pepper, cooking oils, and frequently used utensils, keeping them accessible but contained. A daily five-minute island reset routine maintains the styled appearance while ensuring the space remains functional for meal preparation and family activities. This balance between livability and visual appeal has made our island the true heart of our home.
How much space do I need around my kitchen island for comfortable movement?
I learned that 36 inches is the absolute minimum clearance, but 42 inches works much better for busy families. In my kitchen, we have 36 inches on two sides and 48 inches on the cooking side, which allows multiple people to work comfortably. Measure your specific traffic patterns and consider how you actually use your kitchen daily.
Should I match my island to my existing cabinets or make it different?
I chose to make our island a focal point by using different materials. Our perimeter cabinets are white shaker style, while the island features gray shiplap and a darker countertop. This contrast creates visual interest while maintaining cohesive style. The key is choosing complementary rather than competing elements.
.jpg)
How do I determine the right height for my island seating?
Standard counter height (36 inches) with 24-inch stools worked perfectly for our family with kids. Bar height (42 inches) looks dramatic, but can be uncomfortable for shorter family members and small children. I tested both heights with temporary setups before deciding. Consider who will use the seating most often.
What’s a realistic budget for a custom modern farmhouse island?
Our 7×3-foot island with quartz countertop, custom cabinetry, and electrical work cost about $8,000, including professional installation. DIY portions saved us roughly $2,000. Budget $200-300 per linear foot for quality custom work, plus electrical and plumbing if needed. Prefab options start around $2,000 but offer less customization.

Can I add an island to my existing kitchen layout?
Absolutely! We retrofitted our island into an existing galley kitchen. The key is ensuring adequate clearance and having electrical access for outlets and lighting. I hired an electrician to add circuits and a plumber for the prep sink. Structural changes may require permits, so check local requirements first.
How do I maintain the clean look while using my island daily?
I developed a simple routine: clear surfaces after each use, designate specific spots for everyday items, and do a five-minute reset each evening. Built-in storage keeps clutter hidden, while limiting decorative items to a few key pieces maintains the clean aesthetic. Function and beauty can coexist with good systems.

Farmhouse Kitchen Island Ideas to Spark Your Next Renovation

Modern Farmhouse Kitchen Pendant Lights – The Flowering Farmhouse

Farmhouse Kitchen with an Island Ideas
Kitchen of the Week: Modern Farmhouse Style With Dual Islands
Neutral Modern Farmhouse Kitchen Ideas

Modern Farmhouse Kitchen Lighting Ideas
Related Posts: