Replacing a kitchen sink can dramatically improve your space’s functionality and aesthetics. I’ve helped countless homeowners upgrade their sinks, and the transformation often exceeds their expectations. Whether you’re switching from a dated stainless steel model to a sleek farmhouse ceramic sink or simply need better features, the right sink can make meal prep and cleanup more efficient. From material choices to installation methods, several factors must be considered before starting this project. Let’s walk through the key steps to ensure your new sink meets your needs and enhances your kitchen.
Choosing the Right Sink Material
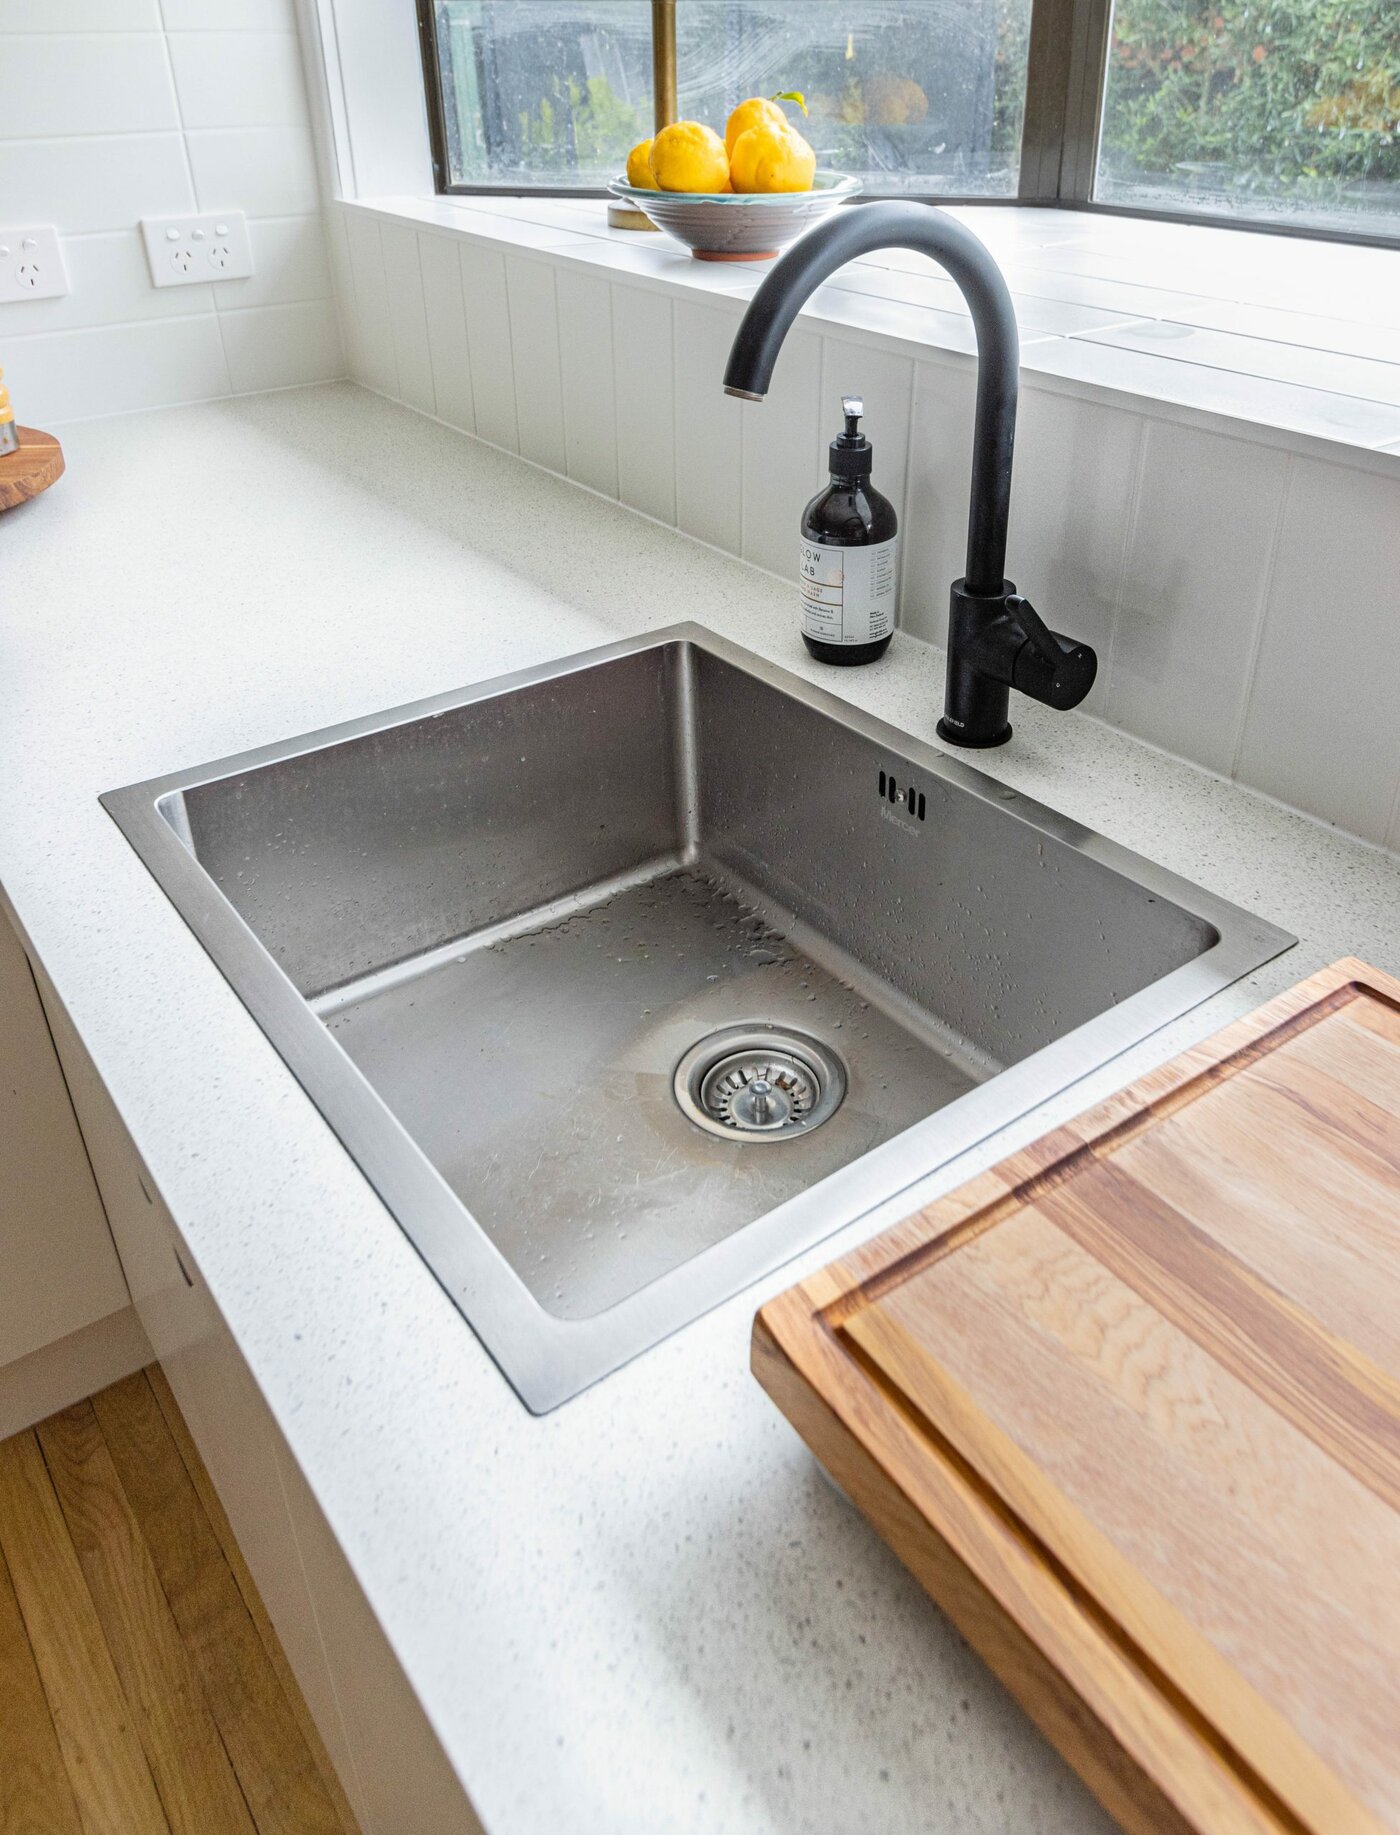
Stainless steel remains the most popular choice for its durability and affordability. I recommend 16-18 gauge steel for optimal resistance to dents and noise. Look for models with sound-dampening pads underneath to reduce clatter. For busy households, brushed or satin finishes hide water spots and scratches better than polished versions. Stainless steel works well in both modern and traditional kitchens, pairing easily with various countertop materials.
Composite granite sinks offer excellent stain and heat resistance with more visual interest. I often specify these for homeowners wanting an upscale look without porcelain’s fragility. The material comes in varied colors, from classic black to warm beiges. While heavier than stainless steel, composite granite withstands daily wear beautifully. Just avoid abrasive cleaners that can dull the surface over time.
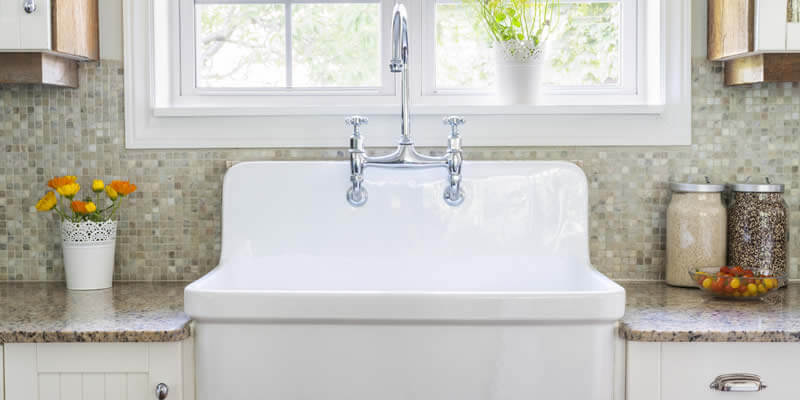
Fireclay and cast iron sinks bring timeless charm to traditional kitchens. Their glossy porcelain finishes resist stains but can chip if heavy pots are dropped. I always recommend protective grids or mats for these materials. Fireclay’s nonporous surface stays cleaner than many alternatives, making it ideal for serious cooks. These sinks require sturdy cabinet support due to their substantial weight.
Measuring and Preparing for Installation
Accurate measurements prevent costly mistakes. I measure the existing sink’s length, width, and depth, noting any unusual features like offset drains. For undermount sinks, the countertop cutout dimensions are critical. Always measure twice, accounting for faucet holes and any additional accessories. Bring these measurements when shopping to ensure compatibility with display models.
Cabinet space determines sink size options. Standard base cabinets (33-36 inches wide) typically accommodate 30-32 inch sinks comfortably. I leave at least 2 inches of clearance on each side for proper support. For larger sinks, check that doors and drawers will still open fully. Corner sinks require special consideration, as their unique shapes may limit accessory placement. Always verify the new sink’s dimensions against your existing plumbing configuration.
Removing the old sink requires careful preparation. I turn off the water supply lines and disconnect the disposal if present. A utility knife cuts through old caulk or sealant around the rim. For drop-in sinks, I loosen the metal clips underneath before gently prying the sink upward. Undermount models may need countertop support during removal to prevent damage. Have towels ready for residual water, and protect surrounding surfaces from debris.
Installation Methods and Considerations
Drop-in sinks offer the simplest installation. These sit on the countertop with a visible rim that overlaps the cutout. I apply a bead of silicone caulk under the rim before setting the sink in place. Metal clips underneath secure the sink to the countertop. This method works well for DIYers and allows for easier future replacements. The raised lip helps prevent water from spilling onto the counter edges.
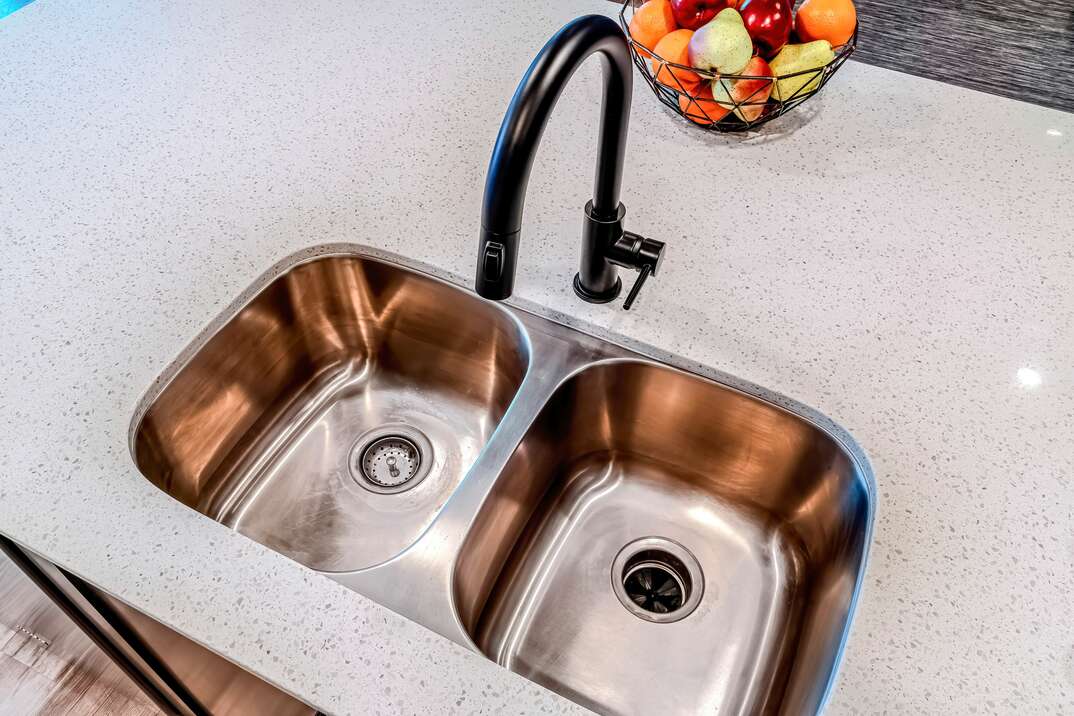
Undermount sinks provide a sleek, seamless look. Professional installation is recommended, as these require precise countertop cutouts and strong adhesive. I use specialty mounting brackets and waterproof epoxy to secure undermount sinks from below. The countertop edge must be properly finished since it remains exposed. This style makes wiping crumbs directly into the sink effortless, a favorite feature among home chefs.
Farmhouse/apron-front sinks need special framing support. Their extended front panel replaces part of the cabinet face. I reinforce the cabinet structure with 2×4 braces to handle the sink’s weight. The countertop must be cut to accommodate the unique front profile. These sinks often require custom plumbing adjustments due to their forward positioning. The dramatic visual impact justifies the extra installation effort.

Upgrading Sink Features and Accessories
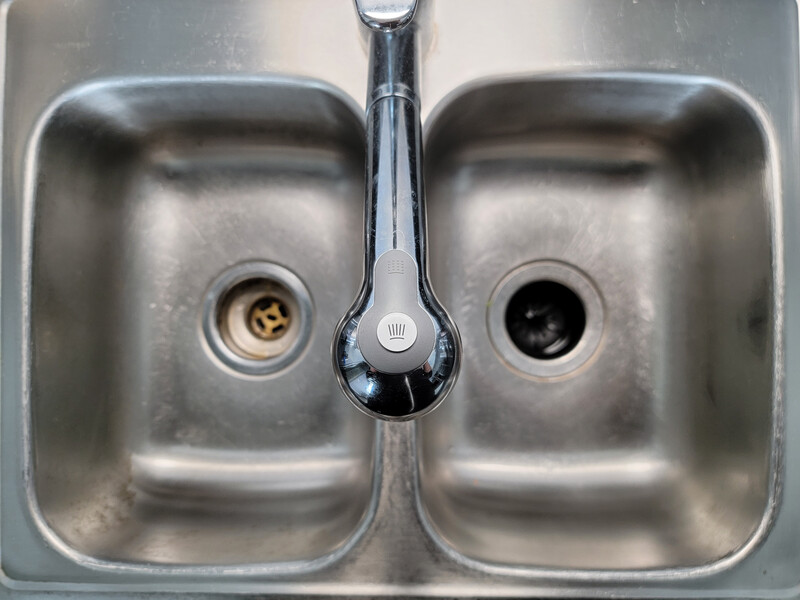
Multiple basins improve functionality. I often install double-bowl sinks for households that hand-wash dishes. The divider allows soaking while keeping one side free. Single-bowl sinks suit those who frequently wash large pots. Some newer models feature removable cutting boards or colanders that convert sections as needed. Consider your cooking habits when choosing bowl configuration.
Integrated drainboards save counter space. These shallow extensions on one or both sides of the sink provide a place to air-dry dishes. I specify grooved designs that channel water back into the sink. This feature works particularly well in small kitchens lacking adequate drying areas. Some stainless steel models offer fold-down drainboards that disappear when not in use.
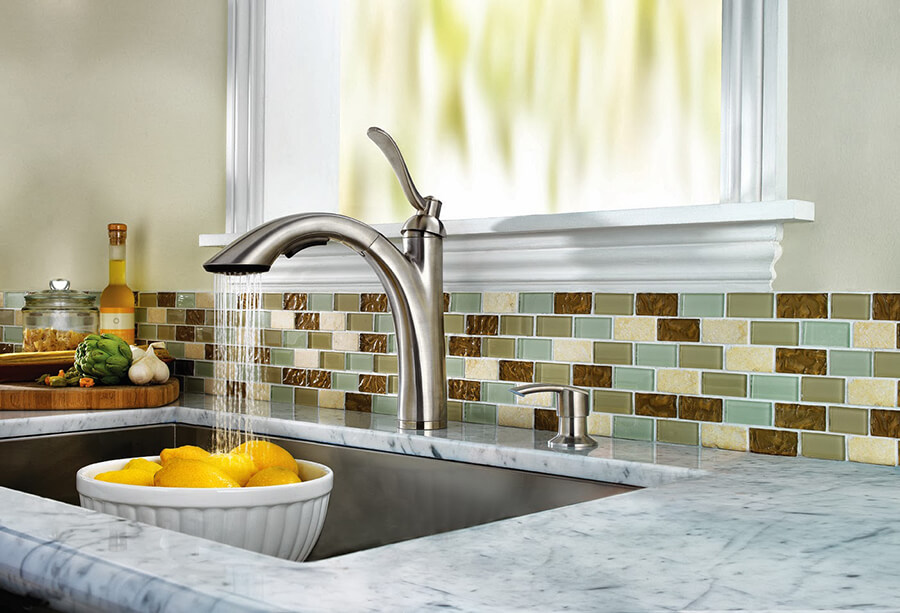
Smart faucet compatibility is worth considering. Many modern sinks include pre-drilled holes for touchless or pull-down faucets. I look for models with at least three holes to accommodate separate sprayers or soap dispensers. Some premium sinks even include built-in wireless charging pads or integrated LED lighting. These upgrades add convenience but may require professional electrical work.

Plumbing Connections and Final Adjustments
Drain assembly varies by sink type. I use plumber’s putty or silicone gaskets to create watertight seals around drains. Basket strainers work for standard setups, while garbage disposal connections require special flanges. Always hand-tighten connections first, then give a quarter-turn with pliers. Over-tightening can crack porcelain or distort metal.
Water supply lines often need updating. I replace old braided hoses with stainless steel-braided lines for durability. Flexible connectors simplify alignment with the new sink’s faucet holes. For pull-down sprayers, I ensure adequate clearance under the sink for hose movement. Applying pipe thread tape to all connections prevents leaks at threaded joints.
Final testing reveals any issues. I slowly turn the water back on, checking for drips at all connections. A bucket test under the drain assembly confirms proper sealing. Once satisfied, I apply a final bead of clear silicone caulk around the sink’s perimeter where it meets the countertop. This prevents water infiltration that could damage cabinetry below.
Maintaining Your New Kitchen Sink
Daily care preserves the sink’s appearance. I recommend wiping stainless steel with the grain using mild soap and water. For composite sinks, non-abrasive cleaners prevent surface dulling. Porcelain sinks benefit from occasional baking soda scrubs to maintain brightness. Immediately rinsing away acidic foods like citrus or tomato sauce prevents stains on all materials.
Preventative measures extend the sink’s life. I use protective grids or mats to cushion heavy pots and pans. Regular application of mineral oil keeps stainless steel looking new by filling microscopic scratches. For hard water areas, weekly vinegar rinses prevent mineral buildup around drains. Avoid harsh chemicals or steel wool that could damage finishes.
Addressing minor issues promptly prevents bigger problems. I recaulk the sink perimeter annually or whenever gaps appear. Tightening loose drain assemblies prevents leaks that could damage cabinets. For chips in porcelain sinks, specialty touch-up kits match the color and restore the surface. Proper care ensures your investment lasts for years.

How long does it take to replace a kitchen sink?
A straightforward sink replacement typically takes 2-4 hours for experienced DIYers. This includes removing the old sink, preparing the area, installing the new sink, and reconnecting plumbing. Undermount or farmhouse sinks may require 4-6 hours due to additional structural adjustments. If countertop modifications are needed, the project could span multiple days. I always recommend starting early in the day to allow time for unexpected complications. Having all tools and materials ready beforehand streamlines the process significantly.
Can I replace my sink without replacing the countertop?
In most cases, yes. Drop-in sinks can usually be swapped directly if the new sink matches the existing cutout dimensions. Undermount replacements require careful measurement, as even slight size differences may expose unfinished countertop edges. Going from a larger to smaller sink might leave visible gaps that need addressing. For laminate counters, I sometimes use decorative metal trim rings to cover minor discrepancies. When in doubt, consult a countertop professional before purchasing.

What tools do I need for sink replacement?
Basic tools include adjustable wrenches, basin wrench, plumber’s putty, utility knife, screwdrivers, and silicone caulk gun. For undermount sinks, add a drill with assorted bits and mounting clips. Safety gear like gloves and eye protection is essential. I also recommend having a bucket, towels, and flashlight handy. Specialty tools like a reciprocating saw may be needed for difficult removals. Renting a sink installation kit from hardware stores can provide specialized tools for one-time use.
How much does professional sink installation cost?
Professional installation typically ranges from $200-$500 depending on sink type and complexity. Basic drop-in sink replacements fall at the lower end, while undermount or farmhouse sinks with plumbing modifications cost more. Additional charges apply if countertop modifications or cabinet reinforcements are needed. Some plumbers offer flat-rate pricing, while others charge hourly ($75-$150/hour). Get multiple quotes and ask what’s included, like disposal hookup or old sink removal.

Are deeper sinks better than standard depth?
Deeper sinks (9-10 inches) prevent splashing and accommodate large pots but may cause back strain during prolonged use. Standard 7-8 inch depths work well for most users. I recommend considering the primary user’s height and typical tasks. Extra-deep sinks can also make reaching faucet controls uncomfortable for shorter individuals. Some models offer graduated depths, with a deep section for pots and shallower areas for everyday use. Test different depths in showrooms before deciding.
How do I choose between single and double bowl sinks?
Single bowl suits those who frequently wash large items like baking sheets or stock pots. The uninterrupted space makes cleaning cumbersome items easier. Double bowls benefit households that hand-wash dishes while needing a free section for food prep or draining. The divider provides organization but reduces available space. I often suggest measuring your largest cookware to ensure it fits comfortably in your preferred configuration. Some compromise with 60/40 split bowls that offer versatility.

How Much Does it Cost to Replace a Kitchen Faucet?
Kitchen Sink Installation or Replacement Costs HomeServe USA
How Much Does It Cost to Replace a Kitchen Sink? A Price Guide

How long should it take to replace a kitchen sink?

Undermount Kitchen Sink Installation Cost
Related Posts: