Practical Guide to Fixing Common Issues
Spotting the First Signs of a Leak
One of the earliest clues that something’s wrong is the unexpected puddle beneath your sink. You might also notice water stains on the cabinet base or a musty smell that doesn’t go away. These signs are your cue to take a closer look before the damage worsens. Ignoring them can lead to costly repairs and possibly mold growth.
Another thing to watch for is warped wood or bubbling laminate inside the cabinet. These visual hints often suggest water has been leaking for a while. Don’t wait until the cabinet starts falling apart before investigating. Catching a leak early can save a lot of time and effort.
Drips and moisture around the pipes, especially after running water, are also signs to act. If you feel dampness when touching the plumbing under your sink, it’s time to inspect more closely. Whether it’s a slow drip or a small pool, moisture almost always signals a problem that needs repair.
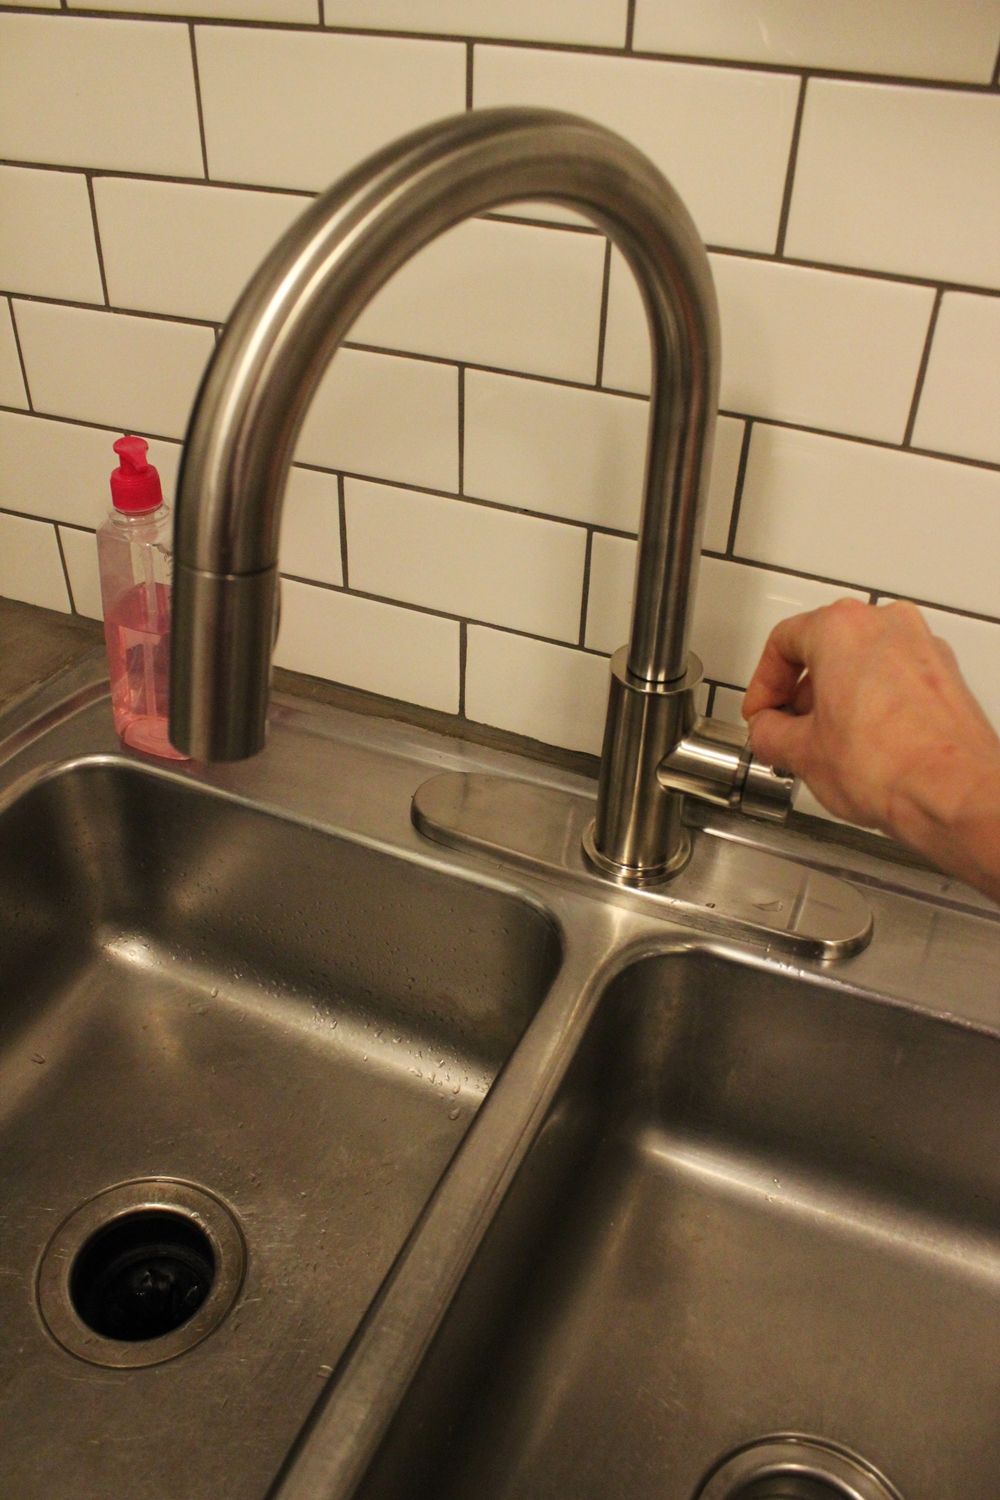
Checking the Faucet and Connections
The faucet is often the culprit in a kitchen sink leak. Start by wiping the area dry and turning the water on to see where it escapes. If water drips from the base of the faucet, the seals may be worn. It’s a common issue that happens over time with daily use.
Another place to inspect is where the supply lines connect to the faucet. These fittings can loosen with vibration or wear. Even a slight misalignment can cause a leak when water pressure builds. Using a wrench, you can gently tighten the connections to see if that solves the issue.
If tightening doesn’t help, check the supply lines for cracks or damage. Plastic lines can become brittle, and braided hoses can fray or break. Replacing them is usually inexpensive and can prevent larger plumbing problems later on.
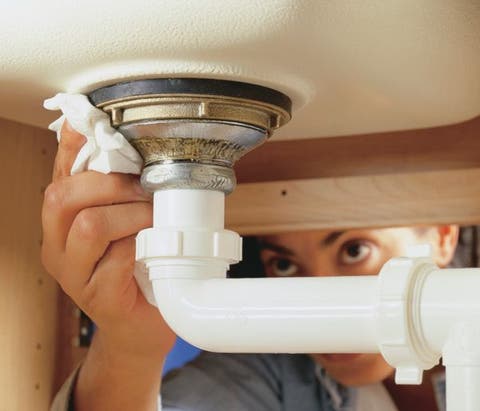
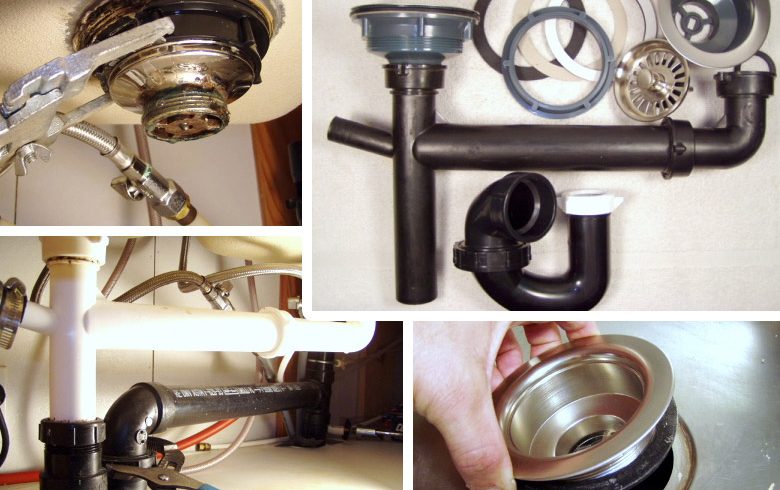
Looking at the Drain Assembly
Leaks around the drain often come from a worn-out rubber gasket or loose connections. Over time, the putty or sealant around the drain flange can break down. When this happens, water can seep into the cabinet below every time you drain the sink.
To test this area, fill the sink and release the water while watching underneath. If water trickles out, then the drain assembly needs attention. You may need to remove the drain, clean off the old sealant, and reapply fresh plumber’s putty or silicone.
Tightening the locknut under the sink can also help, but be cautious not to overtighten. Excess pressure can crack the sink or warp metal parts. A steady, even hand usually does the trick, making this a fix most homeowners can handle themselves.
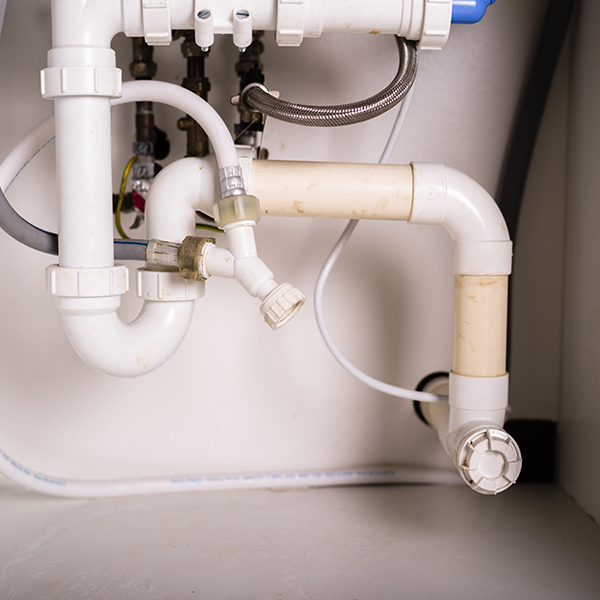
Inspecting the P-Trap and Pipes
The P-trap, that U-shaped pipe under your sink, is a common source of leaks. It can loosen or crack over time, especially if it’s made of plastic. These leaks usually show up after using the sink and cause small puddles to form.
To find out if this is the problem, run water and check the joints and seals. If you see moisture or a slow drip, try tightening the slip nuts by hand or with adjustable pliers. Most leaks here are simple fixes that don’t require special tools.
In some cases, the pipes themselves may be the issue. Corrosion in metal pipes or small fractures in plastic ones can lead to slow leaks. Replacing damaged sections is usually more effective than patching them, and it’s a smart way to avoid repeat problems.

Replacing Worn Seals and Gaskets
Rubber seals and gaskets are essential for keeping connections watertight. Over time, they wear out or crack, especially in areas with hard water. Once they lose flexibility, leaks become more likely, even if the fittings seem tight.
Take the sink strainer for example—its gasket can break down and cause water to escape. Replacing it usually involves removing the strainer, cleaning the area, and fitting a new gasket. It’s a small task but one that makes a big difference.
Always use quality replacement parts that match your existing setup. Generic pieces may not seal properly, which can lead to repeat leaks. Double-check the sizes and materials before buying, and when in doubt, bring the old part to the hardware store.
Preventing Future Leaks with Regular Maintenance
Once your sink is fixed, a little upkeep goes a long way in preventing future leaks. Start by checking under the sink every few weeks for signs of moisture. Early detection helps avoid major water damage and costly replacements.
Make it a habit to tighten fittings and inspect seals at least twice a year. Even if everything looks fine, a light touch with a wrench or a fresh dab of plumber’s putty can reinforce weak spots. It’s a small effort that can prevent major issues.
Lastly, avoid pouring harsh chemicals or food scraps down the drain. They can corrode pipes or cause clogs, which in turn lead to added pressure and leaks. Gentle, consistent care of your plumbing can extend its life and save you from future repairs.

Kitchen Sink Repair

xxx

How to Fix a Leaky Sink Trap HomeTips
Leaky Sink: Basket Strainer – How to Fix The Most Common Leak

A Quick Guide To Checking For Leaks Under Your Sink – Green Living
Why is my Kitchen Sink P-Trap Leaking at Connection Nut?

Below the Kitchen Sink: Dealing With Kitchen Drain Pipe Leaks
How to Remove u0026 Fix a Kitchen Sink Drain – Mobile Home Repair
Related Posts: