A kitchen sink coating can transform an old, worn-out sink into a like-new surface while protecting it from daily wear and tear. I’ve helped many homeowners revive their sinks with coatings, and the results often exceed expectations. Whether you want to refresh a stainless steel sink, protect a porcelain finish, or change the color entirely, the right coating solution can extend your sink’s life and improve its appearance. From DIY kits to professional refinishing, there are options for every budget and skill level. Let’s explore how coatings work and which might be right for your kitchen.
Understanding Different Coating Types
Epoxy coatings offer the most durable DIY solution for sink refinishing. These two-part systems chemically bond to surfaces, creating a hard, glossy finish that resists stains and scratches. I recommend epoxy for porcelain and cast iron sinks that have lost their luster. The application requires careful prep work but can last several years with proper care. For metal sinks, specialized acrylic urethane coatings provide excellent adhesion and flexibility to withstand temperature changes.
Professional spray coatings deliver superior results for long-term performance. Applied by trained technicians, these catalyzed finishes cure into an incredibly hard surface that mimics factory finishes. I’ve seen professionally coated sinks last 10-15 years with minimal wear. The process typically involves sandblasting to create optimal adhesion, followed by multiple sprayed layers in a controlled environment. While more expensive than DIY options, the longevity often justifies the cost.
Temporary protective coatings serve a different purpose. These peelable, rubber-like coatings shield sinks during renovations or provide short-term color changes. I use them when clients want to test a sink color before committing to refinishing. While not permanent, they prevent scratches and stains during construction projects. Some even come in decorative patterns for quick kitchen updates.
Preparing Your Sink for Coating
Proper surface preparation makes or breaks coating success. For DIY projects, I spend more time prepping than applying the actual coating. Start by thoroughly cleaning with a degreaser to remove all oils and residues. For porcelain sinks, I use a porcelain etching solution to create a surface the coating can grip. Metal sinks need sanding with 220-400 grit sandpaper to roughen the surface.
Repair any damage before coating. Chips in porcelain require filling with epoxy putty, while rust spots on metal need complete removal. I often use automotive-grade filler for deep scratches, sanding it flush once dry. For professional coatings, technicians may perform more extensive repairs like welding damaged areas on stainless steel sinks.
The final prep step is crucial – complete drying. Any moisture under the coating will cause premature failure. I use heat guns on low setting to ensure absolute dryness, especially around drains and edges. Wiping with denatured alcohol removes final contaminants before coating application. Rushing prep leads to peeling coatings, so patience pays off.

Applying Coatings for Best Results
DIY coating kits require careful technique. I work in small sections, maintaining a wet edge to prevent lap marks. Thin, even coats adhere better than thick globs. For spray kits, I hold the can 10-12 inches away, using smooth side-to-side motions. Brush-on coatings need high-quality nylon or polyester brushes to minimize streaks. Most systems require 2-3 coats with light sanding between layers.
Temperature and humidity dramatically affect results. I only coat sinks when room temperature stays between 65-85°F with humidity below 60%. Cold surfaces cause poor adhesion, while high humidity creates bubbles in the finish. Proper ventilation is essential – I use fans to circulate air without blowing dust onto wet coatings. Curing times vary by product, but I typically allow 72 hours before light use.
Professional applications involve multiple specialized steps. After sandblasting, technicians apply an adhesion promoter, followed by primer, color coats, and clear topcoats. Each layer gets baked for maximum hardness. The final finish often includes UV inhibitors to prevent yellowing. This multi-stage process creates a much more durable surface than DIY methods can achieve.

Maintaining Coated Sinks
Gentle cleaning preserves coated finishes longest. I recommend pH-neutral cleaners and soft sponges – no abrasive pads or harsh chemicals. For epoxy coatings, occasional waxing with automotive wax adds extra protection. Immediately wipe up acidic foods like citrus or vinegar to prevent etching. Use sink grids or mats to protect high-impact areas from heavy pots and pans.
Minor scratches can often be buffed out with fine polishing compounds. For deeper damage, spot repairs may be possible if you saved leftover coating. I keep small amounts of mixed epoxy for touch-ups, storing it in the freezer to extend usability. Professional coatings sometimes come with touch-up kits for this purpose.
Recognize when recoating becomes necessary. Fading, widespread peeling, or deep stains signal it’s time for renewal. I typically see DIY coatings last 2-5 years, while professional jobs go 10+ years. Rather than applying new coating over failing old layers, I strip sinks completely for best adhesion. Proper maintenance significantly extends time between refinishing projects.

When to Coat vs. Replace Your Sink
Coating makes sense for quality sinks with surface damage only. If the underlying material remains structurally sound, refinishing costs far less than replacement. I often coat vintage porcelain sinks that have good “bones” but worn finishes. Professional coating also works well for commercial-grade stainless sinks with scratched surfaces but no dents.
Replacement becomes preferable in several scenarios. Plastic or thin-gauge metal sinks rarely coat well due to flexing. Severely dented or rusted-through sinks won’t provide a stable base. If you want to change sink configuration (like switching to a larger model), replacement makes more sense. I also recommend replacement when coating costs approach 50% of new sink price.
Consider long-term plans when deciding. If you’ll remodel the kitchen within a few years, coating provides an affordable interim solution. For forever homes, investing in professional refinishing or high-quality replacement often proves wiser. I help clients weigh factors like budget, timeline, and sentimental value when making this choice.

How long does a DIY sink coating last?
Quality DIY epoxy coatings typically last 2-5 years with proper application and care. Factors affecting longevity include prep thoroughness, number of coats applied, and daily usage. Lightly used bathroom sinks often outlast heavily used kitchen sinks. Using sink grids and avoiding abrasive cleaners extends the coating’s life. Touch-ups can sometimes prolong the finish beyond normal lifespan. Professional coatings last significantly longer – often 10-15 years – due to superior materials and application methods.
Can I coat a stainless steel sink?
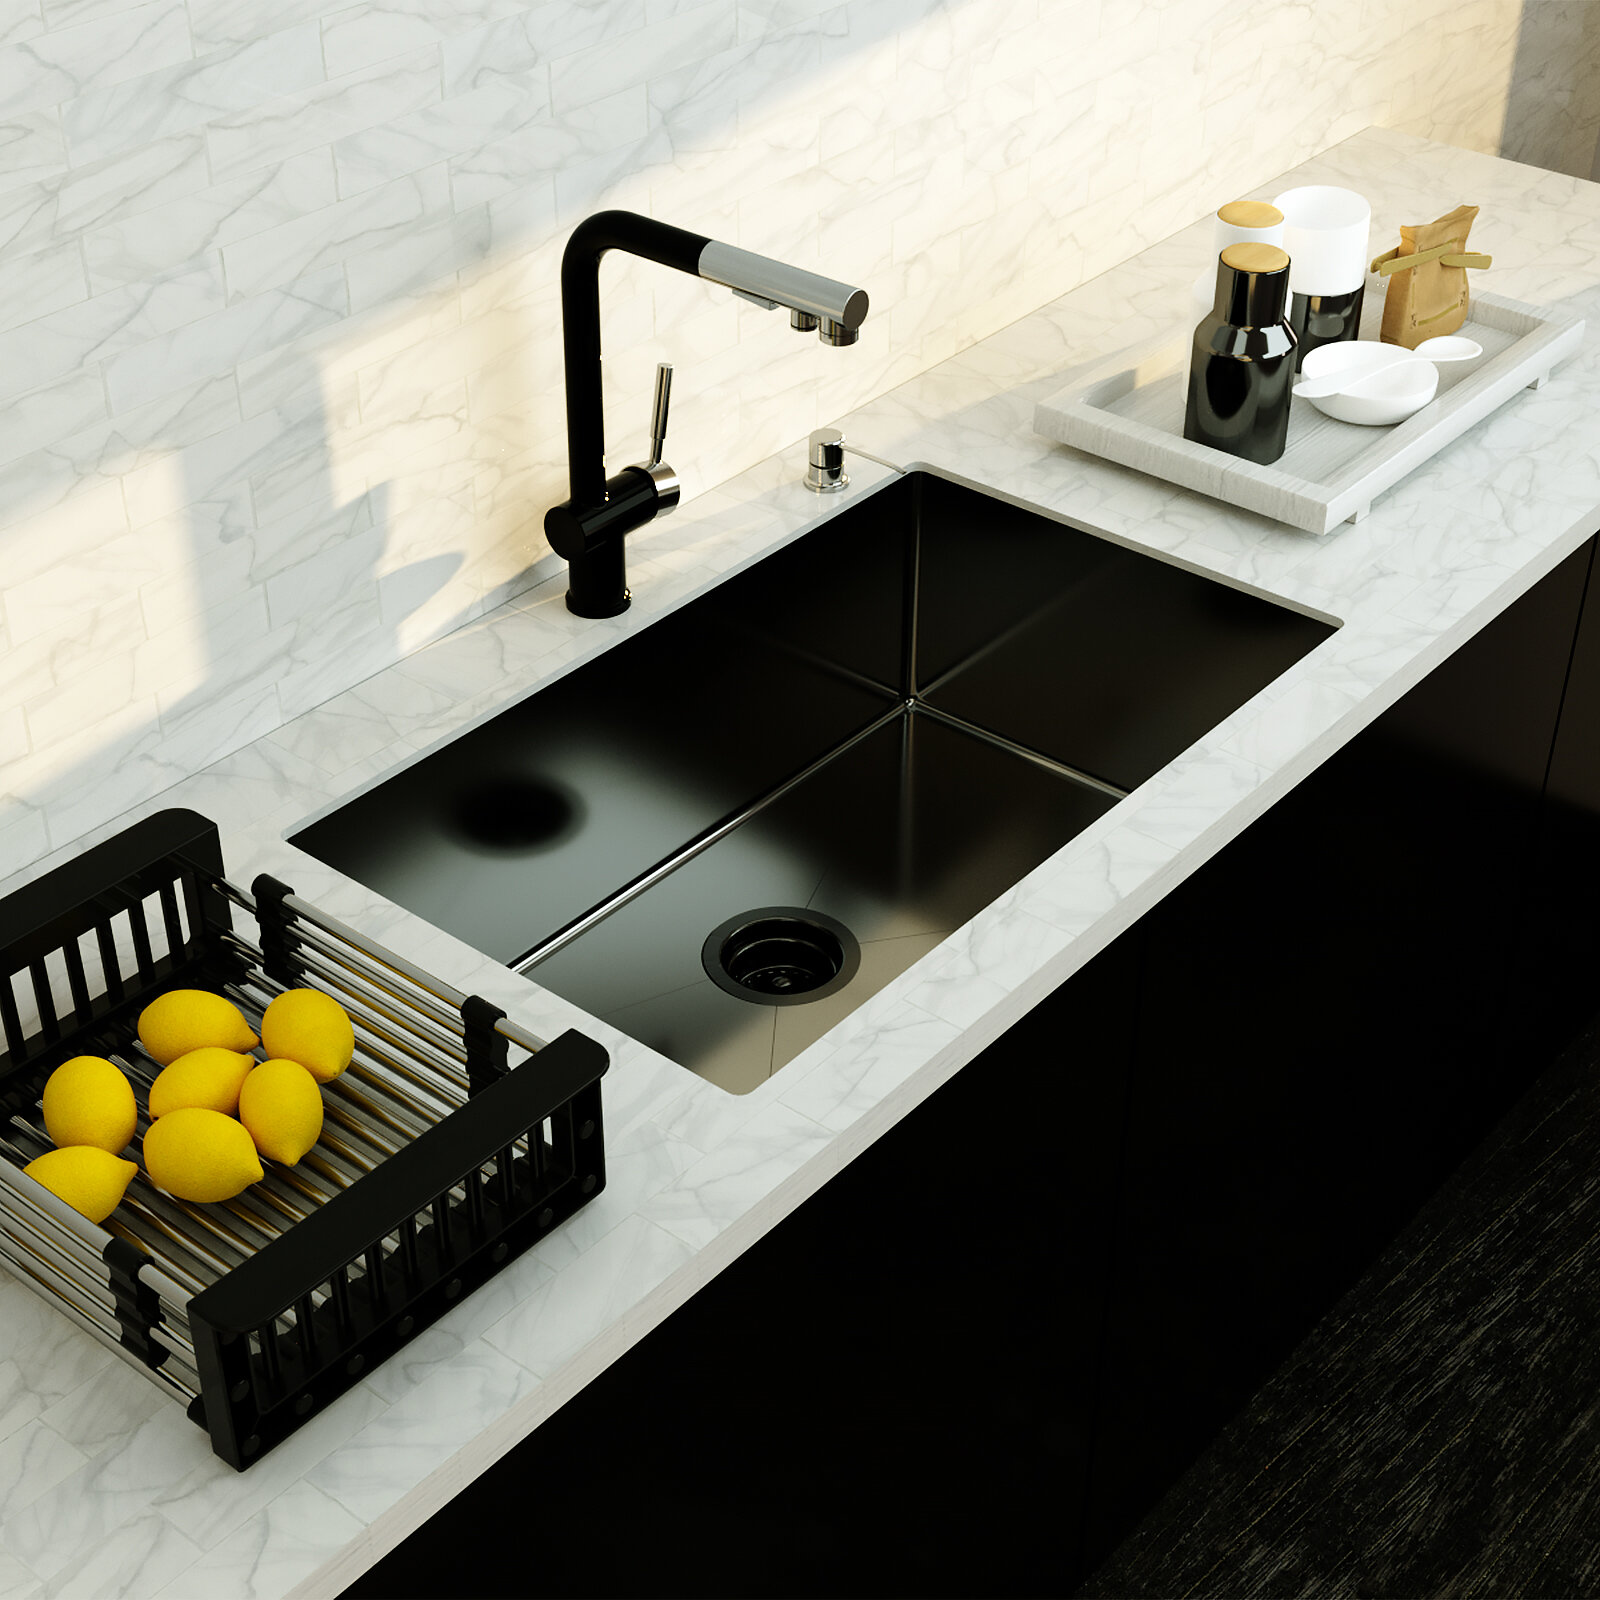
Yes, stainless steel can be successfully coated with the right products. I use specialty coatings formulated for metal adhesion that accommodate slight flexing. The surface must be properly abraded and cleaned – stainless steel’s smooth surface challenges adhesion. Professional sandblasting creates ideal texture for coatings to grip. Some coatings even mimic brushed stainless appearance while adding protection. Avoid standard epoxy coatings not designed for metal, as they may crack or peel from temperature changes.
Is sink coating safe for food preparation areas?
Most quality sink coatings become food-safe once fully cured, typically after 72 hours. I recommend NSF-certified coatings for kitchen sinks, especially those that will contact food directly. Even with certified products, use cutting boards rather than preparing food directly on coated surfaces. Some coatings may slightly off-gas during early cure time, so ventilate the area well. Once cured, the coatings resist bacterial growth better than porous sink materials. Always check manufacturer specifications for food safety claims.
How do I remove old coating before refinishing?
Removal depends on coating type. For epoxy coatings, I use chemical strippers formulated for bathroom fixtures, following with thorough rinsing. Mechanical removal with sanders or media blasting works for tougher coatings but requires care to avoid damaging the sink. For porcelain sinks, I sometimes use diluted muriatic acid with proper safety precautions. Professional refinishers often employ specialized stripping tanks for complete removal. Never apply new coating over failing old coating – proper removal ensures good adhesion.
Can I change my sink color with coating?
Absolutely – coating provides an affordable way to completely transform sink color. DIY kits come in various colors from classic white to bold hues. Professional refinishers can custom-match nearly any color using tinted coatings. Dark colors show water spots more than light ones, so consider your maintenance preferences. For dramatic changes, I recommend testing color samples first. Some coatings even create metallic or stone-look finishes. Just ensure the new color complements your countertop and cabinet tones.
What’s the cost difference between DIY and professional coating?
DIY coating kits range from $50-$200 depending on sink size and product quality. Professional refinishing typically costs $300-$800 but provides far more durable results. While DIY seems cheaper initially, professional coatings often last 3-5 times longer, making them more cost-effective long-term. Professional jobs also include repairs and warranties DIY can’t match. For high-end sinks or those needing extensive repair, professional refinishing usually makes better financial sense than replacement. Get multiple quotes as prices vary regionally.

Stainless Steel 32 in. Single Bowl Undermount Kitchen Sink with Ceramic Coating
Trustmade 32 X 19 Inch Black Ceramic Coating With Nanotek Undermount Kitchen Sink, 16 Gauge Stainless Steel Wet Bar Or Prep Sinks Single Bowl
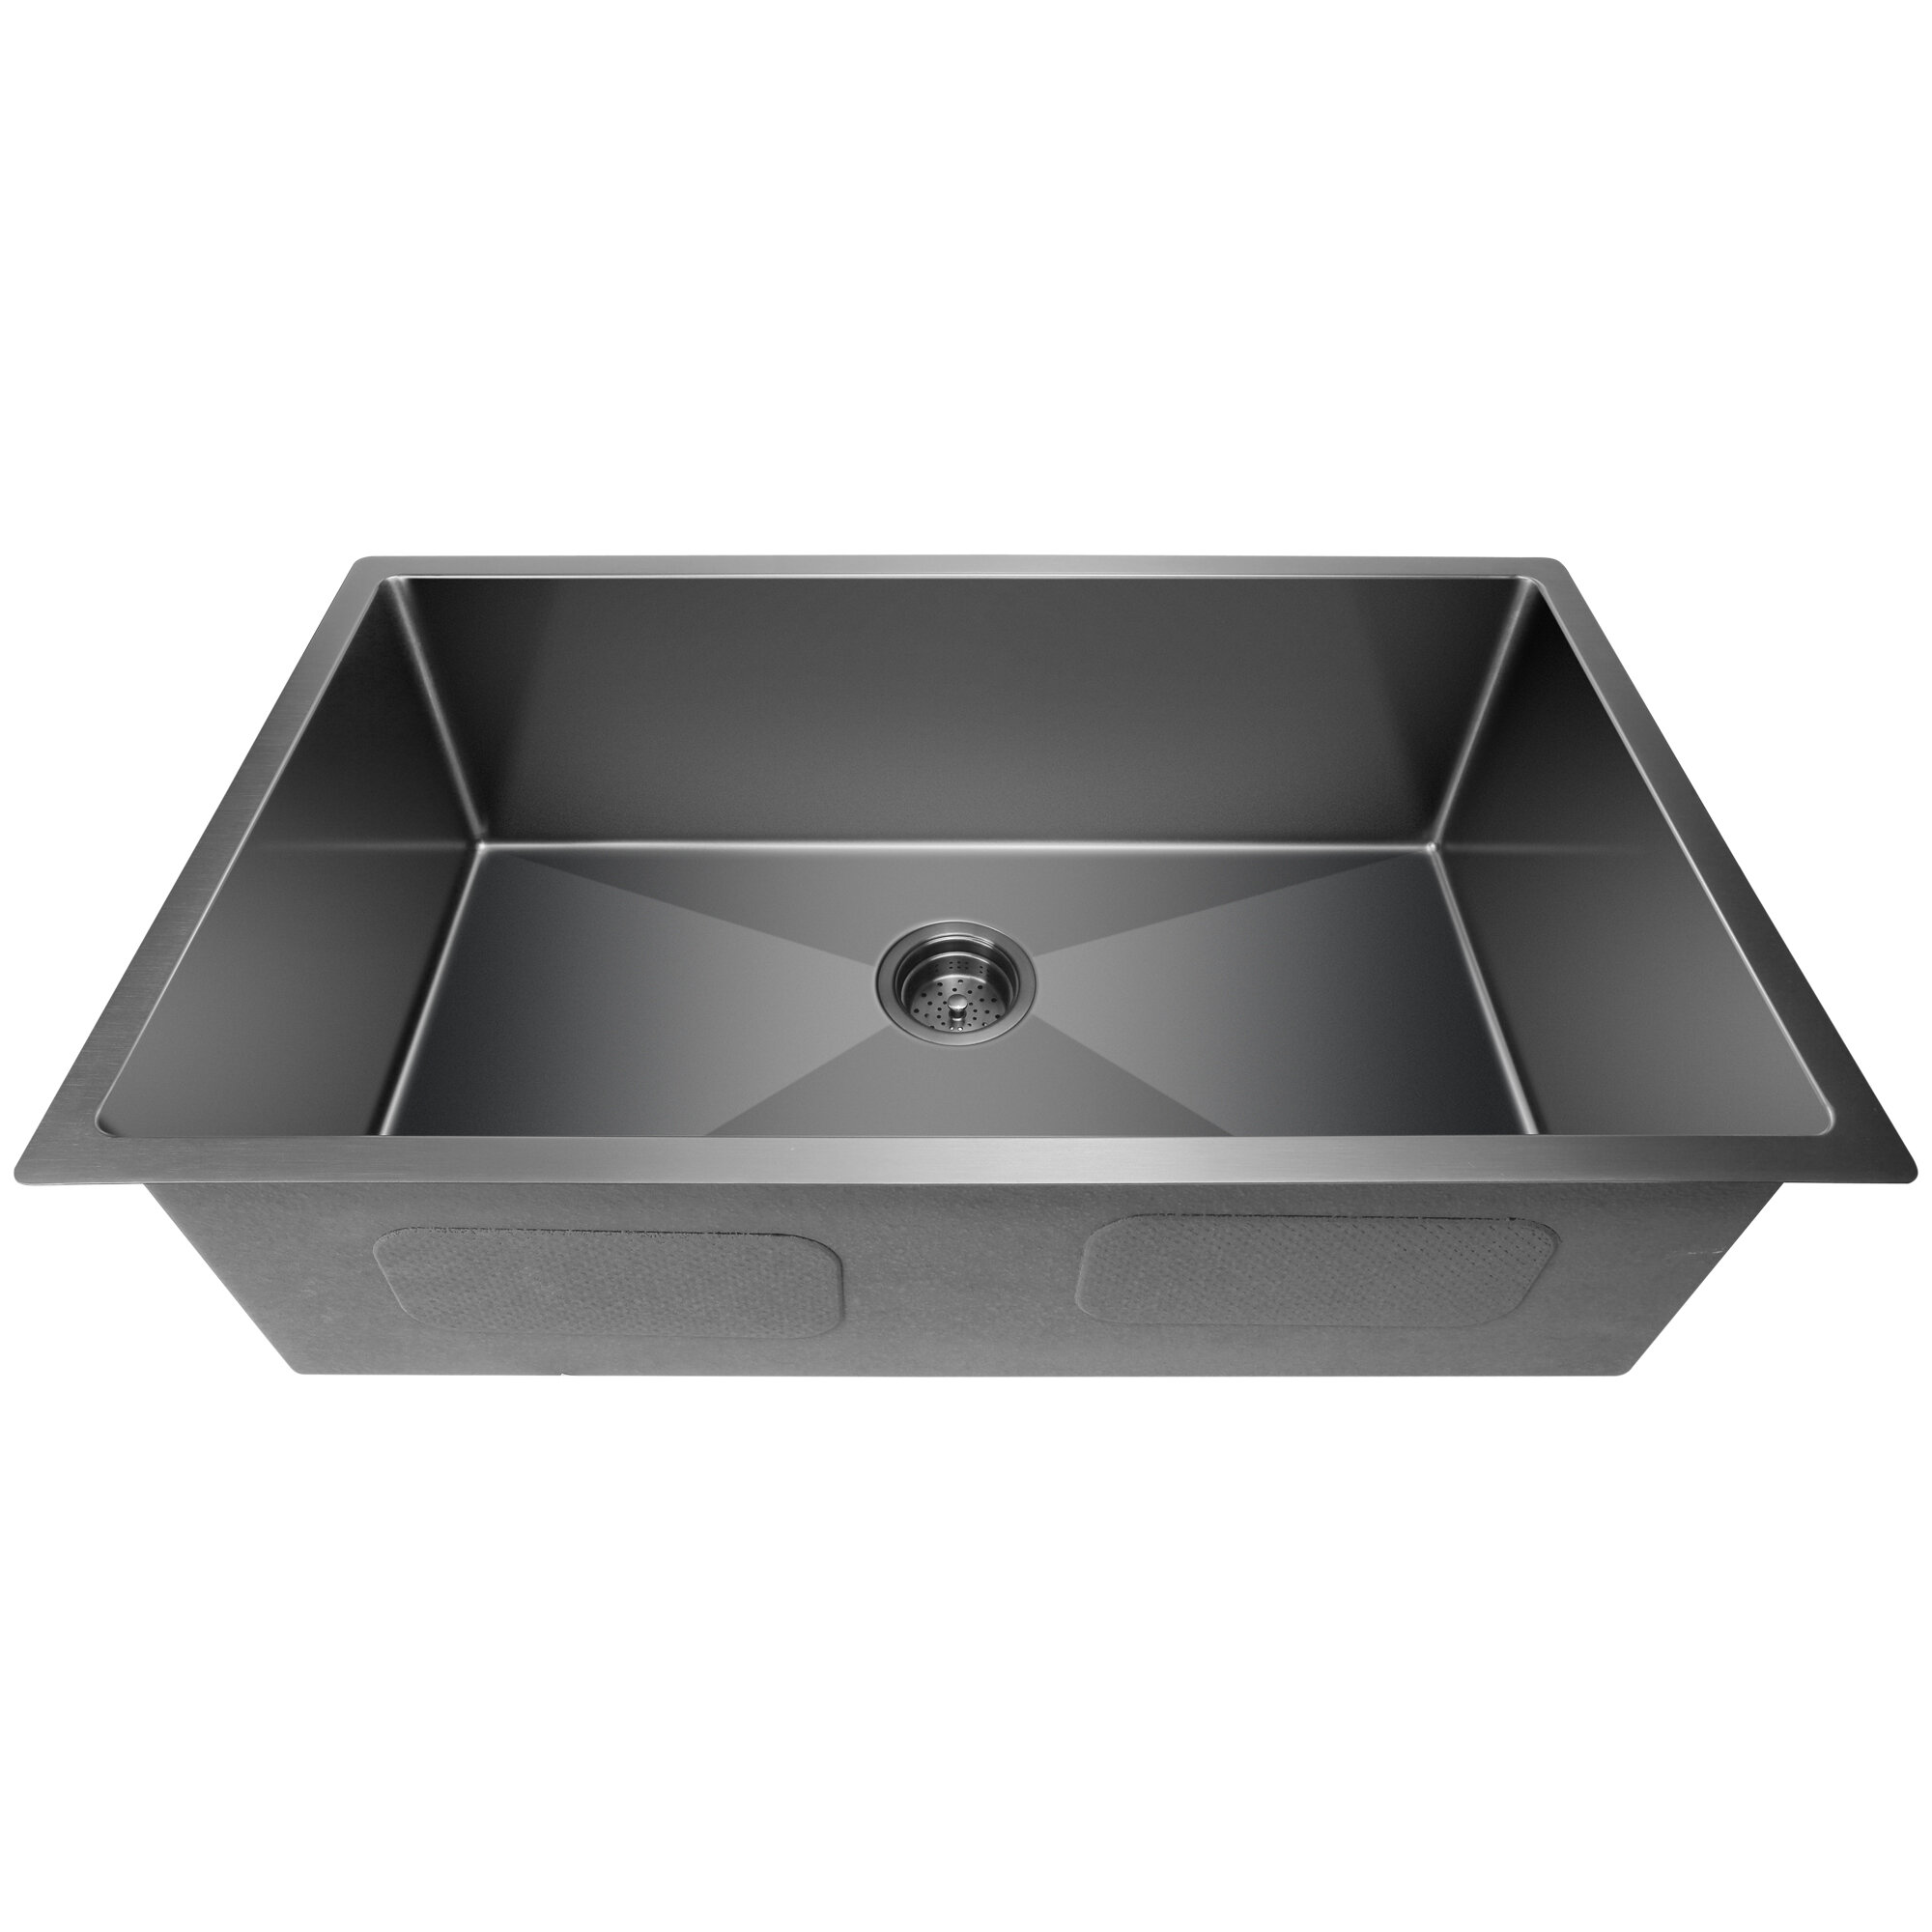
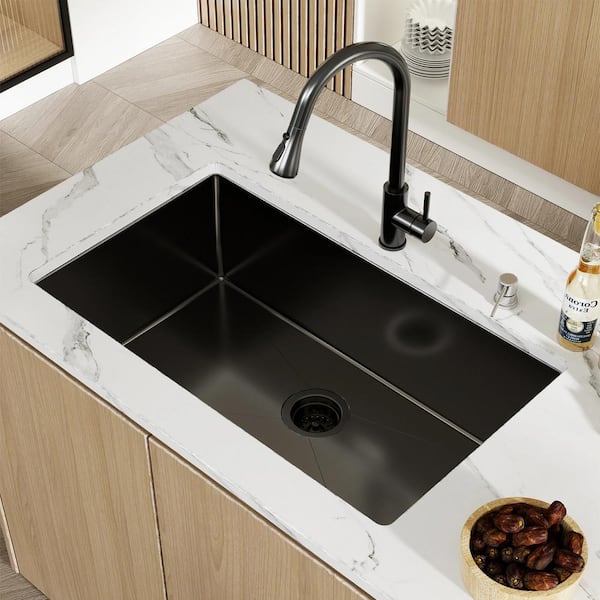
MENSARJOR 32-inch Undermount Nano Ceramic Coating Kitchen Sink

25″ Drop-In or Undermount Single Bowl Kitchen Sink / Bar Sink with

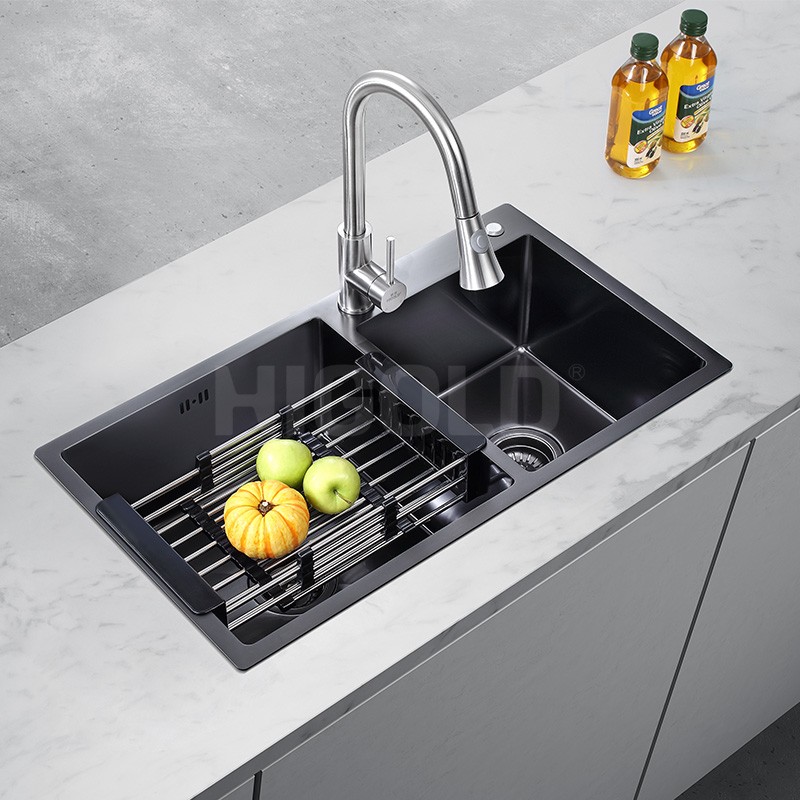
Kitchen Sink Single Bowl 50*40CM 304 Stainless Steel Prevent Noise Anti-condensation Coating Design

NEW Nano coating Stainless Steel Double Bowl 16 Gauge Kitchen

Luxury Bathroom Sink Pvd Coating Rose Gold Sit-on Mount Handmade

Related Posts: