My kitchen floor has endured its fair share of spills, dropped goods, and regular wear and tear. Like many homes, the tiled floor has proven to be a long-lasting and easy-to-clean surface, but a few tiles have broken, cracked, or fallen free. Ignoring these minor difficulties has always seemed simpler in the moment, but I just decided it was time to address them. What I discovered is that mending kitchen floor tiles is not as difficult as it may appear, and correcting these issues can dramatically enhance the appearance and safety of your kitchen. Let me share my experience and some tips I learned along the way.
Identifying Damaged Tiles
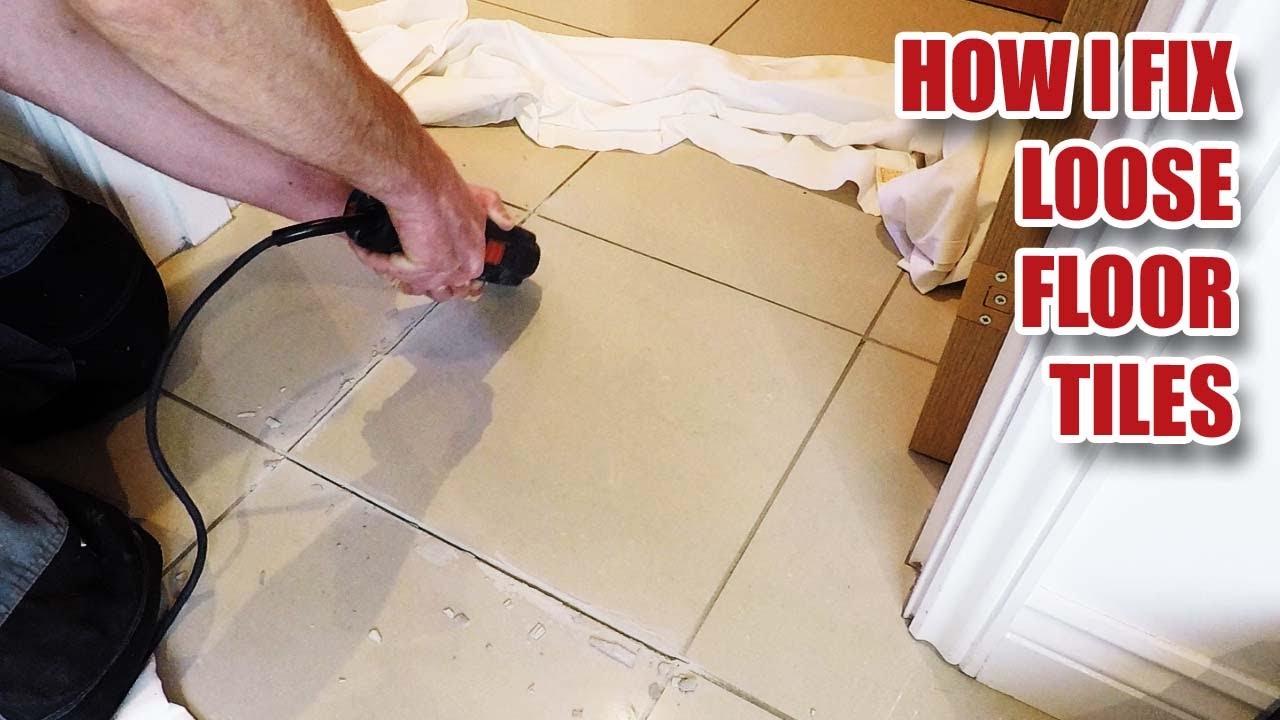
The first stage in my restoration process was to thoroughly evaluate the entire kitchen floor and identify all of the tiles that required repairing. Some were obvious, like the one with a visible chip near the entryway, while others were more subtle, like a hairline crack that I only noticed when the light hit it just right. I also examined for loose tiles by lightly tapping on each one. A hollow sound usually indicated that the tile had separated from the subfloor. It is critical to identify all of the issue areas before you begin so that you can acquire the appropriate resources and plan your job effectively.
I mentally noted the forms of harm for each tile. Was there a little chip on the surface, a crack extending across the tile, or a total break? Knowing the degree of the harm allowed me to select the best line of action in each scenario. A simple epoxy filler may be sufficient for minor chipping, however, a cracked or shattered tile will almost certainly require replacement. I also examined the grout around the broken tiles. Loose or missing grout can cause tile damage and must be addressed during the repair process.
Taking images of the damaged tiles also proved useful. This helped me to refer back to specific issues when I was in the hardware shop looking for the perfect grout color or glue type. Additionally, having a visual record allowed me to track my progress before and after the fixes. It’s a tiny step, but it can make the entire procedure feel more structured and doable, especially if you have several tiles that need to be repaired.
Gathering Essential Materials
Once I had a clear idea of the repairs required, I proceeded to gather all of the essential components. I needed replacement tiles that matched the previous ones as closely as possible. This included determining whether I had any spares from the initial installation. If not, I took a damaged tile to a nearby tile store to obtain a suitable match in terms of size, color, and texture. I also needed tile adhesive to hold the new tile to the subfloor. For chipped tiles, I sought a color-matched epoxy repair kit intended for ceramic or porcelain tiles.
In addition to the repair materials, I needed a few tools. A putty knife or thin scraper was required for removing loose grout and old glue. A notched trowel was required to apply the new glue evenly. I also made sure to have a grout saw for removing broken grout, a grout float for laying new grout, and a moist sponge for mopping up excess grout. Safety equipment such as gloves and eye protection was also necessary.
Finally, I thought about the cleaning products I would need. Before beginning any repairs, it is critical to have a clean work area. So I made sure I had a vacuum cleaner to pick up any stray particles and a damp towel to wipe off the tiles. After the repairs were completed, I would need to use a tile cleaner to remove any glue or grout residue. Having all of these materials and tools organized beforehand saved me time and frustration during the repair process.

Repairing Chipped Tiles
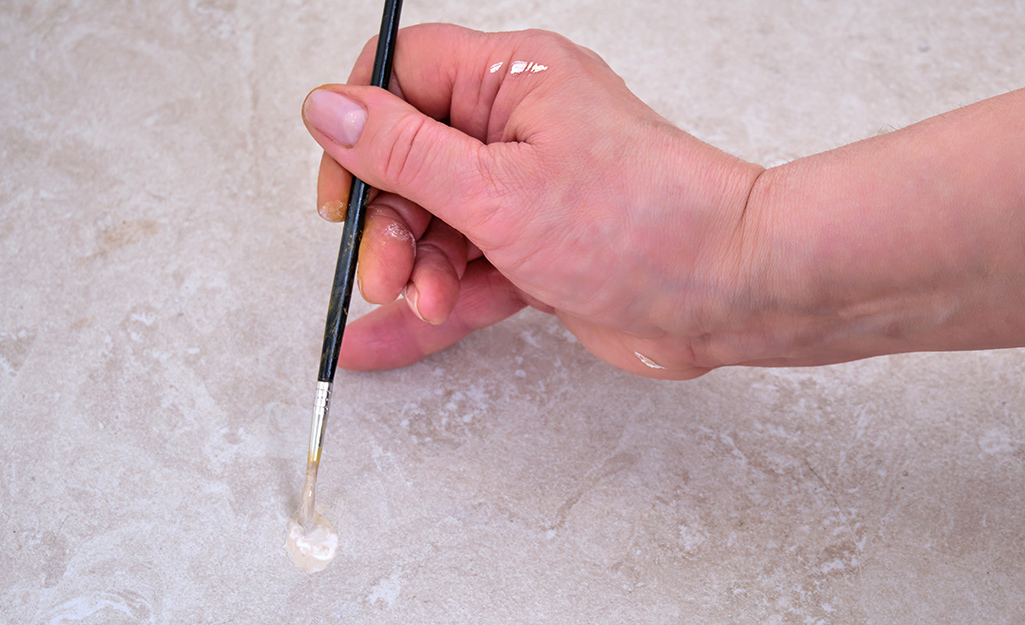
The first form of repair I undertook was repairing chipped tiles. For these tiny flaws, I used a tile repair epoxy kit that I acquired at my local hardware shop. The kit included two ingredients that needed to be mixed according to the instructions. I chose a color that nearly matched my existing tiles to make the repair as seamless as feasible.
Before applying the epoxy, I meticulously cleaned the chipped area to get rid of any dirt or loose debris. Then, using a little spatula provided with the kit, I carefully applied the combined epoxy to the chip, making sure to thoroughly fill it. I tried to smooth the surface as much as possible so it would blend in with the surrounding tile. The directions included a drying time, so I made sure not to walk on the repaired area until it was completely healed.
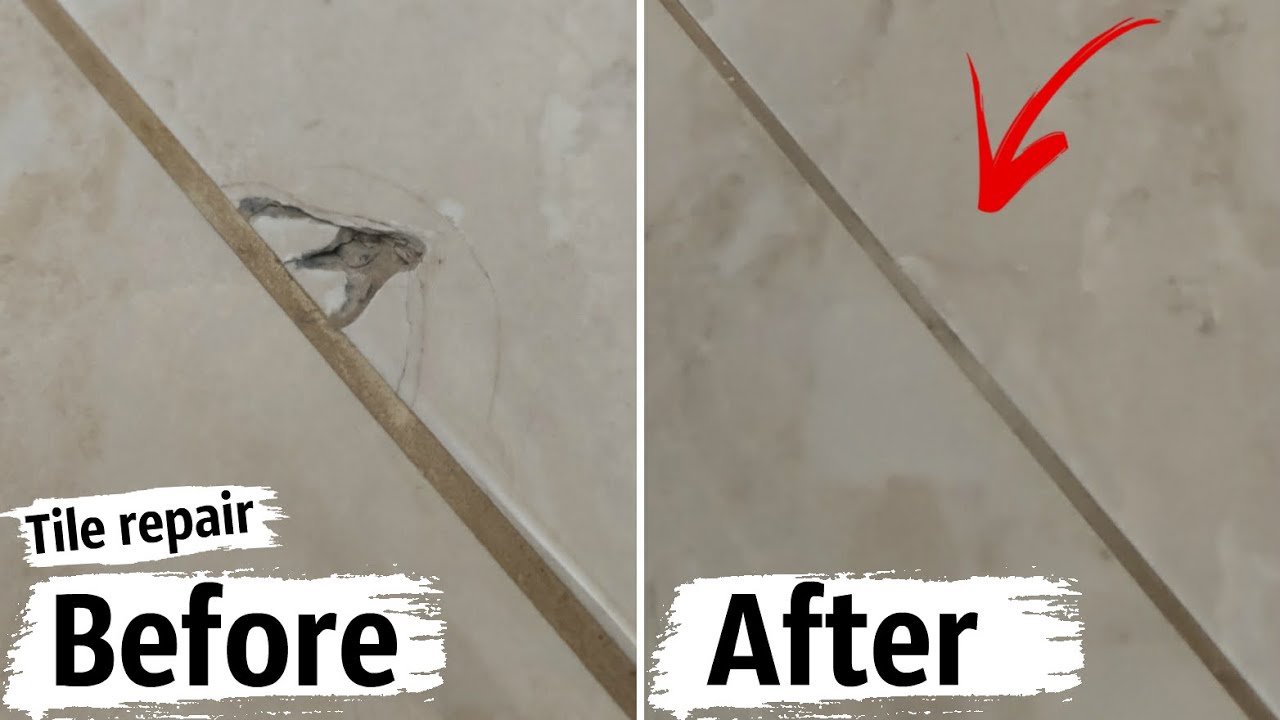
After the epoxy had hardened, I was very pleased with the results. The chips were no longer visible unless you peered closely. This easy solution drastically improved the appearance of my kitchen floor while also preventing the chips from spreading and causing additional harm. It was a quick and affordable adjustment that made a significant difference.
Replace Cracked or Broken Tiles
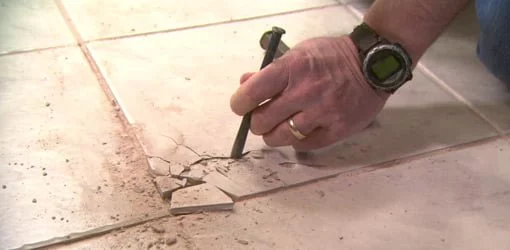
For fractured or entirely shattered tiles, replacement was the only practical choice. The first step was gently removing the damaged tile. I used a grout saw to cut the grout lines around the damaged tile and release them. Then, with a putty knife, I gently pry up the broken pieces. This had to be done carefully to avoid injuring the adjacent tiles. After removing the shattered pieces, I used a scraper to remove any remaining adhesive from the subfloor.
I then applied a layer of new tile adhesive to the subfloor with a notched trowel. The notches serve to establish even adhesive ridges, guaranteeing proper contact with the new tile. I then carefully positioned the replacement tile in the area, ensuring that it was level with the other tiles. I used modest pressure to securely secure it in the adhesive.
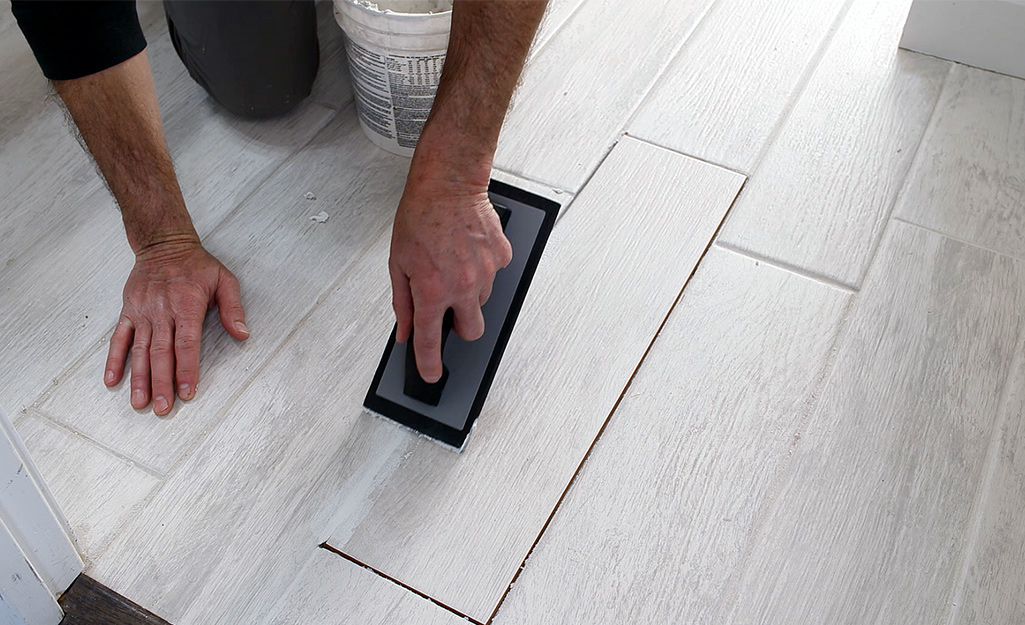
After installing the new tile, I followed the manufacturer’s directions and allowed the adhesive to completely cure. It often takes at least 24 hours. Once the adhesive had dried, I used a grout float to press new grout into the spaces surrounding the replacement tile. I then removed any extra grout with a damp sponge, taking care not to disrupt the fresh grout. After the grout had cured, the replacement was complete, and the floor looked brand new.
Addressing Loose Grout
While restoring the tiles, I discovered several spots where the grout was loose, fractured, or missing. This is vital to repair since damaged grout can allow water to infiltrate behind the tiles, perhaps causing more serious problems in the future. I used a grout saw to carefully remove the loose and broken grout. It is critical to remove all crumbling grout to ensure a strong bond with the fresh grout.
After removing the old grout, I thoroughly cleaned the grout lines to remove any dust or dirt. Then I prepared a small batch of new grout per the manufacturer’s directions. Using a grout float, I forcefully pressed the new grout into the grout lines, ensuring that they were filled. I worked in portions, applying grout and washing away any excess with a damp sponge.
To avoid removing the fresh grout, use a moist sponge rather than a wet one. I cleaned the sponge regularly with clean water. After cleaning away the extra grout, I let it dry and haze somewhat before wiping with a clean, damp sponge. This helped to highlight the smooth grout lines. Allowing the new grout to cure correctly, typically for 24 to 48 hours, is critical to its durability.

Preventing Future Tile Damage
After finishing the repairs, I began thinking about how to prevent further tile deterioration. One of the most basic things I can do is be extra careful with large or pointy objects, attempting to prevent dumping them on the floor. Using rugs or mats in high-traffic areas, such as in front of the sink and stove, can also assist to preserve the tiles from wear and tear and absorb some of the impact of dropped items.
Cleaning regularly is another vital part of damage prevention. Regular sweeping or vacuuming helps to eliminate grit and dirt, which can harm the tile surface over time. When mopping, use a pH-neutral tile cleaner and avoid using too much water, which can seep into cracks or loosen grout. Spills should be cleaned up as soon as possible to avoid stains and damage to the grout and tiles.
Finally, regular inspections of the grout lines and tiles can assist in detecting minor concerns before they become major problems. Addressing loose grout or tiny chips early on can save you from having to make larger repairs later. By following these precautions, I intend to keep my kitchen floor looking great for years to come.
How can I find replacement tiles to match my current kitchen floor?
Finding an exact match for your current kitchen floor tiles can be difficult, especially if they were laid a long time ago. The best technique is to first see if you have any leftover tiles from the initial installation. If not, bring a damaged tile with you to a nearby tile store. The staff can frequently assist you in discovering a near match in terms of size, color, and texture. Be prepared for minor differences, as dye lots might vary even within the same tile type. If an exact match is not attainable, consider replacing tiles in a less visible location or using a slightly different but complementary tile to create an intentional design effect.
Which sort of adhesive should I use while replacing kitchen floor tiles?
When replacing kitchen floor tiles, make sure you use a tile adhesive that is specifically intended for this purpose. Most ceramic or porcelain floor tiles benefit from a thin-set mortar adhesive. This sort of glue forms a strong and long-lasting adhesion to the subfloor. Make sure to use a thin-set mortar that is appropriate for the tile you’re using and the subfloor material. Follow the manufacturer’s mixing and application instructions carefully. Using a suitable notched trowel size is also critical for achieving appropriate adhesion.
How can I remove old and broken grout before regrouting?
Before you can apply fresh grout, you must first remove any old, damaged grout. The best instrument for this is a grout saw, which is a small hand tool with a carbide blade used to scrape away grout. Carefully run the grout saw along the grout lines on both sides of the tile, exerting consistent pressure. For broader grout lines, you may need to make many passes. Be careful not to damage the tile edges while removing the grout. A utility knife with a sharp, pointed tip can also be utilized in confined spaces or around tight corners. Remove all loose and cracking grout to guarantee a strong bond with the new grout.
Can I fix a cracked kitchen floor tile rather than replace it?
The degree and placement of a broken kitchen floor tile determine whether it is repairable. For hairline cracks or small, non-structural flaws, a tile repair epoxy in the same color as your tile may be a viable solution. However, for bigger cracks, cracks that extend throughout the tile, or cracks in high-traffic areas, replacement is usually a better and more durable option. Repairing a substantially damaged tile may only be a temporary solution, and the crack may deepen over time. Replacing the tile maintains the structural integrity and appearance of your floor.
How long does it usually take for tile adhesive and grout to dry and cure properly?
The drying and curing timeframes for tile adhesive and grout might vary depending on the goods used, as well as the temperature and humidity. Tile glue typically requires at least 24 hours to dry completely before you may walk on the newly laid tile or begin grouting. However, it is always a good idea to check the manufacturer’s guidelines for adhesive packaging. Grout requires time to cure after application. Typically, wait 24 to 48 hours before exposing the fresh grout to dampness or high traffic. Again, examine the product directions to get the most exact period for the grout you’re using.
What are the most common causes of kitchen floor tile damage?
Several things might cause damage to kitchen floor tiles. One common cause is the impact of falling heavy or sharp objects. Another factor is normal wear and tear from foot activity, particularly in high-traffic areas. Water damage from spills or leaks can also deteriorate the subfloor, causing tiles to loosen or break. Inadequate installation, such as insufficient adhesive or poor subfloor preparation, can potentially cause tile deterioration over time. Temperature variations can also induce expansion and contraction, stressing the tiles and grout. Being aware of these potential causes will help you take precautions to safeguard your kitchen floor.

Cracked kitchen tiles? Try a patch. – The Washington Post

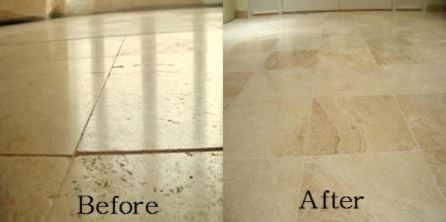
Ceramic Tile Repair And Restoration – Tile Floor Installation In
How to Fix Cracked Tile
Related Posts: