I’ve always believed that the kitchen is the heart of the house. It’s where meals are prepared, memories are shared, and visitors frequently meet. However, when my kitchen began to feel outmoded, overcrowded, and boring, I realized it was time for a change. Rather than pulling everything down and starting from scratch, I opted to focus on a kitchen cabinet remodel. The cabinets were structurally sound but looked worn. A makeover was not only less expensive, but also allowed me to incorporate my individuality into the space without requiring a complete overhaul.
Selecting the Right Style and Color
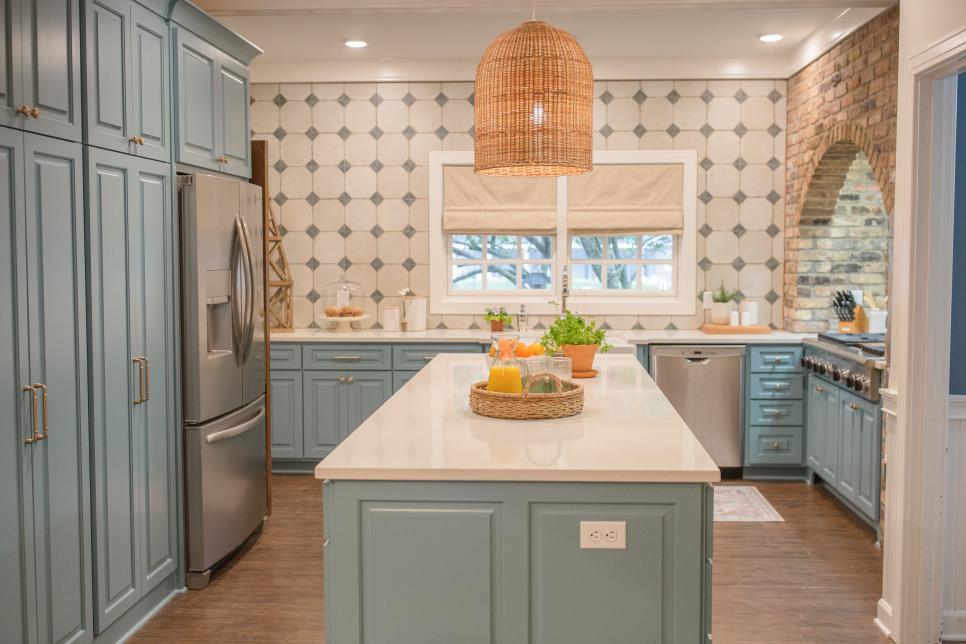
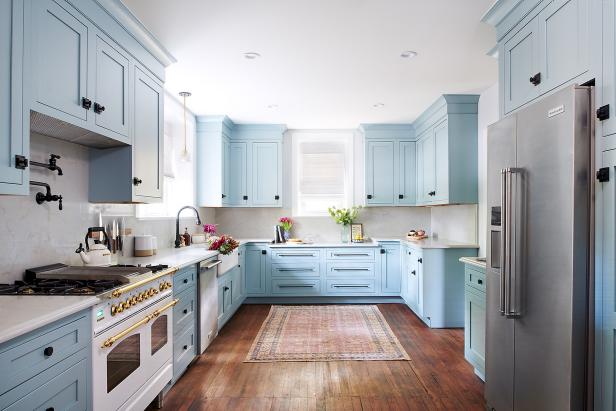
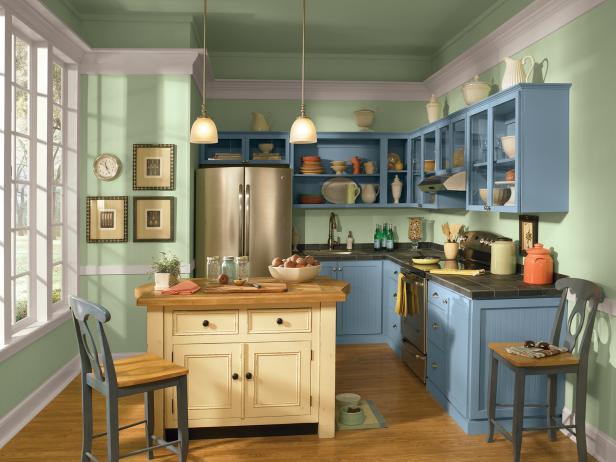
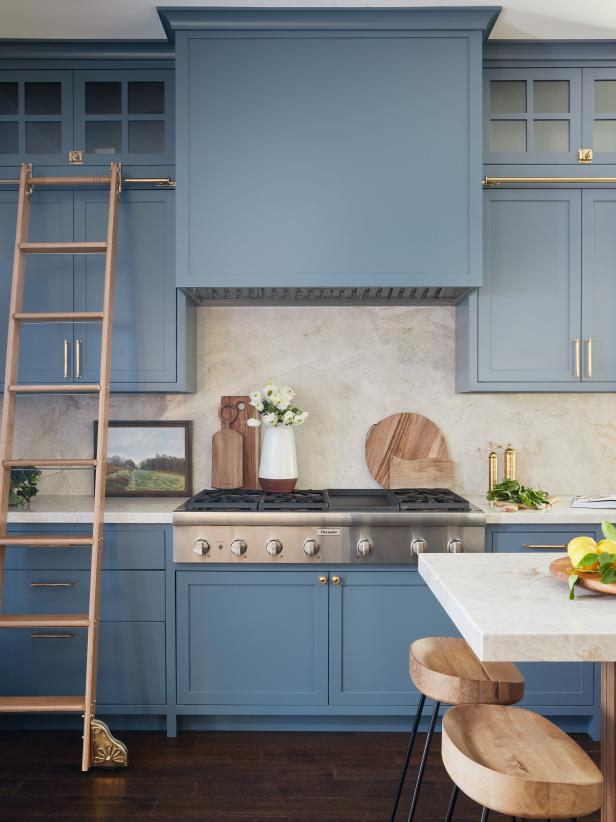
One of the first decisions I had to make was which style and color I wanted for my cabinets. I spent hours going through inspirational photographs, attempting to strike the appropriate balance between modern and timeless. I eventually decided on a classic shaker shape with a soft matte finish. The clean lines gave the kitchen a fresh feel while remaining consistent with the rest of the property. For color, I chose a peaceful sage green that offered warmth without being too dramatic.
Color selection was more crucial than I initially anticipated. Cabinets occupy a big visual component of the kitchen, so their color sets the tone for the entire room. Lighter tints make a kitchen appear more airy and roomy, whilst darker tones provide drama and intimacy. I discovered that the sage green I chose went well with my hardwood flooring and accentuated the natural light from the surrounding window. It gave the room a relaxed, lived-in atmosphere.
Style was not only about looks. I needed to think about function. I needed smooth-opening doors and drawers, comfy handles, and plenty of compartments to keep things organized. While I admired the appearance of open shelving, I realized I needed the hidden storage that traditional cabinets provided. So I achieved a balance by including only a couple of open shelves for commonly used goods like coffee mugs and spice jars.
Refinishing or Replacing Cabinet Doors
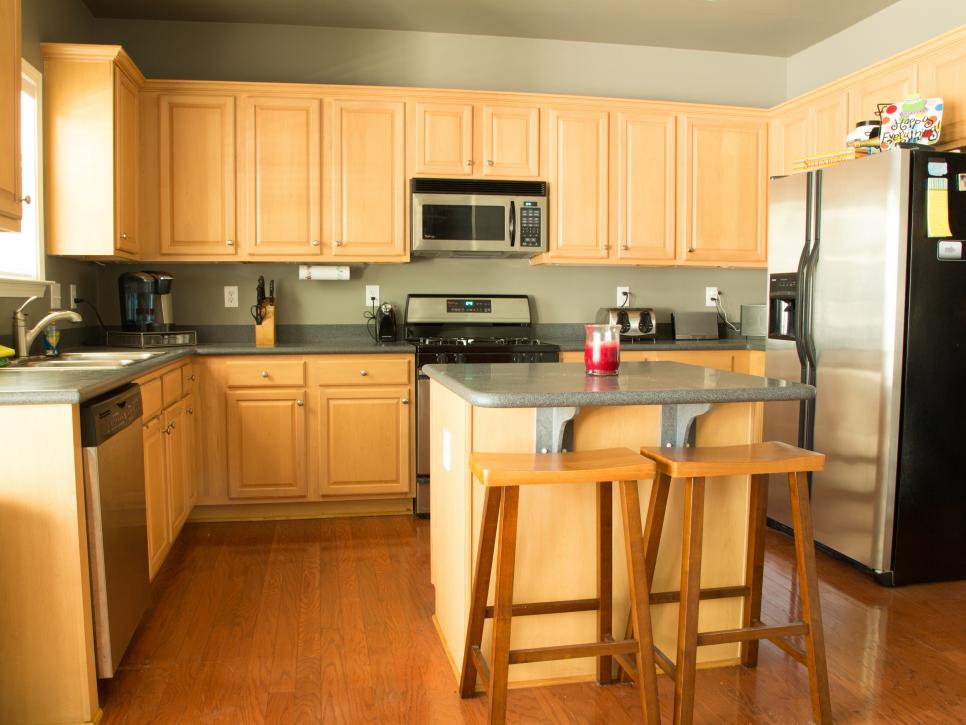
Once I had decided on a style, the next important question was whether to refinish or replace the old doors. After considerable inspection, I discovered that the doors had seen better days. Some were somewhat twisted, while others were dented and chipped. Refinishing would have been less expensive, but it would not have provided the polished appearance I desired. So I opted to replace the doors while keeping the original cabinet frames.
The benefit of this strategy is that it gave me the appearance of brand-new cabinets without the expense or effort of a complete replacement. I bought custom-made shaker doors that were already primed. This allowed me to paint them exactly the color I wanted while saving money on professional installation. I painted them myself over a few weekends, and while it took time and patience, it was quite rewarding to see the difference.
Replacing the doors also allowed me to replace the hardware. I chose brushed brass handles and knobs, which provided the perfect amount of elegance. Hardware may appear to be a little feature, yet it contributed significantly to the overall aesthetic. It felt like adding jewelry to a new clothing. These modifications refreshed and modernized my kitchen without fully affecting its structure.

Maximizing Storage and Functionality
Making the kitchen nice was only one of the objectives. I also needed it to perform better for daily use. My old cabinets weren’t particularly efficient. Items would get lost in the back of deep shelves, and I’d have to constantly move things around to get what I was looking for. To make greater use of the available space, I installed pull-out shelves, lazy Susans, and drawer organizers.
Pull-out shelves were game changers. No more searching through the back for the one baking dish I only use during the holidays. Everything was apparent and easily accessible. I also put a pull-out garbage and recycle bin under the sink to save room on the floor and make cleanup easier. Simple changes like these improved my kitchen’s functionality and reduced frustration.
Drawer organizers made it easier to keep track of utensils and culinary tools. Instead of searching through a crowded drawer, I now use dividers to keep things organized. I also put vertical dividers to one of the larger cupboards to keep cutting boards and baking sheets upright. These adjustments were not only practical; they also made cooking and cleaning easier and more pleasant.
Lighting and Accents that Match the New Look
With the cabinets renovated and more functional, I focused on lighting and ornamental elements. The overhead fluorescent light I had previously was harsh and out of date. I replaced it with recessed LED lights and installed under-cabinet lighting to brighten the counters. The transformation was rapid and profound. The room felt warmer, more welcoming, and much easier to work in.
Under-cabinet lighting not only provided a lovely glow but also increased food safety. I no longer needed to squint or rely solely on the overhead light. I chose battery-powered LED strips that were simple to install and required no electrical effort. A dimmer switch allowed me to change the brightness depending on the time of day or mood I wanted to set.
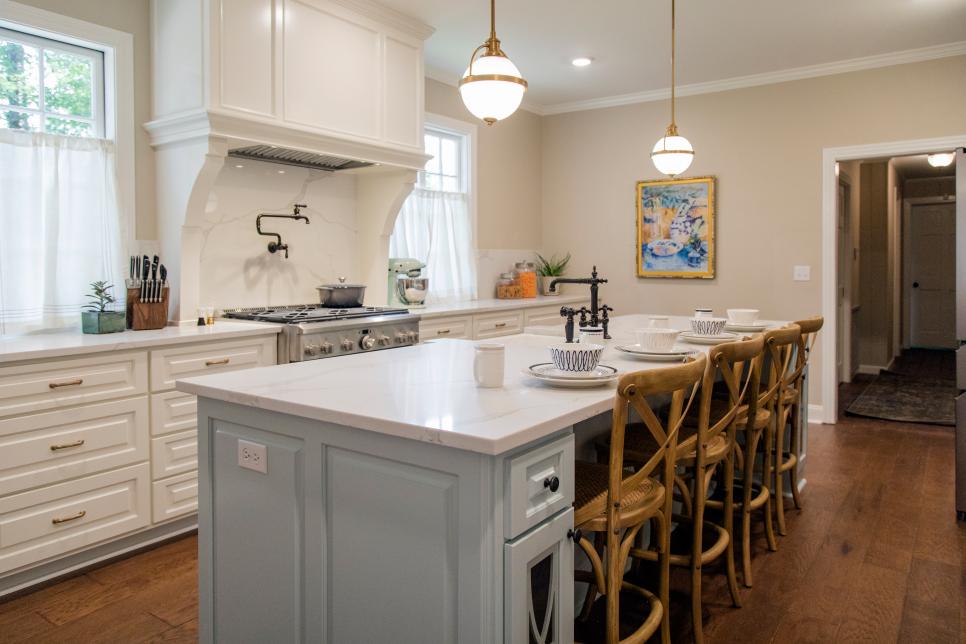
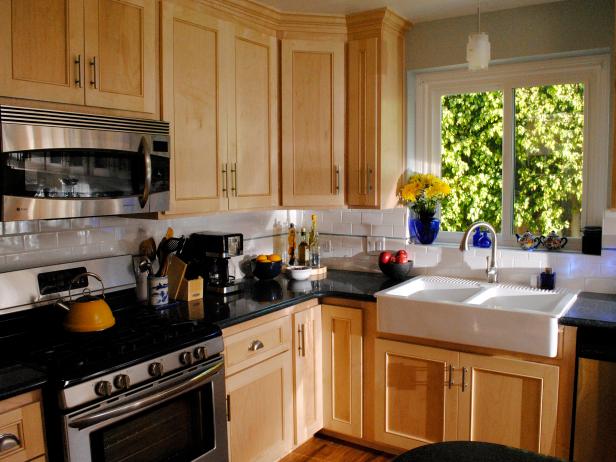
Accents like a new backsplash, matching kitchen towels, and little potted plants helped bring everything together. I selected a white subway tile backsplash with light gray grout. It was a timeless style that suited the sage cabinetry nicely. A few brass embellishments echoed the cabinet hardware, adding cohesiveness to the overall design. These finishing touches transformed the kitchen from a utilitarian place to one that I truly liked spending time in.
Cost-Effective Tips and Budgeting
One of the primary advantages of doing a cabinet makeover rather than a full redesign was affordability. I established a rigorous budget at the start and documented every item to ensure I kept on target. By performing the majority of the work myself, such as painting, installing hardware, and adding storage accessories, I was able to save money without sacrificing style.
Purchasing cabinet doors separately and painting them myself reduced the cost by half as compared to hiring a contractor. I bought the majority of the materials online during promotions and used cashback services to get a little additional cash back. Even the new hardware came from a budget home improvement store. With a little patience and savvy shopping, I was able to stay within my budget while still getting the look I wanted.
One thing I discovered was that little modifications might have a significant impact. To make your kitchen feel new, you don’t have to completely remodel it. A fresh coat of paint, new doors, improved lighting, and a few other upgrades transformed my kitchen, making it feel both personal and functional. It was a time-consuming and labor-intensive project, but the result was well worth it.
Keeping The Look Fresh Long-Term
After all that labor, I wanted to ensure that the new design would last. I started with high-quality, cabinet-specific paint. It is resistant to chips and stains, which is especially important in a kitchen. I also installed soft-close hinges to minimize wear and tear. These little modifications helped to secure my investment while also keeping things looking nice and polished.
I’ve also established a practice of frequent maintenance. Once a week, I clean the cabinets with a light cleaner to remove grease and fingerprints. Every few months, I inspect the hardware and hinges and tighten anything that has come loose. These tiny behaviors help to keep the place looking and functioning properly.
In the end, updating my kitchen cabinets was more than simply a visual boost. It made cooking more pleasurable, improved storage and organization, and provided me with a room that felt like mine. If you’re tired of your antiquated kitchen, a cabinet makeover is a simple and satisfying method to give it new life without a major redesign.
What was the total cost of the kitchen cabinet makeover?
My kitchen cabinet remodel cost slightly about \$2,000. This featured custom shaker doors, primer and paint, new hardware, lighting fixtures, and storage accessories. I saved money by doing the majority of the job myself. By eliminating labor expenditures and selecting cost-effective options without losing quality, I was able to achieve a high-end look at a fair price.
How long did the cabinet makeover take?
From planning to execution, the entire procedure took roughly six weeks. It took about two weeks to order custom doors, another week to paint and cure them, then three weeks to install and finish. Because I did the task in my spare time, progress was slow. Taking the time allowed me to verify that each stage was completed correctly without rushing the intricacies.
What kind of paint should I use on cabinets?
I used a high-quality acrylic enamel paint made exclusively for cabinets. It has a smooth finish and can withstand chipping, dampness, and stains. I used a bonding primer first to ensure that the paint adhered properly, then two coats of color and a protective top coat. Using the proper paint makes a significant impact in both appearance and longevity.
Is it best to replace or repaint cabinet doors?
It depends on the state of your current doors. Repainting is a low-cost option if they are structurally intact and simply require a fresh appearance. In my instance, the doors were damaged, so replacing them seemed more logical. New doors offered a cleaner finish and allowed me to improve the appearance. Before selecting whether to repaint or replace your cabinets, conduct a thorough evaluation.

How can I improve cabinet inside for more storage?
I included pull-out shelves, drawer dividers, and vertical slots for items such as baking sheets. You can also include lazy Susans for corner cabinets and tiered spice racks. These modifications are available online or in home improvement stores, and they may be installed with simple tools. Small modifications within the cabinets can significantly improve daily usability.
May I install new cabinet doors myself?
Yes, with the right equipment and patience, you can install new cabinet doors yourself. I used a cordless drill, a level, measuring tape, and hidden hinges. I used online tutorials for hinge positioning and alignment. It took some trial and error, but the procedure was workable. Doing it myself provided me a sense of accomplishment while keeping costs reasonable.
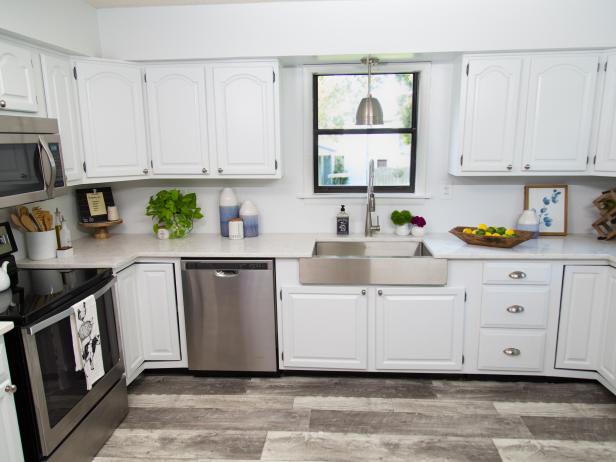
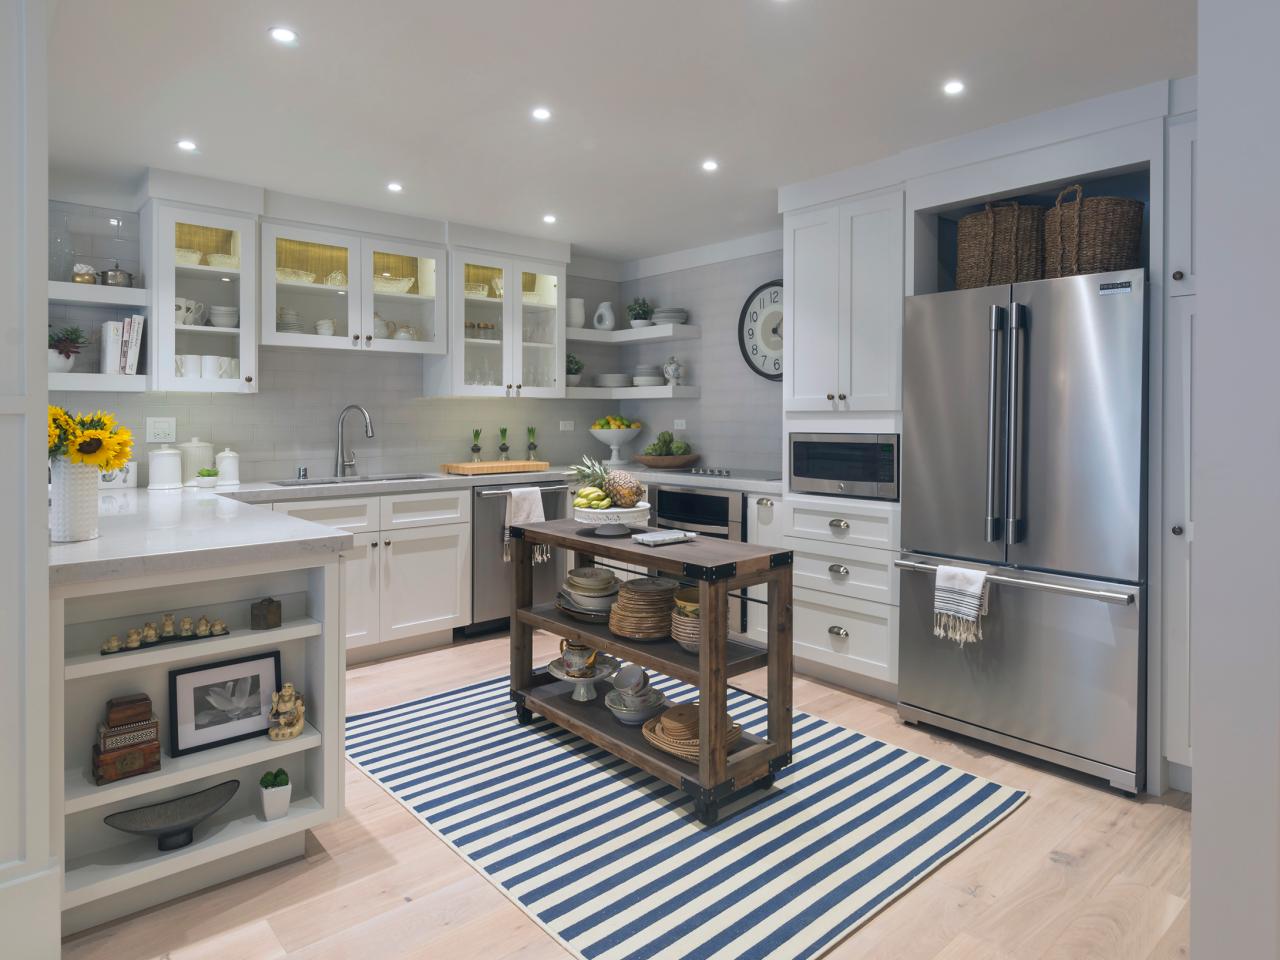
Modern Gray Kitchen Makeover
Kitchen Cabinet Refacing: Pictures, Options, Tips & Ideas
Easy Ways to Update Kitchen Cabinets
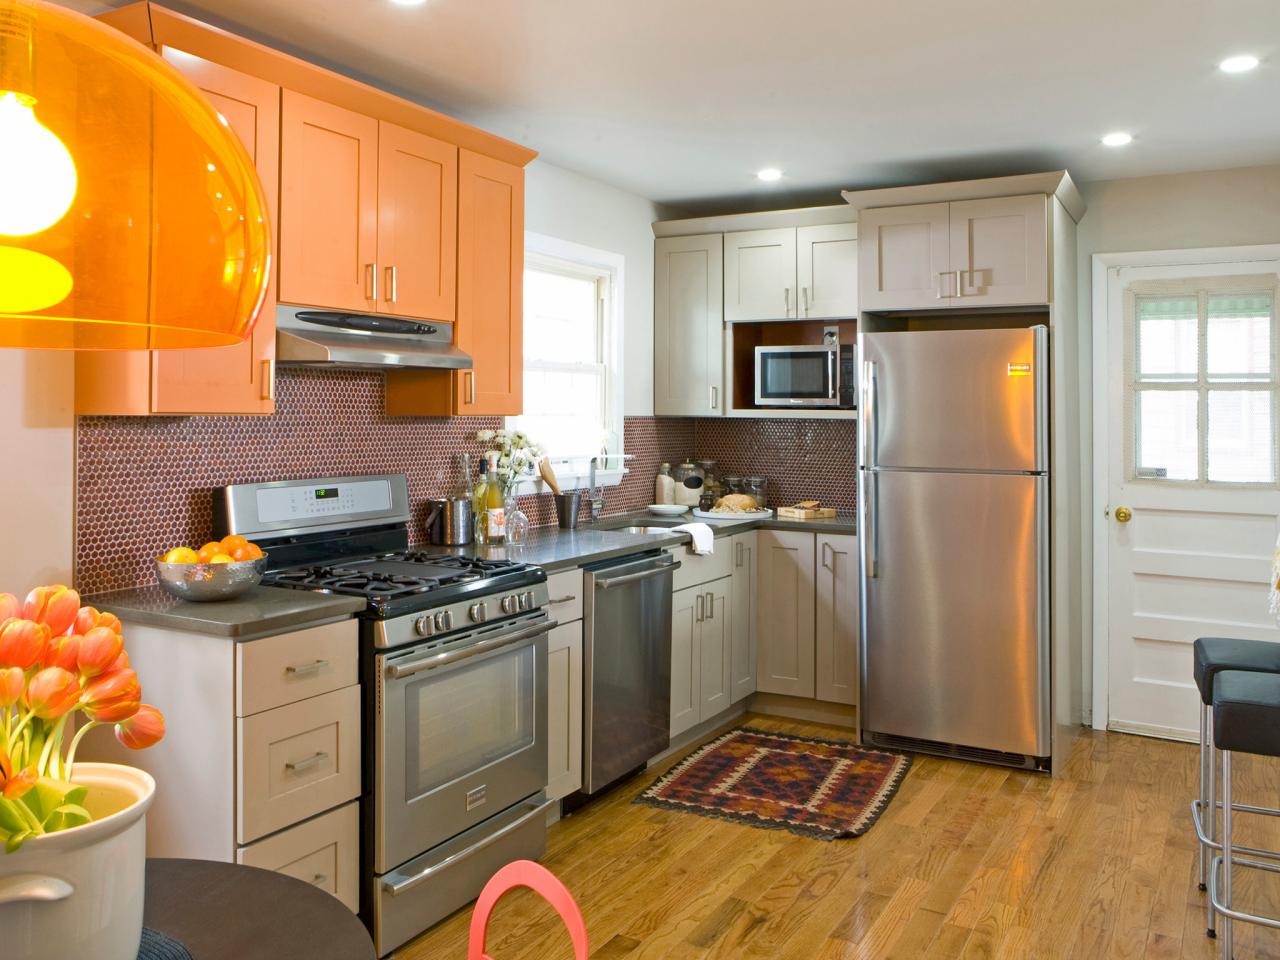
Small Kitchen Makeovers: Pictures, Ideas & Tips
Replacing Kitchen Cabinets
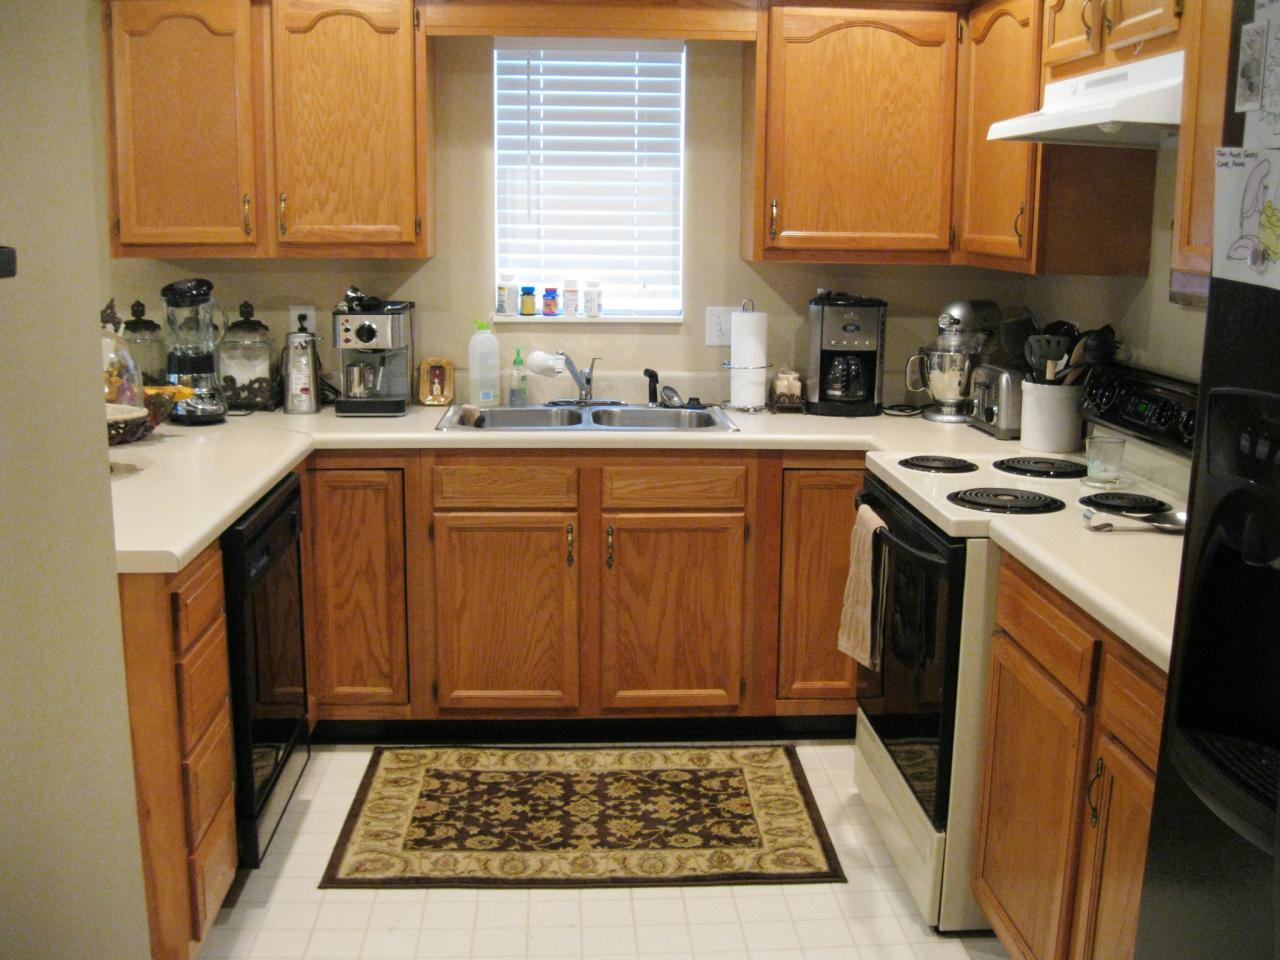
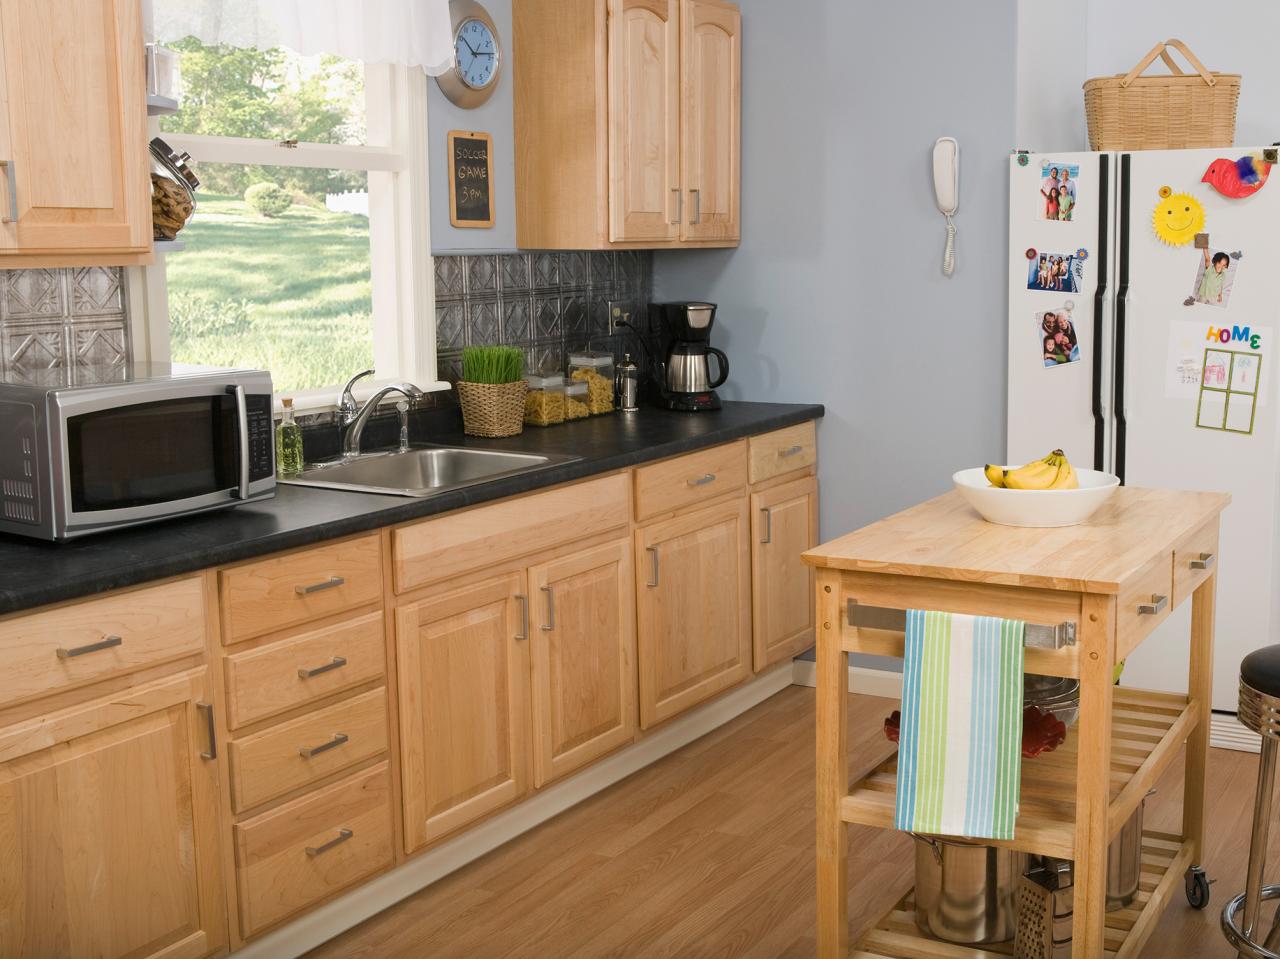
Oak Kitchen Cabinets: Pictures, Options, Tips & Ideas
Related Posts: