Last year, I faced the challenge of updating my outdated kitchen backsplash without breaking the bank or starting a major renovation. What began as a simple weekend project evolved into an exciting exploration of creative accent techniques that completely transformed my cooking space. Through experimentation with various materials, colors, and patterns, I discovered that strategic accent placement can transform even basic subway tiles into a custom and expensive-looking design. Here are the practical lessons I learned about creating stunning backsplash accents.
Border and Frame Accents That Make a Statement
Creating borders around my kitchen backsplash proved to be the most impactful accent technique I discovered during my renovation project. I used contrasting pencil tiles along the top and bottom edges of my subway tile field, which instantly made the entire installation look more expensive and intentional. Metallic borders in brushed gold added warmth that complemented my cabinet hardware perfectly while defining the backsplash boundaries clearly.
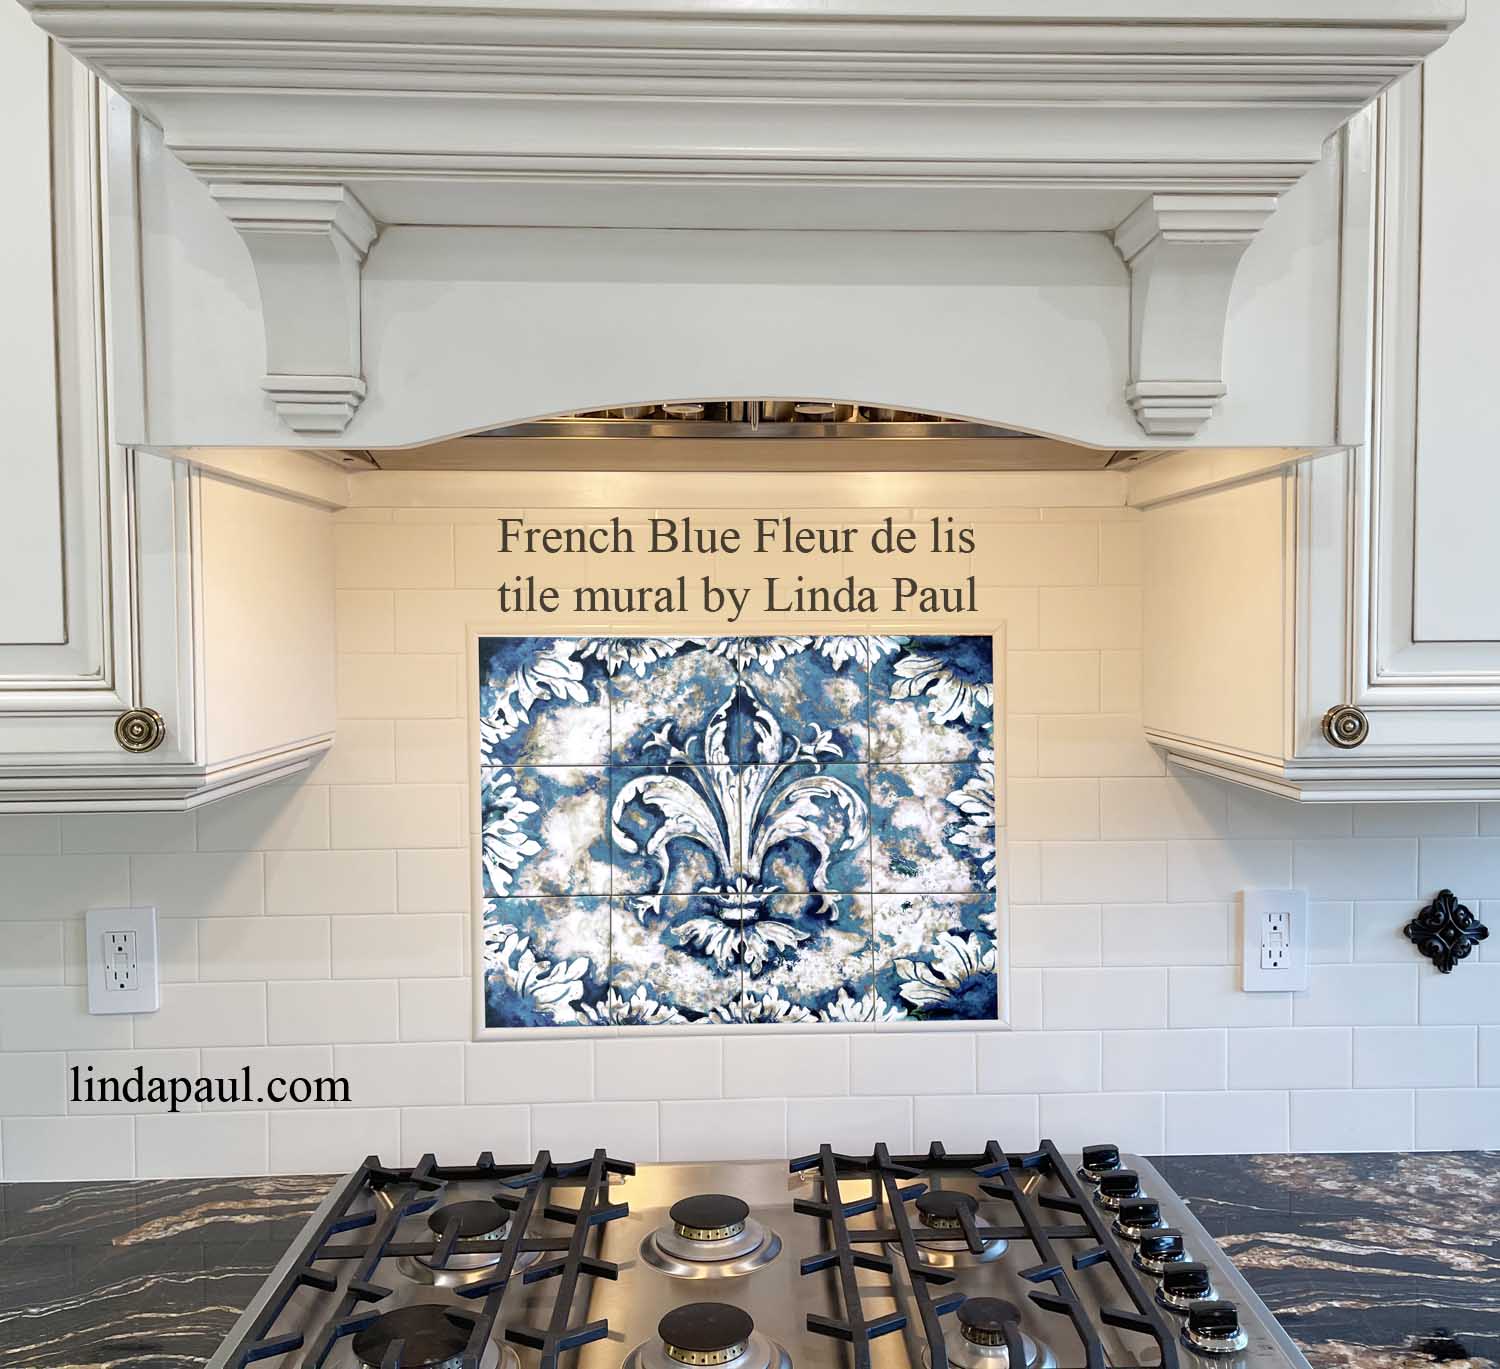
Frame accents around my stove area created a focal point that draws attention to my cooking zone without overwhelming the kitchen design. I selected natural stone strips that coordinate with my countertops to create visual continuity throughout the space. This technique required careful planning and precise measurements, but the professional appearance justified the extra effort and planning time involved.
Corner treatments became crucial details that I initially overlooked but learned to appreciate for their finishing impact on the overall design. Bullnose tiles at inside corners create smooth transitions while decorative corner pieces add architectural interest. I discovered that paying attention to these small details separates amateur installations from professional-looking results that increase home value significantly.
Vertical Accent Strips for Visual Interest
Installing vertical accent strips between my upper cabinets and countertops created striking visual lines that make my kitchen appear taller and more spacious. I chose glass mosaic strips in coordinating colors that catch light beautifully throughout the day. The reflective quality adds brightness to my cooking area while the vertical orientation draws the eye upward, creating an illusion of height.
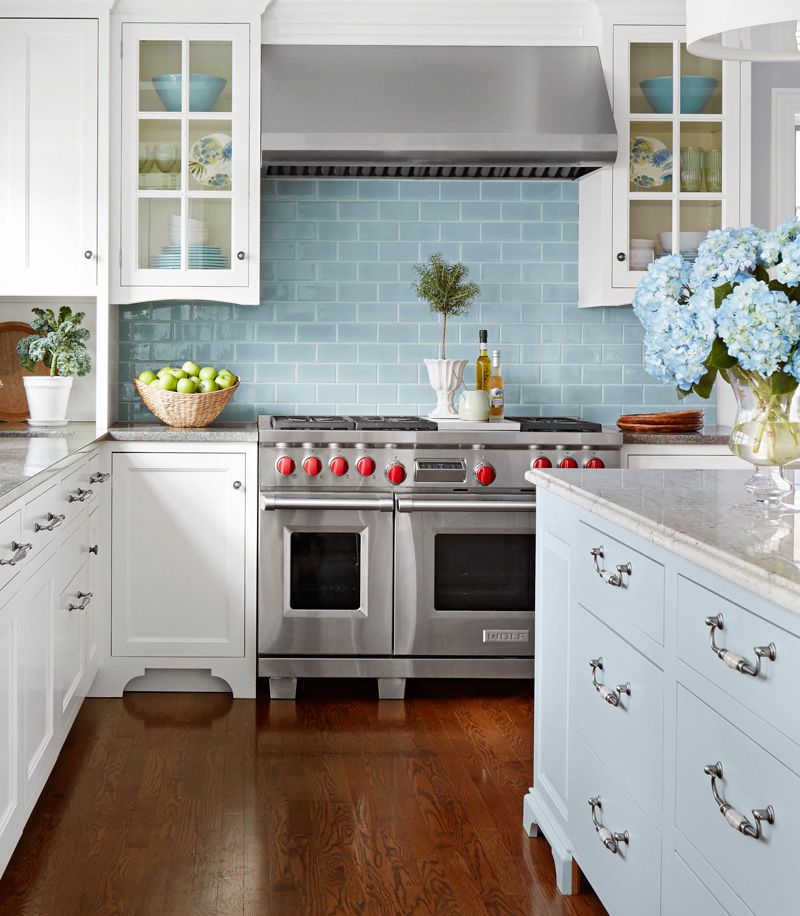
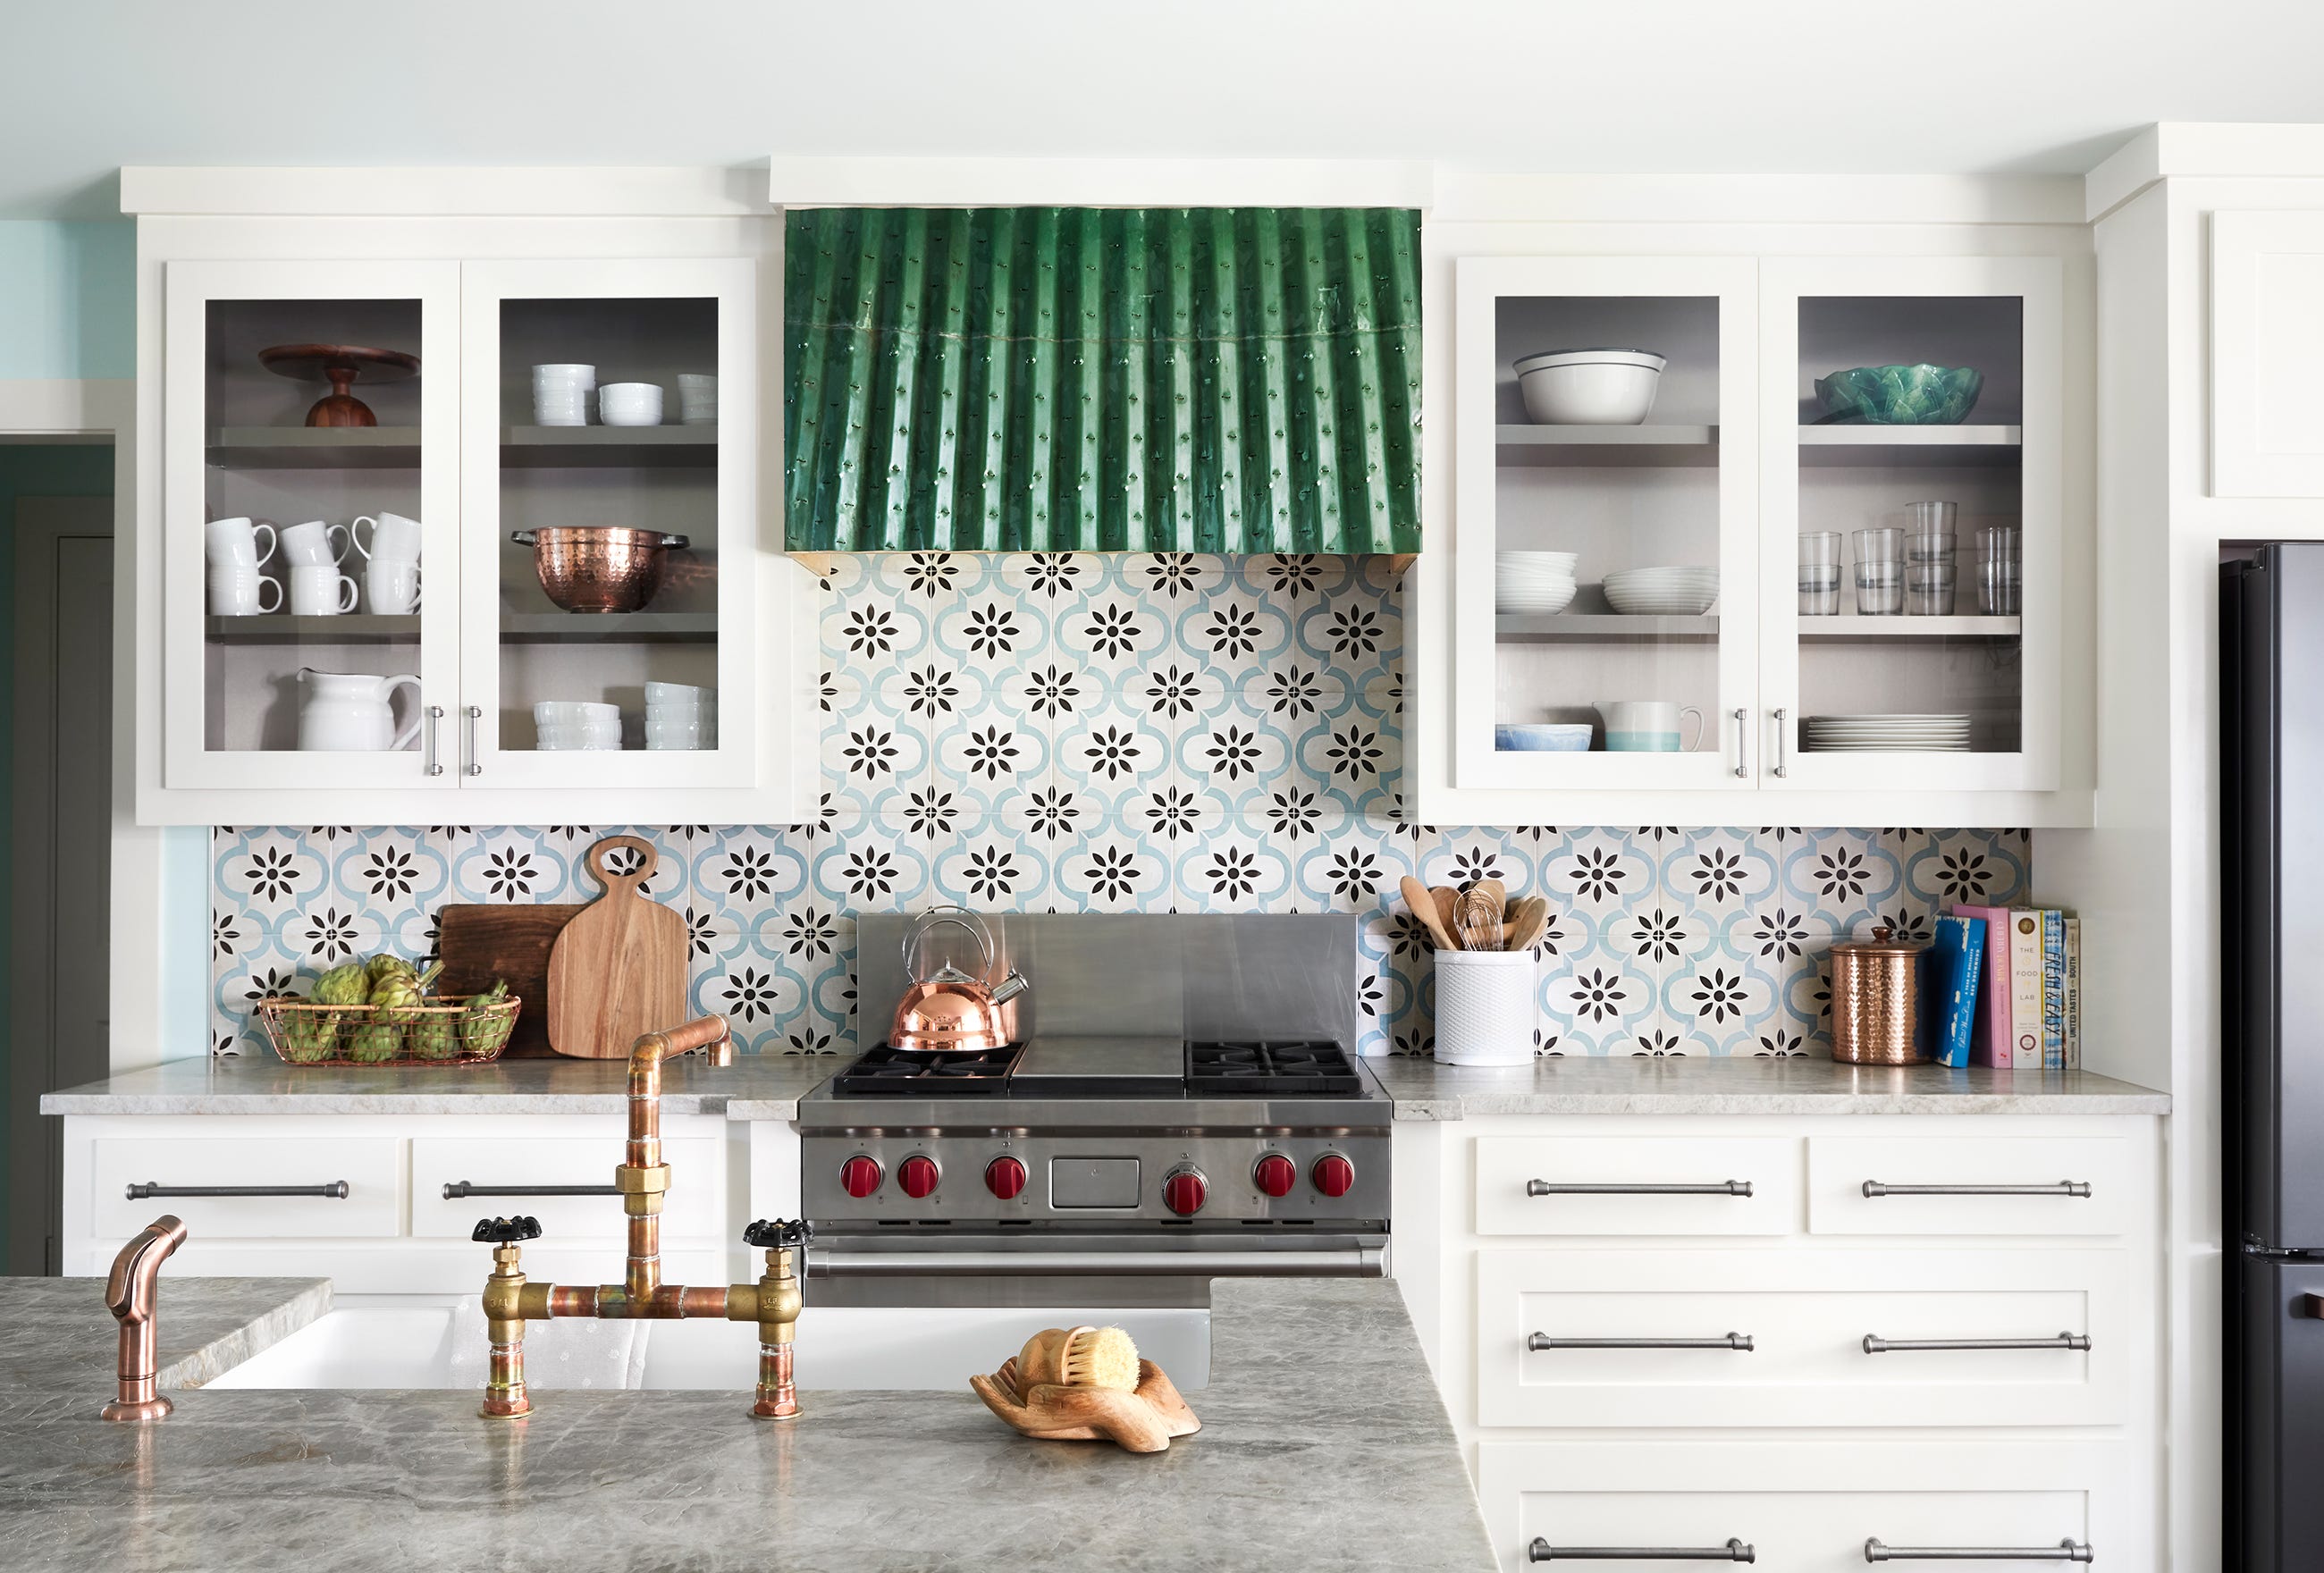
Color coordination between accent strips and existing kitchen elements required careful consideration to achieve a cohesive look that feels intentional rather than random. I selected blues that echo my dishware collection while complementing the warm wood tones of my cabinets. Testing different combinations with sample tiles prevented costly mistakes and helped me visualize the final result accurately.
Spacing decisions for vertical accents significantly impact the overall rhythm and balance of the backsplash design in ways I hadn’t anticipated initially. I placed accent strips at natural breaking points like between appliances and at cabinet ends for the most pleasing proportions. Random placement looks chaotic while systematic spacing creates professional-looking patterns that enhance the kitchen’s architectural features.

Mixed Material Combinations That Pop
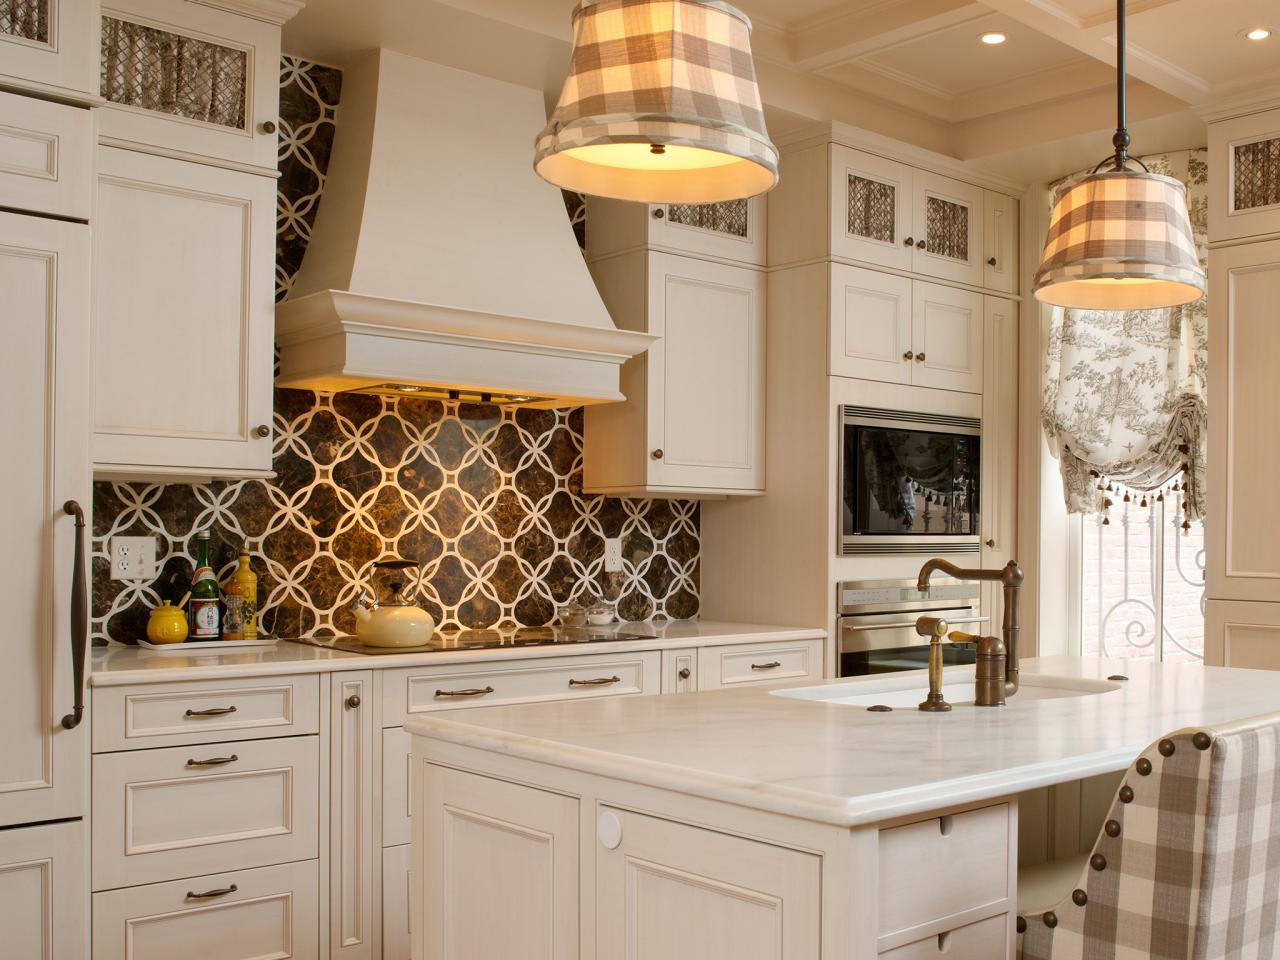
Combining subway tiles with natural stone accents created texture contrast that adds sophistication to my previously plain backsplash installation. I incorporated tumbled marble strips that provide organic variation against the clean lines of ceramic subway tiles. The material contrast creates visual depth while maintaining color harmony throughout the space, achieving balance between interesting and overwhelming.
Metal tile inserts became unexpected accent elements that reflect light and add glamour to my everyday cooking space effectively. Stainless steel tiles coordinate with my appliances while copper accents warm up the color palette beautifully. I learned that metallic accents work best in small doses as focal points rather than covering large areas where they might appear overwhelming.
Glass and ceramic combinations offer endless possibilities for creating custom looks that reflect personal style preferences and kitchen color schemes. Iridescent glass tiles add sparkle near my window where natural light enhances their reflective qualities. The transparency of glass accents allows cabinet colors to show through subtly, creating layered visual effects that change throughout the day.

Pattern Play With Geometric Accents
Herringbone accent panels behind my stove transformed an ordinary cooking area into an architectural focal point that commands attention without overwhelming the space. Using the same tile in a different pattern created visual interest while maintaining color consistency throughout the backsplash design. This technique required precise cutting and planning but produced professional results that appear custom-designed.
Diamond-shaped accent inserts scattered throughout my field tiles create sparkle points that catch the eye while maintaining overall design coherence effectively. I used smaller tiles in contrasting colors placed at regular intervals to establish rhythm without creating chaos. The geometric precision adds contemporary flair while remaining timeless enough to avoid looking dated quickly.
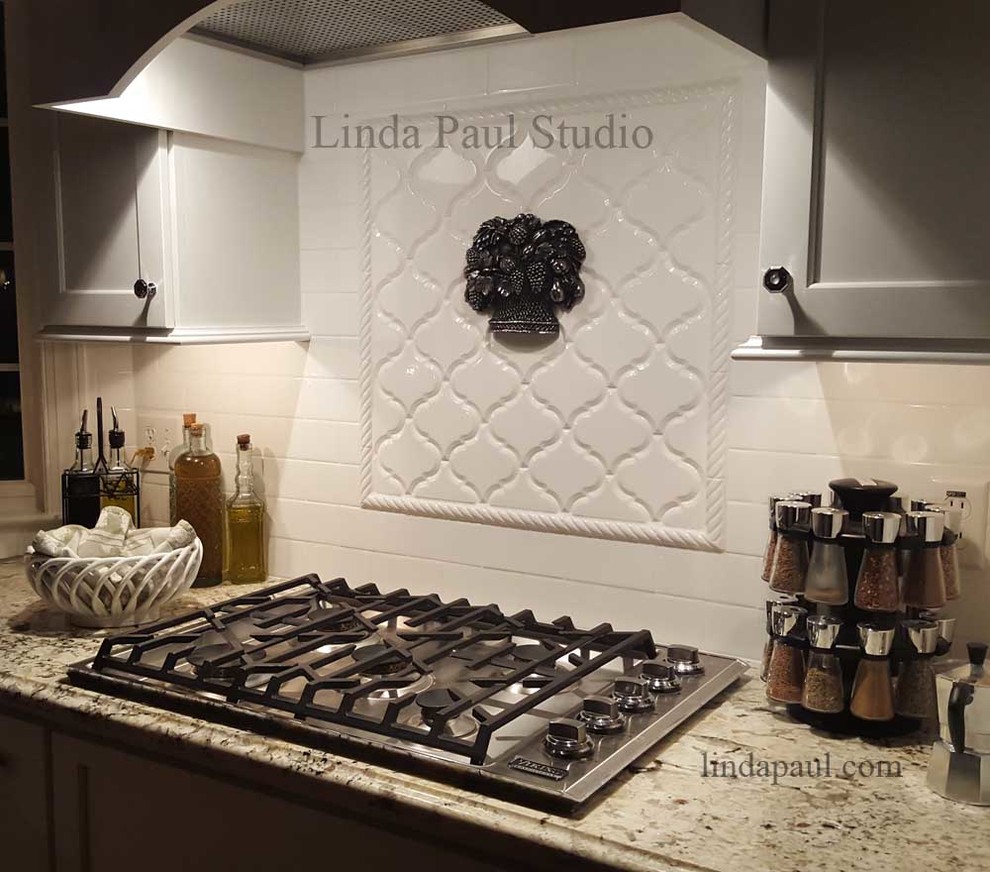
Basket weave patterns in accent areas provide texture variation that breaks up large expanses of uniform subway tiles beautifully and effectively. I incorporated this classic pattern behind my sink area where it creates visual interest without competing with my decorative dishes. The traditional pattern adds character while the limited application keeps it from overwhelming the modern kitchen aesthetic.
Color Blocking Techniques That Transform Spaces
Strategic color blocking with accent tiles created dramatic impact in my kitchen without requiring complete backsplash replacement throughout the entire space. I used darker tiles behind my range to create a bold focal wall that anchors the cooking zone visually. The contrast makes my stainless steel appliances pop while defining functional areas within the open kitchen layout clearly.
Gradient color transitions using tiles in similar hues created sophisticated depth that makes my small kitchen appear larger and more interesting. I started with light gray tiles at the countertop level and gradually transitioned to darker grays toward the upper cabinets. This subtle ombre effect adds visual movement while maintaining the calm, cohesive feeling I wanted to achieve.
Accent walls using completely different colors transformed my galley kitchen by creating distinct zones for cooking and cleaning areas effectively. I chose sage green tiles behind my sink that complement my plant collection while maintaining white subway tiles elsewhere. This selective color application adds personality without overwhelming the compact space or clashing with existing elements.

Budget-Friendly DIY Accent Solutions
Hand-painted accent tiles became my most economical solution for adding custom details that reflect my personal artistic style throughout the kitchen. I purchased plain white tiles and used ceramic paints to create botanical motifs that coordinate with my garden theme. This approach cost fraction of custom-made decorative tiles while providing exactly the colors and patterns I envisioned.
Stenciled designs on existing tiles offered another budget-friendly option that completely changed my backsplash appearance without demolition or major expense. I used adhesive stencils and specialty tile paint to add geometric patterns to my plain field tiles. The transformation required patience and steady hands but produced professional-looking results for minimal investment.
Vinyl decal accents provided temporary solutions perfect for renters or those wanting to experiment with different looks before committing permanently. High-quality vinyl mimics ceramic and stone textures convincingly while remaining removable when design preferences change. I used these as test runs before investing in permanent tile solutions, saving money and preventing regrettable decisions.
How do I choose accent colors that will work well with my existing kitchen elements?
Start by identifying undertones in your cabinets, countertops, and appliances to select accent colors that harmonize rather than clash with existing elements. I created a sample board with cabinet door samples, countertop chips, and potential accent tiles to evaluate combinations in different lighting conditions. Consider the mood you want to create, whether warm and cozy or cool and contemporary. Test accent colors at different times of day since lighting dramatically affects appearance. Neutral accents offer versatility while bold colors make stronger statements.
What’s the best way to plan accent placement for a balanced, professional-looking design?
Plan accent placement by identifying natural focal points like cooking areas, sinks, or architectural features that deserve emphasis in your kitchen design. I sketched my backsplash area and marked logical accent locations before purchasing materials. Follow the rule of thirds by placing major accents at proportional intervals rather than centering everything. Consider sight lines from different kitchen positions to ensure accents enhance rather than distract from the overall design. Balance bold accents with neutral areas to prevent visual overload.
Can I add accents to an existing backsplash without removing all the current tiles?
Adding accents to existing backsplashes is possible through strategic replacement of select tiles, overlay techniques, or surface treatments that don’t require complete removal. I replaced random tiles with accent pieces using careful removal techniques and matching adhesives. Surface-applied options like painted designs, vinyl decals, or thin overlay tiles can transform existing installations. However, ensure new accents integrate seamlessly with existing tile thickness and spacing. Some techniques work better than others depending on current tile type and condition.
What tools and materials do I need for DIY backsplash accent installation?
Basic DIY accent installation requires tile spacers, adhesive, grout, mixing tools, level, measuring tape, tile cutter, and safety equipment for successful completion. I invested in a quality wet tile saw for precise cuts and professional results. Specialty tools like nippers help with detailed cuts around outlets and fixtures. Premium adhesives designed for kitchen environments ensure long-lasting installations. Don’t forget safety glasses, dust masks, and knee pads for comfortable, safe work. Quality tools produce better results and make the process more enjoyable.

How do I maintain different accent materials to keep them looking their best over time?
Different accent materials require specific maintenance approaches to preserve their appearance and prevent damage from kitchen grease and moisture exposure. Natural stone accents need regular sealing to prevent staining while glass and ceramic require only routine cleaning with appropriate products. I avoid abrasive cleaners on metallic accents that can scratch delicate finishes. Establish cleaning routines that address each material’s specific needs. Regular maintenance prevents problems that require expensive repairs or replacement of accent elements.
What are the most common mistakes to avoid when adding backsplash accents?
Avoid overuse of accent elements that can make kitchens appear busy and chaotic rather than sophisticated and well-designed throughout the space. I learned that restraint creates more impact than excessive accent placement. Don’t ignore proportion relationships between accent size and overall backsplash area. Ensure accent colors coordinate with existing elements rather than competing for attention. Plan electrical outlet placement carefully to avoid awkward cuts through accent tiles. Test all materials and colors thoroughly before committing to prevent costly mistakes and regrettable design decisions.

Fruit Basket Tile Accent Kitchen Backsplash Idea – Transitional
Chic Kitchen Backsplash Ideas – Tile Designs for Kitchen
Related Posts:
- French Kitchen Backsplash Ideas
- Cottage Kitchen Backsplash
- Country Kitchen Backsplash
- Retro Kitchen Backsplash
- Rustic Wood Kitchen Backsplash
- Vintage Kitchen Backsplash Ideas
- Modern Farmhouse Kitchen Backsplash
- Mid Century Modern Kitchen Backsplash Tile
- Turquoise Kitchen Backsplash Tile
- Mediterranean Tile Kitchen Backsplash