Introduction to Plumber’s Putty
Plumber’s putty is a versatile and essential tool for any kitchen sink installation or repair. It creates a watertight seal around faucets, drains, and other fixtures, preventing leaks and water damage. This pliable compound is easy to work with and provides a reliable seal that can be adjusted as needed. Understanding how to use plumber’s putty correctly ensures that your kitchen sink remains leak-free and functional.

Preparing the Surface
Before applying plumber’s putty, it’s important to prepare the surface properly. Ensure that the area where the putty will be applied is clean and dry. Remove any old putty, debris, or residue from previous installations using a scraper or putty knife. Wipe the surface with a damp cloth to remove any dust or dirt, then let it dry completely. A clean surface allows the putty to adhere better and form an effective seal.
Applying the Putty
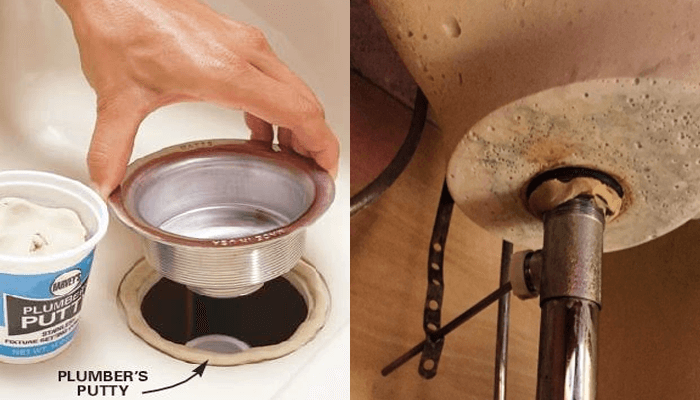
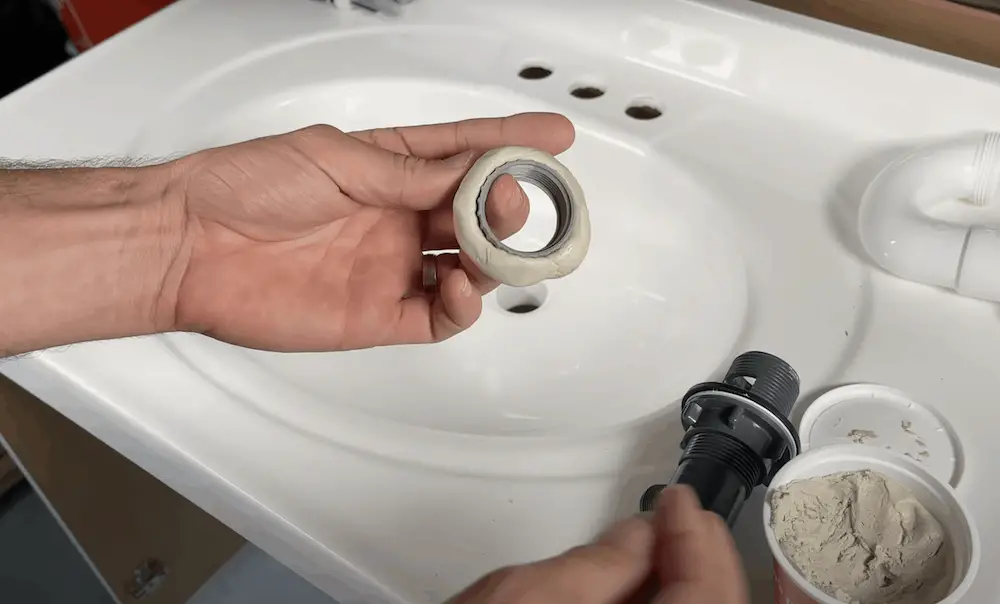
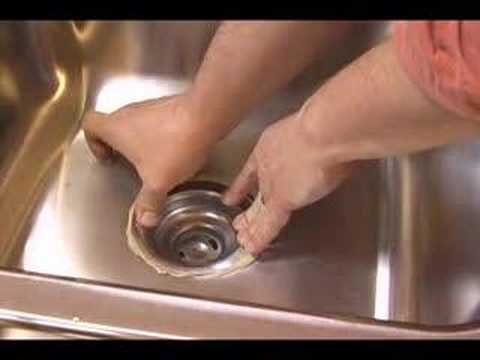
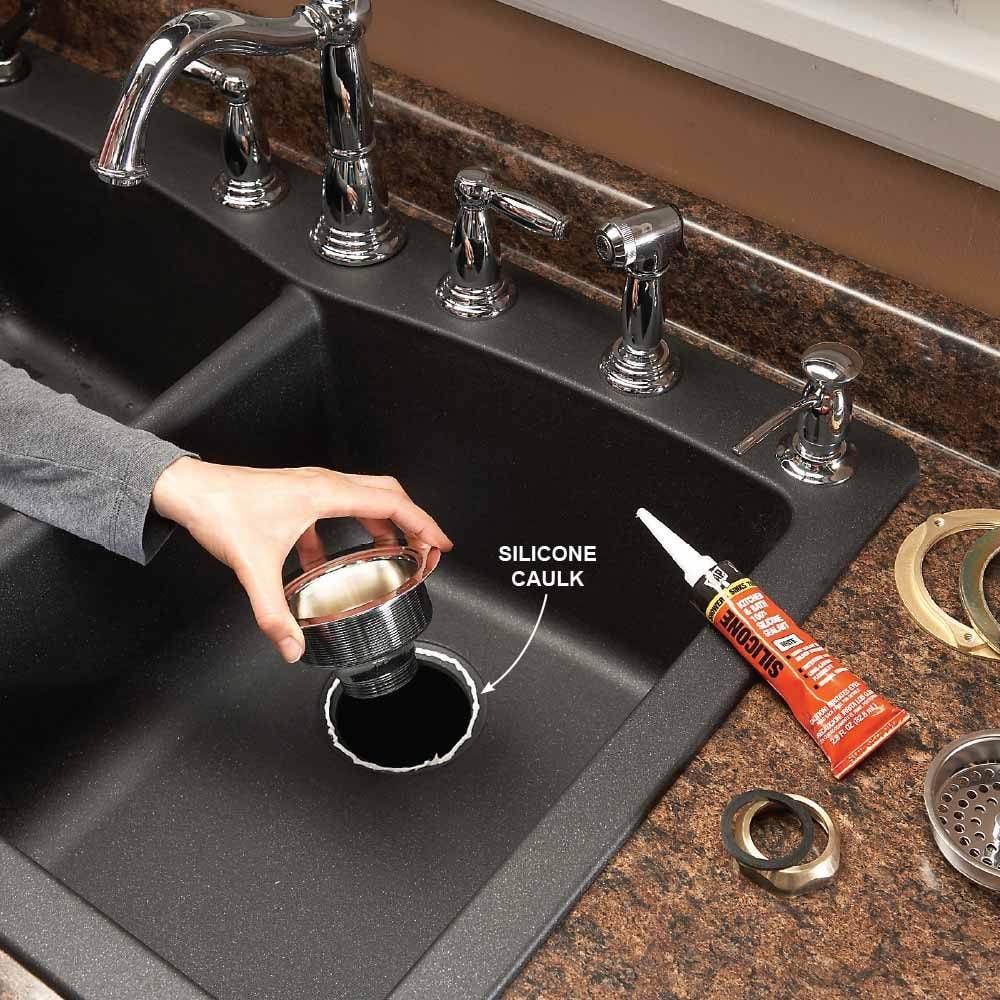
To apply plumber’s putty, take a small amount and roll it between your hands to form a long, thin rope. The thickness of the rope should be consistent with the gap you need to fill. Place the putty rope around the base of the fixture, such as the drain or faucet, making sure it is evenly distributed. Press the fixture firmly into place, allowing the putty to spread and create a seal. Any excess putty that squeezes out can be easily removed.

Securing the Fixture
Once the putty is applied and the fixture is in place, secure it with the appropriate hardware, such as nuts and bolts. Tighten the hardware gradually to ensure a snug fit without over-tightening, which could cause the putty to squeeze out excessively. As you tighten the fixture, the putty will compress and form a watertight seal. Check for any gaps or areas where the putty may not have sealed properly, and adjust as needed.
Finishing Touches
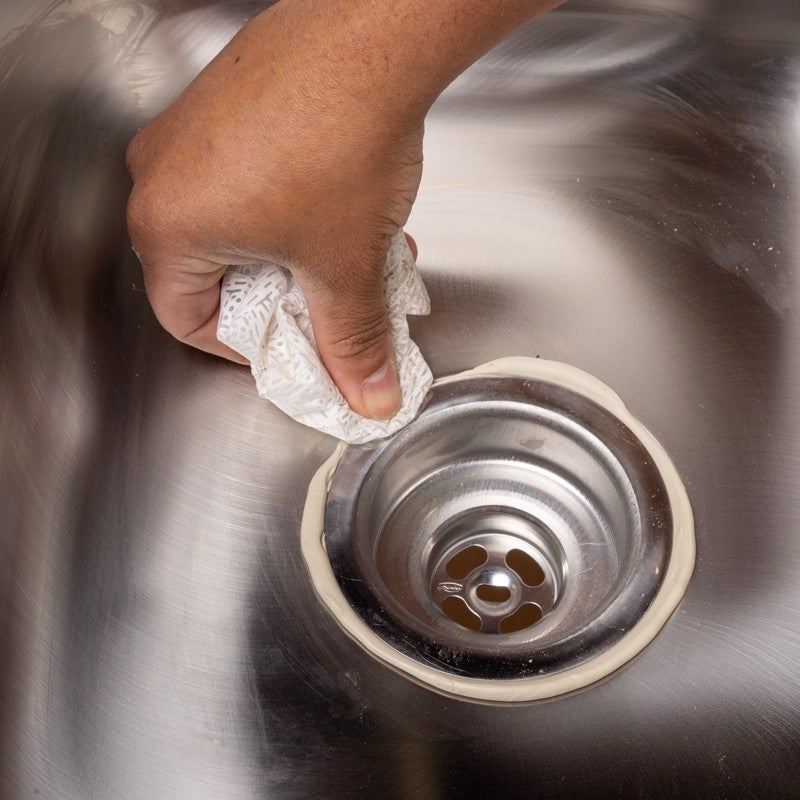
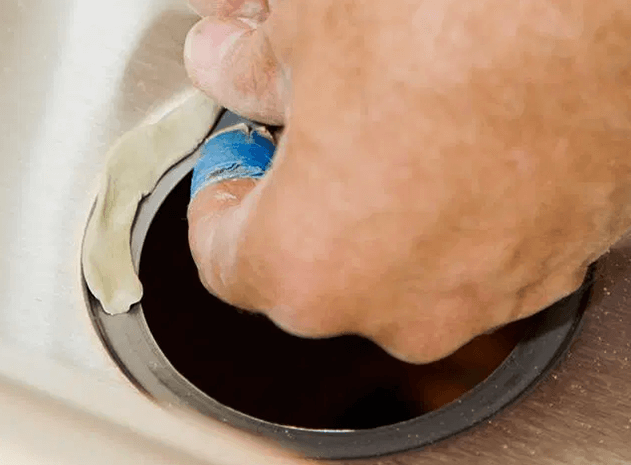
After securing the fixture, remove any excess putty that may have oozed out. Use a putty knife or scraper to carefully trim away the excess, ensuring a clean and neat appearance. Wipe the area with a damp cloth to remove any remaining residue. Allow the putty to cure for the recommended time before running water through the fixture. This ensures that the seal is fully set and ready to prevent leaks.
How to Use Plumberu0027s Putty on Kitchen and Bathroom sink
Kitchen Sink Strainer
Plumberu0027s Favorite Tips for Cutting Connections and More
Myths About How Long Does Plumbers Putty Take To Dry?

Related Posts: