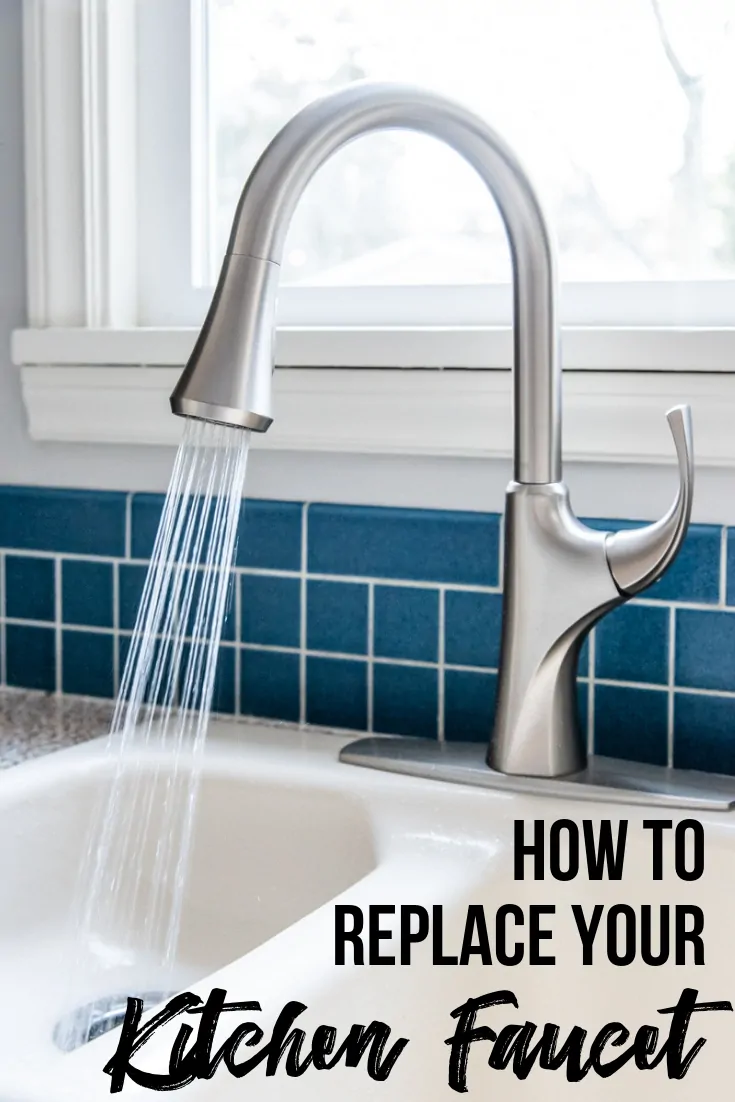
Replacing a kitchen faucet might seem intimidating at first, but it’s a manageable home project for most people. With the right tools, a bit of patience, and some preparation, you can install a new faucet that not only works better but also gives your kitchen a refreshed look. Whether your old faucet is leaking, outdated, or just no longer your style, making the switch yourself can save you money and give you a sense of satisfaction. Let’s walk through what you’ll need to know before getting started.
Gathering the Right Tools and Materials
Before you start, it’s essential to have the proper tools and supplies nearby. At minimum, you’ll need an adjustable wrench, a basin wrench, plumber’s tape, and a bucket. Some faucets come with their mounting kits, while others require additional parts. Double-check the box to ensure you’re not missing anything. Having everything ready prevents extra trips to the hardware store halfway through.
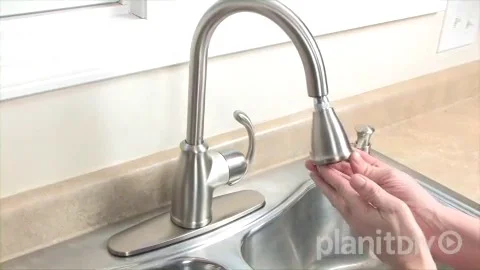
In addition to tools, make sure you have the right replacement faucet. Measure the number of holes in your sink—most sinks have one to four. Choose a faucet style that fits the existing configuration unless you’re willing to modify the sink. Also, decide whether you want a pull-down sprayer, a high-arc spout, or a side sprayer. These features can change your kitchen workflow more than you might expect.
Finally, wear clothing you don’t mind getting a bit dirty. Working under the sink often means dealing with dust, water, and tight spaces. A flashlight or headlamp helps see clearly in the cabinet. If you have protective gloves, they can help avoid scraped knuckles when using tools in cramped areas. Setting yourself up properly makes the entire job run smoother.
Turning Off the Water Supply
The very first step before removing your old faucet is to turn off the water. Most kitchen sinks have shutoff valves underneath—one for hot and one for cold. Turn both of these valves clockwise until they stop. Then, turn on the faucet to release any remaining pressure in the lines and confirm the water is off. This keeps you from getting soaked when disconnecting hoses.
Sometimes the valves are stuck or corroded if they haven’t been used in years. If they won’t budge, use a wrench carefully to turn them. In worst-case scenarios, you may need to shut off water to the entire house. If you’re unsure where your main water valve is, now’s a good time to find it before any problems arise. Knowing this could help with future plumbing issues, too.
Once the water is off, place a small bucket or towel under the connections to catch drips. Water left in the lines will likely spill out when you disconnect them. It’s a minor mess if you’re ready, but it can be frustrating if you’re not. This simple step can save you from slipping or damaging the inside of your cabinet.
Removing the Old Faucet
With the water turned off and the area prepped, it’s time to remove the old faucet. First, disconnect the supply lines from the shutoff valves using an adjustable wrench. Be gentle to avoid damaging the fittings. Some lines might be stiff, so go slow and steady. If you see signs of rust or corrosion, you might need to replace these lines as well.
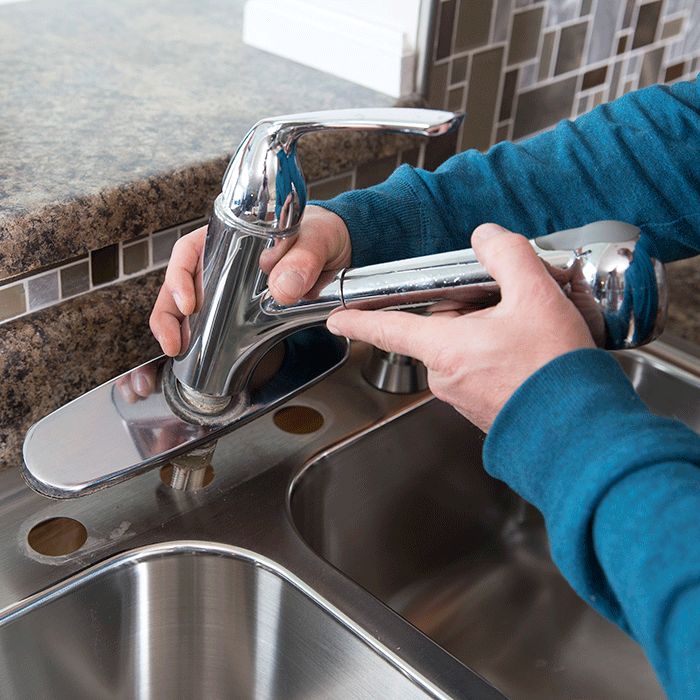
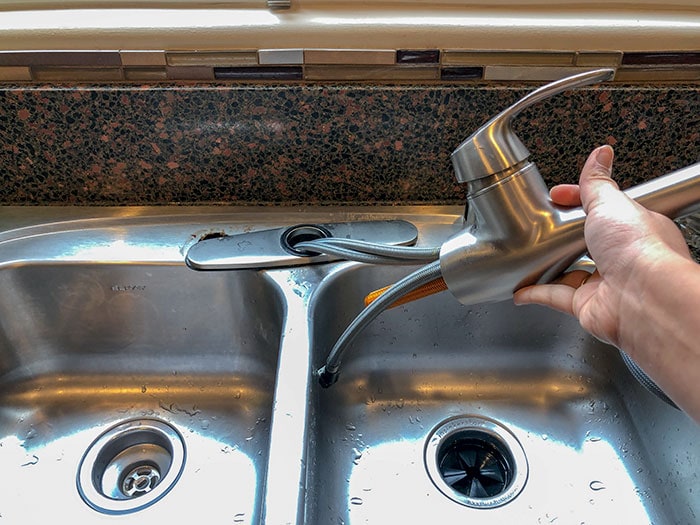
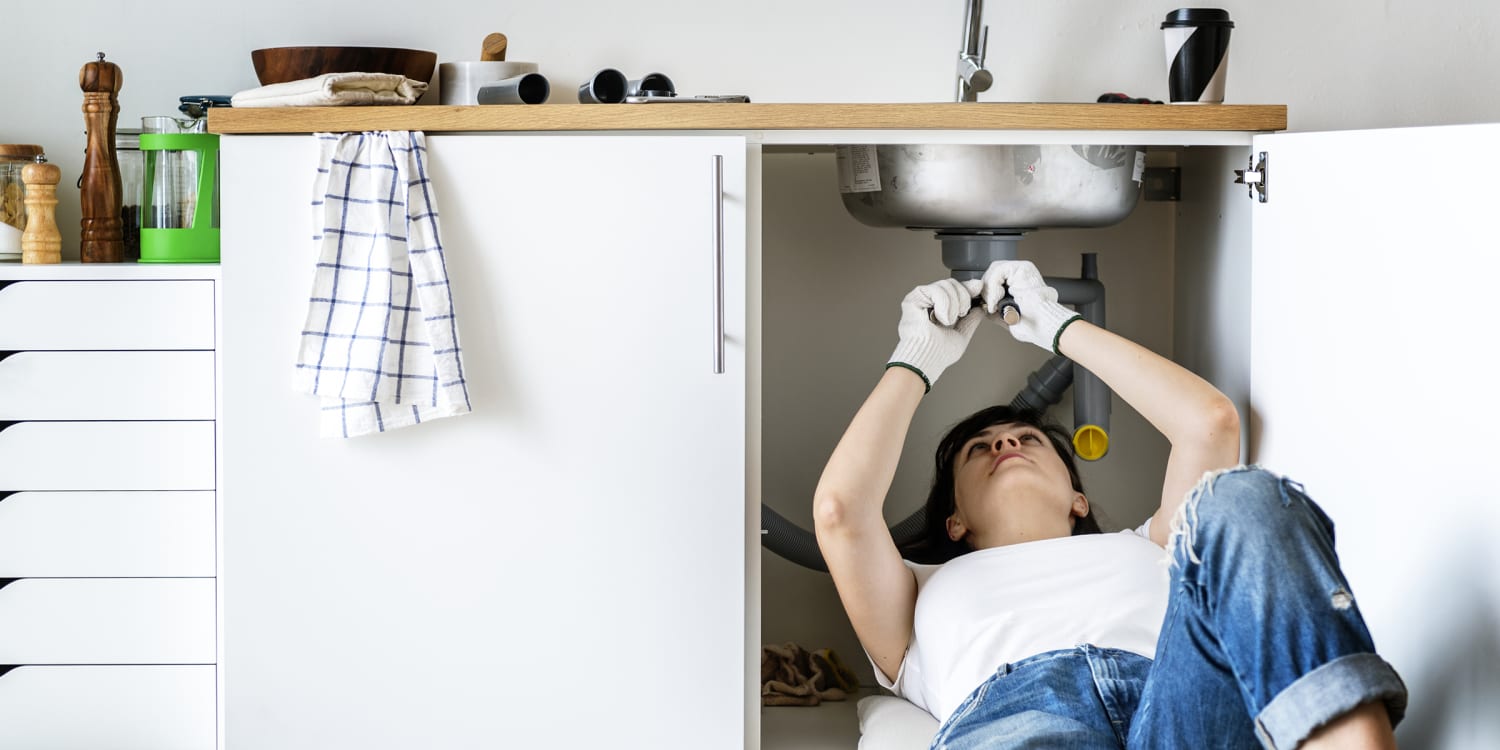
Next, use a basin wrench to loosen the nuts holding the faucet in place from underneath the sink. These nuts can be hard to reach, especially if space is tight. The basin wrench is designed to work in narrow spots, so don’t skip using it. Once the nuts are off, lift the faucet out from the top. You might need to twist it slightly if it’s stuck from old caulk or grime.
After the faucet is out, clean the sink area thoroughly. Old caulk, mineral buildup, and dirt should be scraped away with a putty knife or a rag. This step ensures the new faucet will sit flush against the surface. It’s not the most fun part, but it makes a big difference in the final appearance and functionality of your new setup.

Installing the New Faucet
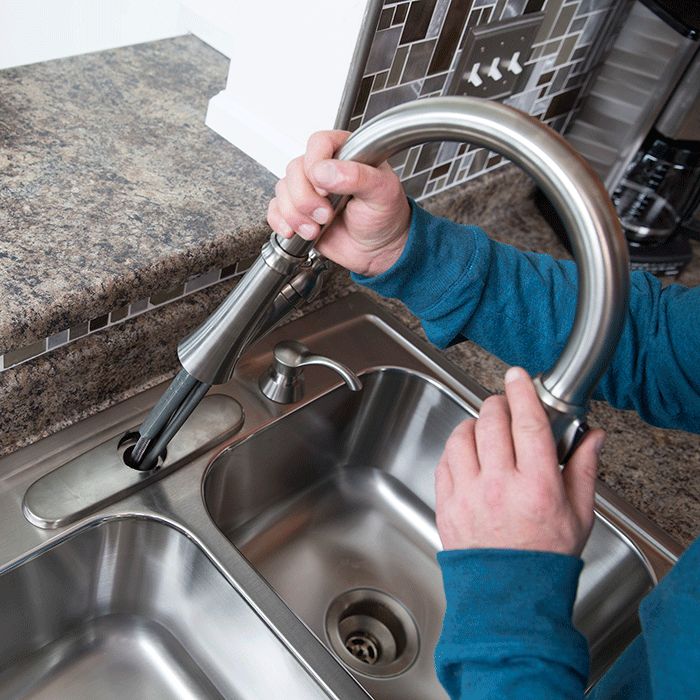
Now it’s time to install the new faucet. Start by reading the manufacturer’s instructions carefully—each brand can have unique steps. Feed the faucet hoses and mounting hardware through the sink holes from the top. Use plumber’s tape on threaded connections if the instructions recommend it, which helps prevent leaks once everything is connected.
From underneath, secure the faucet using the provided washers and mounting nuts. Tighten them carefully with a basin wrench. Make sure the faucet is centered and snug, but avoid overtightening, which can crack the sink or strip the threads. Once the faucet is secure, connect the hot and cold water lines to their respective shutoff valves.
Double-check each connection for tightness, and ensure the hoses are not kinked or twisted. If you have a faucet with a pull-down sprayer, follow the instructions to attach the weight and check for smooth movement. This part is about precision and patience. Rushing here can lead to leaks or improper function down the road.
Checking for Leaks and Functionality
With everything in place, turn the shutoff valves back on slowly. Watch the connections underneath the sink as the water flows through. Look closely for any drips or signs of moisture. If you spot a leak, turn off the valve again and tighten the connection or apply more plumber’s tape. It’s easier to fix now than after water causes cabinet damage.
Next, test the faucet at full pressure. Turn on both hot and cold water to ensure they’re working properly. If the faucet has a sprayer or pull-down head, make sure it retracts smoothly and doesn’t leak at the hose connection. Run water for a minute or two to push out any air or debris from the lines.
Feel the faucet base and hoses one more time after use to check for hidden leaks. Sometimes small drips take a moment to appear. If everything stays dry and functions well, you’ve successfully replaced your faucet. It’s a great feeling to know you did it yourself, and it gives you more confidence for other home improvements, too.
Maintaining Your New Faucet
Now that your faucet is installed and working properly, it’s worth taking a few steps to keep it in good shape. Wipe it down regularly with a soft cloth to prevent water spots and mineral buildup. Avoid harsh chemicals or abrasive pads, as they can damage the finish over time. Mild soap and warm water are usually all you need for daily cleaning.
Check the connections under the sink every few weeks, especially for the first couple of months. Even well-installed fittings can loosen slightly from water pressure changes or daily movement. Keeping an eye out early helps prevent major problems. It only takes a minute and can save your cabinet from hidden water damage later.
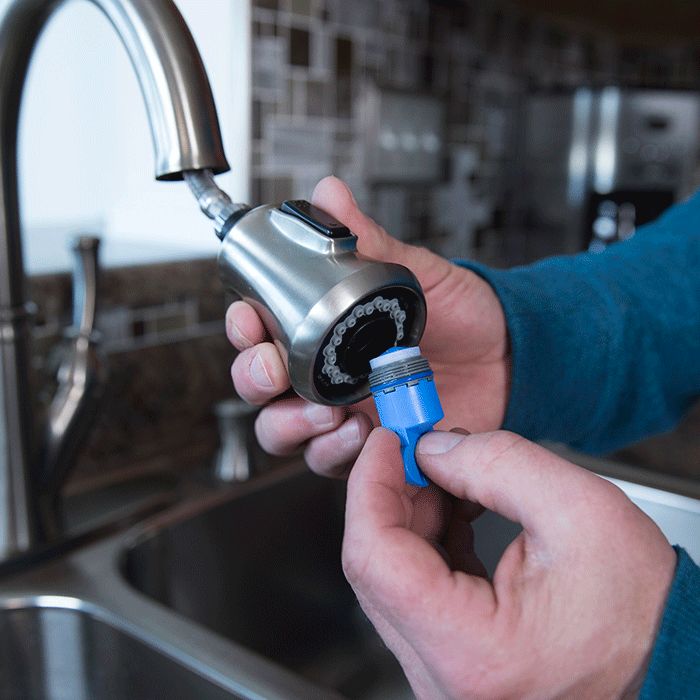
Finally, clean the aerator on the faucet head every few months. Mineral deposits can clog the screen and reduce water flow. Most aerators unscrew easily and can be rinsed or soaked in vinegar to clear blockages. Keeping this small part clean ensures your faucet stays efficient and maintains good pressure for everyday use.
How to Replace a Kitchen Faucet – Honeybear Lane
How To Replace A Kitchen Faucet – For Newbies!

How to Replace a Kitchen Faucet
How To Replace a Kitchen Sink Faucet

How to Install a Kitchen Faucet
How to replace a kitchen faucet
How to Replace a Kitchen Faucet With a Single Handle
How to Replace a Kitchen Faucet – Beginner’s Guide
How To Replace A Kitchen Faucet – For Newbies!

Related Posts: