Replacing a kitchen sink sprayer head is a simple DIY project that can improve the functionality and appearance of your sink. This guide will walk you through the steps to replace your sprayer head efficiently.
Gathering Tools and Materials
Before starting, gather the necessary tools and materials: an adjustable wrench, plumber’s tape, a bucket, and the new sprayer head. Having these items ready ensures a smooth and organized process. Proper preparation helps avoid interruptions and makes the task more efficient.
Turning Off the Water Supply
Begin by turning off the water supply to the kitchen sink. Locate the shut-off valves under the sink and turn them clockwise to close them. This step is crucial to prevent any water leakage or accidents while you work. After shutting off the water, turn on the faucet to release any remaining water in the lines, ensuring a dry working area.
Disconnecting the Old Sprayer
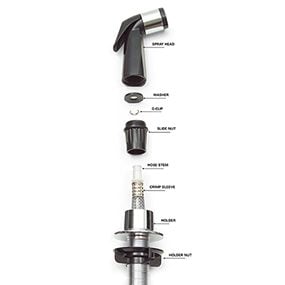
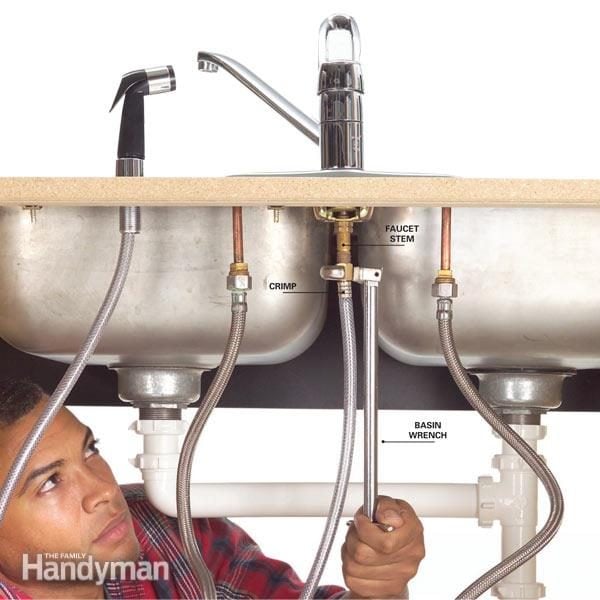
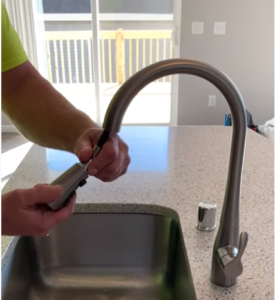
To disconnect the old sprayer, locate the connection point under the sink where the sprayer hose attaches to the water supply line. Place a bucket underneath to catch any residual water. Use an adjustable wrench to loosen and remove the nut connecting the hose. Carefully pull the old sprayer head and hose out from above the sink, keeping the area clean and organized.
Installing the New Sprayer Hose
Thread the new sprayer hose through the hole in the sink where the old hose was removed. Connect the new hose to the water supply line by tightening the nut with an adjustable wrench. Ensure a secure connection by wrapping plumber’s tape around the threads before tightening. This tape helps create a watertight seal, preventing leaks.
Attaching the New Sprayer Head
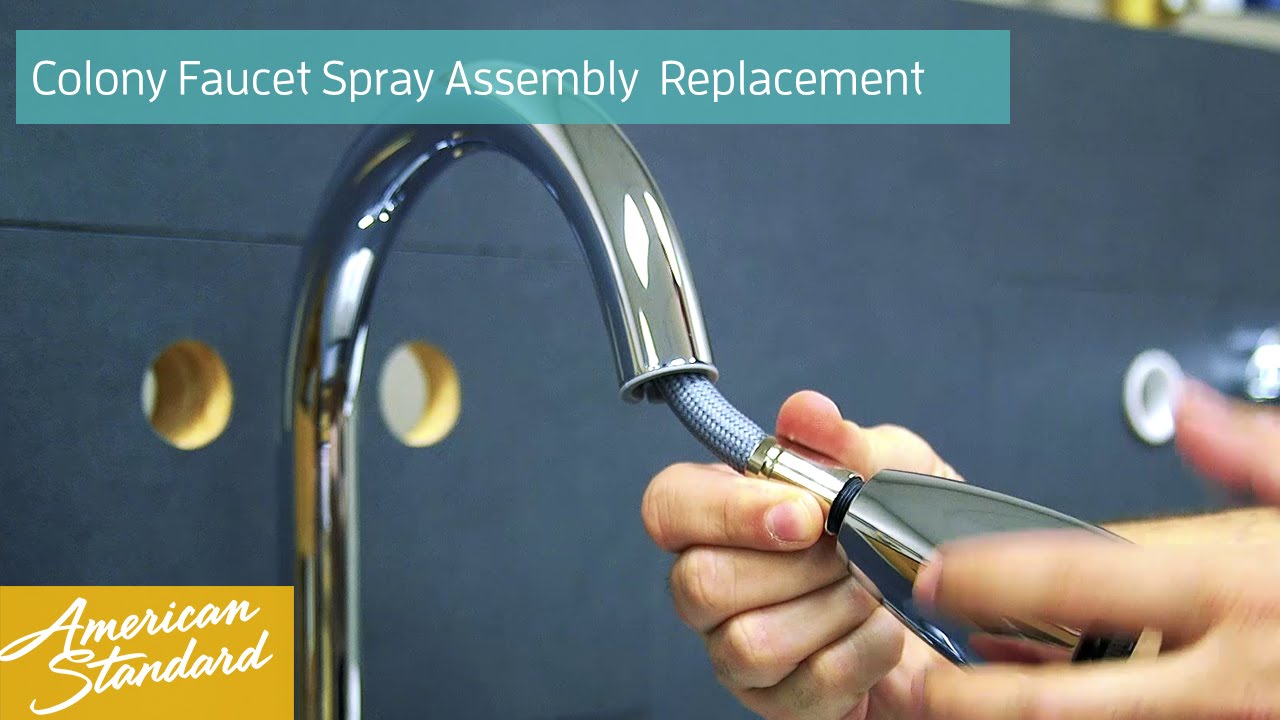
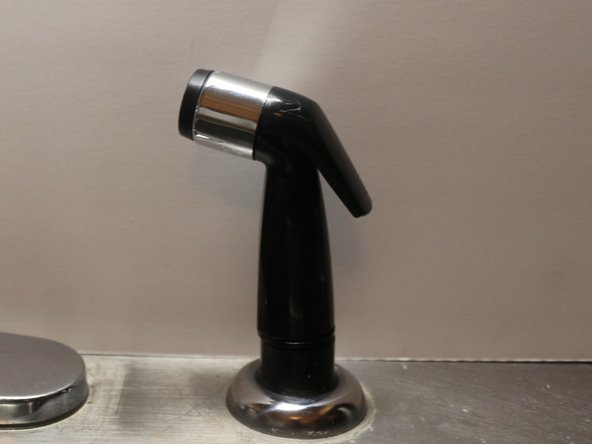
With the new hose securely in place, attach the new sprayer head to the hose. Most sprayer heads simply screw onto the hose end. Ensure a snug fit by tightening the connection with your hand. Avoid using tools that might damage the new sprayer head. Double-check that all connections are tight and secure to prevent any water leakage.
Testing the New Sprayer
Turn the water supply back on by opening the shut-off valves under the sink. Check for any leaks around the connections. Turn on the faucet and test the new sprayer head to ensure it works correctly. Adjust the spray pattern if needed. Confirm that there are no leaks or drips from the connections. Your new kitchen sink sprayer head is now ready for use, providing improved functionality and a fresh look.
Images about How To Replace Kitchen Sink Sprayer Head
Replace a Sink Sprayer

How to Replace a Sink Sprayer

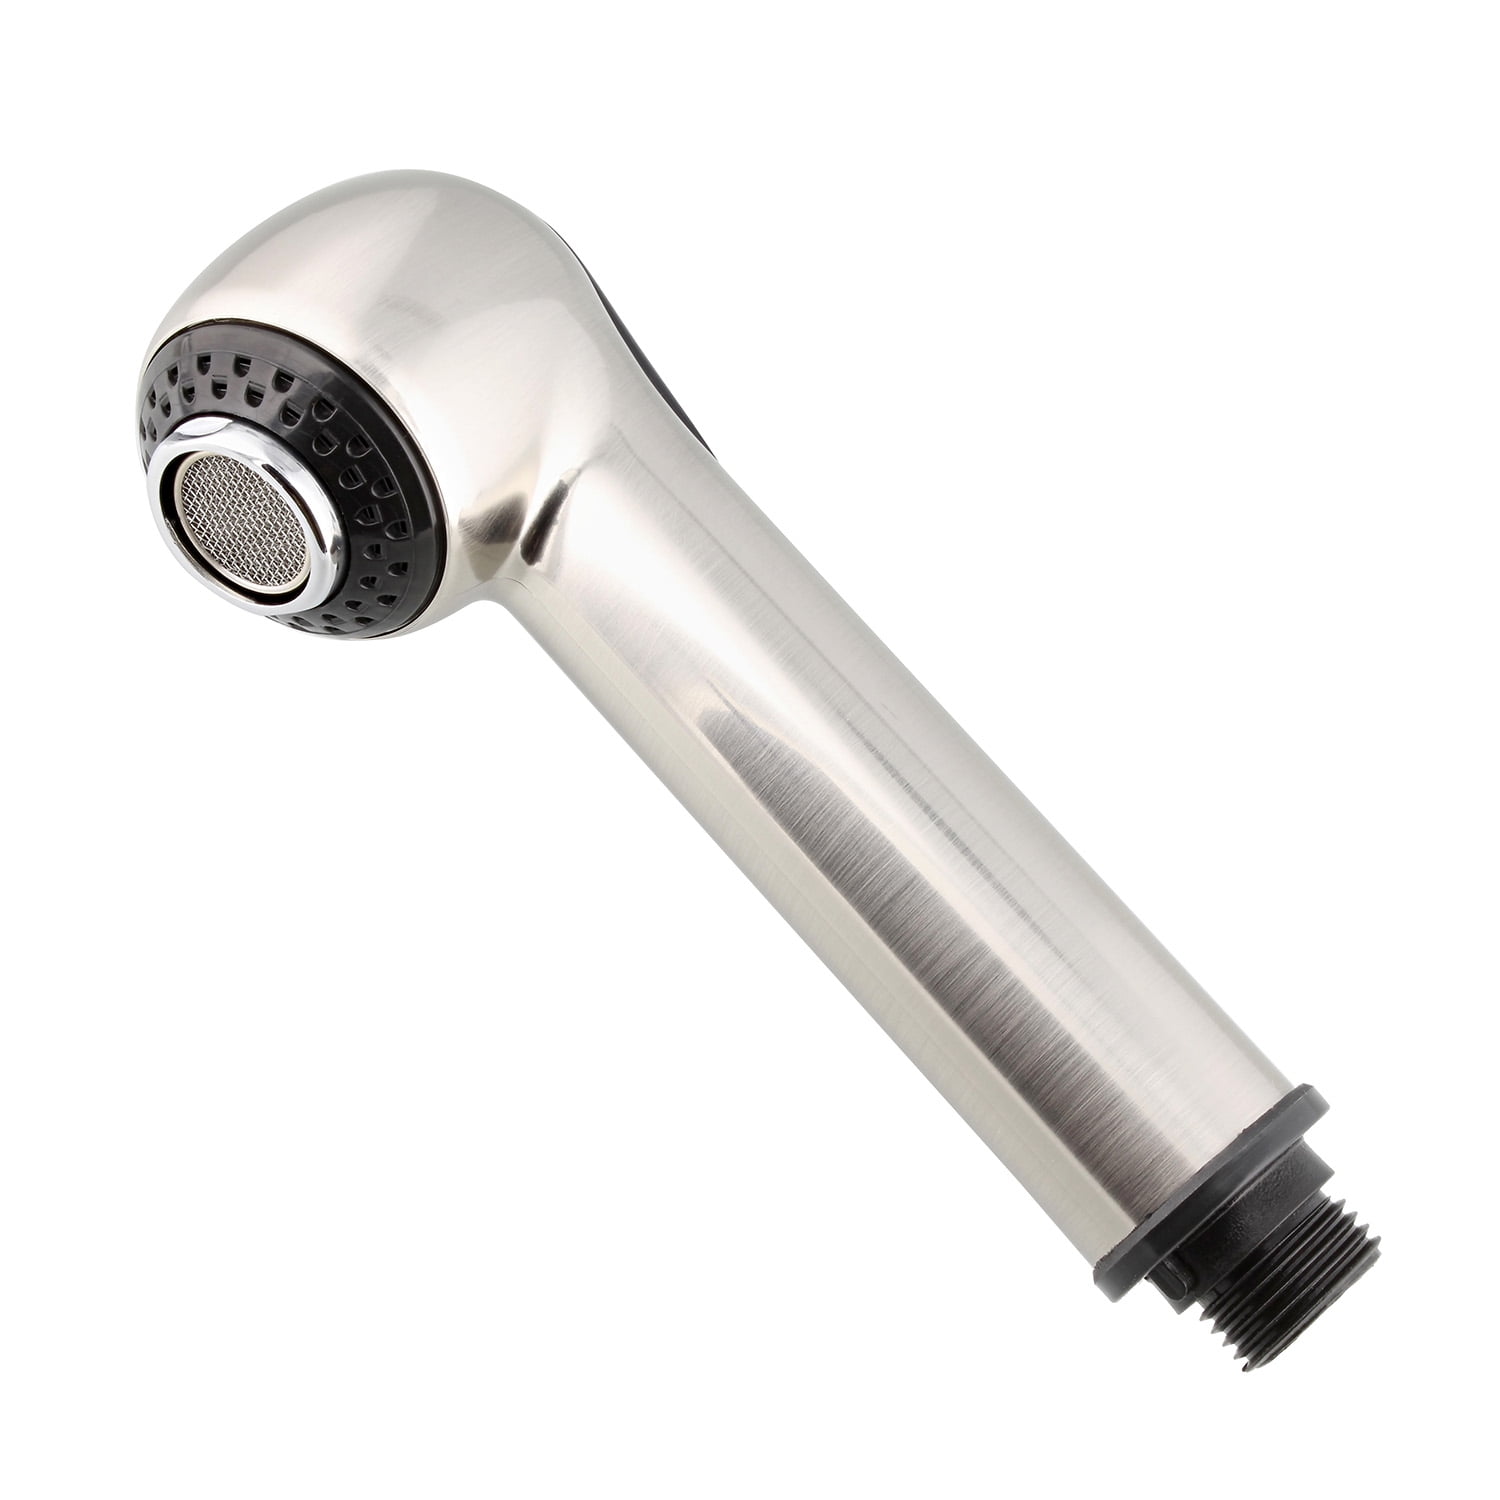
Pull Down Kitchen Faucet Spray Head Replacement
How to Repair a Broken Kitchen Faucet Pull-out Spray Head – iFixit
How to Fix a Leaking Sink Sprayer (DIY) Family Handyman
Replacing a Kitchen Faucet Spray Head – Dave Jones
Kitchen Sink Faucets : How to Remove the Spray Head From a Sink

How to Fix the Spray Hose on Your Kitchen Sink

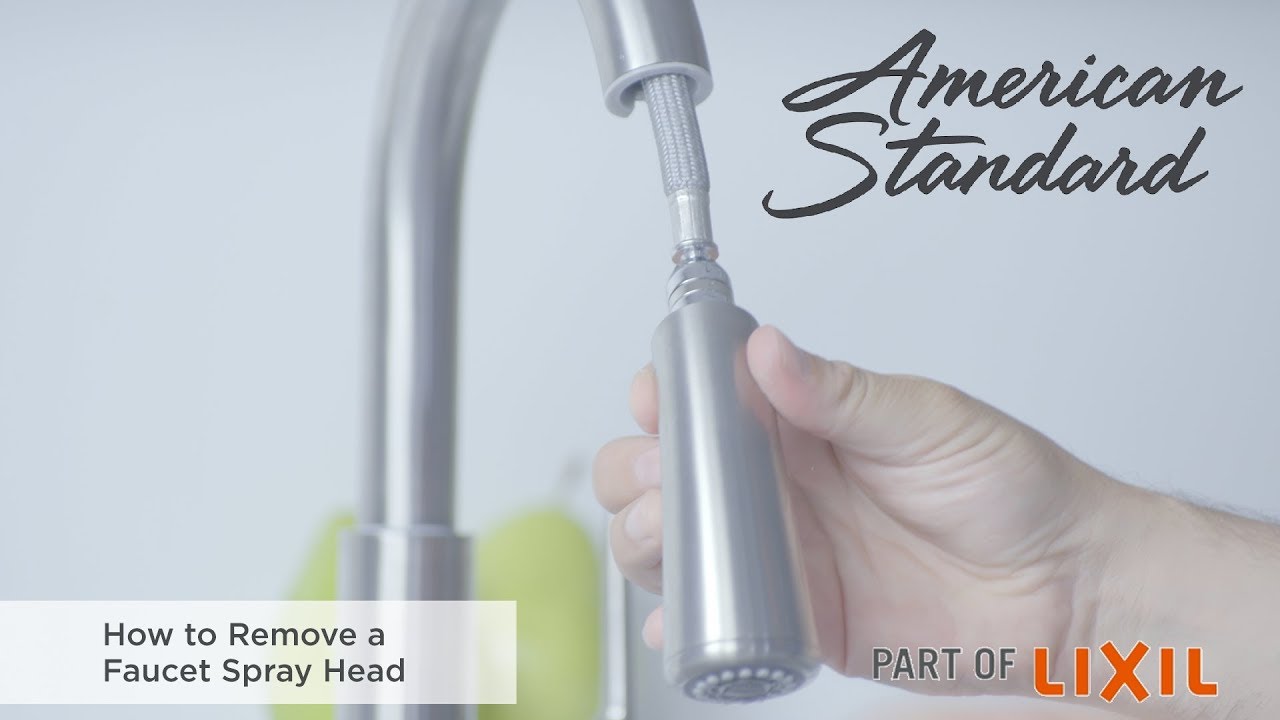
How to Remove a Faucet Spray Head
Kitchen Sprayer Chrome,Kitchen Faucet Sprayer, Kitchen Sink Side Sprayer with Spray Head and Hose, Kitchen Sink Sprayer Attachment,Kitchen Water

How To Find The Right Kitchen Spray Head Replacement Mr Kitchen

Empire Faucets RV Kitchen Faucet Head Replacement Parts Sprayer ONLY u2013 Nickel
Related Posts: