Removing a Moen kitchen faucet handle is a simple process that can be done with a few basic tools. Whether you’re replacing a faulty handle or updating your kitchen’s look, this guide will help you through the steps.
Gathering Tools and Materials
Before starting, gather the necessary tools and materials: an Allen wrench, a screwdriver, a towel, and a small container to keep screws and parts. These items will help ensure a smooth and organized process. Having everything ready at hand prevents interruptions and makes the task more efficient.
Turning Off the Water Supply
Begin by turning off the water supply to the faucet. Locate the shut-off valves under the sink and turn them clockwise to close them. This step is crucial to prevent any water leakage or accidents while you work. Once the water supply is off, turn on the faucet to release any remaining water in the lines. This ensures a dry working area and avoids any potential mess.
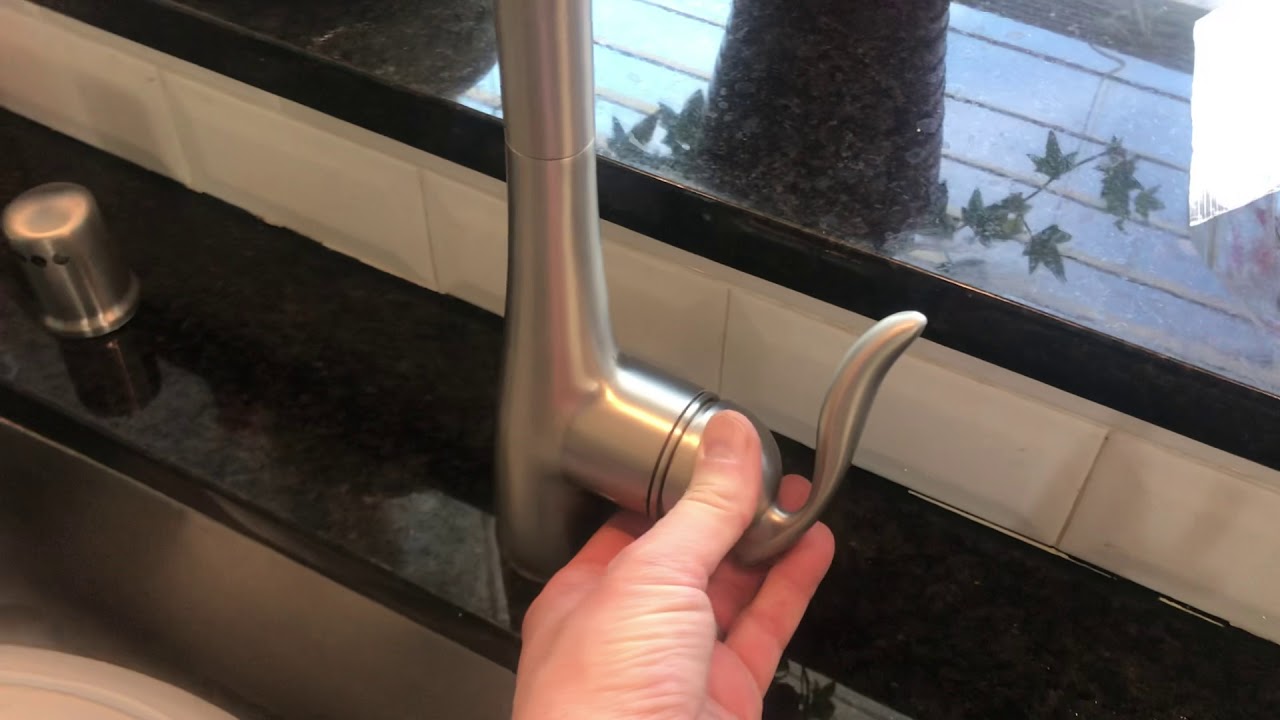
Removing the Handle
To remove the handle, locate the set screw. It is usually found at the base or side of the handle. Use an Allen wrench to loosen and remove the set screw. If your faucet handle has a decorative cap, gently pry it off with a screwdriver to access the screw. Once the screw is removed, carefully lift the handle off the faucet. Keep the screw and any other parts in the small container to avoid losing them.
Detaching the Cartridge
With the handle removed, you’ll see the cartridge. The cartridge is held in place by a retaining clip or nut. Use pliers or a wrench to carefully remove the retaining clip or nut. Gently pull the cartridge straight out of the faucet body. If the cartridge is stuck, wiggle it slightly to loosen it. Removing the cartridge allows you to inspect it for any damage or wear, and replace it if necessary.
Cleaning and Maintenance
Take this opportunity to clean the area around the cartridge and handle. Use a towel to wipe away any debris or mineral buildup. Check the O-rings and seals for any signs of wear or damage, and replace them if needed. Keeping these components clean and well-maintained ensures the smooth operation of your faucet and prolongs its lifespan.
Reassembling the Faucet
After completing any necessary maintenance, reassemble the faucet by reversing the steps. Insert the cartridge back into the faucet body and secure it with the retaining clip or nut. Place the handle back onto the cartridge and tighten the set screw with the Allen wrench. Turn on the water supply and check for any leaks. Your Moen kitchen faucet is now ready for use, with the handle securely in place.
Images about How To Remove Moen Kitchen Faucet Handle
Moen Circa 2008 Kitchen Faucet Removal

Moen Circa 2008 Kitchen Faucet Removal – YouTube
How to fix Moen kitchen faucets
Chateau Single Handle Kitchen Faucet with Protege Side
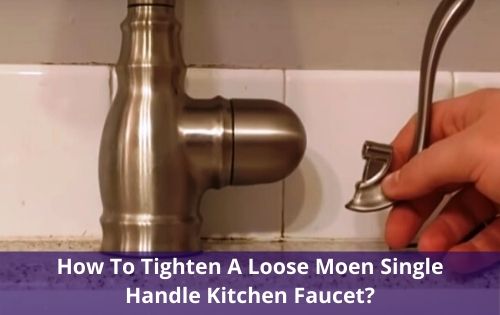
Tighten A Loose Moen Single Handle Kitchen Faucet u0026 Base [3 Steps]
MOEN Kitchen Faucet Handle Adapter Repair Kit 100429

How to Remove and Replace Your Kitchen Faucet u2013 Simply2moms

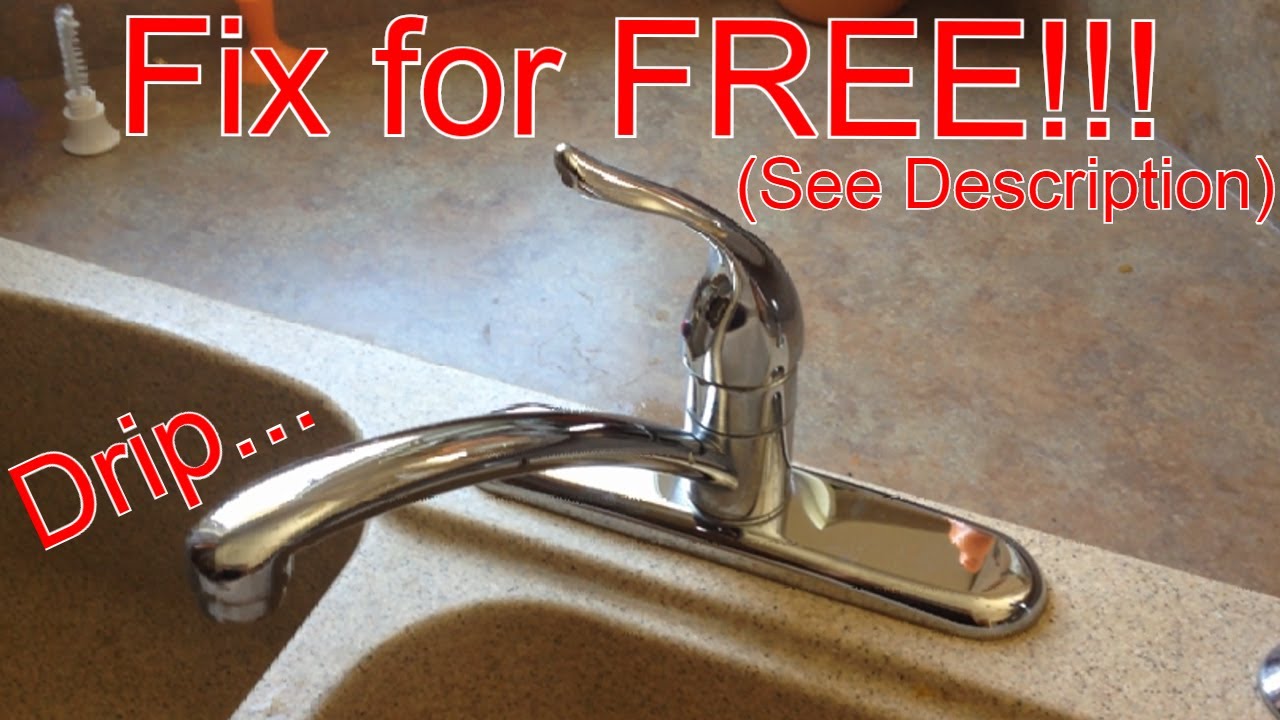
FAST leaky faucet fix!!! Moen 1225 cartridge replacement.
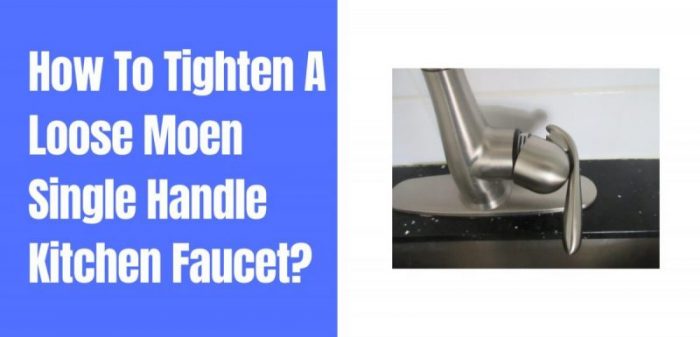
How To Tighten A Loose Moen Single Handle Kitchen Faucet
How to Fix Leaking Moen High Arc Kitchen Faucet -DIY

Related Posts: