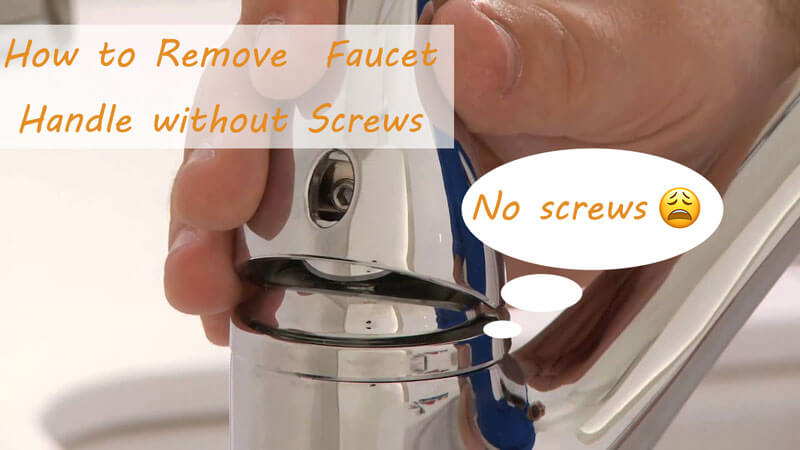
Identifying the Handle Type
Before attempting to remove a kitchen faucet handle, it’s essential to identify the type of handle you’re dealing with. Some faucet handles are designed without visible screws and may use alternative fastening mechanisms such as a decorative cap or a hidden set screw. Understanding the handle type will help you determine the appropriate removal method. This initial step ensures a smooth and damage-free process.
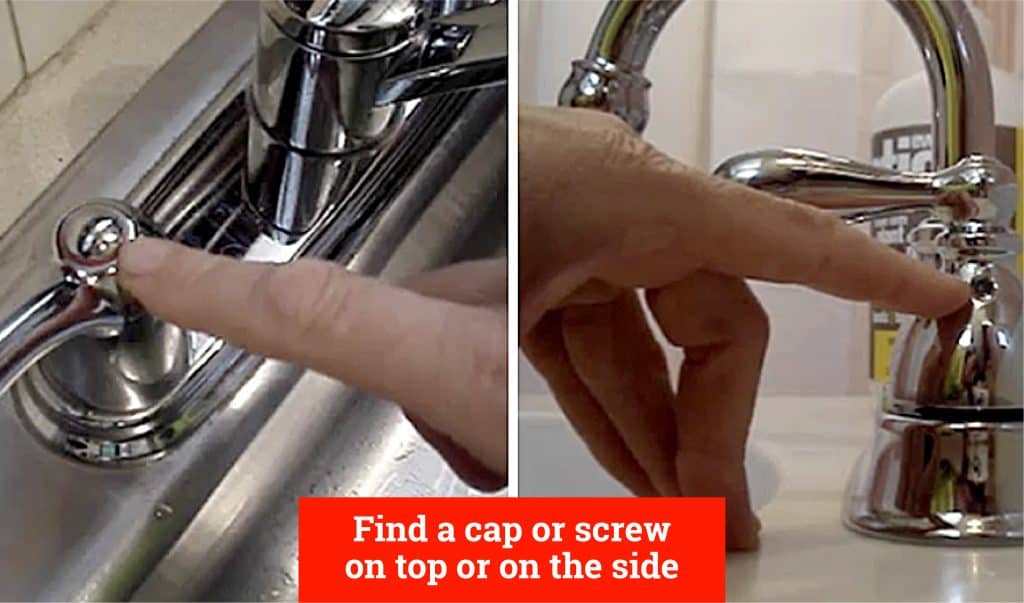
Removing Decorative Caps
Many kitchen faucet handles without visible screws have a decorative cap that conceals the fastening mechanism. To remove the handle, start by locating this cap. Use a flat-head screwdriver or a butter knife to gently pry off the cap, being careful not to scratch the finish. Once the cap is removed, you may find a set screw underneath. Use an appropriate Allen wrench or screwdriver to loosen and remove this screw, allowing you to lift off the handle easily.
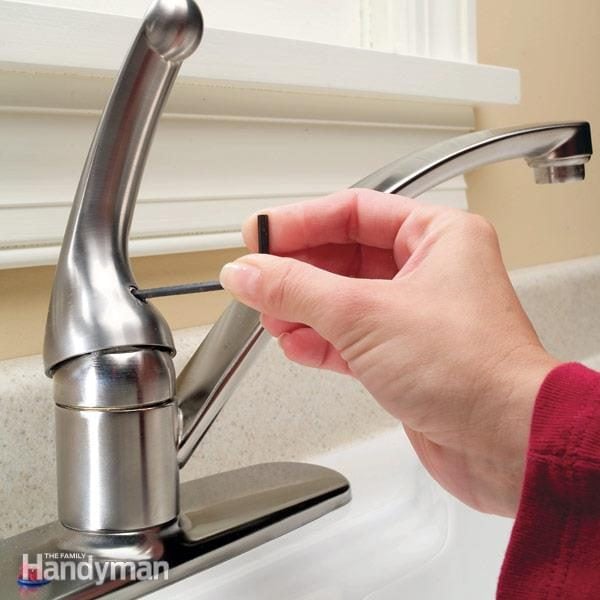
Handling Hidden Set Screws
In some cases, the set screw may be hidden in an inconspicuous location on the handle. Carefully inspect the handle for a small hole or indentation where the set screw might be located. Once found, use an Allen wrench or a small screwdriver to loosen and remove the screw. This will release the handle, allowing you to remove it without damaging the faucet. Patience and careful inspection are key to successfully locating and handling hidden set screws.
Using a Handle Puller
If the faucet handle does not have a visible or hidden set screw, you may need to use a handle puller tool. This tool is designed to grip the handle and apply even pressure to safely remove it. Position the handle puller over the faucet handle and tighten it until the handle begins to lift off. Apply steady and gentle pressure to avoid damaging the faucet. This method is particularly useful for handles that are stuck due to mineral buildup or corrosion.
Cleaning and Reassembling
After removing the handle, take the opportunity to clean any mineral deposits or debris that may have accumulated around the faucet stem. Use a vinegar solution or a commercial cleaner to dissolve buildup. Once cleaned, you can proceed with any necessary repairs or replacements. When reassembling, ensure all components are securely in place and test the faucet to confirm proper functionality. Regular maintenance and cleaning can prevent future issues with handle removal.
How To Remove Kitchen Faucet Handle Without Screws Mr Kitchen

3 Ways to Remove Faucet Handle Without Screws –

How To Remove Faucet Handle Without Screws – homedude

How to Repair a Single-Handle Kitchen Faucet (DIY) Family Handyman
Ways to Remove Faucet Handle Without Screws –

How to remove a Moen faucet handle without screws – Quora
Related Posts: