Track lighting is a versatile and modern solution for kitchen illumination, offering adjustable light direction and a sleek aesthetic. Whether you need focused task lighting over countertops or ambient lighting for the entire space, track systems provide flexibility and style. Proper installation ensures safety and optimal performance. Below, we break down the process into six key steps, from planning to final adjustments.
Planning Your Track Lighting Layout
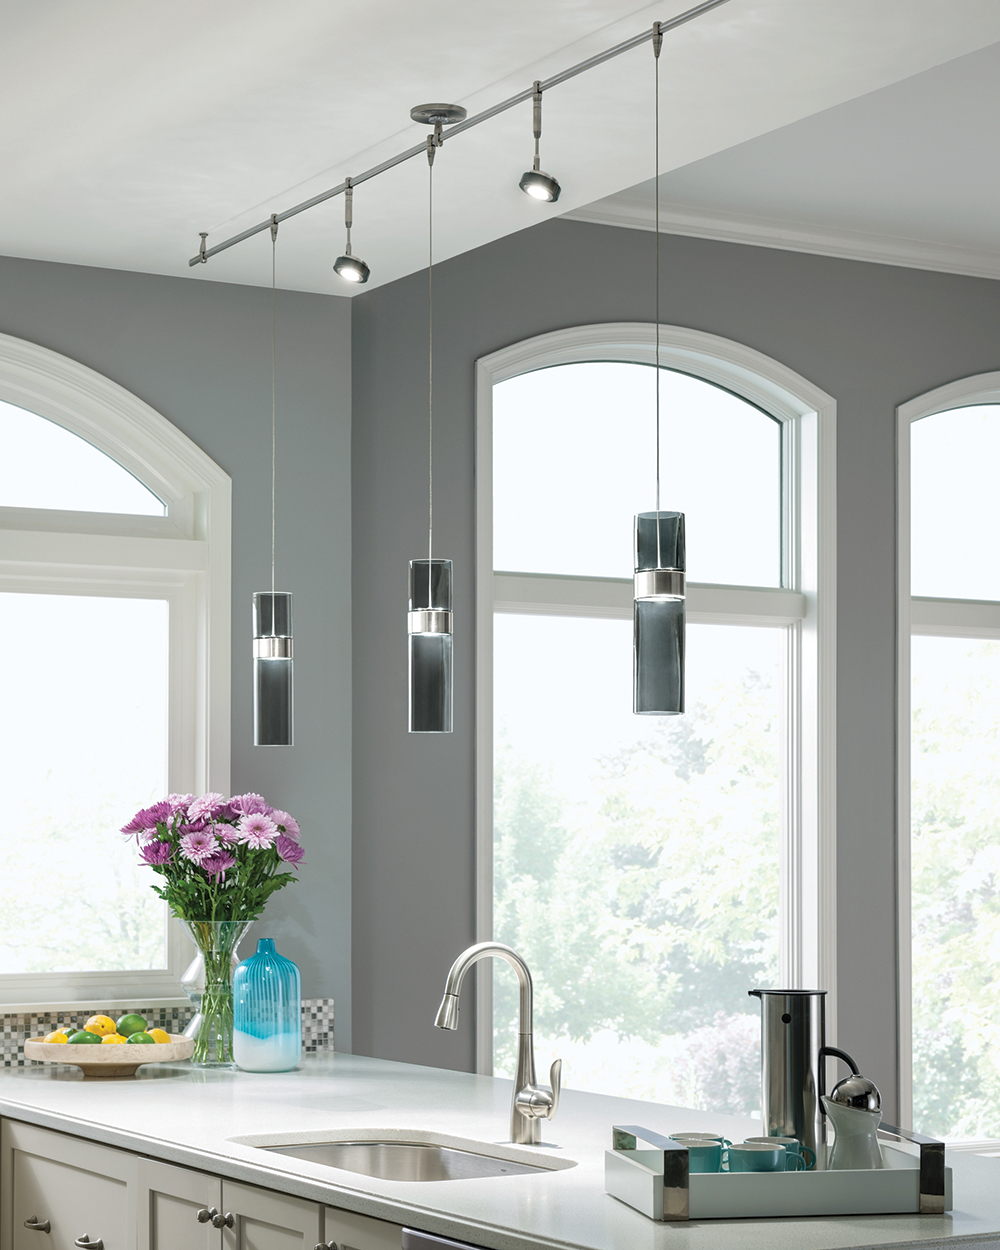
Start by assessing your kitchen’s lighting needs. Identify key areas that require illumination, such as the sink, stove, or island. Track lighting works well for task lighting when directed at workspaces or for general lighting when spaced evenly. Sketch a rough layout to visualize where the track should run for balanced coverage.
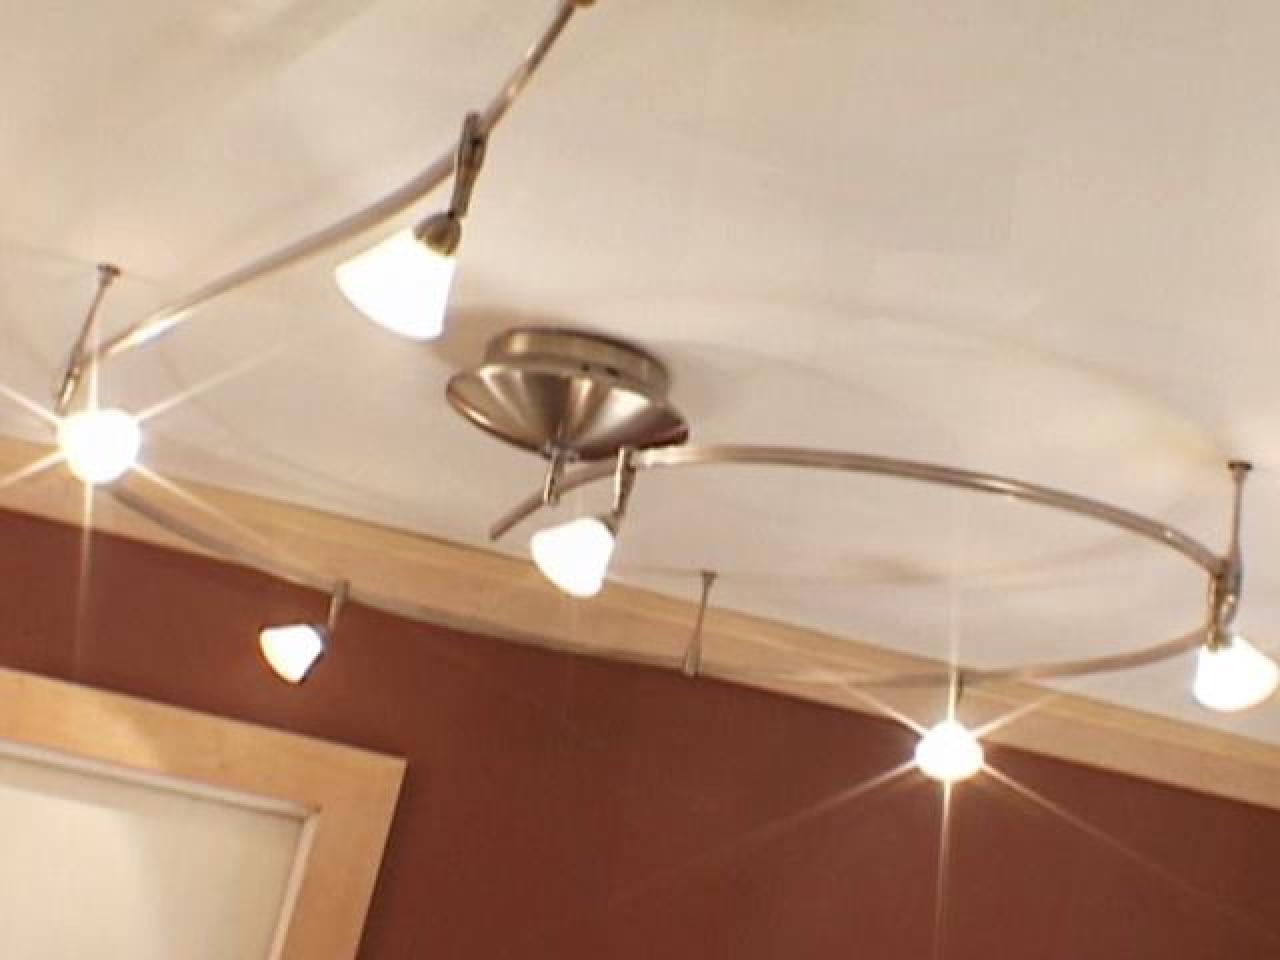
Consider the ceiling height and existing electrical connections. Most track systems require a junction box for power. If your kitchen lacks one in the desired location, you may need to hire an electrician to install it. Measure the track length needed and decide whether a straight, L-shaped, or curved configuration suits your space best.
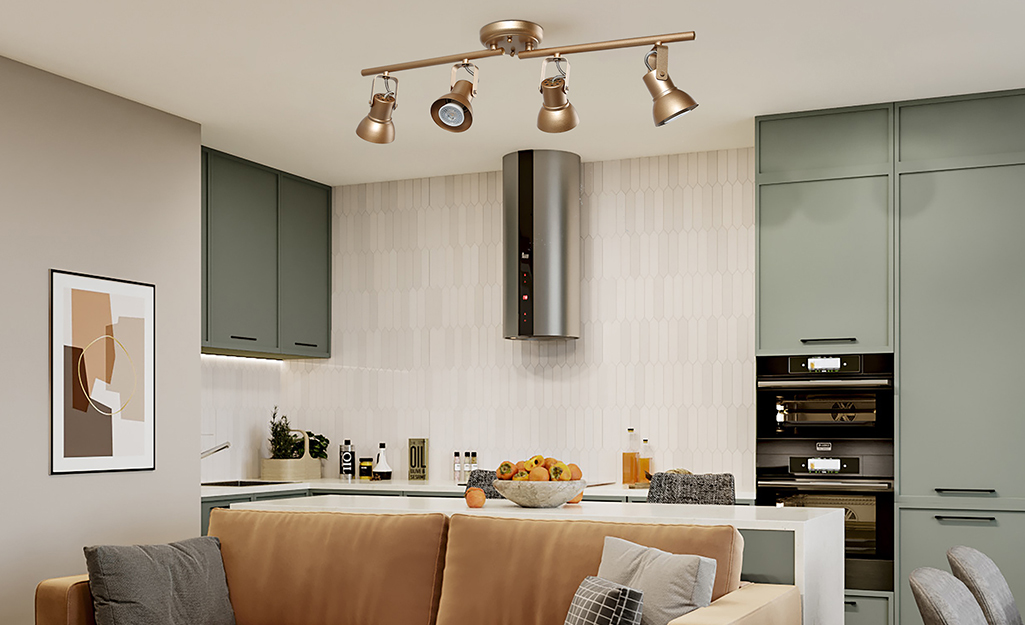
Choose a track system compatible with your kitchen’s voltage (typically 120V). Some tracks allow multiple light heads, while others have fixed positions. Ensure the style and finish match your kitchen’s decor—options range from minimalist black to brushed nickel. Planning ahead prevents costly mistakes during installation.
Gathering the Right Tools and Materials
Before starting, gather essential tools: a voltage tester, wire strippers, a drill, screws, a screwdriver, a ladder, and a pencil for marking. You’ll also need the track lighting kit, which usually includes the track, connectors, mounting hardware, and light heads. If extending the track, purchase additional sections and couplers.
Turn off the power at the circuit breaker to avoid electrical hazards. Use a voltage tester to confirm the wires are not live before working on them. If installing a new junction box, ensure it’s rated for ceiling use and securely anchored to a stud or support bar. Having all materials ready streamlines the process.
Check whether your track system requires a grounding wire. Some modern designs are “live-end” systems, where power runs through the track itself, while older models may need direct wiring. Review the manufacturer’s instructions to confirm compatibility with your home’s electrical setup.
Mounting the Track to the Ceiling
Mark the track’s position on the ceiling using a pencil and level to ensure straight alignment. If mounting parallel to cabinets, leave enough space to avoid shadows. Pre-drill holes for the mounting screws, especially in drywall, to prevent cracking. Secure the track firmly, ensuring it doesn’t wobble.
For longer tracks, connect sections with couplers before mounting. Some systems snap together, while others require screws. Double-check that all connections are tight and aligned correctly. If the track crosses ceiling joists, use sturdy mounting clips or anchors for added support.
If the track doesn’t line up with an existing junction box, install a medallion or decorative plate to cover gaps. Ensure the track’s power connector aligns with the junction box for easy wiring. A well-mounted track provides a stable base for the light heads and ensures a polished final look.

Wiring the Track Lighting System
Carefully connect the track’s wiring to the junction box. Match the black (hot) wire to the track’s live terminal, the white (neutral) wire to the corresponding terminal, and the green or bare (ground) wire to the grounding screw. Use wire nuts to secure connections and tuck them neatly into the box.
If your track has a separate power feed module, attach it to the junction box before connecting the track. Follow the manufacturer’s wiring diagram to avoid mistakes. Once connected, restore power briefly to test the system before fully securing everything in place.
After confirming the track works, attach the cover plate over the junction box. Ensure no exposed wires remain outside the box. Proper wiring prevents electrical shorts and ensures safe, reliable operation. If unsure about electrical work, consult a licensed electrician.
Attaching and Adjusting Light Heads
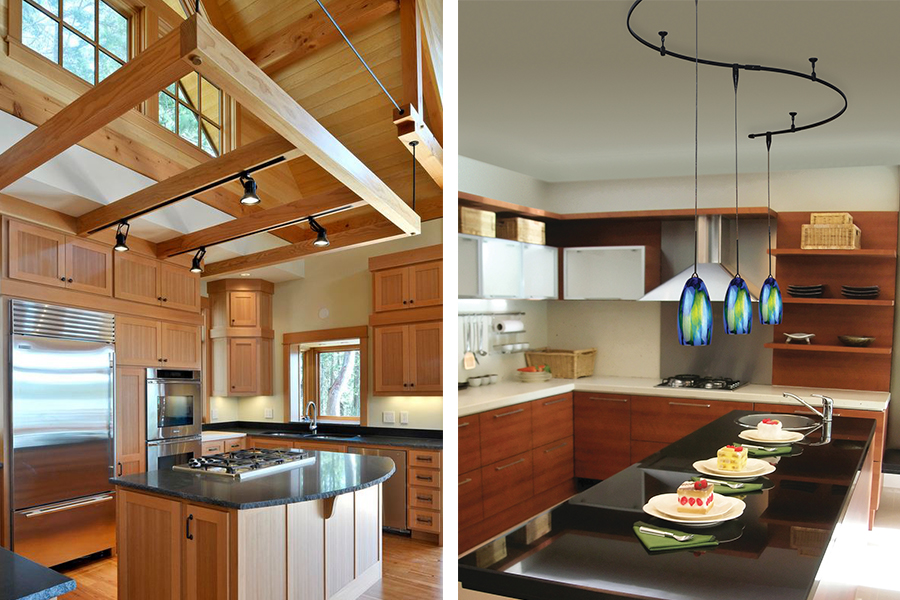
Snap or screw the light heads onto the track according to the manufacturer’s instructions. Most systems allow heads to be positioned anywhere along the track and rotated for optimal lighting. Space them evenly for balanced coverage or cluster them over key areas like the island.
Adjust the angle of each head to direct light where needed—downward for task lighting or sideways for wall washing. Some models offer swivel or pivoting features for precise control. Test different configurations to find the best setup for your kitchen’s workflow.
If using LED heads, ensure they’re compatible with the track’s voltage. Incandescent or halogen options may require additional transformers. Once satisfied with the positioning, tighten any locking mechanisms to prevent accidental movement.

Final Testing and Safety Checks
Turn the power back on and test all light heads to confirm they function correctly. Check for flickering or dim spots, which may indicate loose wiring or incompatible bulbs. Ensure the track doesn’t feel hot after extended use, as overheating can signal an electrical issue.
Inspect all connections and mounting points for stability. Make sure no wires are pinched or exposed. If the system includes a dimmer, test its functionality and adjust settings for desired brightness. Proper testing ensures long-term performance and safety.
For added efficiency, consider smart bulbs or motion sensors if compatible with your track system. Regularly dust the track and light heads to maintain brightness. With proper installation and maintenance, your track lighting will provide reliable, stylish illumination for years.
By following these steps, you can successfully install track lighting in your kitchen, enhancing both functionality and ambiance. Always prioritize safety and consult a professional if unsure about any electrical work.

xxx
How to Use Track Lighting for a Streamlined Kitchen Design – Dwell

Can Track Lighting Ever Be Cool? + Shop Our 18 Favorites – Emily

How to Install Track Lighting
Best Kitchen Track Lighting Ideas u0026 Products

Install Track Lighting
Related Posts:
- Tuscan Kitchen Light Fixtures
- Cottage Kitchen Lighting Ideas
- Country Kitchen Lighting Ideas
- Retro Kitchen Pendant Lights
- Rustic Industrial Kitchen Lighting
- Vintage Kitchen Light Fixtures
- Farmhouse Style Lighting For Kitchen
- Contemporary Kitchen Lighting Design
- Kitchen Bench Pendant Lights
- Kitchen Vanity Lights