Installing a kitchen backsplash around outlets may seem challenging, but with careful planning and the right tools, it can be done seamlessly. This project not only enhances the aesthetic appeal of your kitchen but also protects your walls from spills and stains. By adjusting your backsplash materials and making precise cuts, you can achieve a polished look while maintaining functionality around your outlets. Follow these steps for a professional finish that complements your kitchen design.
Measure and Plan
Before you begin, measure the area where your backsplash will be installed, including around the outlets. Use a measuring tape to determine the dimensions of each outlet and its placement on the wall. Mark the corresponding spots on your backsplash material to ensure accuracy. Planning ahead ensures that your cuts are precise, and the design flows smoothly. Double-check all measurements to avoid unnecessary errors during the installation process.
Cut the Backsplash Material
Using the measurements you’ve taken, cut your backsplash material to fit around the outlets. For tile backsplashes, a tile cutter or wet saw can help you make clean, accurate cuts. If you’re working with materials like laminate or metal, use tin snips or a jigsaw. Be sure to cut slightly larger openings to accommodate the outlet cover plate. Take your time to avoid chipping or damaging the material while cutting.
Adjust Outlet Depth
Outlets installed on a backsplash wall may need adjustment to match the new surface. Use outlet extenders or box spacers to bring the outlets flush with the backsplash. This ensures that the outlet cover plates will sit correctly without leaving gaps. Turn off the power at the circuit breaker before making these adjustments, and double-check for a secure and safe fit before proceeding.
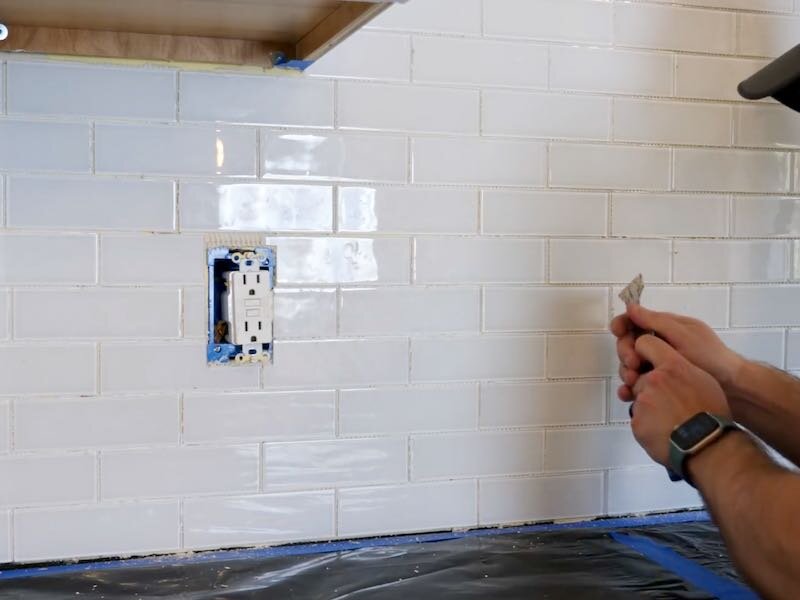
Install the Backsplash
Once your materials are cut and outlets adjusted, begin installing the backsplash. For adhesive tiles, peel off the backing and stick them onto the wall, pressing firmly around the outlet areas. For other materials, apply adhesive or thin-set mortar, then place each piece carefully. Wipe off excess adhesive immediately to keep the surface clean. Continue until the entire backsplash is installed, paying close attention to alignment and spacing.
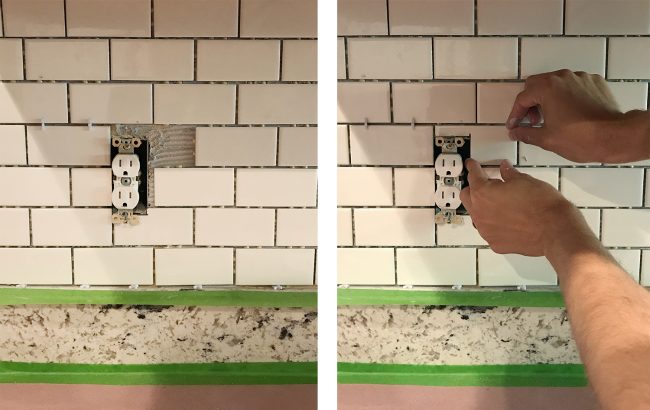
Replace Outlet Covers
After the backsplash has been installed and dried, replace the outlet cover plates. Use a screwdriver to attach them securely, ensuring they sit flush against the backsplash. If the covers don’t fit properly, you may need to make minor adjustments to the backsplash or outlet extenders. With the covers in place, your kitchen will have a cohesive and polished look, with outlets seamlessly integrated into the design.
Images about How To Install Kitchen Backsplash Around Outlets

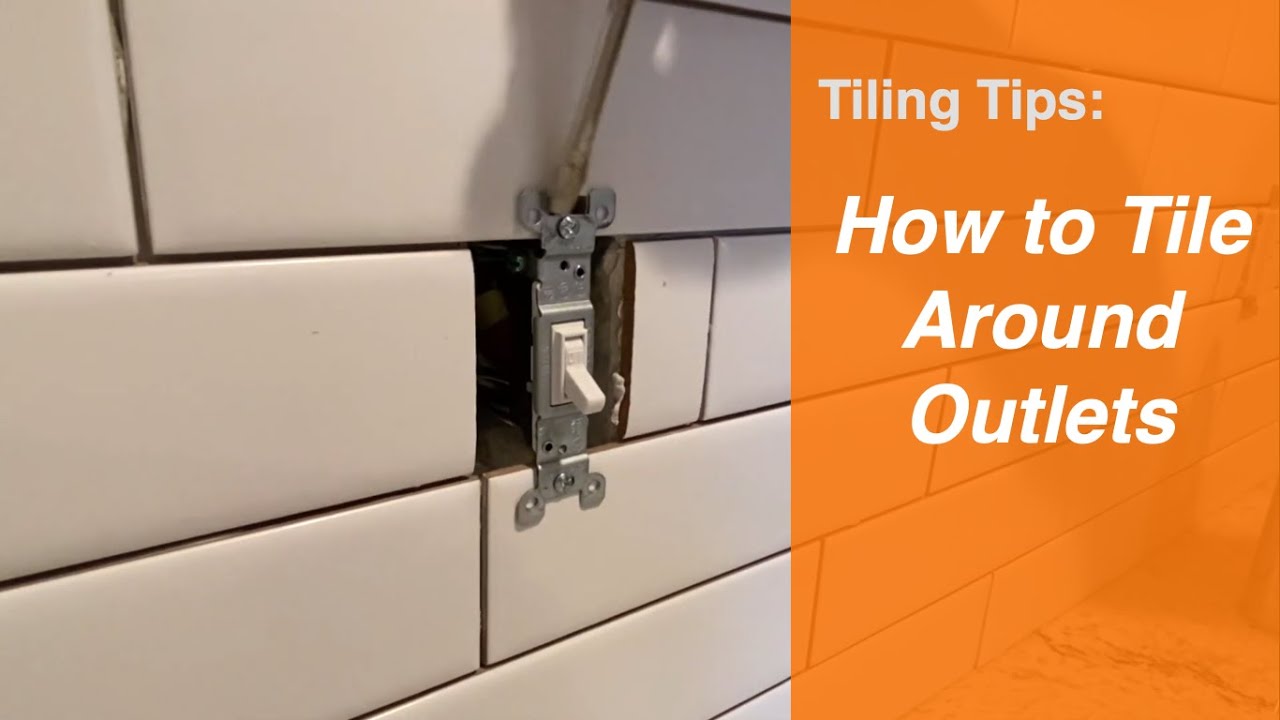
Tiling Tips – Tiling around outlets
How To Install A Subway Tile Kitchen Backsplash Young House Love
Installing Backsplash Tiles Around Outlets Mineral Tiles

How to Tile Around Outlet – DIY

How to Tile a Backsplash – Part 1: Tile Setting – Pretty Handy Girl

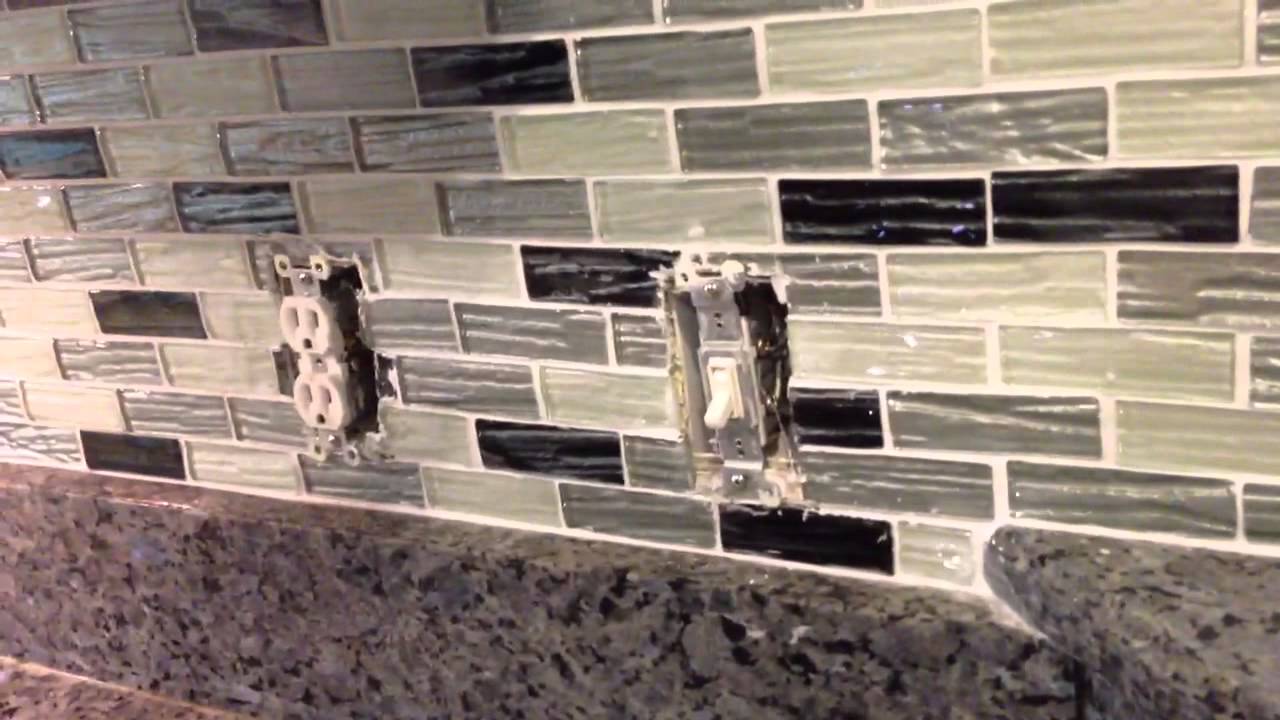
How to Install Wall Tile Around Electrical Outlets

How To Do Receptacles In A Tile Backsplash
How To Adjust Outlets After Tiling

How To Install Subway Tile 🛠 Installing TILE BACKSPLASH for the

How to Cut Peel and Stick Smart Tiles Around an Electrical Outlet?

How To Install Subway Tile 🛠 Installing TILE BACKSPLASH for the
How To Backsplash Around Plugs And Switches (Mesh Backsplash)

Related Posts:
- French Kitchen Backsplash Ideas
- Cottage Kitchen Backsplash
- Country Kitchen Backsplash
- Retro Kitchen Backsplash
- Rustic Wood Kitchen Backsplash
- Vintage Kitchen Backsplash Ideas
- Modern Farmhouse Kitchen Backsplash
- Mid Century Modern Kitchen Backsplash Tile
- Turquoise Kitchen Backsplash Tile
- Mediterranean Tile Kitchen Backsplash