A wobbly kitchen faucet isn’t just annoying—it can lead to water damage and more serious plumbing issues if left unaddressed. Loose faucets typically result from worn mounting hardware, deteriorated gaskets, or improper installation that’s finally showing its weakness. Fortunately, most cases don’t require professional help or expensive parts, just basic tools and about 30 minutes of focused work. This guide walks through diagnosing the problem, gathering necessary supplies, and executing the repair properly. Whether your faucet moves side-to-side or lifts from the sink, these methods will restore stability and prevent future loosening. With the right approach, you can secure your faucet firmly and avoid costly water damage to the cabinetry below.
Identifying the Type of Loose Faucet
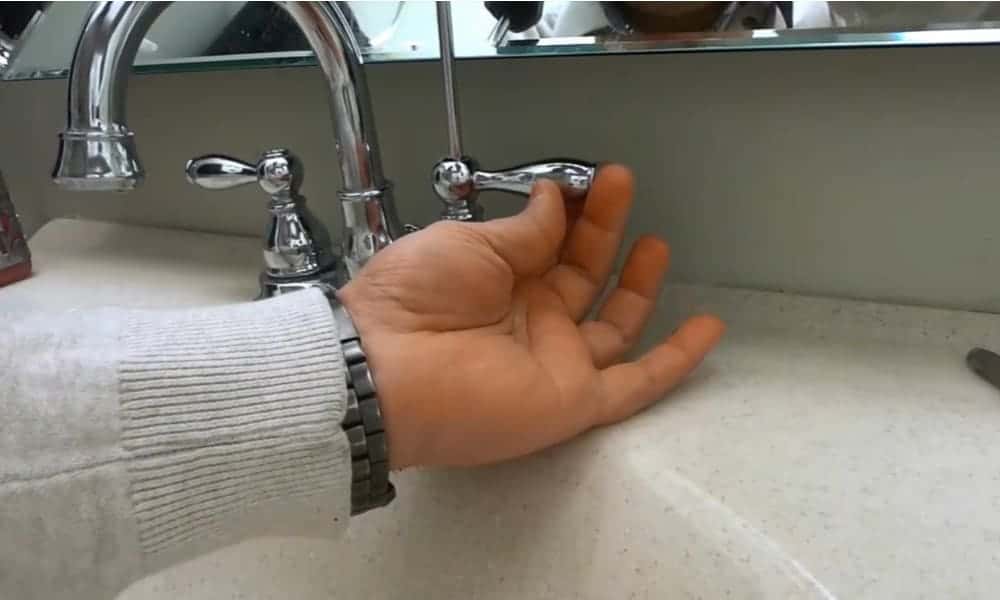
Start by determining how your faucet moves; this indicates which components need attention. Side-to-side wobbling usually points to loose mounting nuts under the sink, while upward movement suggests missing or damaged gaskets. Try gently pushing the faucet in different directions to isolate the movement. Note whether the entire faucet assembly shifts or just the spout itself, as this changes which parts require tightening.
Check for visible gaps between the faucet base and sink surface. A space here means the mounting hardware isn’t compressing properly. Look underneath the sink for signs of water dripping from the base, which often accompanies loose connections. Single-handle faucets tend to loosen more than two-handle models due to their centralized movement, but both types use similar mounting systems.
Consider when the problem began. If the faucet loosened shortly after installation, the mounting hardware probably wasn’t tightened sufficiently. For older faucets that gradually became wobbly, plastic or rubber components may have deteriorated. Faucets in heavy-use households or those experiencing frequent side pressure (from pulling the sprayer, for example) naturally work themselves loose over time.
Gathering Necessary Tools and Parts
Most faucet repairs require only basic tools: adjustable wrenches, basin pliers, screwdrivers, and possibly a flashlight for better visibility. Keep a small container handy to organize removed hardware and prevent losing pieces down the drain. Have plumber’s putty or silicone caulk available if the sink’s mounting holes show wear. For faucets with set screws, locate the correct Allen wrench size before starting.
Inspect under the sink to determine if you’ll need replacement parts. Take photos of the existing setup to reference during reassembly. Common replacement items include rubber gaskets, plastic friction rings, and metal washers, available at hardware stores in universal repair kits. If corrosion has damaged mounting nuts or bolts, purchase stainless steel replacements to prevent future problems.
For difficult access situations, consider specialized tools like a basin wrench or a telescoping mirror. Protect your sink’s finish by placing a towel under tools and hardware. If working with a garbage disposal or other under-sink equipment, temporarily disconnect power and water supplies for safety. Keep the manufacturer’s installation instructions handy if available, as some faucets have unique mounting systems.
Tightening the Mounting Hardware
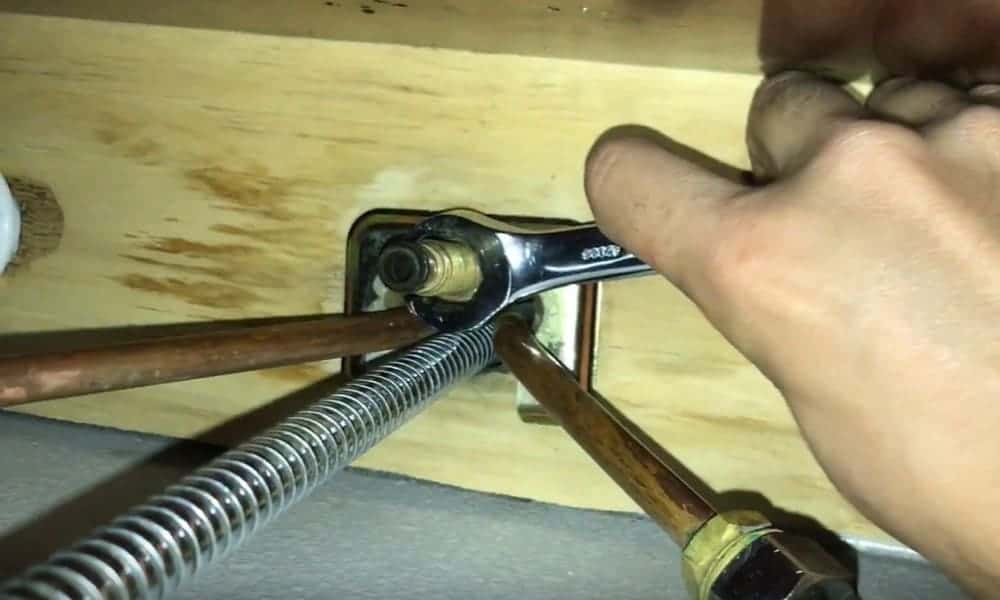
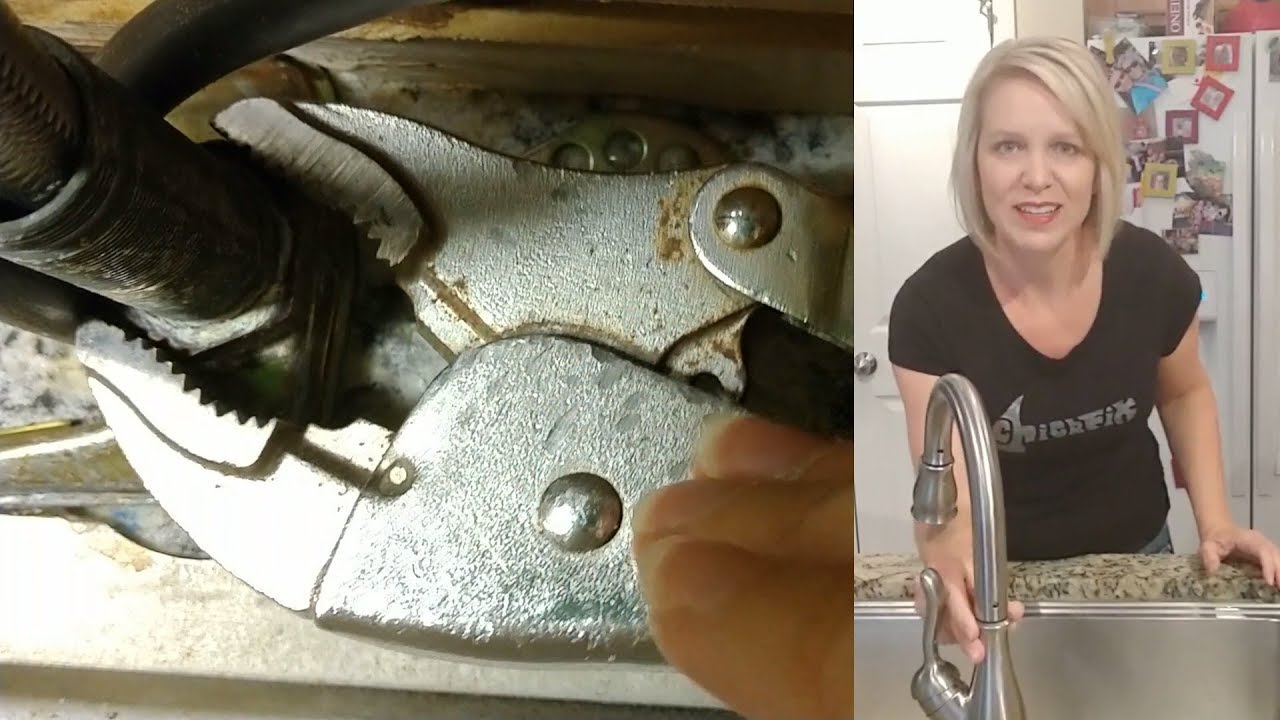
Begin by shutting off water supply valves under the sink and opening the faucet to drain remaining water. Clean the area around the faucet base to prevent debris from falling into the sink during work. Locate the mounting nuts beneath the sink—usually large plastic or metal nuts securing the faucet to the countertop. Some models have multiple nuts or a mounting plate that needs adjustment.
Use appropriate tools to tighten the mounting nuts clockwise. For plastic nuts, hand-tighten first, then give a quarter-turn with pliers—overtightening can crack them. Metal nuts typically require more torque, but stop when resistance increases significantly. Have an assistant hold the faucet steady above while you work below to prevent twisting water lines. Alternate between nuts if multiple exist to ensure even pressure distribution.
Check for proper alignment as you tighten—the faucet should sit squarely on the sink without gaps. If the faucet still moves, look for additional set screws or locking mechanisms near the base. Some designs have screws accessible from above after removing a decorative cap. Tighten these carefully with the correct screwdriver to avoid stripping the heads.
Replacing Worn Gaskets and Washers
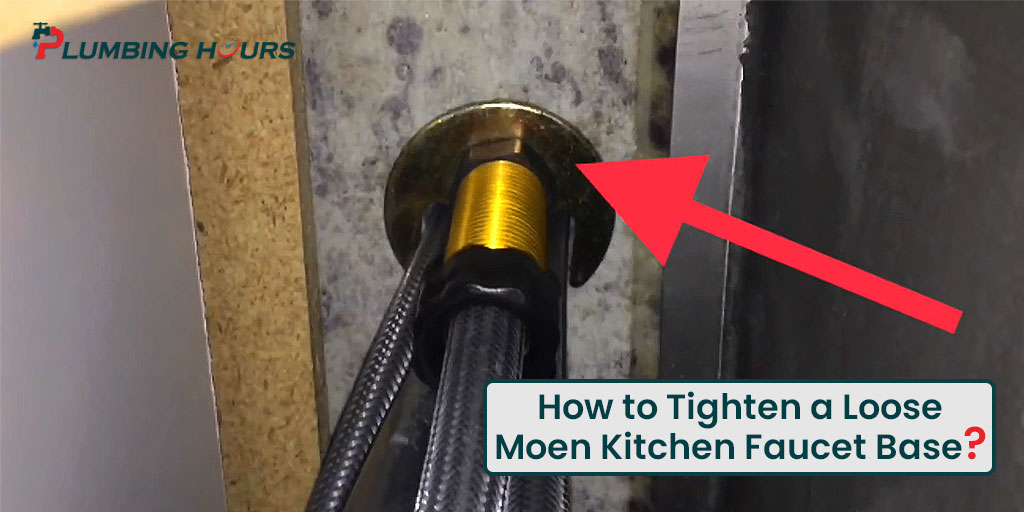
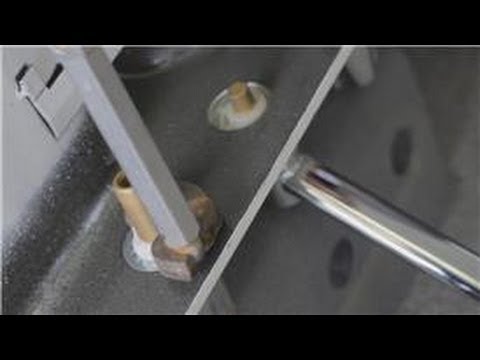
If tightening alone doesn’t solve the problem, disassemble the mounting to inspect gaskets. Loosen the mounting nuts completely and carefully lift the faucet to access components between the faucet base and sink. Look for flattened, cracked, or missing rubber gaskets that should provide friction. Remove any debris or old plumber’s putty from the sink’s mounting holes.
Install new gaskets in the proper orientation—some have tapered designs that only work one way. Apply plumber’s putty or silicone caulk around the sink holes if the existing sealant has deteriorated. For faucets with plastic friction rings, replace these if they show wear. Stack metal washers as originally configured, ensuring they sit flat against each other without gaps.
Reassemble the mounting system, hand-tightening nuts before final adjustment. The faucet base should compress slightly into the new gaskets when properly tightened. Wipe away excess putty or caulk that squeezes out during tightening. Let silicone cure for the recommended time before using the faucet if applied.
Addressing Special Faucet Designs
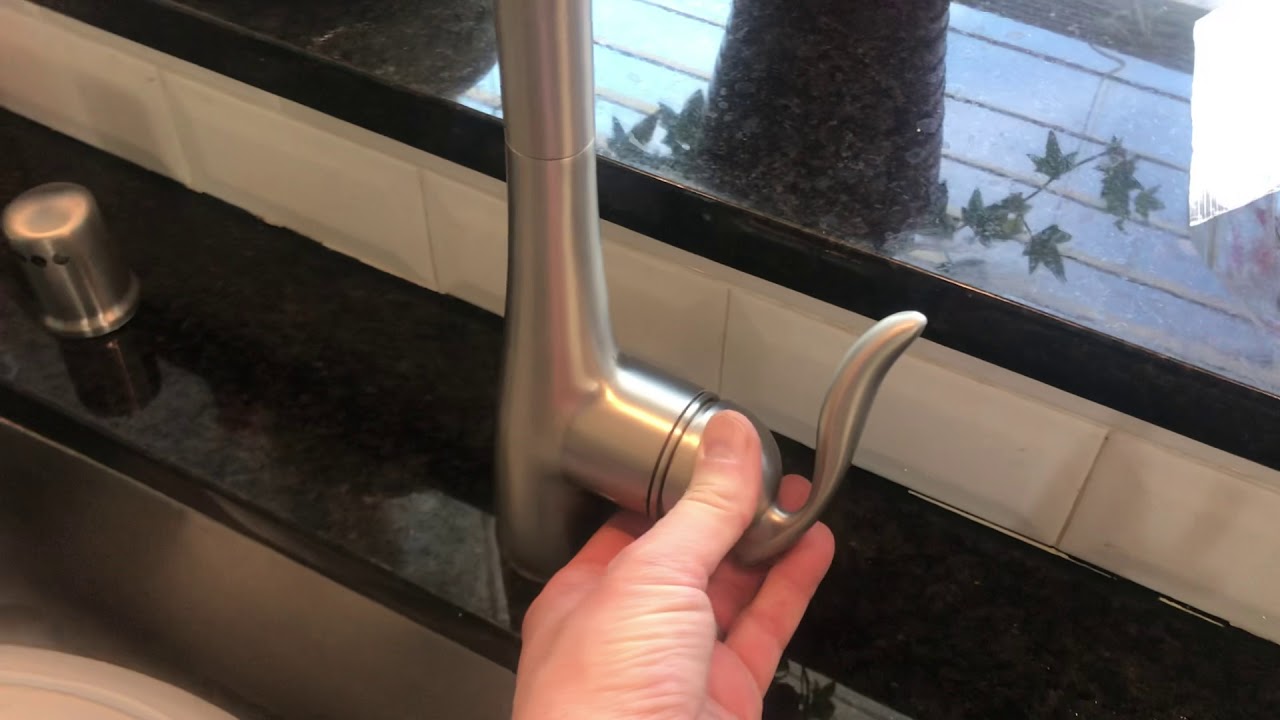
Pull-down sprayer faucets often loosen at the swivel mechanism near the spout base. Tighten any visible set screws with an Allen wrench after aligning the sprayer properly. Check the weight’s position on the hose underneath—it should hang freely without pulling on connections. Replace worn O-rings in the swivel joint if water leaks when moving the sprayer.
Bridge faucets with separate hot and cold handles have additional mounting points. Ensure all mounting bolts are equally tight to prevent rocking. Some models use a center bolt beneath the spout that needs adjustment. Two-handle faucets may require tightening escutcheon plates covering the sink holes before addressing the main mounting nut.
Commercial-style faucets with gooseneck spouts often have heavy-duty mounting systems. Look for a large metal collar or clamp mechanism beneath the sink that may need retightening. These models sometimes require two people—one to stabilize the heavy spout above while another tightens below.
Preventing Future Loosening
After repairing, monitor the faucet’s stability during regular use. Avoid applying sideways pressure when operating handles or sprayers. Install a faucet support bracket if your sink material is thin or flexible—these distribute weight across a larger area. Periodically check mounting nuts for tightness, especially during seasonal temperature changes that cause materials to expand and contract.
Consider upgrading mounting hardware if the faucet loosens repeatedly. Replace plastic nuts with metal ones for heavier faucets, or add rubber washers between metal components to absorb vibration. Apply thread sealant tape to mounting bolts to help maintain tightness. For rental properties or vacation homes, schedule annual faucet inspections as part of routine maintenance.
Educate household members about proper faucet use—no hanging dish towels on the spout or using it for leverage when standing up. Address any sink flexing issues that may transfer movement to the faucet. With proper installation and occasional checks, your kitchen faucet should remain securely in place for years.
When to Call a Professional
If the faucet continues wobbling after thorough tightening and gasket replacement, underlying issues may exist. Sink mounting holes that have become enlarged require professional attention—they may need reinforcement or a special mounting plate. Significant corrosion on mounting hardware could indicate water damage needing assessment.
Call a plumber if you discover cracked supply lines, significant leaks, or stripped threads during repair. Faucets installed on tile or stone countertops sometimes need specialized anchoring systems. Likewise, commercial-grade faucets or those integrated with filtration systems often benefit from professional servicing.
For renters, consult your landlord before attempting repairs that might void warranties or lease agreements. Some municipalities require licensed professionals for any plumbing work beyond basic maintenance. When in doubt about your abilities or the problem’s complexity, investing in professional service prevents costly mistakes.
Final Testing and Maintenance Tips
After completing repairs, slowly turn water supply valves back on and check for leaks at all connections. Operate the faucet through all functions—hot, cold, spray modes—while monitoring stability. Let the faucet run for a minute to flush any debris from the lines that may have loosened during work.
Wipe down the faucet and sink area to remove fingerprints, tools marks, or lubricants used during repair. Document the repair process and parts used for future reference, especially if the faucet has an extended warranty. Consider applying a waterproof marker to mark proper nut positions, making future tightening checks easier.
Establish a quarterly maintenance routine—check faucet tightness when replacing air filters or testing smoke detectors. Keep spare gaskets and washers on hand for quick future repairs. With proper attention and care, your kitchen faucet should provide stable, reliable service for its entire lifespan.

Faucet Repair : How to Repair a Loose Kitchen Faucet
Why Your Kitchen Faucet Keeps Coming Loose and How to Repair It

Loose Moen kitchen faucet handle fix (3/32″ allen)
Related Posts: