I remember the first time I installed a kitchen countertop – it seemed daunting, but breaking it down into manageable steps made all the difference. Whether you’re working with laminate, granite, or butcher block, properly attaching your countertop ensures stability, safety, and longevity. Over the years, I’ve learned techniques that make the process smoother and help avoid common mistakes. From preparing the base cabinets to making precise cuts for appliances, each step contributes to a professional-looking result. Here’s my tried-and-true approach to attaching kitchen countertops that has served me well through multiple kitchen renovations.
Preparing the Base Cabinets
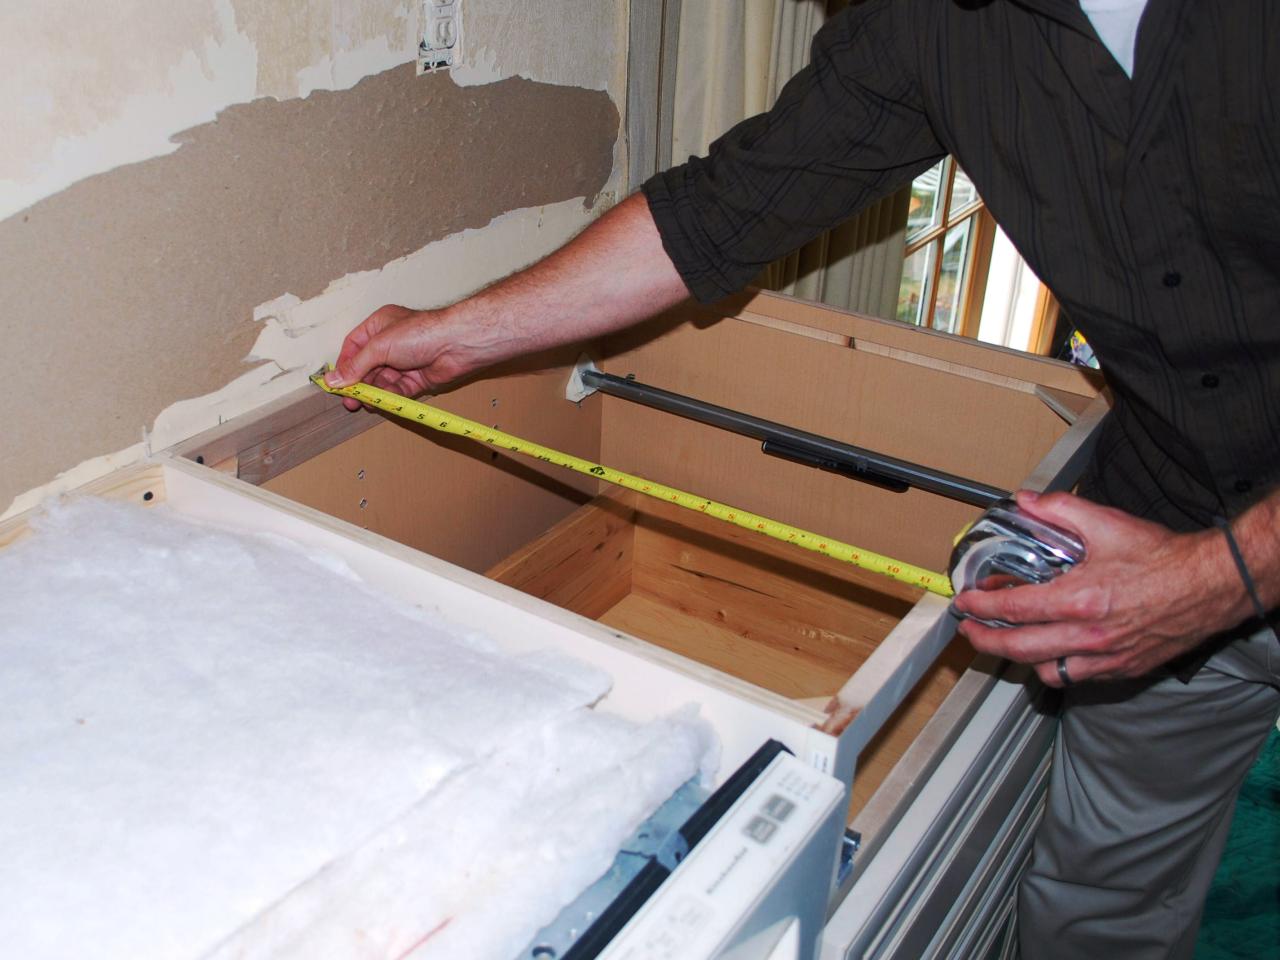
Before attaching any countertop, the base cabinets must be perfectly level and securely fastened. I use a 4-foot level to check across the cabinet runs, shimming underneath as needed to eliminate any gaps. Uneven cabinets will cause the countertop to rock or develop stress cracks over time. I always double-check that all cabinets are screwed together firmly and anchored to wall studs – any movement in the base will transfer to the countertop.
The front edge of cabinets should create a straight, even line. I measure from the wall at multiple points to ensure the cabinets are properly aligned. For peninsula or island installations, I verify that freestanding cabinets are square using the 3-4-5 triangle method. Taking time with this preparation prevents headaches when fitting the countertop later. I also remove drawers and doors to have clear workspace and protect them from damage during installation.
For sink bases or other cabinets with cutouts, I reinforce the opening with additional blocking. The weight of a sink or cooktop can cause unsupported areas to sag over time. I install 2×4 braces between cabinet sides at the front and back of openings. This extra support gives me confidence that the countertop will remain stable under daily use. Proper cabinet preparation might not be glamorous, but it’s the foundation for a successful installation.
Dry-Fitting the Countertop
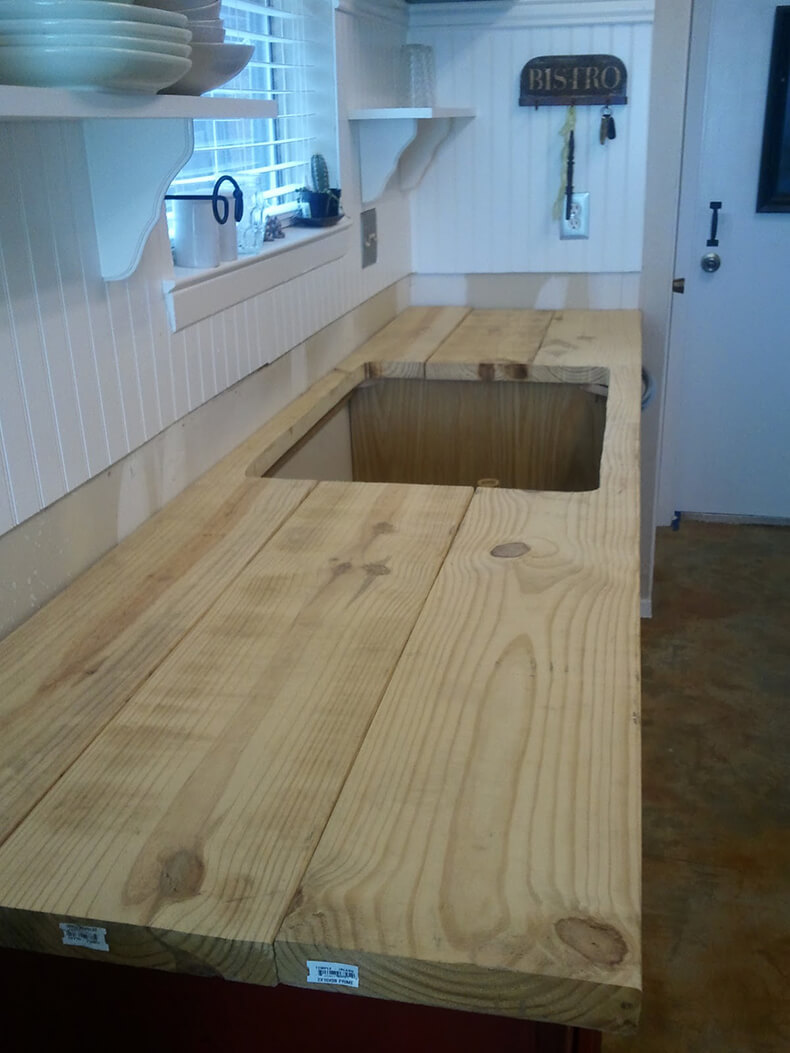
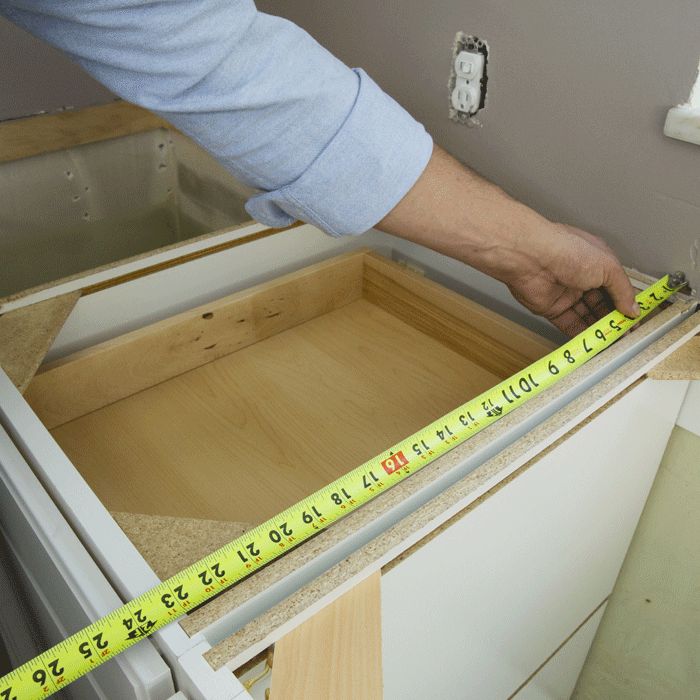
I never skip the crucial step of dry-fitting the countertop before final installation. This lets me verify all measurements and make necessary adjustments without adhesive complications. For laminate countertops, I check that the backsplash aligns properly with the wall, marking any areas that need trimming. With natural stone, I confirm the overhang is consistent along all edges – typically 1 to 1.5 inches beyond the cabinet face.
During dry-fitting, I pay special attention to corner joints and seams. For L-shaped layouts, I ensure the mitered corners meet tightly without gaps. If I’m joining two pieces to create a longer run, I check that the seam will be properly supported by cabinet structure underneath. This is when I make any final cuts for sinks, cooktops, or outlets, using cardboard templates for precise openings.
I also test fit any appliances that will be installed with the countertop. Slide-in ranges and drop-in sinks need exact cutouts to sit flush with the surface. Taking time with this step prevents costly mistakes – I learned this the hard way after having to replace a granite slab I cut too large for the space. Dry-fitting reveals issues while they’re still easily correctable.
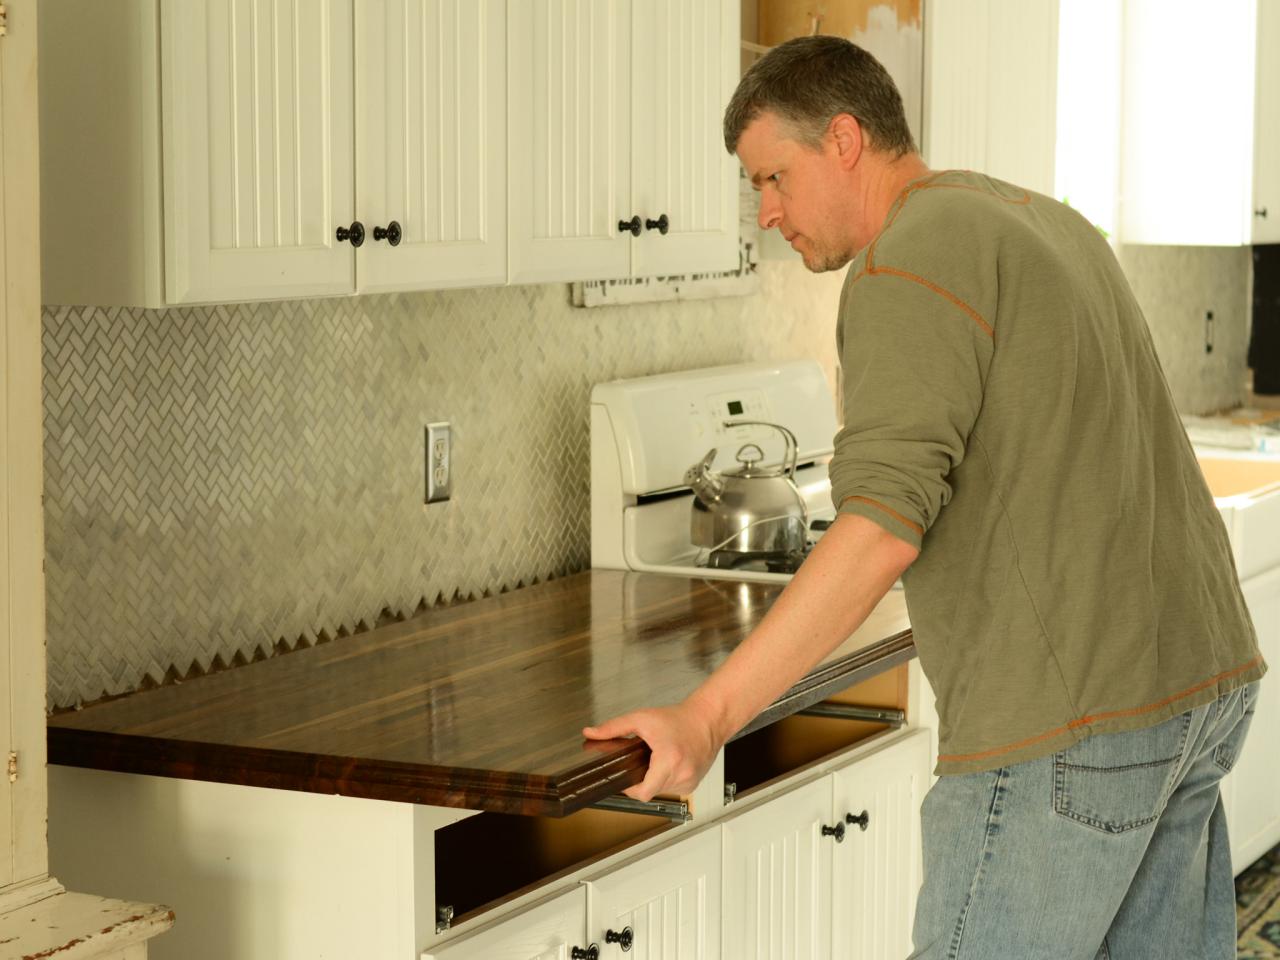
Securing Laminate Countertops
When attaching laminate countertops, I apply a continuous bead of construction adhesive along the top edges of all base cabinets. I use a high-quality adhesive specifically formulated for countertop installation – it needs to withstand heat and moisture. The adhesive should form small “worms” about 1/4 inch thick and 1/2 inch apart. Too much adhesive can cause the countertop to float unevenly, while too little won’t provide adequate bonding.
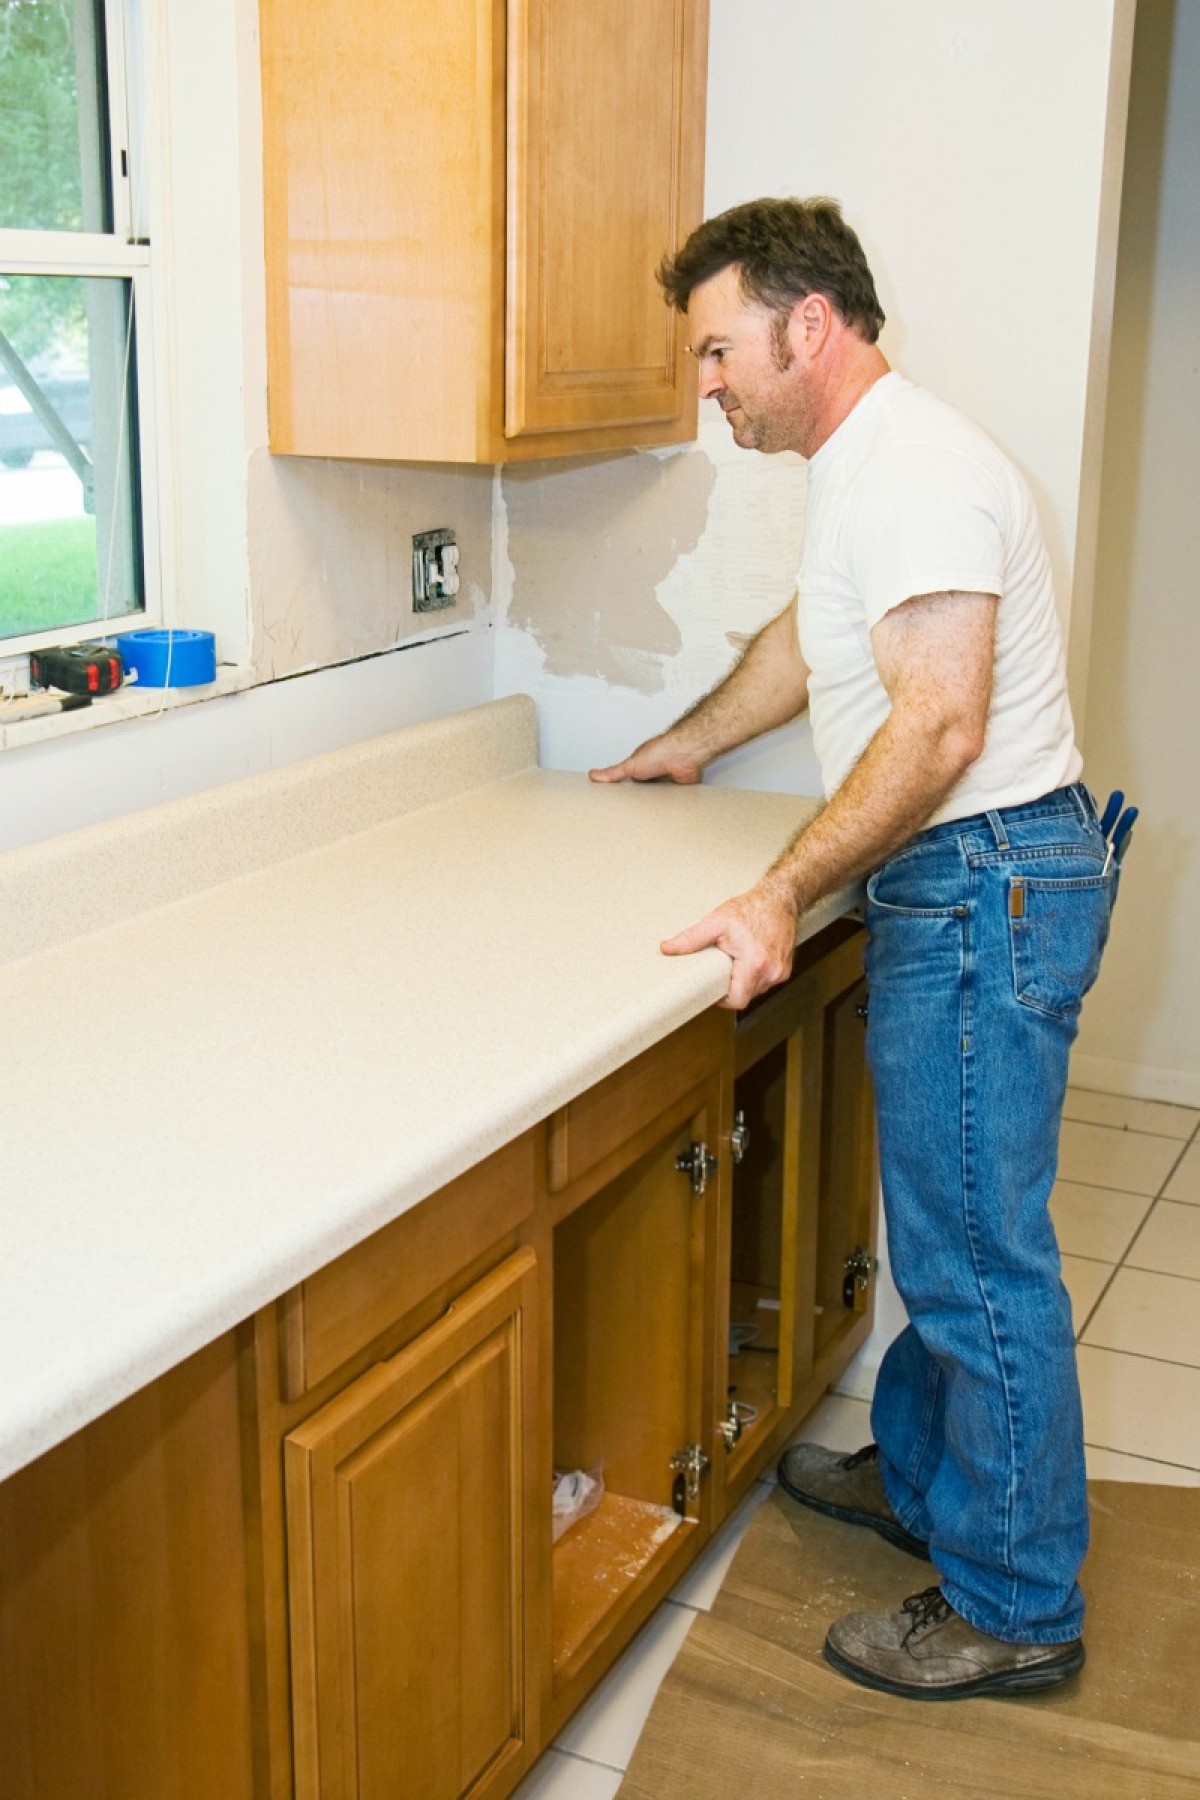
I carefully lower the countertop into position, starting at one end and working my way along. For longer sections, I enlist help to prevent the countertop from shifting before the adhesive sets. Once positioned, I apply even pressure across the entire surface, walking along it to ensure full contact. Some installers use weights, but I’ve found body weight distributed evenly works well. I immediately wipe away any adhesive that squeezes out with a damp cloth before it dries.
For added stability, I install clips or brackets underneath where the countertop meets the cabinets. These provide extra holding power while the adhesive cures. I pay special attention to areas around sinks and other cutouts that might need additional support. After installation, I avoid placing heavy items on the countertop for 24 hours to allow the adhesive to fully set. This method has kept my laminate countertops securely in place for years without movement or separation.
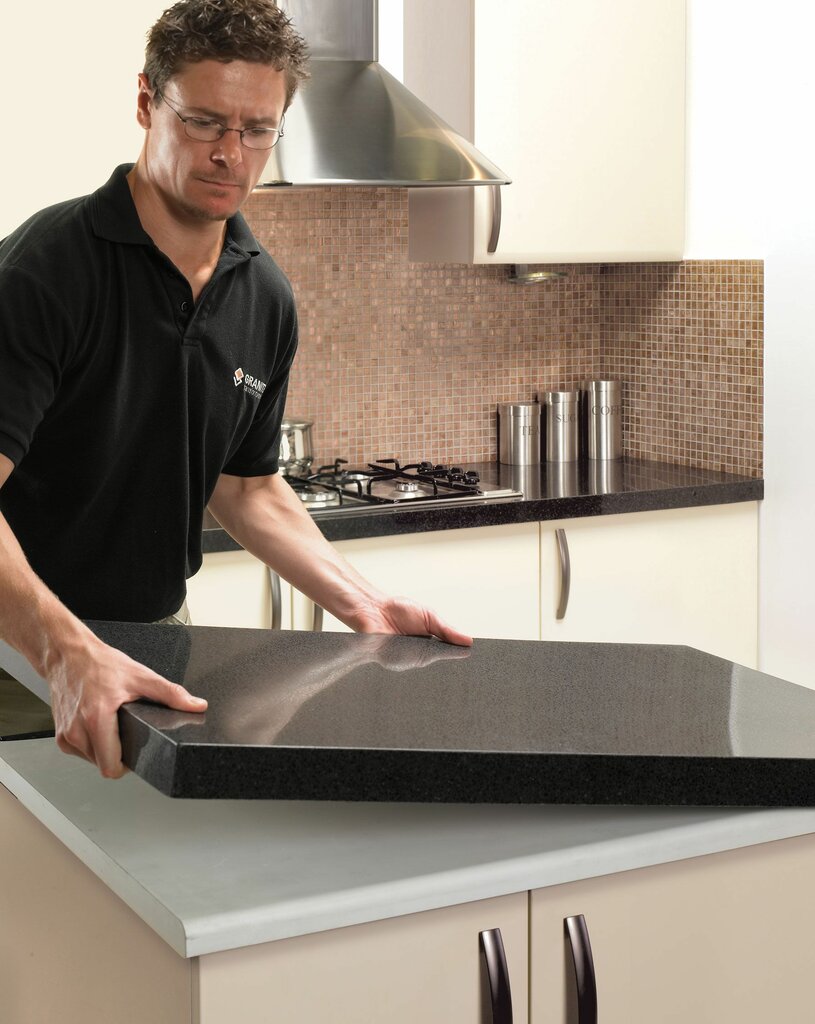
Installing Heavy Stone Countertops
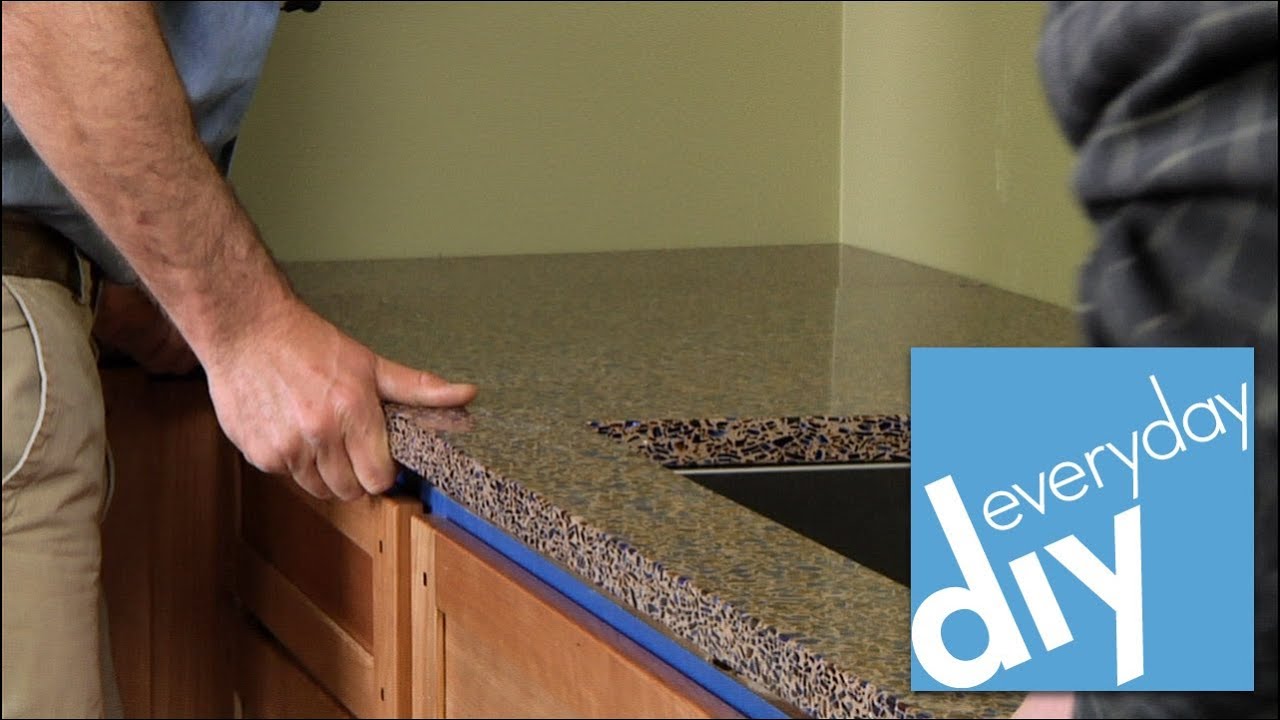
Stone countertops require special handling due to their weight and fragility. I always have at least two helpers when moving slabs – even a small mistake can cause costly damage or injury. Before lifting, I confirm we have a clear path to the installation area with no tripping hazards. We use specialty suction cup handles for better grip and control when positioning the stone.
Instead of adhesive, stone countertops typically sit on a bed of silicone caulk or specialty mortar. I apply generous beads along the cabinet tops, then carefully lower the stone into place. The mortar should be thick enough to fill any slight imperfections but not so thick that it prevents the stone from sitting level. I use rubber mallets for fine adjustments, tapping gently to align edges without cracking the stone.
Support brackets are essential for stone installations. I install metal L-brackets every 16 inches along the cabinet frame, screwing them into both the cabinet and the underside of the countertop. For overhangs greater than 12 inches, I add corbels or decorative brackets underneath for additional support. The weight of stone means these countertops won’t shift like lighter materials might, but proper support prevents cracking from stress over time.
Finishing and Sealing Edges
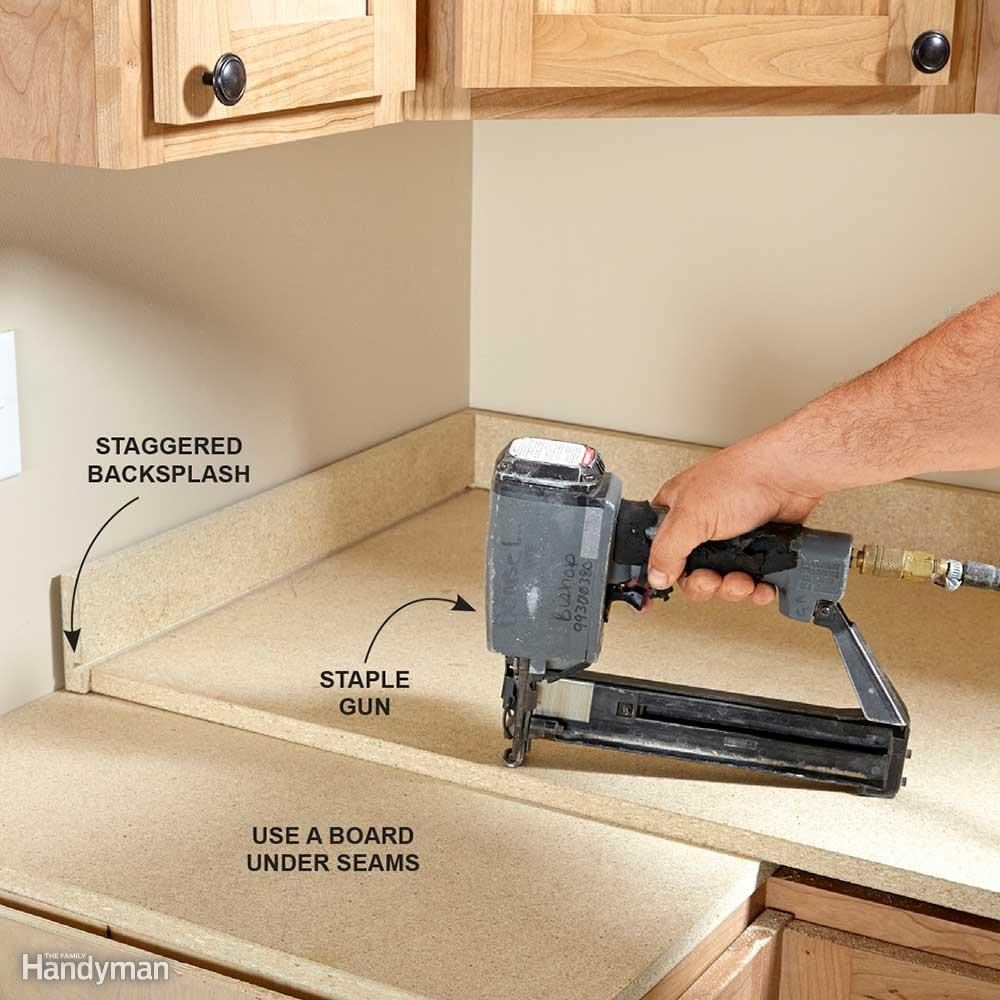
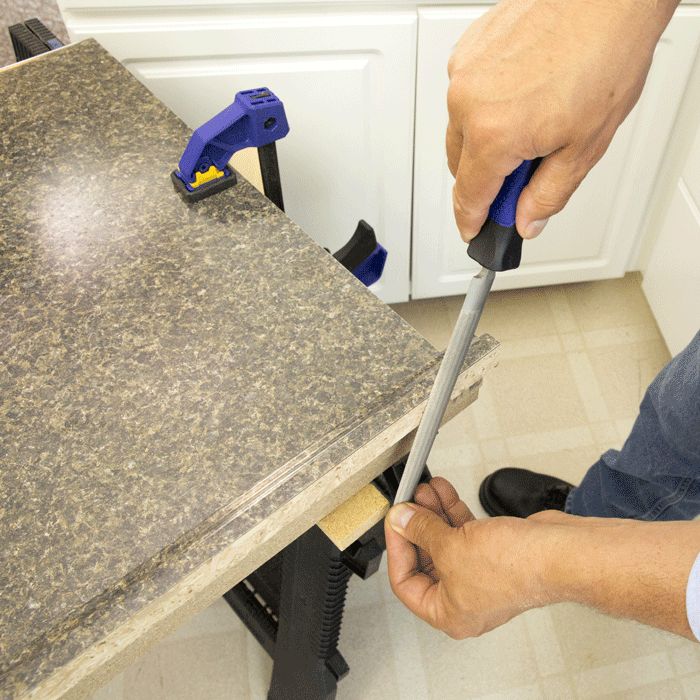
After the countertop is secured, I focus on finishing details that make the installation look professional. For laminate countertops, I apply color-matched seam sealer where pieces join or meet walls. This prevents water infiltration that could cause swelling or delamination. I smooth the sealer with a plastic putty knife for a clean finish that’s barely noticeable.
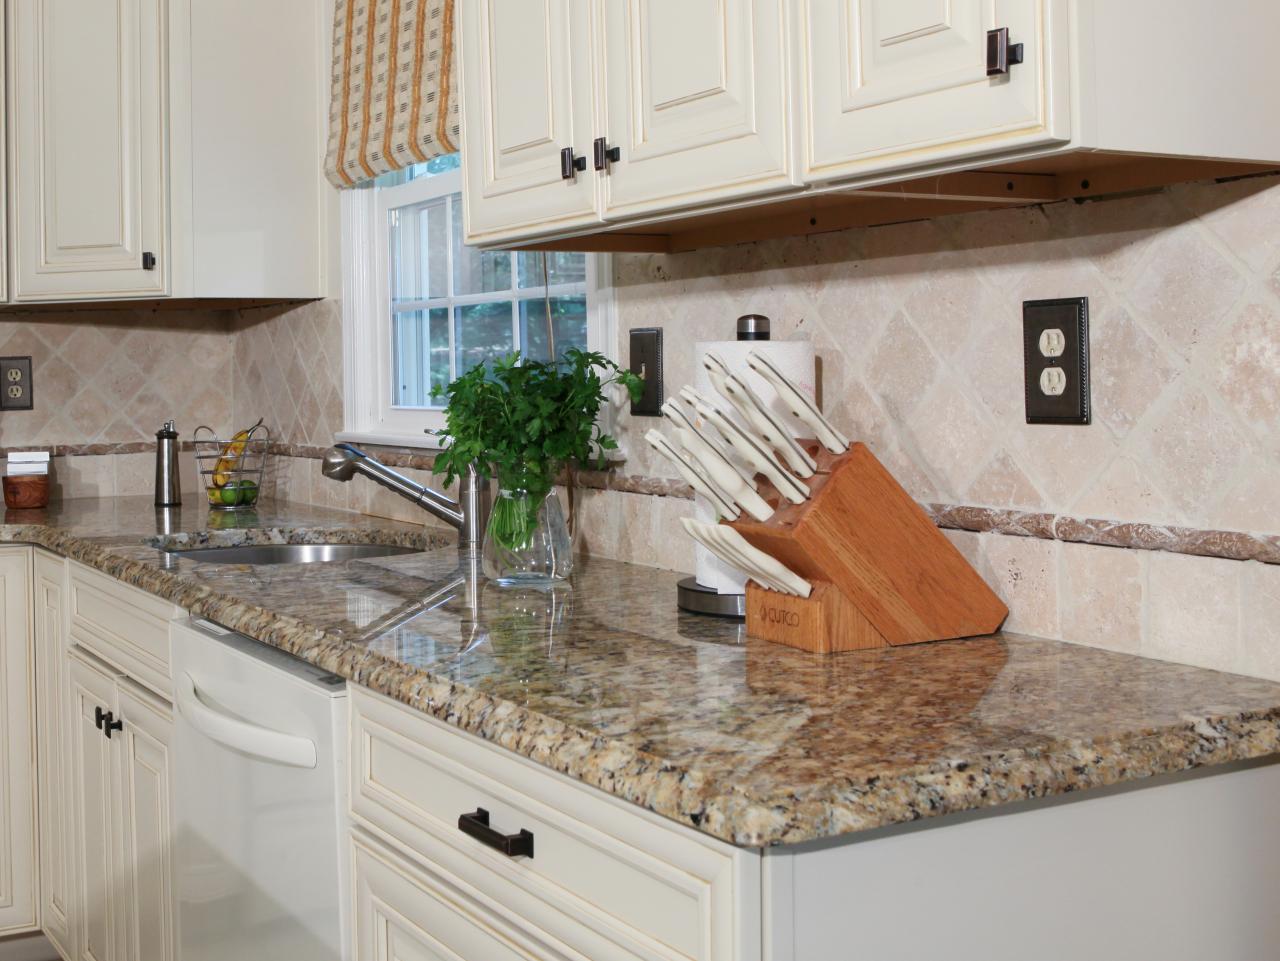
With natural stone, I apply impregnating sealer according to the manufacturer’s instructions. This protects against stains while maintaining the stone’s natural appearance. I pay special attention to the edges and any cutouts, ensuring complete coverage. For wood countertops, I apply multiple coats of food-safe finish, sanding lightly between coats for a smooth surface.
Finally, I install end caps or edge trim where needed. Laminate countertops often benefit from metal or wood edge banding for durability. I measure carefully and use contact cement for a permanent bond. For stone, I sometimes add a decorative edge profile using a router with a diamond bit. These finishing touches protect vulnerable edges and complete the polished look of the installation.
Connecting Plumbing and Appliances
The final step is reconnecting all plumbing and appliances to complete the installation. For sink cutouts, I first apply a bead of silicone caulk around the edge before setting the sink in place. The caulk creates a watertight seal that prevents leaks into the cabinet below. I let this cure before attaching the drain assembly and water supply lines.
Cooktops and drop-in ranges need careful alignment with the countertop cutout. I verify the fit is snug but not tight enough to stress the countertop material. Gas connections require extra caution – I always check for leaks using soapy water after reconnecting. For electrical outlets near backsplashes, I ensure the countertop doesn’t interfere with cover plate installation.
Finally, I reinstall any cabinet doors and drawers removed earlier. I take time to adjust hinges and slides as needed since countertop installation can sometimes slightly alter cabinet alignment. A last check with my level confirms everything is perfectly positioned before declaring the job complete.
What’s the best adhesive for attaching laminate countertops?
I’ve had the best results with construction adhesives specifically formulated for countertop installation. Products like Liquid Nails Countertop Adhesive or PL Premium provide strong, lasting bonds that withstand kitchen conditions. These adhesives remain slightly flexible after curing, which helps accommodate minor movements without breaking the bond. I avoid general-purpose construction adhesives as they may not handle the heat and moisture present in kitchens.
The adhesive should be applied in continuous beads rather than dabs or spots for even support. I typically use about one tube per 8 linear feet of countertop. It’s important to follow the manufacturer’s open time recommendations – some adhesives require installation within 15 minutes while others allow more working time. Proper adhesive selection and application prevents countertop movement and extends the life of your installation.
How do you handle countertop installation around uneven walls?
Uneven walls are common in older homes and require special techniques for a clean look. For laminate countertops, I use a scribing technique where I trace the wall’s contour onto the countertop backsplash, then carefully sand or route to match the shape. This creates a tight fit that hides wall imperfections. With stone countertops, I maintain a consistent small gap (about 1/8 inch) that gets filled with color-matched caulk.
In extreme cases, I might need to shim the countertop away from the wall to maintain a level surface, then cover the gap with a taller backsplash. The key is preserving the countertop’s level plane while accommodating wall irregularities. Taking time with these adjustments makes the finished installation look intentional and professional rather than highlighting the wall’s flaws.
Can you install a new countertop over an old one?
While possible in some cases, I generally don’t recommend installing new countertops over old ones. The added height can create problems with appliance fit, window alignment, and cabinet functionality. The underlying surface may also have imperfections that telegraph through to the new countertop. In my experience, the time saved by skipping removal is often lost dealing with these complications.
That said, if the existing countertop is perfectly smooth, securely attached, and you’re installing a thin material like laminate, it can work. I’ve done this in rental properties where quick updates were needed. You must ensure the old surface is clean, stable, and any damaged areas are repaired first. The new countertop will need to accommodate the increased thickness at edges and cutouts.
How much overhang should a kitchen countertop have?
Standard countertop overhang is 1 to 1.5 inches beyond the cabinet face. This provides enough space to protect cabinet doors from spills while maintaining comfortable ergonomics. For seating areas like kitchen islands, I increase the overhang to 12-15 inches to allow knee clearance. These measurements account for both functionality and structural integrity.
The overhang should be consistent along all exposed edges for a polished look. I measure carefully during installation, using spacers if needed to maintain even spacing. For stone countertops, excessive overhang without proper support can lead to cracking. When clients request larger overhangs, I add steel supports or decorative brackets underneath for stability.
What tools are essential for countertop installation?
My must-have tools include a good circular saw with fine-tooth blade for laminate, a jigsaw for cutouts, and a router for edge treatments. For measurements, I rely on a 4-foot level, tape measure, and combination square. Caulk guns, clamps, and suction cups for handling stone are also essential. Specialty items like seam setters for laminate or diamond hole saws for stone faucet cutouts make the job easier.
Don’t overlook safety equipment – work gloves, eye protection, and knee pads save me from countless minor injuries. For adhesive application, notched trowels in the right size ensure proper coverage. Having these tools ready before starting prevents mid-project delays. While some tools are expensive, they’re worth the investment if you plan multiple installations.
How long should you wait before using a newly installed countertop?
Drying times vary by material and installation method. For laminate countertops attached with construction adhesive, I recommend waiting 24 hours before placing heavy items or applying pressure. Stone countertops set in mortar need 48 hours for full curing before connecting plumbing or appliances. Wood countertops with fresh finish should cure for at least 72 hours before regular use.
Even after these periods, I advise gentle use for the first week as materials fully stabilize. Avoid placing hot pans directly on surfaces until sealers have fully cured (check product specifications). Following these guidelines ensures your investment lasts and performs as intended. Rushing to use the countertop can compromise the installation quality.
How To Install Laminate Countertops Step By Step

How to Install Laminate Countertops
How to Install Laminate Countertops

How to Install a Level Countertop
How to Install a Granite Kitchen Countertop
Related Posts: