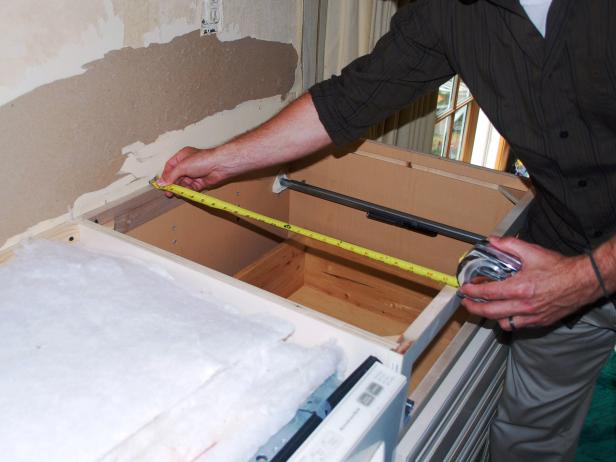
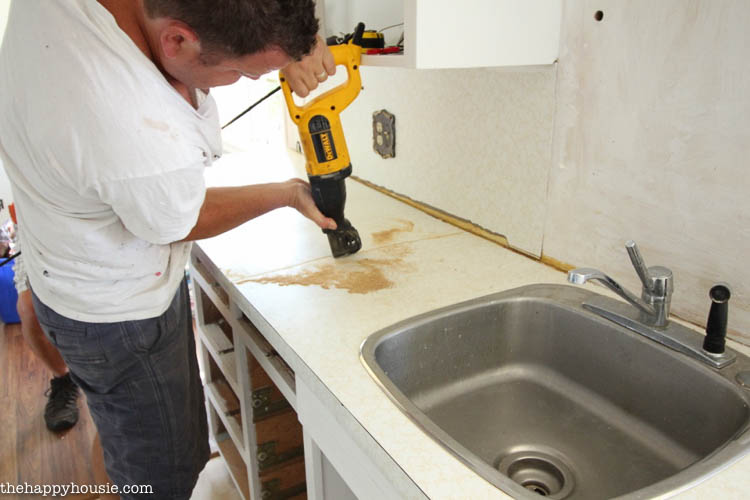
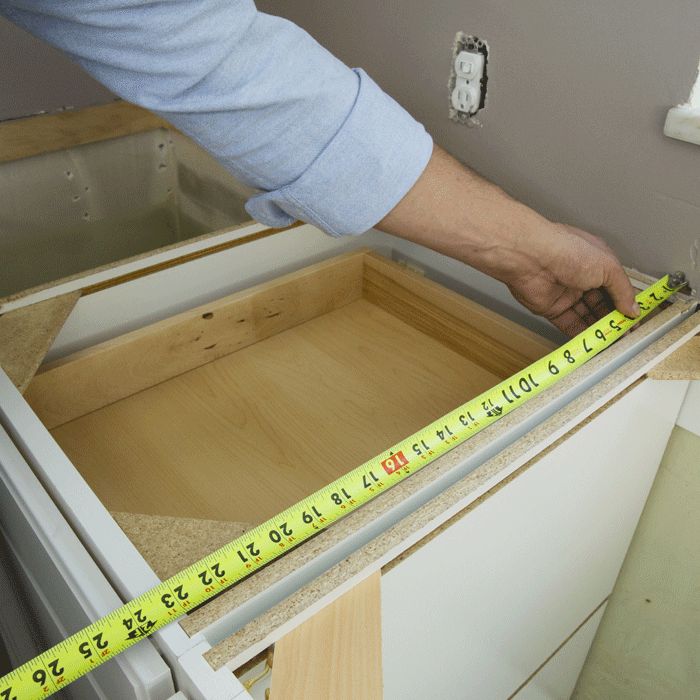
Preparing the Base Cabinets
Before installing, ensure all base cabinets are level and securely anchored to the wall. Use shims to adjust any uneven areas, checking with a 4-foot level across the cabinet run. Remove doors and drawers for easier access during installation. Clean cabinet tops thoroughly, removing debris that could prevent proper adhesion. For laminate countertops, apply a continuous bead of construction adhesive along the cabinet frames. With stone or solid surface materials, install plywood subtops first for added support. Mark cabinet locations on the countertop underside for accurate placement.
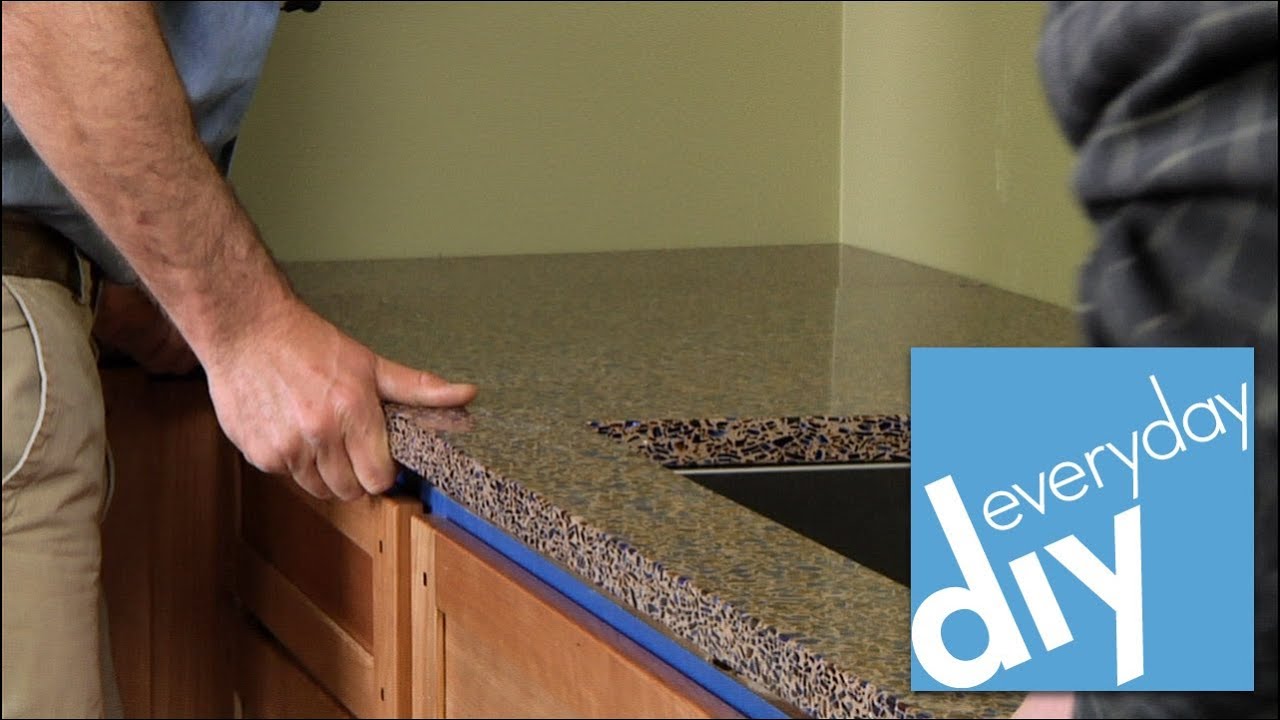
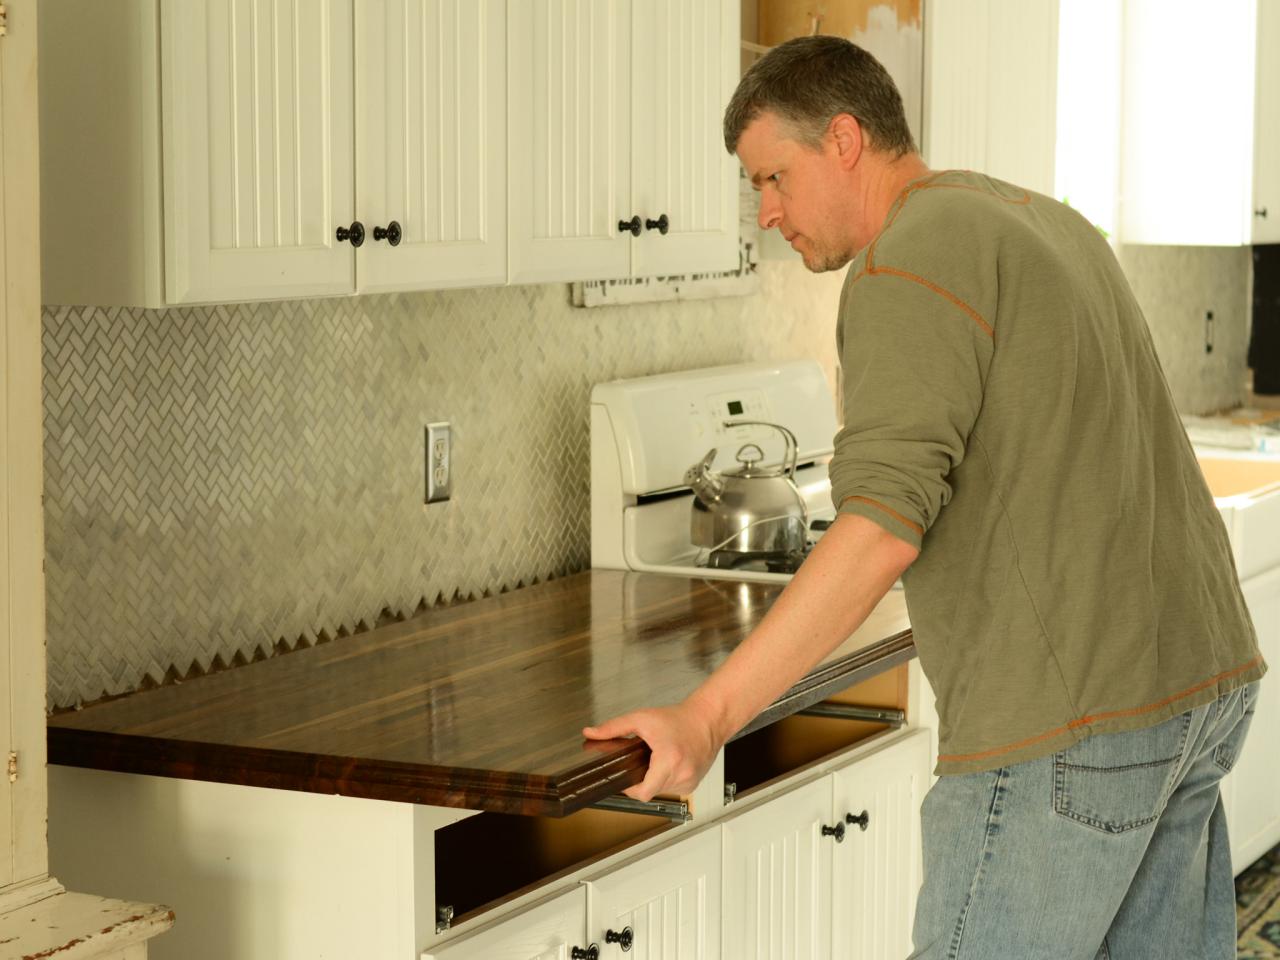
Positioning and Securing the Countertop
Enlist help to lift and position heavy countertop sections carefully. Align the countertop with cabinet markings, ensuring proper overhang (typically 1-1.5 inches at the front). Check for equal reveals along walls using spacers if needed. For multiple sections, clamp pieces together before final fastening. Secure laminate countertops with brackets screwed into cabinet stiles. Stone surfaces require special clips that allow slight movement. Drill pilot holes through mounting rails to prevent splitting. Tighten all connections gradually, rechecking level after each adjustment. Leave expansion gaps in corners for materials that contract or expand.
Joining Countertop Sections Seamlessly
Butt joint seams tightly, applying sealant to the mating edges for water-resistant bonds. Use connector bolts underneath for stone surfaces, tightening until flush. For laminate, apply seam adhesive and clamp overnight. Sand any slight height differences with 120-grit paper for smooth transitions. Match grain patterns or veining across sections when possible for visual continuity. Position seams over cabinet supports rather than open spans. On L-shaped installations, miter corners at 45-degree angles for professional results. Always follow manufacturer recommendations for specific material joining techniques.
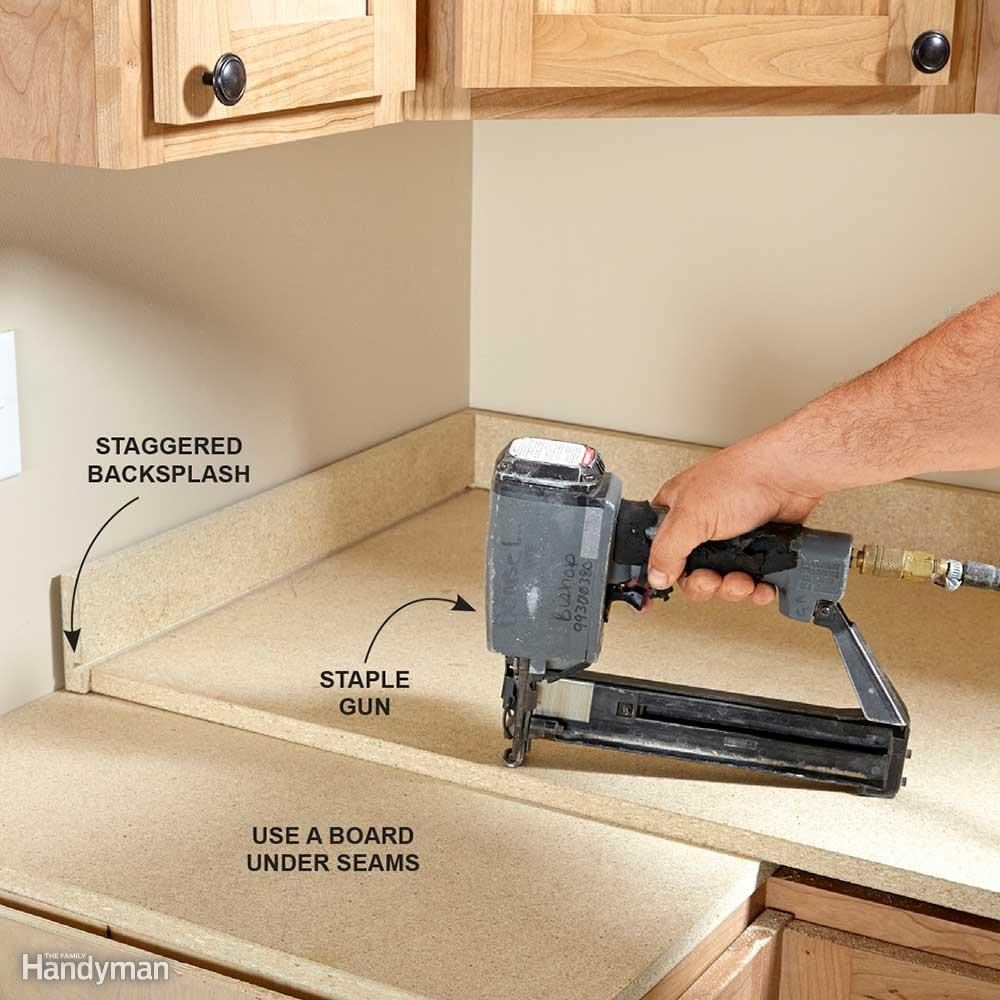
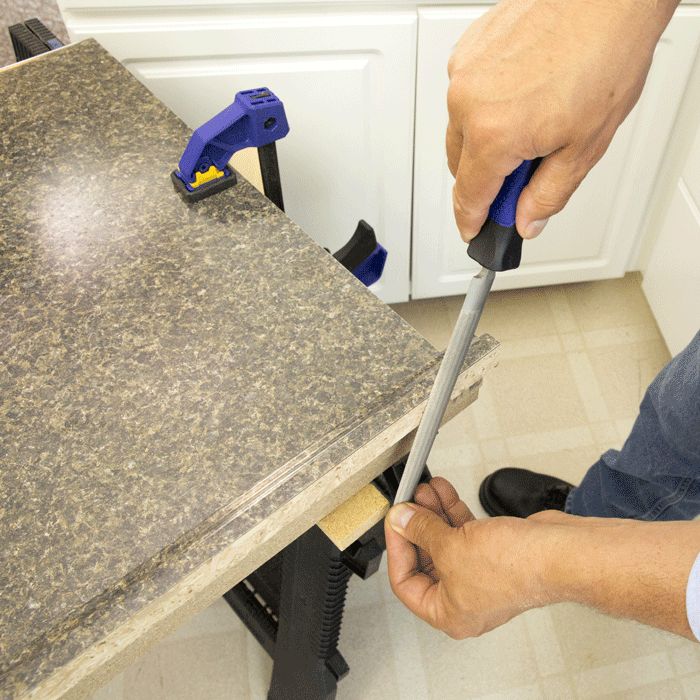
Finishing and Sealing Edges
Install end caps on laminate countertops using contact cement for exposed edges. File edges smooth and apply matching color putty to minor imperfections. Seal natural stone with impregnating sealers, reapplying as recommended. Run a bead of silicone caulk along backsplash joints and wall interfaces. For undermount sinks, apply waterproof sealant around cutout edges. Allow all adhesives and sealants to cure fully before using the surface. Remove excess caulk with a damp finger for clean lines. Polish the entire surface with appropriate cleaners to restore luster after installation.
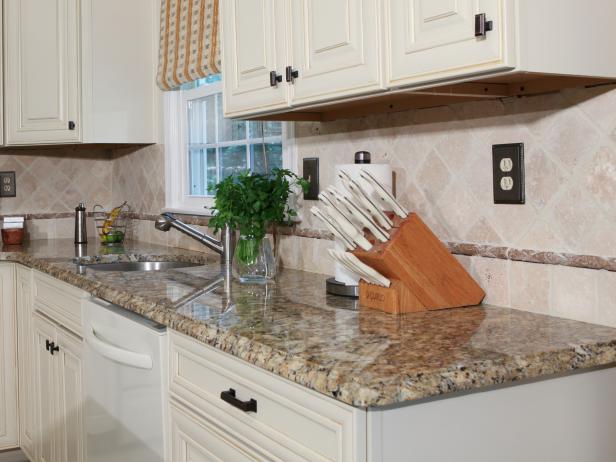
Final Checks and Adjustments
Test all areas for stability, tightening any loose brackets or clips. Verify doors and drawers open freely without hitting countertop overhangs. Check that appliances fit properly in designated spaces. Ensure adequate clearance between the countertop and upper cabinets (typically 18 inches). Make final level adjustments with thin shims if needed. Clean the surface thoroughly to remove installation debris. For cooktop cutouts, confirm proper ventilation clearance. Document seam locations and special care instructions for future reference. Wait at least 24 hours before placing heavy objects on adhesive-secured countertops.
Images about How To Attach A Kitchen Countertop
How to Install a Granite Kitchen Countertop
Installing Laminate Countertops Family Handyman
How to Install Laminate Countertops

How to Install a Granite Kitchen Countertop
How to Install Laminate Countertops
How To Install Laminate Countertops Step By Step

How to Install New Countertops on Old Cabinets The Happy Housie
How to Install Laminate Countertops
How to Install a Level Countertop
Related Posts: