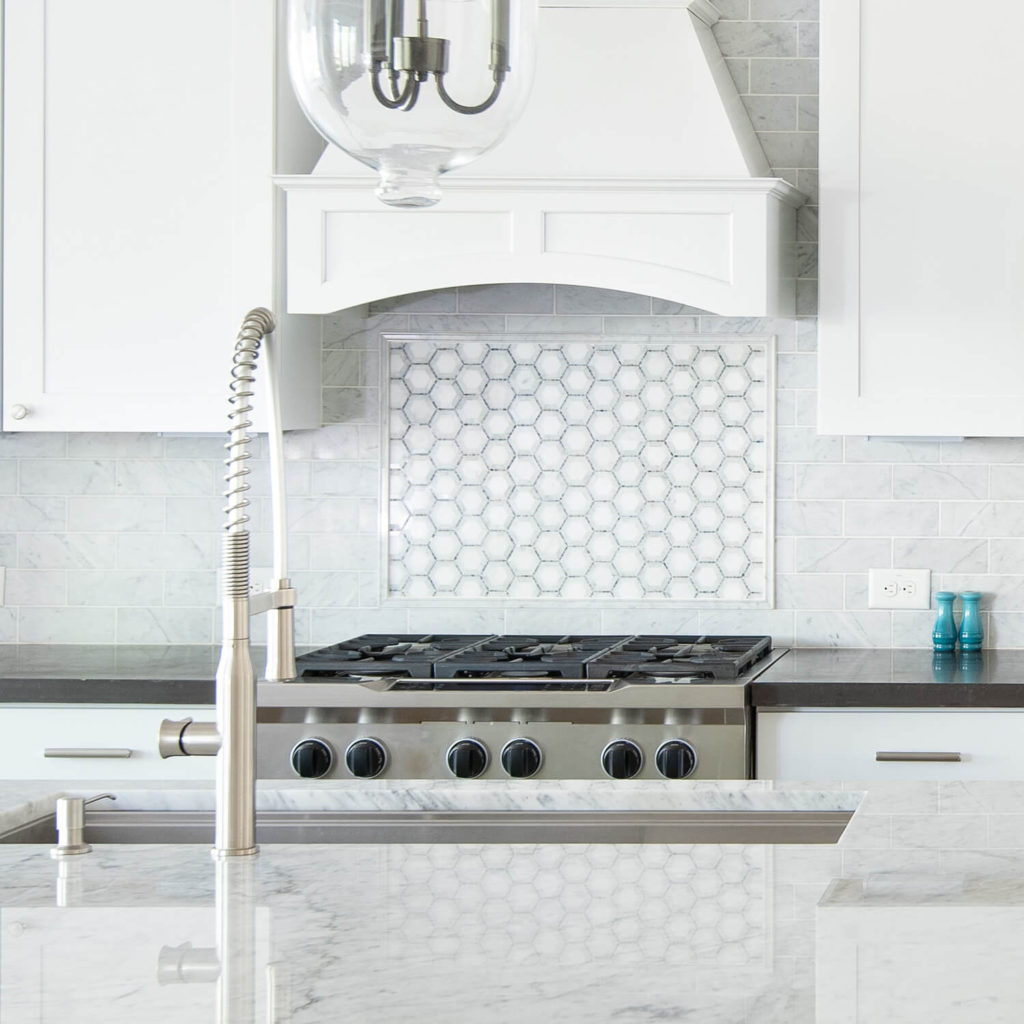
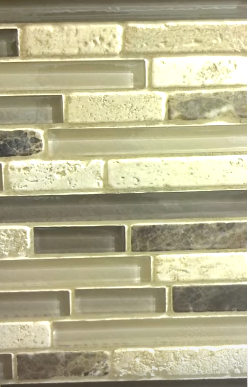
A kitchen backsplash adds style and protection to your cooking space, but the grout between tiles is often overlooked. Without proper sealing, grout absorbs spills, grease, and stains, leading to discoloration and bacteria buildup. A good grout sealer acts as a shield, keeping your backsplash looking fresh and making cleanup easier. Let me explain why sealing grout matters, how to choose the right product, and the best application methods for long-lasting results.
Why You Need to Seal Your Backsplash Grout
Grout is porous, meaning it soaks up liquids quickly. In a kitchen, this can be a problem—oil splatters, tomato sauce, and even water can seep in, leaving stains and promoting mold growth. A sealer creates a protective barrier, preventing these issues before they start. I’ve seen unsealed grout turn dark and grimy within months, while sealed grout stays clean with minimal effort.
Beyond stains, unsealed grout can weaken over time. Constant exposure to moisture causes it to crack or crumble, leading to costly repairs. Sealing helps maintain the grout’s integrity, ensuring your backsplash lasts longer. If you’ve ever had to scrub grout lines with a toothbrush, you know how frustrating it is—sealing eliminates that hassle.
Applying a sealer is a small investment of time that pays off in the long run. It’s not just about looks; it’s about hygiene and durability. Once I started sealing my grout regularly, I noticed how much easier it was to wipe away spills without worrying about permanent marks. If you want a low-maintenance kitchen, sealing should be a priority.
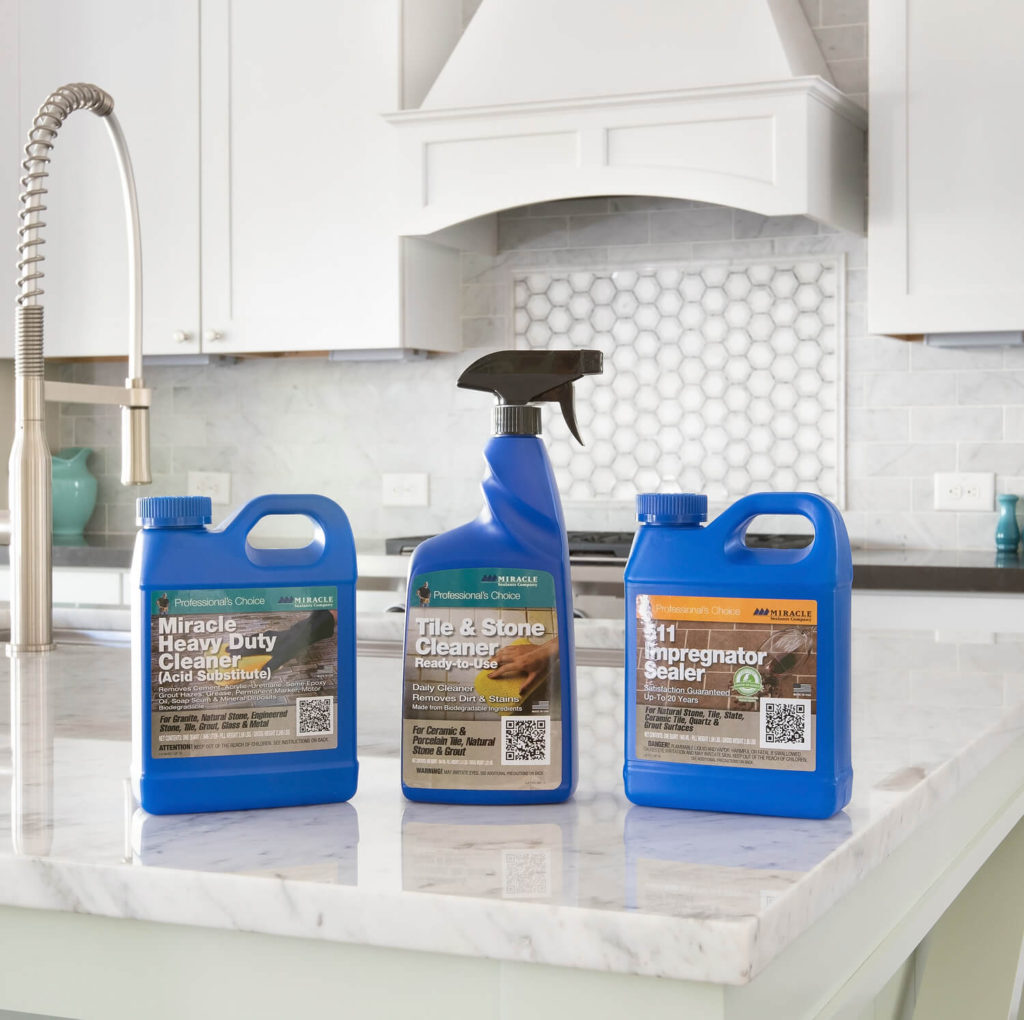
Choosing the Right Grout Sealer
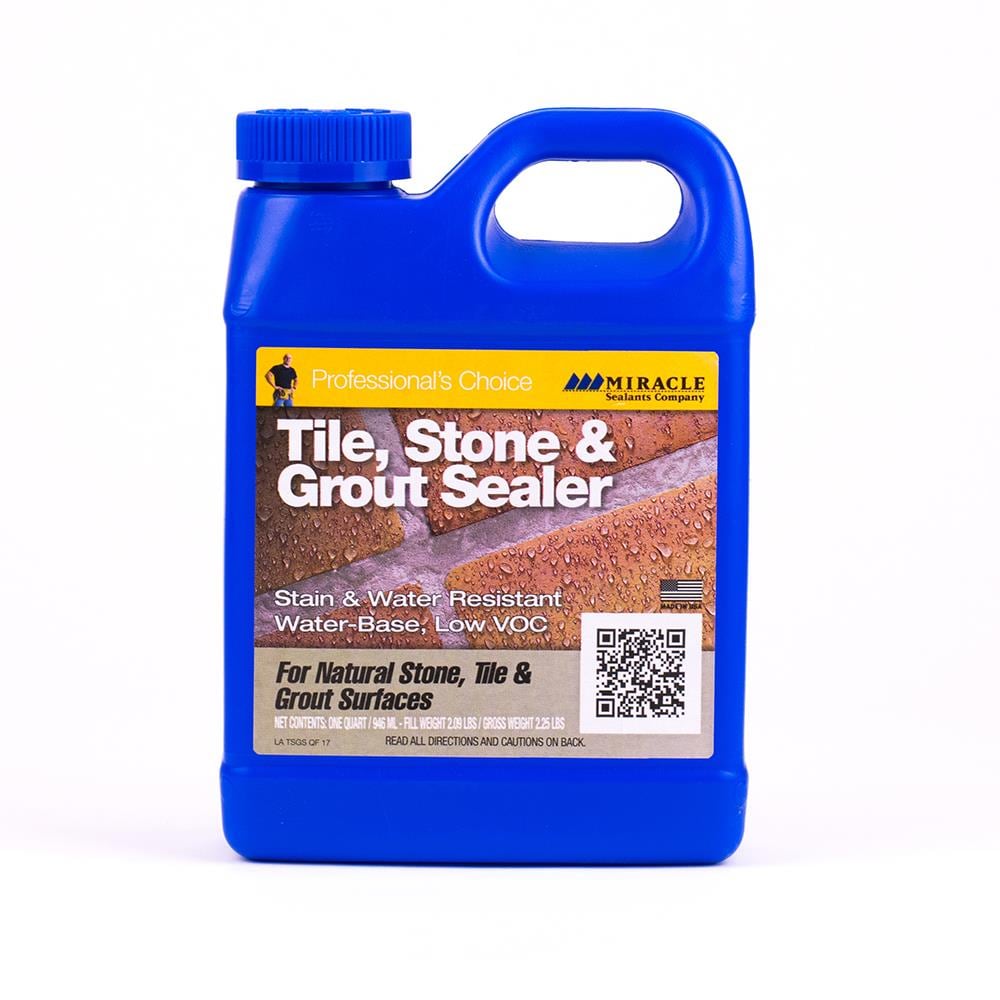
Not all sealers work the same way, so picking the right one is key. Penetrating sealers soak into the grout, repelling liquids without changing its appearance. These are my go-to choice because they’re long-lasting and don’t leave a glossy film. If you prefer a natural look, this type is ideal. Just make sure it’s labeled for kitchen use, as some are only for floors or outdoor tiles.
Another option is membrane-forming sealers, which create a thin protective layer on top of the grout. These are great for heavy-use areas but may need more frequent reapplication. I’ve found that they can alter the grout’s texture slightly, so test a small area first. Water-based sealers are easy to apply and clean up, while solvent-based ones offer stronger protection but have stronger fumes.
Consider your grout type too. Cement-based grout needs sealing more than epoxy grout, which is naturally resistant. Always check the manufacturer’s recommendations—some products work better on certain materials. I made the mistake of using the wrong sealer once, and it didn’t absorb properly, leaving streaks. A little research saves time and money.
How to Apply Grout Sealer Properly
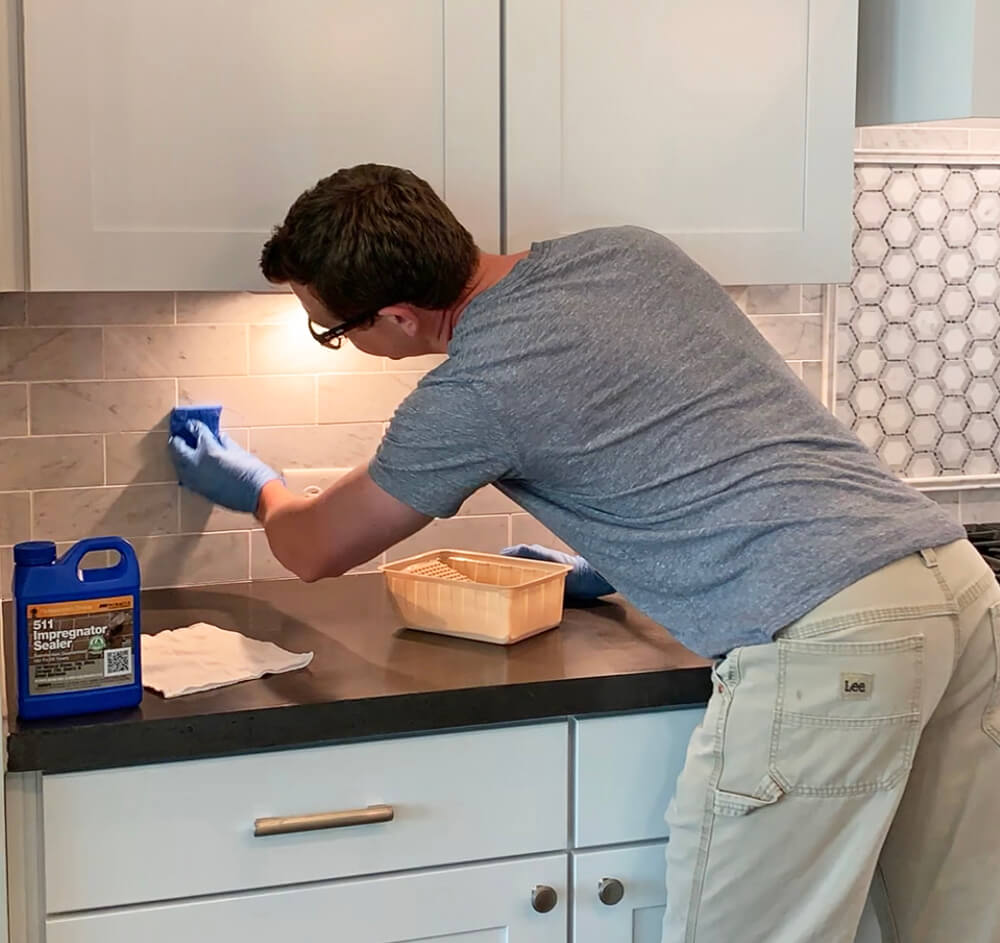
Preparation is crucial for a smooth sealing process. First, clean the grout thoroughly—any dirt or grease will block the sealer from penetrating. I use a mix of baking soda and water or a pH-neutral cleaner, scrubbing with a stiff brush. Let it dry completely; sealing damp grout traps moisture and reduces effectiveness.
Apply the sealer with a small brush or applicator bottle, working in small sections. I focus on one area at a time, making sure the sealer soaks in evenly. Don’t let it pool on the tile surface—wipe excess immediately with a cloth. Some people use spray-on sealers, but I prefer brushing for better control. Two thin coats are better than one thick one, allowing proper absorption.
After application, wait at least 24 hours before exposing the grout to water. I usually seal my backsplash on a weekend when I won’t need to cook. Reapply every 1-2 years, depending on wear. If water stops beading on the surface, it’s time for a refresh. Proper application ensures maximum protection without wasting product.
Common Mistakes to Avoid
One big mistake is skipping the cleaning step. Sealer won’t adhere well to dirty grout, leading to uneven protection. I learned this the hard way when my first attempt left patchy spots. Another error is applying too much sealer, which can leave a sticky residue or hazy film. Less is more—let the grout absorb what it needs and wipe off the rest.
Rushing the drying process is another pitfall. If you seal grout that’s even slightly damp, the moisture gets trapped, causing mold or weakening the bond. I always check with a moisture meter or wait an extra day if unsure. Also, avoid using harsh cleaners right after sealing—they can break down the protective layer before it fully cures.
Lastly, forgetting to reseal is a common oversight. Even the best sealer wears down over time. I set a reminder on my phone to check my grout every year. If water soaks in instead of beading up, it’s time for another coat. Consistent maintenance keeps your backsplash in top shape.

Best Cleaning Practices for Sealed Grout
Once your grout is sealed, cleaning becomes much simpler. For daily maintenance, a damp cloth or mild soapy water is enough. I avoid abrasive scrubbers that can wear down the sealer over time. If stains appear, a paste of baking soda and water works well—just rinse thoroughly afterward.
For tougher grease or food splatters, a pH-neutral cleaner is safe. I stay away from vinegar or bleach, as they can degrade the sealer. Steam cleaners are great for deep cleaning but use them sparingly—too much heat and moisture can weaken the seal. After cleaning, I always dry the area with a towel to prevent water spots.
Regular upkeep keeps the sealer effective longer. I wipe my backsplash after cooking to prevent buildup. Every few months, I do a light scrub with a soft brush to remove any residue. Sealed grout shouldn’t need heavy scrubbing, so if you’re struggling, it might be time to reseal.
When to Call a Professional
While sealing grout is a DIY-friendly task, sometimes professional help is worth it. If your grout is severely stained or damaged, a deep clean or repair might be needed before sealing. I once tried fixing cracked grout myself and ended up making it worse—now I leave major repairs to experts.
If you’re unsure about the right sealer or application method, a tile specialist can advise you. They can also spot underlying issues, like water damage behind the tiles. For large or intricate backsplashes, hiring a pro ensures even coverage without missed spots.
Lastly, if you’ve resealed multiple times but grout still absorbs stains, there might be a bigger problem. A professional can assess whether regrouting is necessary. Sometimes, investing in expert service saves money in the long run by preventing costly mistakes.

How often should I reseal my kitchen backsplash grout?
Most sealers last 1-2 years, but this depends on usage and cleaning habits. If you cook frequently and notice water soaking into the grout instead of beading, it’s time to reseal. I check mine yearly by sprinkling water on a small area—if it darkens, the sealer has worn off. High-quality sealers may last longer, but regular checks ensure consistent protection.
Can I use any grout sealer on my backsplash?
Not all sealers are suitable for kitchens. Look for products labeled for kitchen or food-prep areas, as they resist grease and stains better. Avoid sealers meant for outdoor use, as they may contain harsh chemicals. I always read reviews to see how others have used the product. When in doubt, ask a tile specialist for recommendations.
Will sealing grout change its color?
Penetrating sealers usually don’t alter color, but some membrane-forming types can add a slight sheen. If you’re concerned, test the sealer on a hidden spot first. I’ve used clear sealers that left no visible change, but some darken grout slightly when wet—this disappears once dry. Always check the product description for color effects.
Can I seal grout right after installation?
New grout needs time to cure—usually 48-72 hours—before sealing. Sealing too early traps moisture, weakening the grout. I wait at least three days to be safe. If you’re unsure, check the grout manufacturer’s guidelines. Proper curing ensures the sealer bonds correctly for long-term protection.

Is epoxy grout worth the extra cost?
Epoxy grout is more expensive but resists stains and moisture without sealing. I’ve used it in high-traffic kitchens, and it stays clean with minimal upkeep. However, it’s harder to install, so DIYers might prefer traditional grout with a good sealer. Weigh the initial cost against long-term maintenance when deciding.
What’s the easiest way to apply grout sealer?
A small foam brush or applicator bottle gives the most control. I pour a little sealer into a tray and use the brush to coat the grout lines evenly. Spray-on sealers are quicker but harder to control—overspray can leave streaks on tiles. Take your time, work in sections, and wipe excess immediately for the best results.
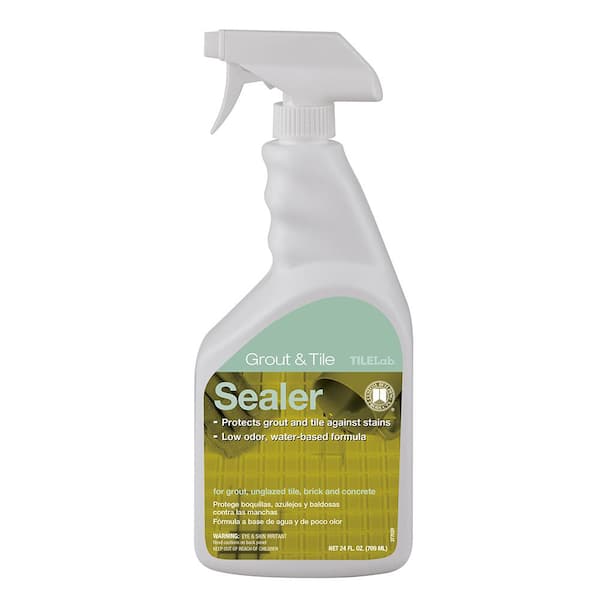
Custom Building Products TileLab 24 oz. Grout and Tile Sealer
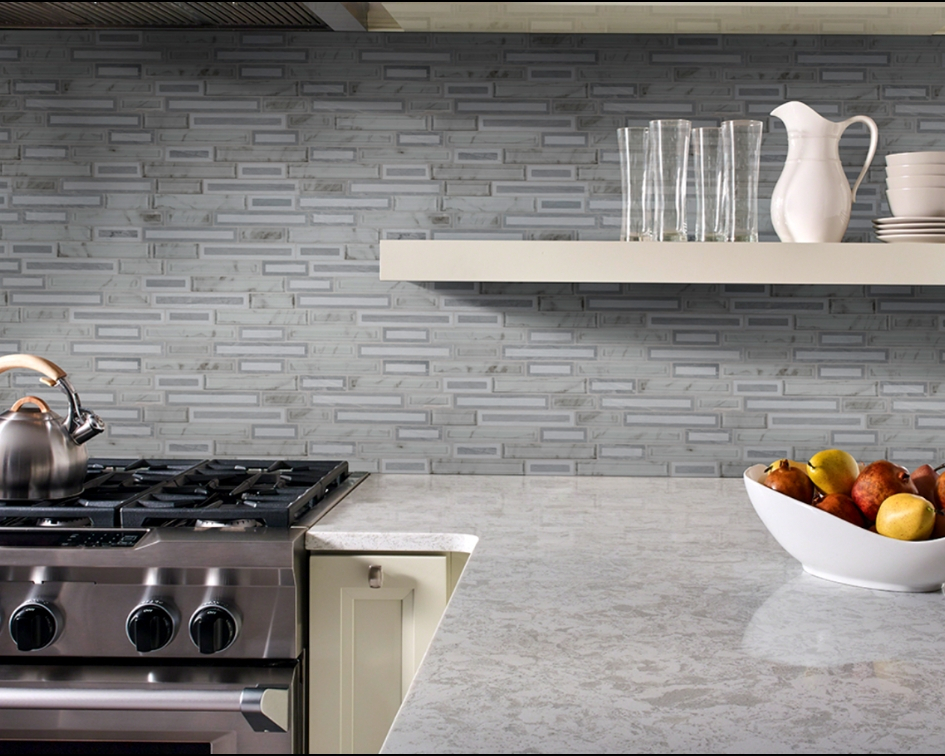
Pro Installation Tips for a Perfect DIY Kitchen Backsplash
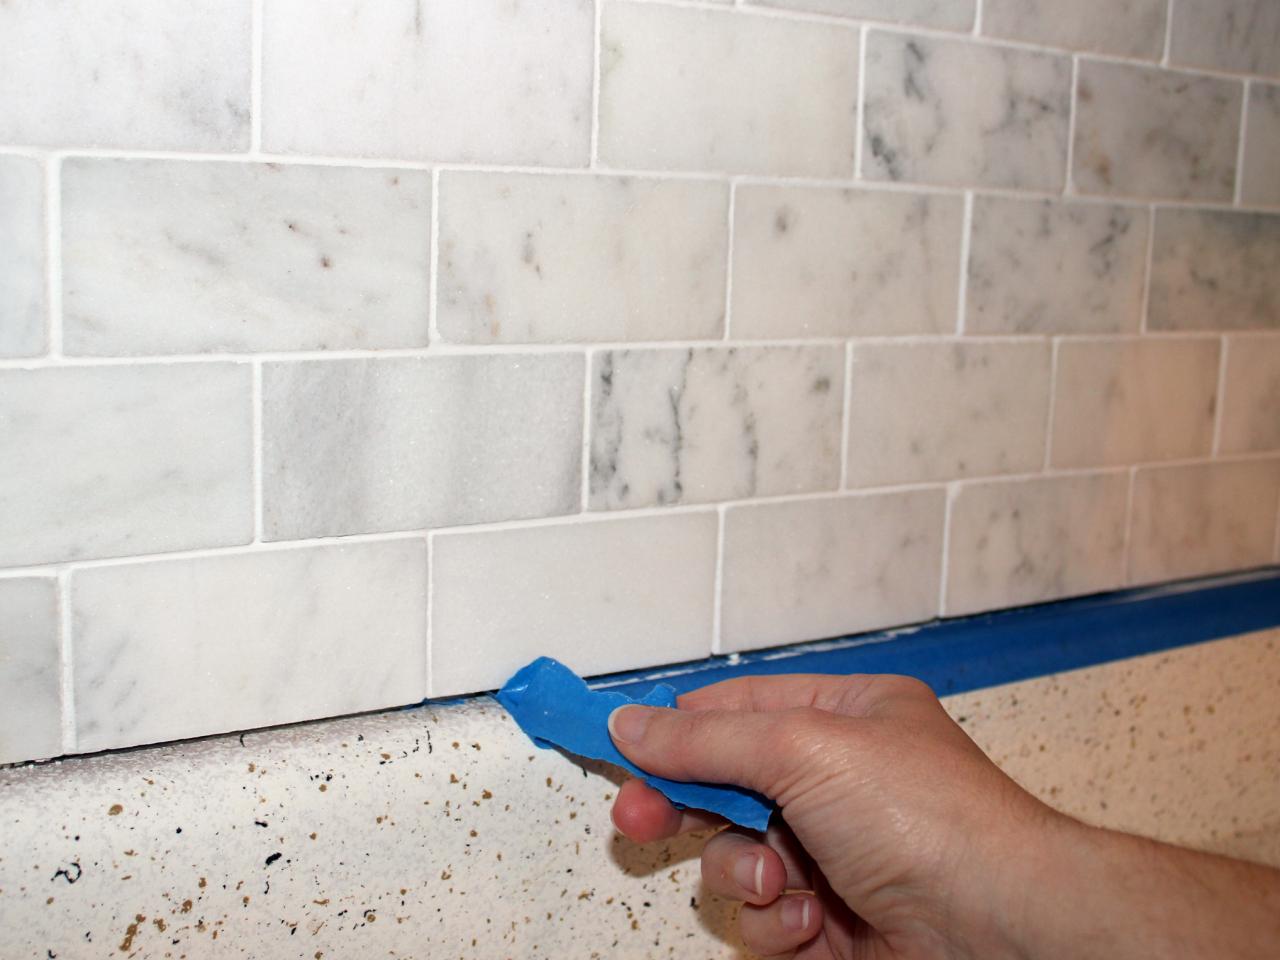
How to Install a Marble Tile Backsplash
Related Posts:
- French Kitchen Backsplash Ideas
- Cottage Kitchen Backsplash
- Country Kitchen Backsplash
- Retro Kitchen Backsplash
- Rustic Wood Kitchen Backsplash
- Vintage Kitchen Backsplash Ideas
- Modern Farmhouse Kitchen Backsplash
- Mid Century Modern Kitchen Backsplash Tile
- Turquoise Kitchen Backsplash Tile
- Mediterranean Tile Kitchen Backsplash