I’ve helped dozens of homeowners navigate kitchen remodels on tight budgets; cabinets often represent the biggest expense. Through trial and error, I’ve discovered where you can save money without sacrificing quality or durability. Good, cheap kitchen cabinets exist—you just need to know what to look for and where to compromise. Whether you’re doing a full renovation or just updating your existing space, these practical tips will help you find cabinets that look great, function well, and don’t break the bank.
Ready-to-Assemble (RTA) Cabinet Options
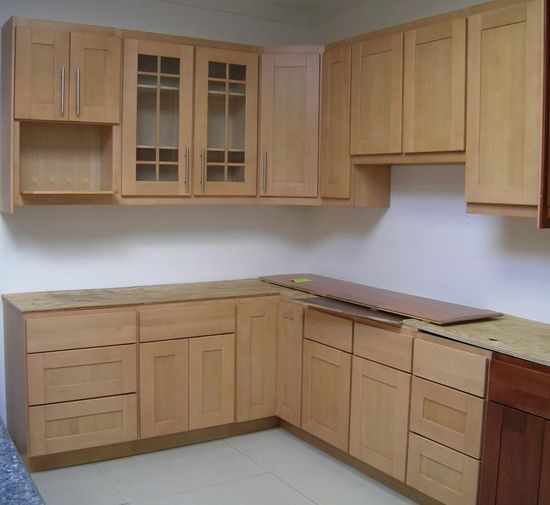
RTA cabinets have become my go-to recommendation for budget-conscious homeowners. These flat-pack cabinets arrive disassembled, saving on manufacturing and shipping costs that get passed to you. I recently installed a set from a reputable online retailer that cost 40% less than comparable pre-assembled options. The quality surprised me—solid wood doors with plywood boxes that rivaled more expensive brands. Assembly requires basic tools and patience, but I’ve found most DIYers can handle it over a weekend. Just be sure to carefully check all pieces upon delivery for damage.
The key to successful RTA cabinet shopping lies in understanding construction details. I always look for cabinets with at least 1/2-inch thick plywood boxes rather than particleboard, especially around sink bases. Dovetail drawer construction is worth paying slightly more for—it lasts much longer than stapled alternatives. For doors, I prefer real wood over MDF, even if it means choosing simpler shaker styles over elaborate raised panels. Many RTA companies offer sample doors for a small fee, which I highly recommend ordering to assess quality before committing.
Installation tips make all the difference with RTA cabinets. I start by assembling just one base cabinet and one wall cabinet to get familiar with the process before doing the whole kitchen. Using a rubber mallet helps join pieces without damaging edges. I always install LED under-cabinet lighting before hanging uppers—it’s much harder to add later. One clever trick: assemble boxes upside down on a perfectly flat surface to ensure square corners. While RTA cabinets save money, I still recommend professional installation if you’re uncomfortable with precise measurements and leveling.
Stock Cabinet Bargains
Big box home improvement stores offer surprisingly decent stock cabinets at affordable prices. I’ve had good experiences with certain lines at Home Depot and Lowe’s that provide solid value. The secret is shopping during seasonal sales—I’ve seen quality stock cabinets discounted 30-40% during holiday weekends. One client scored beautiful shaker-style cabinets for her small kitchen at $75 per linear foot by buying during a Memorial Day sale. The selection may be limited, but basic styles work well in most homes.
Quality varies significantly between stock cabinet lines, so inspection is crucial. I always check drawer glides—soft-close full-extension glides indicate better quality. Look for cabinets with 1/2-inch thick shelves rather than flimsy 1/4-inch versions. I avoid stock cabinets with particleboard bases in wet areas like under sinks. One advantage of buying in-store: you can examine display models for construction quality. I recently found a stock line with plywood boxes and solid wood doors that rivaled semi-custom options at half the price. Just be prepared for longer lead times on popular styles and colors.
Stock cabinets often need minor upgrades for optimal performance. I routinely replace basic hinges with soft-close versions (about $2 each) for a luxury feel. Adding crown molding to the tops of upper cabinets gives them a more custom look. For a recent project, I installed stock base cabinets but splurged on glass-front uppers from the same line—this mixed approach saved hundreds while creating visual interest. Stock cabinets work best when you stick to standard sizes; modifications can eliminate the cost advantage quickly.
Refacing Existing Cabinet Boxes
If your current cabinet boxes are structurally sound, refacing offers dramatic savings. I’ve transformed outdated kitchens by keeping the boxes and replacing just doors, drawer fronts, and end panels. This approach typically costs 50-75% less than all-new cabinets. My last refacing project used shaker-style maple doors that made 1980s laminate boxes look completely contemporary. The key is ensuring your existing boxes are square, sturdy, and properly secured to walls before investing in refacing.
Door replacement options vary widely in quality and price. I prefer working with online suppliers that offer real wood doors at reasonable prices—many provide samples for a small fee. Thermofoil doors are the most affordable but can peel over time near heat sources. For painted finishes, I’ve had great results with MDF doors that stay smooth and don’t warp. One budget-friendly trick: order unfinished doors and paint them yourself using a high-quality cabinet paint. I always recommend replacing all hinges and drawer slides during refacing—the mechanical parts wear out faster than the boxes themselves.
The finishing touches make refaced cabinets shine. I add new molding at the ceiling and base to complete the updated look. Peel-and-stick veneer covers exposed cabinet sides economically. For a client’s recent remodel, we installed open shelving where some upper cabinets had been damaged—this mixed approach saved money while creating a more modern aesthetic. Refacing works best when you’re happy with your current kitchen layout; moving plumbing or electrical quickly eliminates the cost savings. With proper preparation, refaced cabinets can look just as good as new for a fraction of the price.
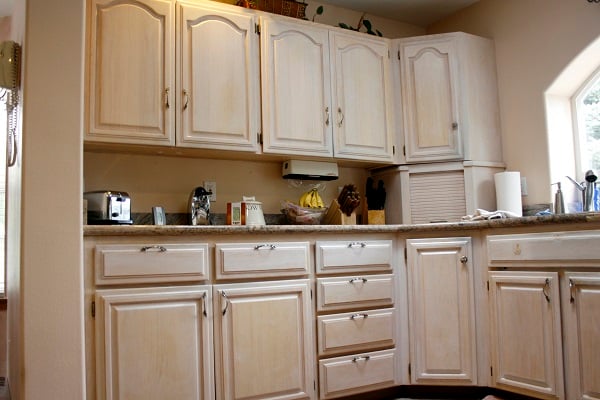
Painted Builder-Grade Cabinets
Many homes come with basic builder-grade cabinets that can be transformed with paint. I’ve taken countless oak-laminate cabinets from dated to designer-looking with proper painting techniques. The process requires patience—I dedicate at least three days for proper prep, painting, and drying—but the results justify the effort. High-quality cabinet paint now comes in spray cans for DIYers without professional equipment, making this approach more accessible than ever.
Preparation separates professional-looking results from disappointing ones. I start by removing all doors, drawers, and hardware—labeling each piece with masking tape for easy reassembly. Cleaning with trisodium phosphate (TSP) removes years of grease and grime. Sanding creates a surface the paint can grip—I use 120-grit paper followed by 220 for smoothness. Filling old hardware holes with wood filler allows for new knob placements if desired. I always prime with a bonding primer designed for slick surfaces; this crucial step prevents peeling later. For laminate cabinets, I use a specialty primer that chemically etches the surface.
Painting techniques affect durability. I apply thin coats with a high-density foam roller and angled brush, sanding lightly between coats. My current favorite paints are acrylic-urethane hybrids that self-level and dry hard. Dark colors require extra care—I once needed four coats to fully cover orange-toned oak. After painting, I wait at least three days before rehanging doors to prevent sticking. New hardware completes the transformation—I often choose bin pulls for drawers and simple knobs for doors to keep costs down. Properly painted builder-grade cabinets can last 5-7 years before needing refreshment.

Discount and Scratch-and-Dent Finds
I’ve discovered incredible deals on quality cabinets by shopping discount outlets and scratch-and-dent sales. Many cabinet manufacturers sell overstock and slightly imperfect units at deep discounts. One client got 8,000worthofsemi−customcabinetsfor8,000worthofsemi−customcabinetsfor2,500 because of minor finish flaws on interior surfaces. The key is being flexible on style and color—I once redesigned a whole kitchen around an amazing discontinued style I found at 70% off. Local cabinet shops often have similar deals if you ask about clearance items.
Online marketplaces offer another source for affordable cabinets. I regularly check Craigslist, Facebook Marketplace, and Habitat for Humanity ReStores for quality used cabinets. Recently, I found nearly new Shaker-style cabinets from a kitchen remodel for $1,200—about 20% of retail. The catch: you need to remove and transport them yourself. I always measure carefully before purchasing and bring cabinet templates to verify sizes. Some assembly may be required, and you’ll likely need to reconfigure your kitchen layout to fit the available pieces. Still, the savings can be substantial for those willing to put in extra work.
Imperfections can often be hidden or repaired. I’ve fixed minor dents with wood filler and touch-up markers. Slightly mismatched cabinets get unified with paint or new hardware. For one project, I combined different discounted upper and base cabinets by painting them all the same color. Always inspect discount cabinets thoroughly before purchasing—check for squareness, drawer operation, and structural integrity. With creativity and some DIY skills, these bargain finds can yield beautiful results at a fraction of standard prices.
Open Shelving Alternatives
Replacing some upper cabinets with open shelving creates an affordable, airy look. I’ve used this approach in several small kitchens where traditional cabinets made the space feel cramped. The savings come from needing fewer cabinet boxes—I typically keep base cabinets for concealed storage and do open shelves above. DIY floating shelves cost as little as 50perlinearfootcomparedto50perlinearfootcomparedto150+ for custom cabinets. Even prefabricated shelving systems from Ikea can look high-end when properly styled.
Material choices affect both cost and aesthetics. I’ve built shelves from inexpensive pine boards that stain beautifully, or plywood with iron pipe supports for an industrial look. For a recent project, we used reclaimed wood from a local salvage yard—the character of the aged wood became the kitchen’s focal point. Metal brackets come in countless affordable styles; I prefer simple black iron or brass for timeless appeal. The key is ensuring shelves are securely anchored to wall studs—nothing ruins the look faster than sagging or collapsing shelves.
Styling open shelves requires some strategy. I use a mix of practical items (pretty dishware, glass jars) with decorative pieces (plants, artwork) for visual balance. Uniform baskets or bins corral small items while maintaining a clean look. Lighting is crucial—I install LED strip lights underneath shelves to highlight displays. While open shelving saves money, it does require more frequent dusting and organization. I recommend starting with just one or two shelves to see if you like the look before committing to a full conversion. The combination of some open shelves with select cabinets often provides the perfect balance of economy and functionality.

What’s the cheapest type of kitchen cabinet that still looks good?
Ready-to-assemble (RTA) cabinets in simple shaker styles offer the best balance of affordability and quality in my experience. Look for ones with plywood boxes (not particleboard) and real wood doors—these typically cost 100−100−150 per linear foot unassembled. Stock cabinets from big box stores during sales can be comparable, but quality varies more. Painted builder-grade cabinets you already own are the absolute cheapest option if you’re willing to put in the painting work yourself. Avoid the very cheapest particleboard cabinets—they rarely hold up well to daily use and moisture.
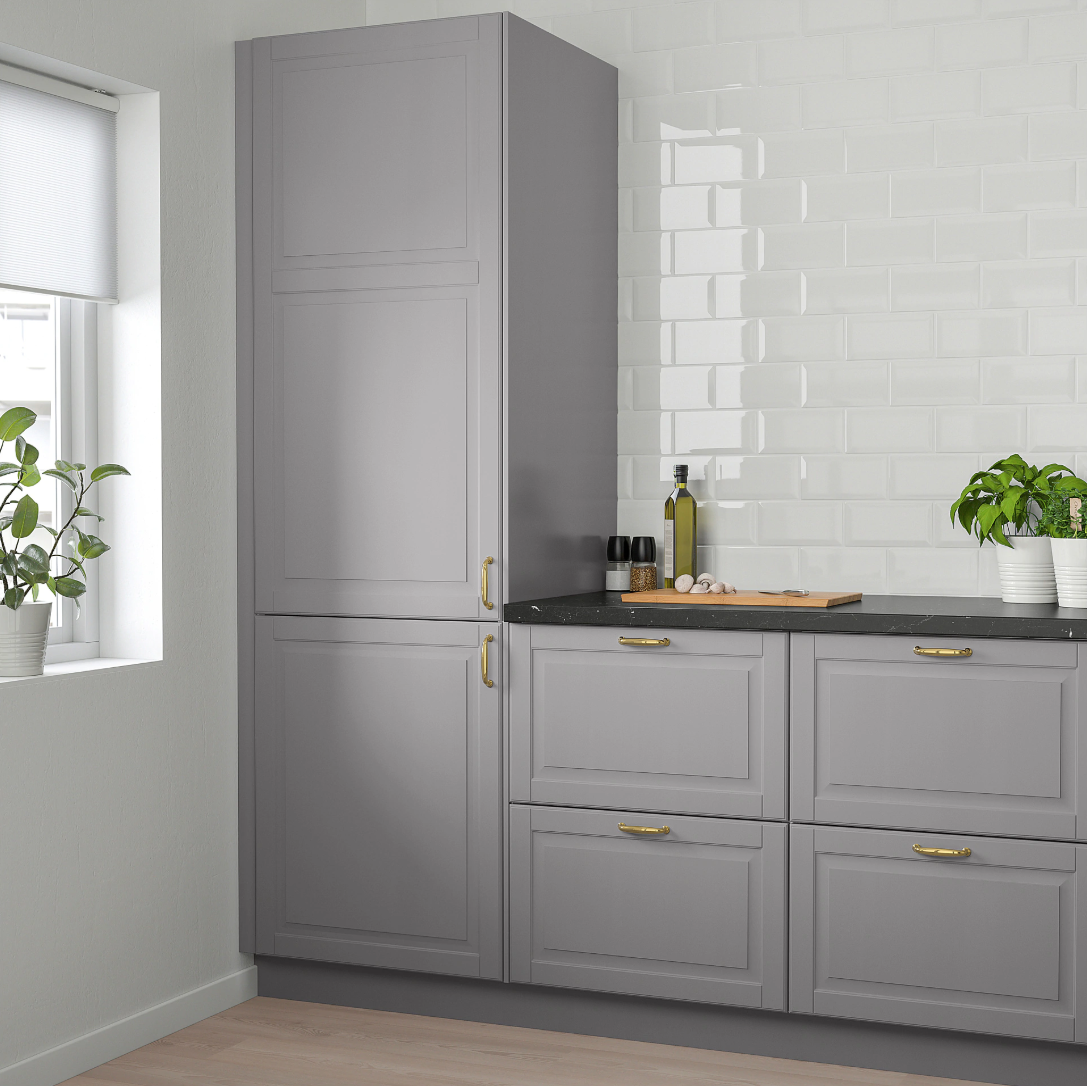
Are IKEA kitchen cabinets good quality for the price?
IKEA cabinets offer decent quality at very competitive prices—about 100−100−130 per linear foot assembled. Their particleboard construction concerns some people, but I’ve found their SEKTION system holds up well with proper installation. The hardware (hinges, drawers) is actually better than many more expensive brands. The main drawbacks are limited style options and the need for perfect wall conditions since they’re European-style frameless cabinets. I recommend their cabinets for rentals or homes you plan to update again in 5-10 years. Just be sure to install them precisely according to instructions—improper installation causes most IKEA cabinet failures I’ve
What cabinet materials should I avoid when shopping cheap cabinets?
I steer clear of cabinets with particleboard bases in wet areas like under sinks—they swell when wet. Thermofoil doors near heat sources (ovens, dishwashers) often peel over time. Very thin (1/4-inch) cabinet backs and shelves tend to sag. Cabinets with stapled rather than dovetailed drawers usually fail first. MDF doors can work if properly sealed, but I avoid MDF for cabinet boxes in humid climates. The absolute cheapest pre-assembled cabinets (under $75 per linear foot) often use all these problematic materials—it’s worth spending slightly more for better construction in key areas.
Can I mix expensive and cheap cabinets in my kitchen?
Absolutely—this is one of my favorite budget strategies. I often splurge on a few visible elements (like glass-front uppers or a pantry cabinet) while using budget options elsewhere. Another approach: invest in quality base cabinets that get heavy use and save on uppers that mainly store infrequently used items. You can also spend more on the island cabinets that everyone sees and use cheaper cabinets along the walls. The key is ensuring the finishes match closely—paint all cabinets the same color or choose door styles that coordinate well. This mixed approach gives you the best of both worlds without blowing your budget.

DIY Kitchen Cabinets Ideas & Plans
Best Cheap Kitchen Cabinets ideas cheap kitchen cabinets
Cheap Kitchen Cabinets Sources – Where to Find Affordable
DIY Kitchen Cabinets – Cheap and Easy Ideas for an Update

Budget-Friendly DIY Kitchen Cabinet Ideas – The Turquoise Home
Cheap and Affordable Kitchen Cabinets
Need Low-Cost Cabinets With High Style? Consider These 11 Cheap
Related Posts: