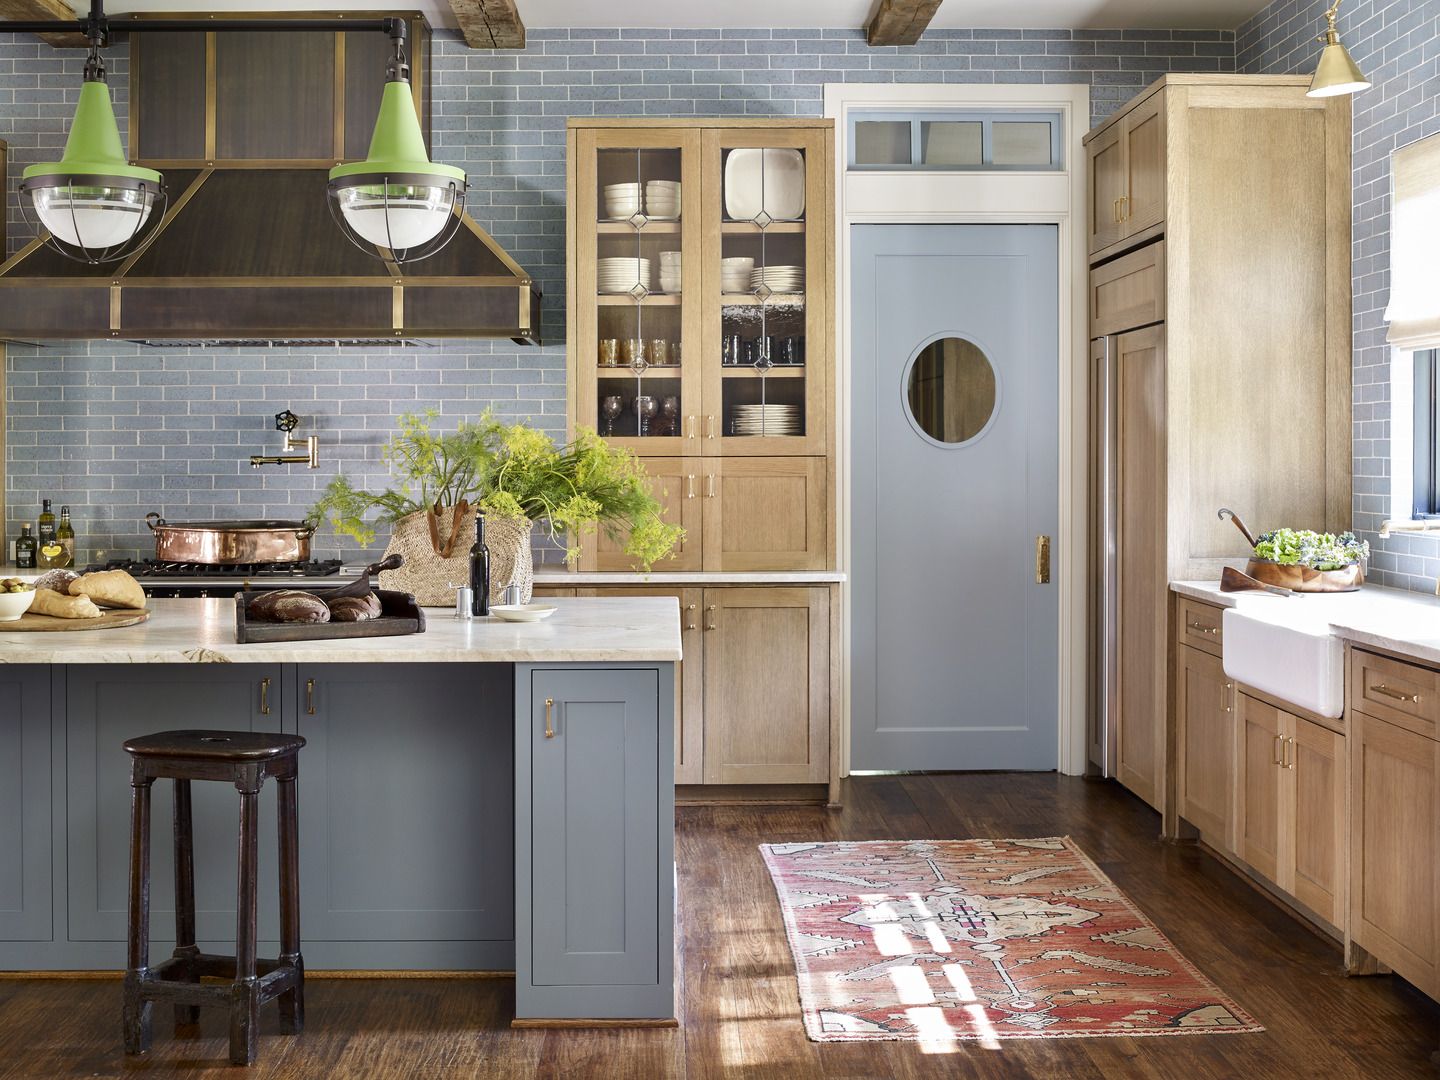
There’s something magical about a well-designed kitchen backsplash that transforms the entire room. I’ve installed and admired countless backsplashes over the years, and I’m still amazed at how this relatively small surface can make such a dramatic impact. Whether you prefer subtle elegance or bold statements, the right backsplash ties your kitchen’s design together while protecting your walls. If you’re considering upgrading your backsplash, here’s what I’ve learned about choosing and installing fancy designs that will wow your guests and stand the test of time.
Glass Tile Backsplashes
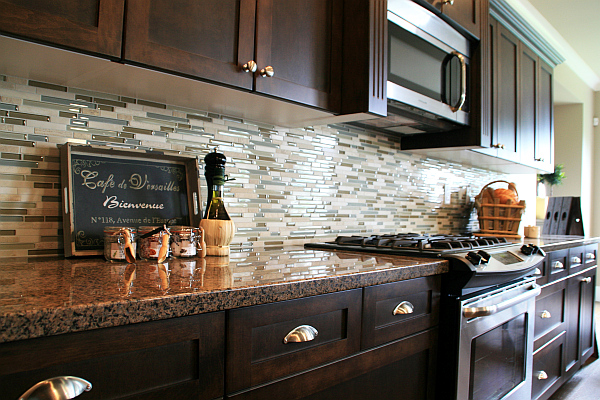
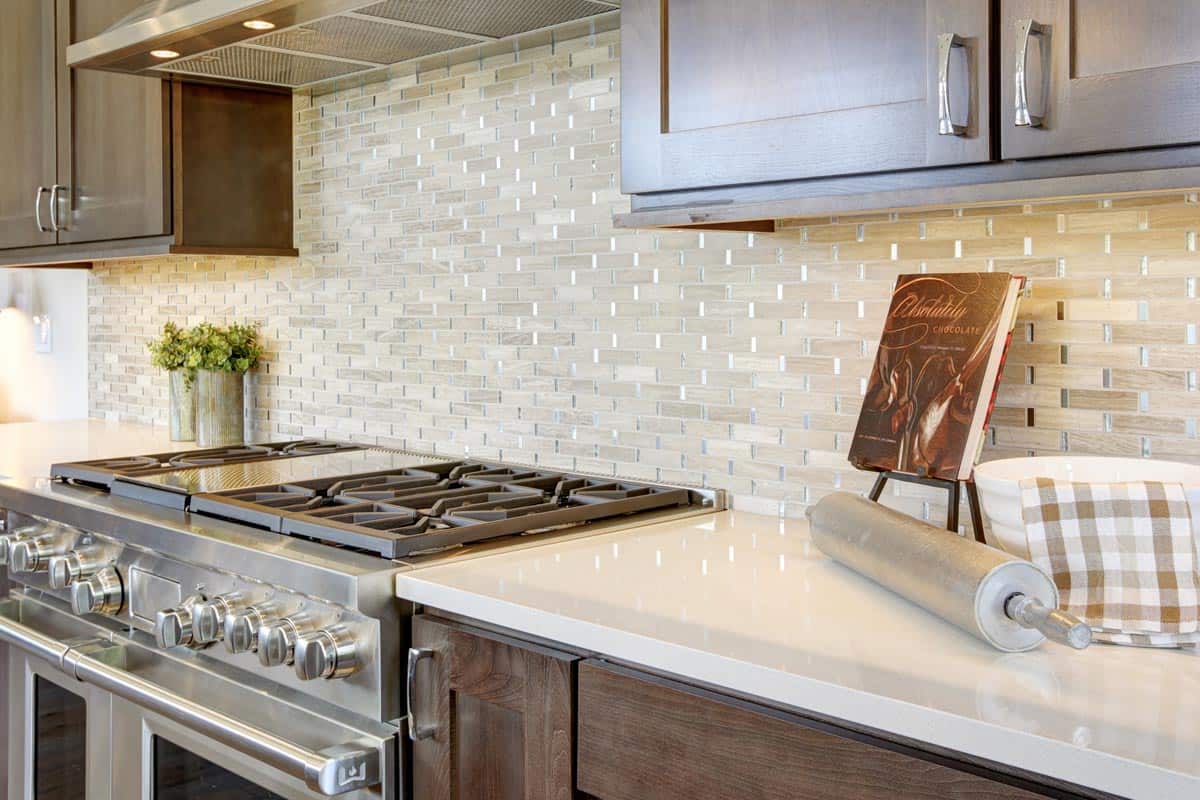
Glass tile remains one of my favorite choices for creating a luxurious backsplash. The way light plays across the surface adds depth and movement to any kitchen. I particularly love iridescent glass tiles that shift colors depending on the angle and lighting—they create an ever-changing canvas behind your countertops. For smaller kitchens, I recommend larger format glass tiles (3×6 inches or bigger) as they make the space feel more open compared to tiny mosaic pieces.
Installation requires special attention to detail. I always use white thinset mortar with glass tiles to prevent discoloration showing through. The edges need proper finishing with color-matched caulk or metal trim pieces. One trick I’ve learned: lay out the entire pattern on the floor first to visualize how the light will reflect across the finished wall. Glass tiles show every imperfection in the wall beneath, so proper surface preparation is essential—I spend extra time ensuring the wall is perfectly flat before starting.
Maintenance is surprisingly easy despite the fancy appearance. I clean mine with a simple vinegar-water solution and a soft cloth to maintain the shine. The non-porous surface resists stains better than many other materials. One client worried about durability, but five years later her glass backsplash still looks brand new despite daily cooking splatters. For added interest, I sometimes mix glass tiles with metal or stone accents to create custom designs that feel truly unique.
Natural Stone Backsplashes
Nothing compares to the organic beauty of natural stone backsplashes. I’ve worked with everything from dramatic marble to rustic slate, each bringing its own character to the kitchen. My current favorite is honed Carrara marble—it has that classic luxury look without being too flashy. The subtle gray veining adds just enough visual interest while remaining timeless. For more texture, I love stacked stone backsplashes that create a focal wall effect, though they require more careful cleaning between the uneven surfaces.
Stone backsplashes need proper sealing—a step many homeowners overlook. I apply penetrating sealer every six months to my marble backsplash to prevent oil and wine stains. Some stones like granite require less maintenance, while porous materials like travertine need more frequent attention. Cutting stone tiles requires specialized wet saws, so this isn’t usually a DIY project unless you have experience. I always recommend buying 15% more material than needed since natural stone varies so much in pattern and color.
The thickness of stone tiles affects the overall look. I prefer 3/8-inch thick tiles for most applications—they have substance without being too heavy. For a truly luxurious feel, some clients opt for full slab backsplashes with bookmatched patterns. These require professional installation but create a seamless, high-end look. One word of caution: dark stone backsplashes can make small kitchens feel closed in unless balanced with plenty of lighting and reflective surfaces elsewhere in the room.

Metal Backsplashes
For a sleek, contemporary look, metal backsplashes make a stunning statement. I’ve installed copper, stainless steel, and even brass backsplashes that became the kitchen’s showstopper. My favorite is aged copper—it develops a beautiful patina over time that tells the story of your kitchen’s life. The material is naturally antimicrobial, making it perfect for food preparation areas. I recently did a kitchen with a hammered copper backsplash that catches the light differently throughout the day.
Installation requires careful planning. Metal expands and contracts with temperature changes, so I always use proper expansion joints and specialized adhesives. The edges need deburring to prevent sharp corners, especially important for families with children. For stainless steel, I recommend a brushed finish that hides fingerprints better than polished surfaces. One clever solution I’ve used: magnetic backsplashes that allow you to display recipes or children’s artwork with hidden magnets.
Maintenance varies by metal type. Copper needs occasional polishing if you want to maintain its shine (though I prefer the natural aging process). Stainless steel cleans easily with specialty cleaners that prevent streaking. The most durable option I’ve found is pewter—it maintains its luster with minimal care. Metal backsplashes work particularly well behind ranges where their heat resistance shines. I often pair them with under-cabinet lighting to highlight the metallic glow and create dramatic shadows.
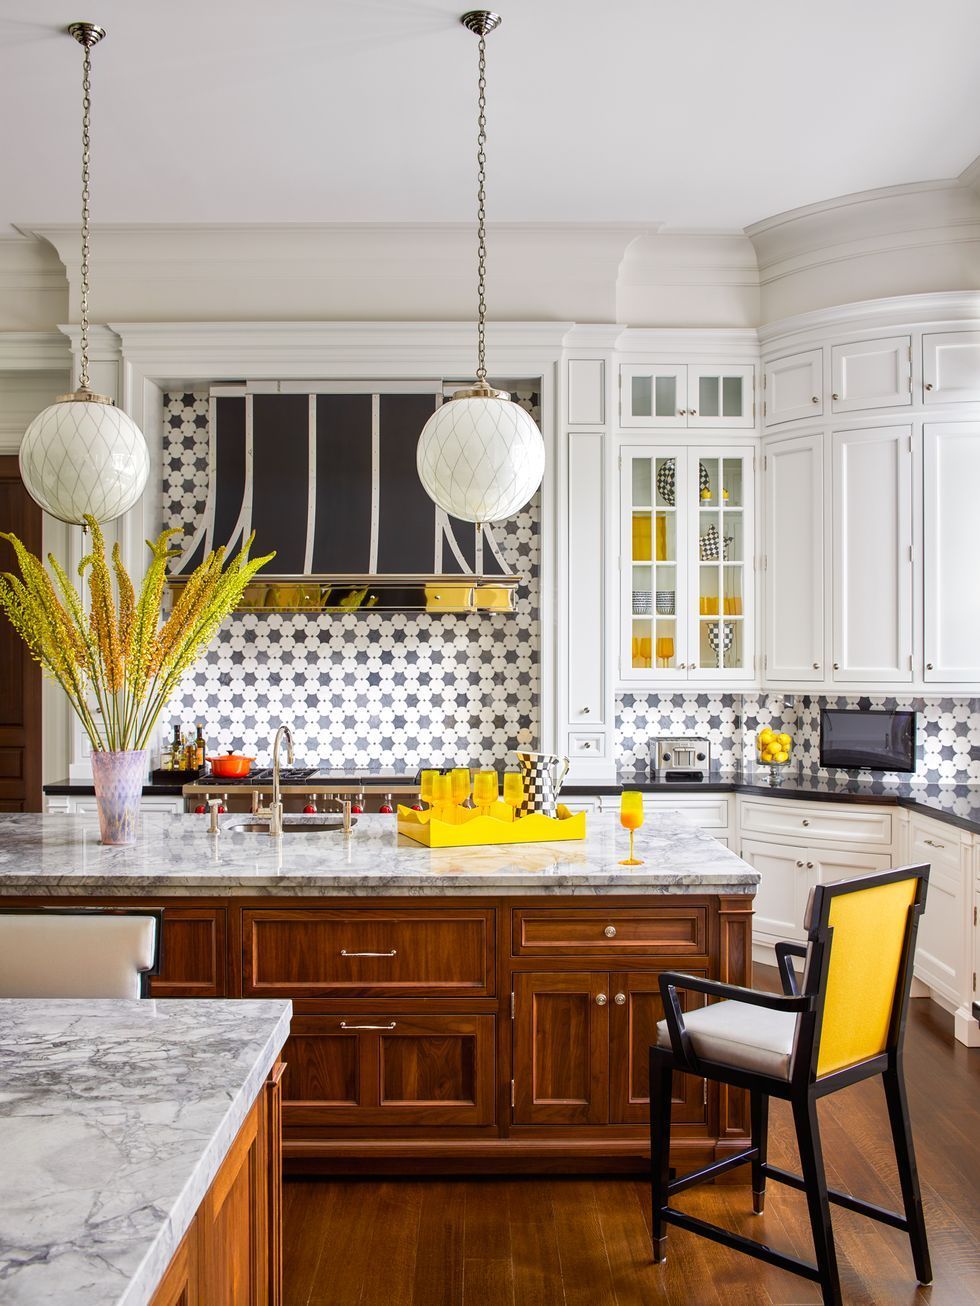
Patterned Cement Tile
Cement tiles offer endless design possibilities for those wanting a truly custom backsplash. I’m constantly amazed by the intricate patterns and vibrant colors available. My current project features Moroccan-inspired cement tiles in a deep blue and white geometric design that transforms an otherwise simple kitchen. The thickness and weight of cement tiles give them a substantial, high-quality feel that thinner materials can’t match. They’re perfect for creating a focal point behind the range or sink.
Proper sealing is crucial for cement tiles. I apply two coats of penetrating sealer before grouting and another two after to prevent staining. The porous nature means spills should be wiped immediately—especially oil or colored liquids. Installation requires a perfectly level surface, so I often use a self-leveling underlayment first. One design tip: I frequently use cement tiles just in key areas (like behind the stove) paired with simpler subway tiles elsewhere to control costs while maintaining visual impact.
The handmade nature means each tile has slight variations—something I consider part of their charm. I always sort through boxes before installing to distribute colors evenly. Grout color dramatically affects the final look; I typically choose a shade that blends with the tile’s background color for a cohesive appearance. While cement tiles cost more than basic ceramics, they create such a unique statement that many clients feel the investment is worthwhile. I recently visited a five-year-old cement tile backsplash that looked even better with gentle aging.
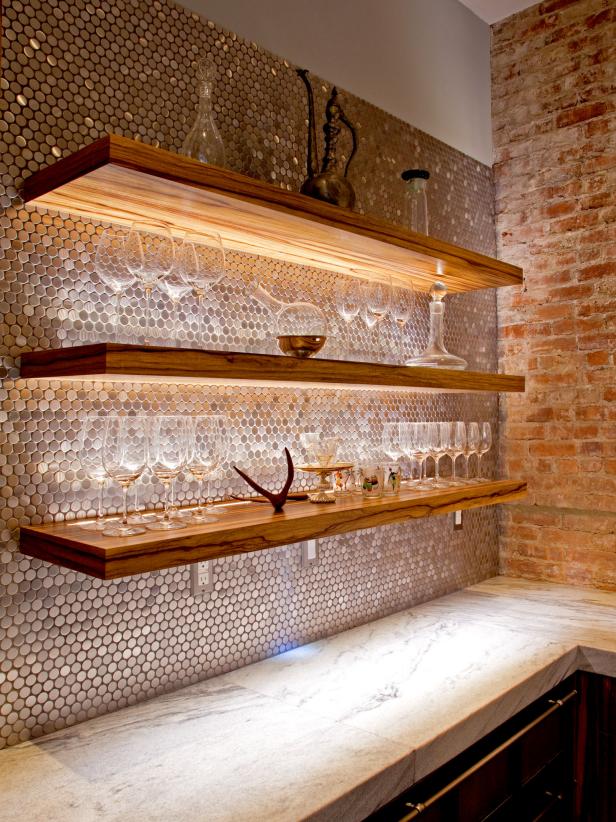
Mosaic Art Backsplashes
For true artistry, mosaic backsplashes allow complete creative freedom. I’ve worked with clients to design everything from floral motifs to abstract landscapes in tiny tiles. One memorable project featured a grapevine mosaic that wrapped around the entire kitchen, tying into the homeowner’s wine collection. The level of detail possible with mosaics always impresses me—I can create shading and depth by mixing different tile materials like glass, stone, and metal in the same composition.
Planning a mosaic backsplash takes patience. I typically create a full-scale drawing first to perfect the design before cutting any tiles. The substrate must be perfectly prepared since mosaics show every underlying imperfection. For intricate designs, I often work with mesh-backed sheets that keep small tiles aligned during installation. One technique I love: mixing matte and glossy tiles of the same color to create subtle texture variations that catch the light differently throughout the day.
Maintenance requires gentle care. I recommend sealing the entire surface (tiles and grout) and using pH-neutral cleaners. The many grout lines mean more cleaning effort, but the visual payoff is worth it. For high-splash areas near the sink, I sometimes incorporate larger tiles or metal accents that are easier to wipe down. Mosaics work particularly well as accent strips paired with simpler field tiles—this approach gives the artistic impact without overwhelming the space or breaking the budget.

High-Tech Backsplash Options
Technology has introduced exciting new backsplash possibilities that combine function with style. I recently installed a backsplash with integrated LED lighting that illuminates the countertop while creating a futuristic glow. Another favorite is magnetic paint backsplashes that allow you to display utensils or notes anywhere on the surface. For clients who love gadgets, I’ve even done backsplashes with built-in Bluetooth speakers disguised as decorative tiles.
The most practical high-tech option I’ve used is a backsplash with a dry-erase surface—perfect for meal planning or leaving family messages. These install like regular tiles but function like a giant notepad. For outdoor kitchens, I recommend photovoltaic tile backsplashes that generate solar power while looking like ordinary stone. One word of caution: technology evolves quickly, so I advise clients to choose systems with replaceable components rather than fully integrated solutions that might become obsolete.
Installation requires working with specialists for most high-tech backsplashes. I typically collaborate with electricians and home automation experts to ensure proper functionality. The key is hiding all wiring and controls while maintaining easy access for maintenance. Despite their advanced features, these backsplashes still need to meet standard kitchen requirements for heat resistance and cleanability. I balance the high-tech elements with natural materials like wood or stone to keep the kitchen feeling warm and inviting rather than sterile.
What’s the most durable material for a fancy backsplash?
In my experience, porcelain tiles offer the best combination of durability and design options. They resist scratches, heat, and stains better than natural stone or glass while being available in nearly any color or pattern imaginable. I’ve installed porcelain backsplashes that mimic marble so convincingly even experts do double-takes. Large-format porcelain slabs (with minimal grout lines) are particularly low-maintenance. For ultimate durability, I recommend rectified edge porcelain tiles installed with epoxy grout—this combination withstands heavy use while maintaining its good looks for decades.
How do I choose a backsplash that won’t look dated in a few years?
I stick to classic materials and colors with timeless appeal. White subway tile will always work, but to fancy it up I use unusual sizes (like 2×8 inches) or interesting layouts (herringbone or vertical stack bond). Neutral natural stones like marble or limestone age gracefully. If you love color, I recommend incorporating it through easily replaceable elements like painted wall sections above the backsplash or colorful accessories rather than permanent tile choices. The most timeless backsplashes I’ve seen complement the countertops without matching them exactly.
What’s the best backsplash for a small kitchen?
I prefer materials that reflect light to make small kitchens feel larger. Mirror tiles (with beveled edges for safety) create amazing depth when used sparingly. Glass tiles in light colors, especially those with subtle iridescence, expand the space visually. For something different, I’ve used stainless steel backsplashes that bounce light around the room. In tiny kitchens, I often continue the same backsplash material up to the ceiling to draw the eye upward. The key is avoiding busy patterns that can overwhelm—simple large-format tiles work best in compact spaces.
How do I protect my fancy backsplash behind the stove?
The cooking area needs special consideration. I always use materials that can handle heat and grease splatters—natural stone, glass, or metal work well. Installing a larger-format tile behind the range means fewer grout lines to clean. For added protection, I sometimes use a stainless steel or copper panel directly behind burners with more decorative materials flanking it. Applying extra coats of sealer in this area helps, as does installing a proper range hood that vents outside. One clever solution I’ve used: a backsplash with removable panels behind the stove for easy cleaning.

Can I install a fancy backsplash over my existing one?
While possible, I rarely recommend it. The added thickness can cause issues with outlet boxes and cabinet alignment. More importantly, the weight of a new layer may compromise the original installation. In most cases, I find it better to remove the old backsplash and properly prepare the wall surface. The one exception is when installing very thin materials like metal sheets over existing smooth tile—and even then I ensure the surface is clean, sound, and properly primed first. The extra work of removal pays off in long-term durability and professional results.
What’s the best way to light a fancy backsplash?
Proper lighting makes all the difference. I install LED strip lighting under upper cabinets to graze the backsplash surface—this highlights textures and creates depth. For glass or metal backsplashes, I sometimes use small spotlights angled to create sparkle. The key is avoiding direct overhead lighting that flattens the surface. Dimmers allow you to adjust the mood from task lighting to ambient glow. In open shelving areas, I incorporate lighting that shines both upward and downward to illuminate displayed items while accenting the backsplash. Always choose bulbs with high CRI (90+) to show colors accurately.

Best Kitchen Backsplash Ideas – Tile Designs for Kitchen
Fancy Farmhouse Kitchen Backsplash Decor Ideas

Rustic Kitchen Backsplash Ideas
Related Posts:
- French Kitchen Backsplash Ideas
- Cottage Kitchen Backsplash
- Country Kitchen Backsplash
- Retro Kitchen Backsplash
- Rustic Wood Kitchen Backsplash
- Vintage Kitchen Backsplash Ideas
- Modern Farmhouse Kitchen Backsplash
- Mid Century Modern Kitchen Backsplash Tile
- Turquoise Kitchen Backsplash Tile
- Mediterranean Tile Kitchen Backsplash