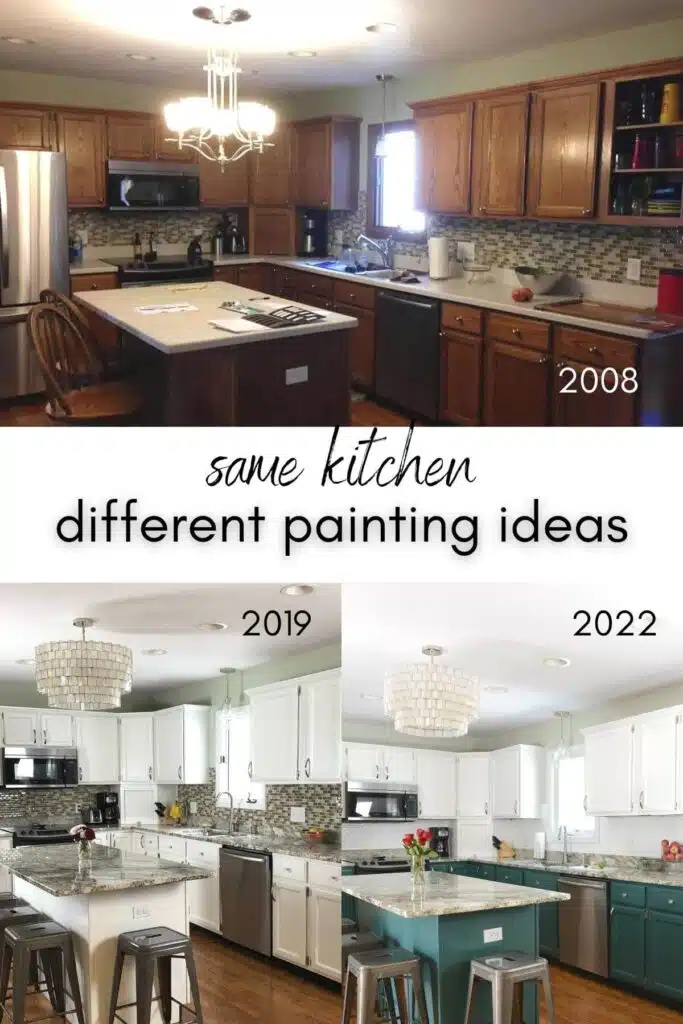
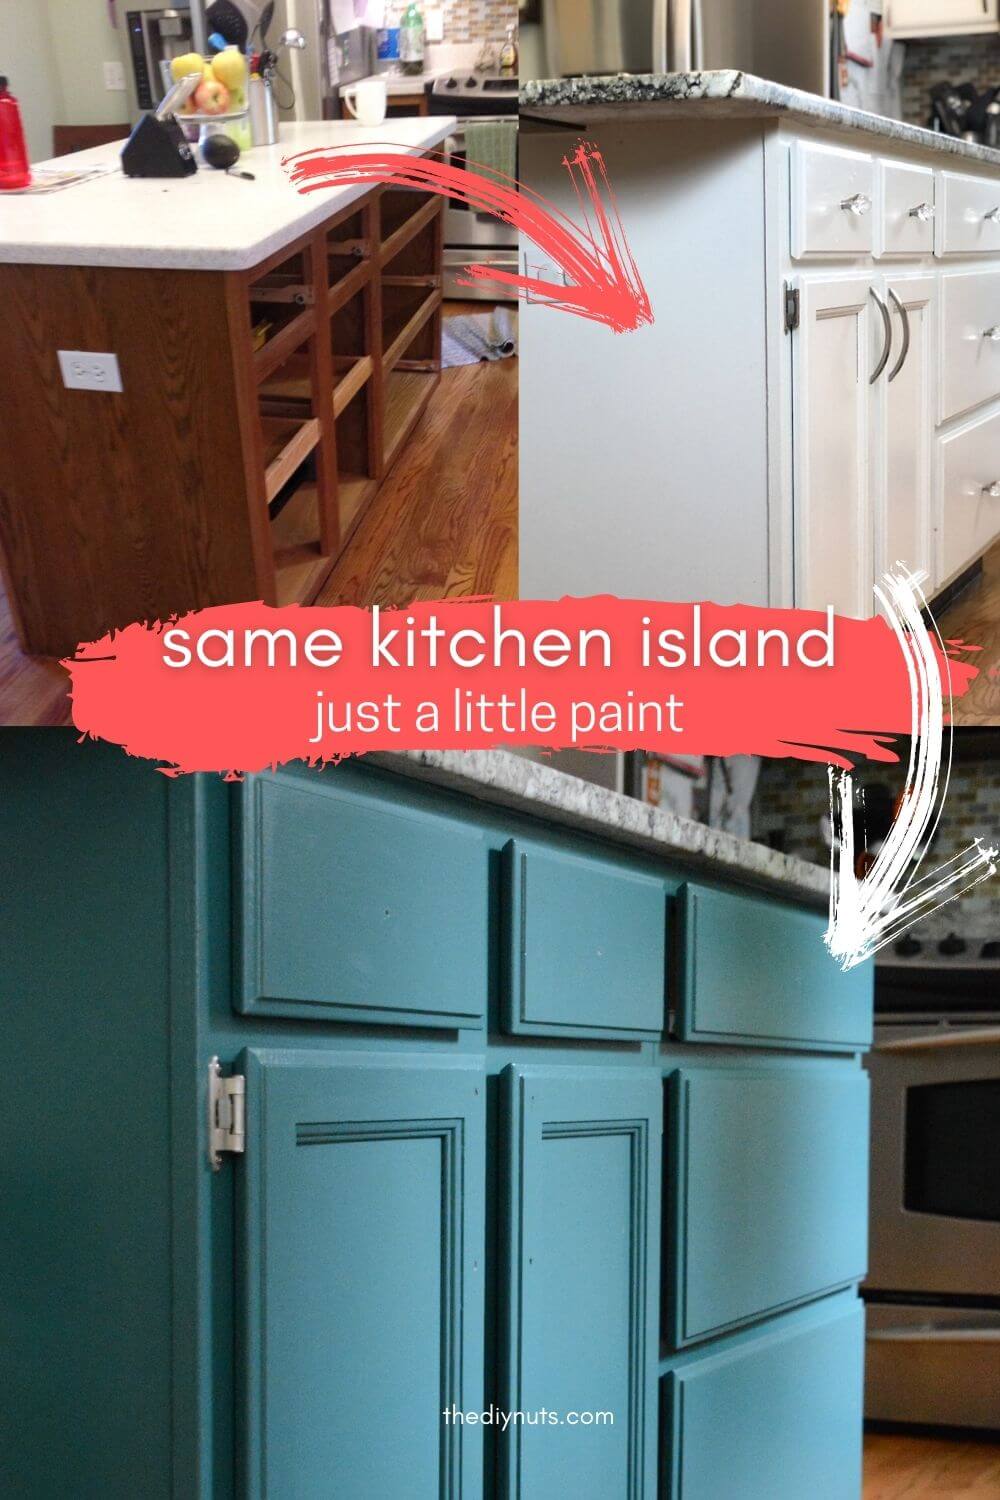
Painting kitchen cabinets is one of the most cost effective ways to transform your kitchen without a full remodel. With proper preparation and technique, even novice DIYers can achieve professional looking results. This project requires patience and attention to detail, but the payoff includes a fresh new look that can last for years. Below are some essential steps to successfully paint your kitchen cabinets, covering everything from surface preparation to final finishing touches.
Choosing the Right Paint
The type of paint you select significantly impacts your cabinets’ durability and finish. Semi gloss or satin latex paints work well for cabinets, offering easy cleanup and good moisture resistance. Oil based alkyd paints provide an ultra smooth finish but require mineral spirits for cleanup and have stronger fumes. Many painters now prefer water based alkyd hybrids that combine the best qualities of both.
Consider the existing cabinet material when choosing paint. For laminate cabinets, use a bonding primer specifically designed for slick surfaces. Real wood cabinets may need wood grain filler for an ultra smooth finish. Dark colored cabinets typically require more coats when lightening the color significantly. Always purchase high quality paint, as cheaper options tend to show wear faster in high traffic kitchens.
Sample your chosen paint color on a cabinet door or inconspicuous area before committing. Colors appear different under kitchen lighting than in the store. Live with the sample for a few days to ensure you’re happy with the tone in various lighting conditions throughout the day.
Proper Surface Preparation
Thorough preparation is the most crucial step for long lasting results. Remove all cabinet doors, drawers, and hardware, labeling each piece with painter’s tape for easy reassembly. Clean surfaces thoroughly with a degreaser to remove cooking residue, which can prevent paint adhesion. A mixture of trisodium phosphate (TSP) and water works well for this purpose.
Lightly sand all surfaces with 120 150 grit sandpaper to create texture for the paint to grip. Pay special attention to areas around handles and knobs where oils accumulate. Wipe away all dust with a tack cloth after sanding. For glossy finishes, consider using a liquid deglosser instead of sanding for less mess.
Fill any dents, scratches, or holes with wood filler, then sand smooth once dry. Apply painter’s tape to protect walls, countertops, and adjacent surfaces. Proper prep work may seem tedious, but it makes the actual painting process much smoother and ensures better results.

Priming for Success
A high quality primer creates the foundation for your paint job. For most projects, a stain blocking primer is essential, especially when covering dark cabinets or wood grain. Shellac based primers work well for sealing knots and tannin bleeding but require proper ventilation. Water based primers offer easier cleanup and lower odor.
Apply primer with a high density foam roller for flat surfaces and an angled brush for detailed areas. Maintain a wet edge to prevent lap marks. Two thin coats of primer often work better than one thick coat. Allow proper drying time between coats as specified by the manufacturer.
Lightly sand primed surfaces with 220 grit sandpaper once completely dry. This smooths any raised grain or imperfections. Remove all sanding dust with a tack cloth before painting. Proper priming ensures better paint adhesion, truer color, and longer lasting results.

Painting Techniques
Work in a systematic manner to maintain consistency. Start with cabinet frames before moving to doors and drawers. Use a high quality synthetic bristle brush for edges and a foam roller for flat surfaces. Maintain a wet edge and work in sections to avoid visible brush marks.
Apply paint in thin, even coats rather than trying to achieve full coverage in one application. Multiple thin coats dry more evenly and create a smoother finish. Allow proper drying time between coats as recommended by the paint manufacturer, typically 4 6 hours.
For cabinet doors, lay them flat on sawhorses or a painting rack to prevent drips. Paint the recessed panels first, then the horizontal rails, followed by vertical stiles. This technique helps minimize visible brush strokes. Check for drips or runs after each coat and smooth them immediately.

Hardware Considerations
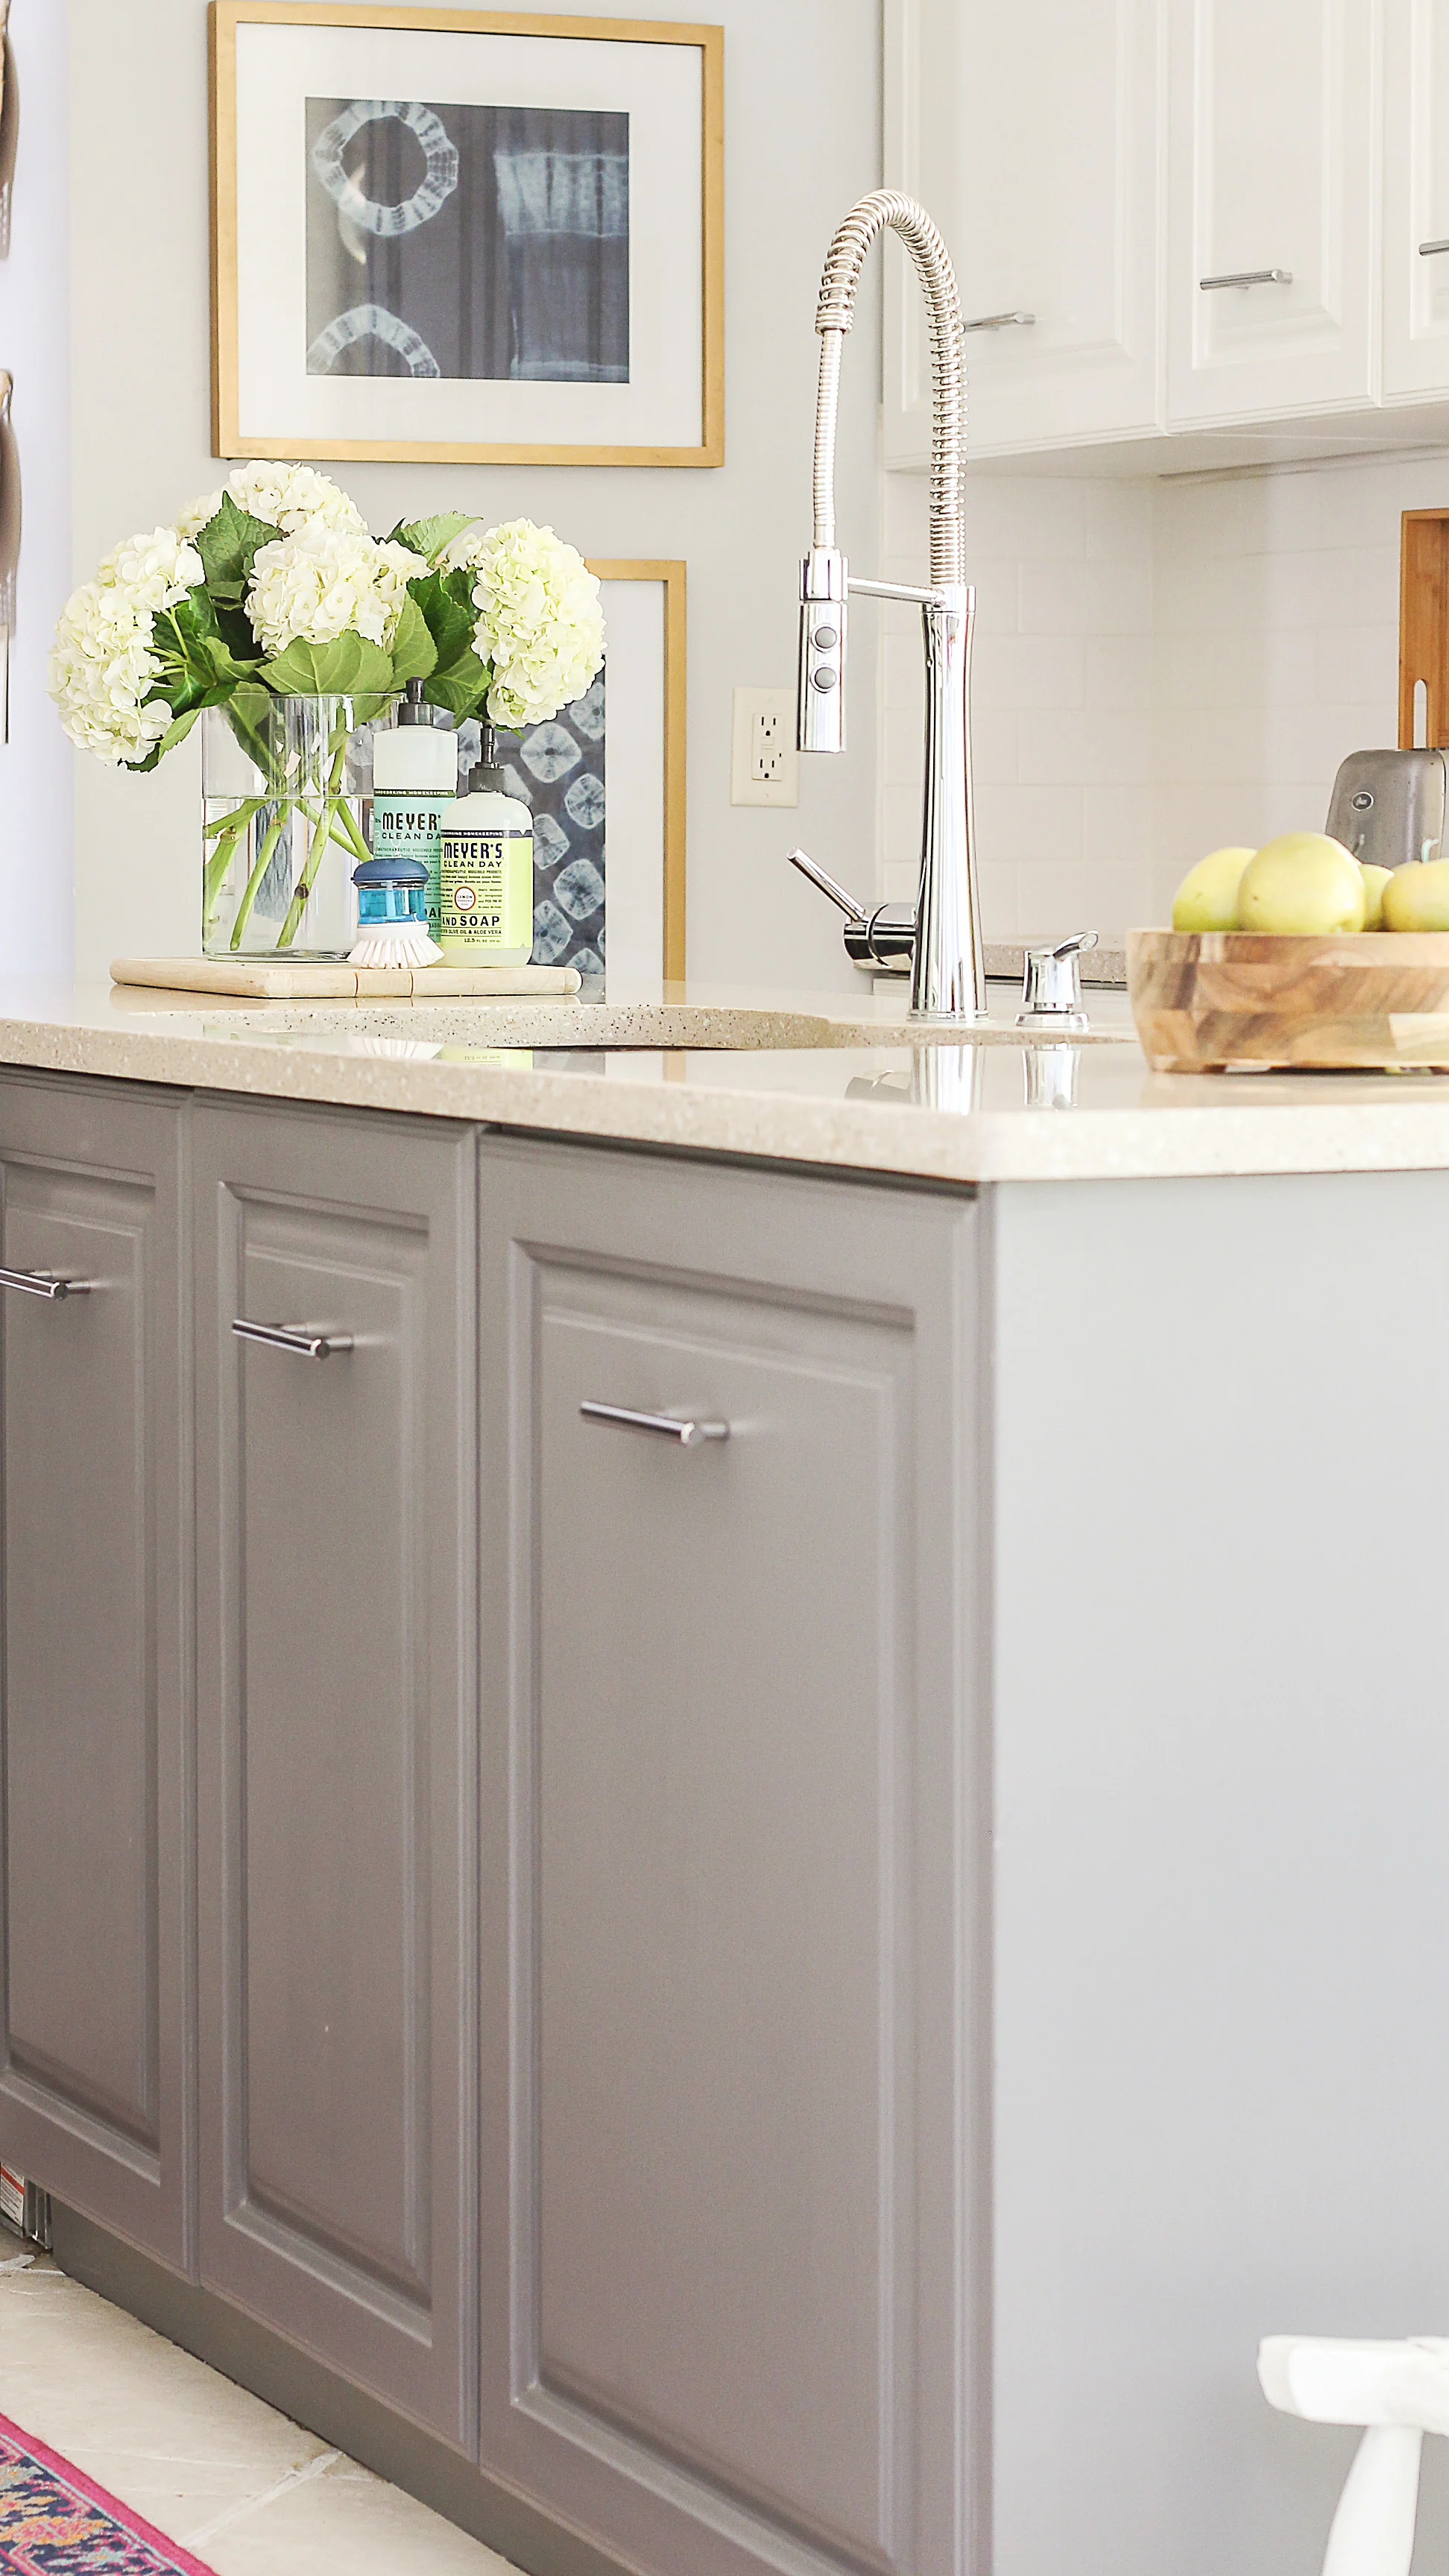
Updating hardware can complement your newly painted cabinets. Measure existing hardware holes carefully if purchasing new pieces to ensure proper fit. Consider knob and pull placement, as standard sizes vary. Template guides help position new hardware consistently across all cabinets.
For a budget friendly update, consider painting existing hardware with metallic spray paint designed for metal surfaces. Thoroughly clean and lightly sand hardware first for better adhesion. Spray paint in thin coats, allowing proper drying time between applications.
If reusing original hardware, clean it thoroughly with a brass or metal polish. Soak heavily soiled pieces in vinegar or a degreaser solution. Allow hardware to dry completely before reinstalling to prevent moisture trapping against fresh paint.
Final Touches and Maintenance
After the final coat dries completely, carefully reinstall doors and drawers using your labeling system. Adjust hinges as needed for proper alignment. Remove all painter’s tape within a day or two to prevent peeling. Touch up any small imperfections with a small artist’s brush.
Allow paint to cure fully before heavy use, typically about two weeks. During this time, avoid hanging heavy items or slamming doors. Clean cabinets gently with a soft cloth and mild cleaner once cured. Avoid abrasive scrubbers that could damage the finish.
For long term maintenance, periodically check for chips or wear, especially around handles. Keep touch up paint stored properly for quick fixes. With proper care, your painted cabinets can look fresh for 5 10 years before needing attention.
How long does it take to paint kitchen cabinets?
A complete cabinet painting project typically takes 3 5 days from start to finish, accounting for proper drying times between steps. Preparation including cleaning, sanding, and priming usually requires one full day. Painting takes another 1 2 days, allowing for multiple thin coats with drying time in between. Reassembly and final touches complete the project. Rushing the process can lead to poor results, so it’s important to follow recommended drying times. The actual working time is about 15 25 hours spread over several days.
Do I need to sand cabinets before painting?
Yes, sanding is essential for proper paint adhesion, even when using primer. Light sanding with 120 150 grit paper creates texture for the paint to grip. Glossy surfaces especially need this abrasion. However, you don’t need to strip cabinets down to bare wood unless there’s significant damage. For heavily varnished cabinets, a liquid deglosser can substitute for sanding but may not work as well on damaged surfaces. Always clean thoroughly after sanding to remove all dust particles before priming.

What’s the best paint for kitchen cabinets?
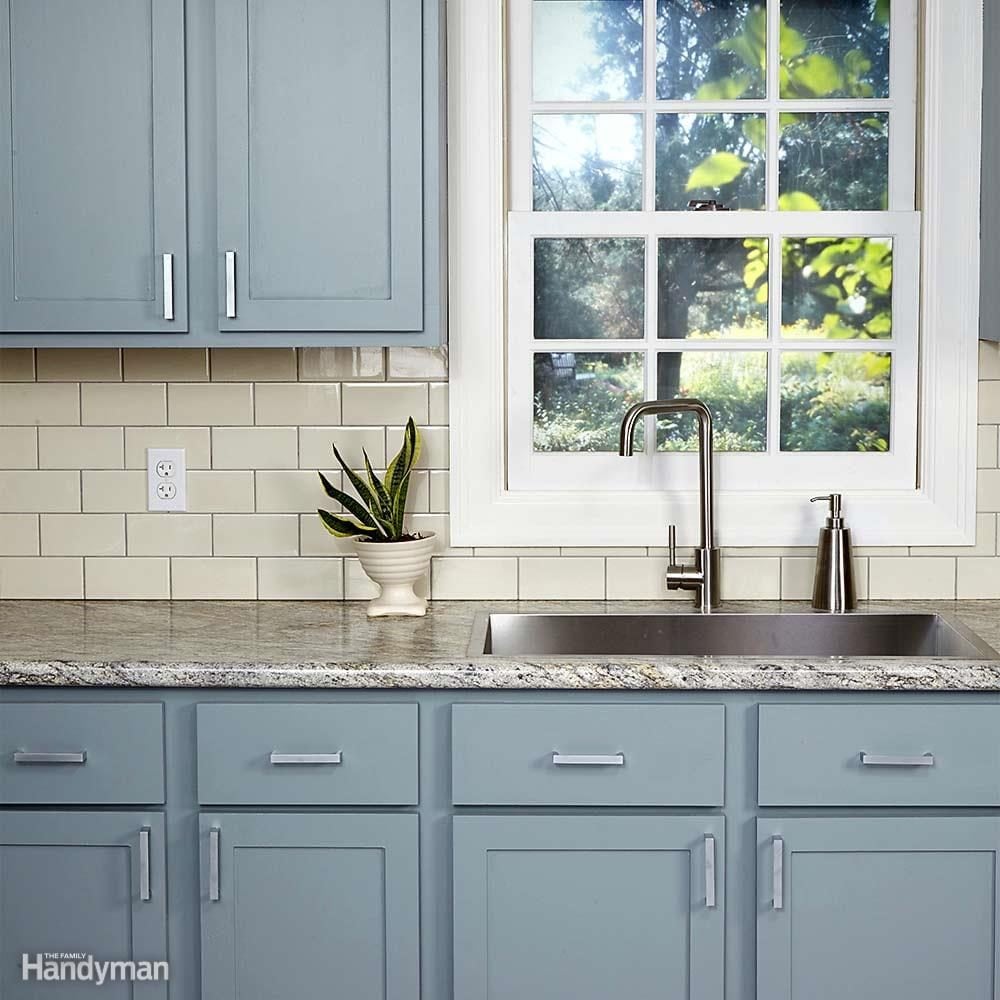
High quality acrylic latex or hybrid alkyd paints work best for cabinets. Look for products specifically formulated for cabinets and trim, as they contain additives for durability. Semi gloss or satin sheens are ideal, offering some shine while hiding imperfections better than high gloss. Brands like Benjamin Moore Advance, Sherwin Williams Emerald Urethane, or Behr Alkyd provide excellent results. These paints level well, resist yellowing, and withstand frequent cleaning. Avoid flat paints as they show stains and are harder to clean.
Can I paint laminate cabinets?
Yes, laminate cabinets can be painted successfully with proper preparation. Use a high adhesion primer designed for slick surfaces, such as a shellac based or bonding primer. Lightly sand the laminate first to rough up the surface, then clean thoroughly. Some manufacturers make paint specifically formulated for laminate surfaces. Apply multiple thin coats rather than thick ones to prevent peeling. While painted laminate won’t be as durable as wood, proper prep and quality products can yield good results that last several years.
How do I prevent brush marks when painting cabinets?
Several techniques help minimize brush marks. Use high quality synthetic bristle brushes and foam rollers specifically designed for smooth finishes. Maintain a wet edge by working in manageable sections. Thin the paint slightly with water or the recommended conditioner if it seems too thick. Apply paint in thin coats rather than trying to get full coverage in one application. Lightly sand between coats with 220 grit sandpaper to smooth imperfections. Consider using a paint additive like Floetrol for latex paints to improve leveling and extend drying time.
How long do painted cabinets last before needing repainting?
With proper preparation and quality materials, professionally painted cabinets can last 7 10 years before needing refreshment. DIY jobs typically last 5 7 years with good care. High traffic areas like around handles may show wear sooner. The durability depends on surface preparation, paint quality, and maintenance. Gentle cleaning with non abrasive products preserves the finish. Touching up small chips promptly prevents larger areas of damage. Cabinets in rental properties or homes with young children may need repainting sooner due to heavier wear and tear.
How To Paint Kitchen Cabinets White (Our Best Tips & Tricks)
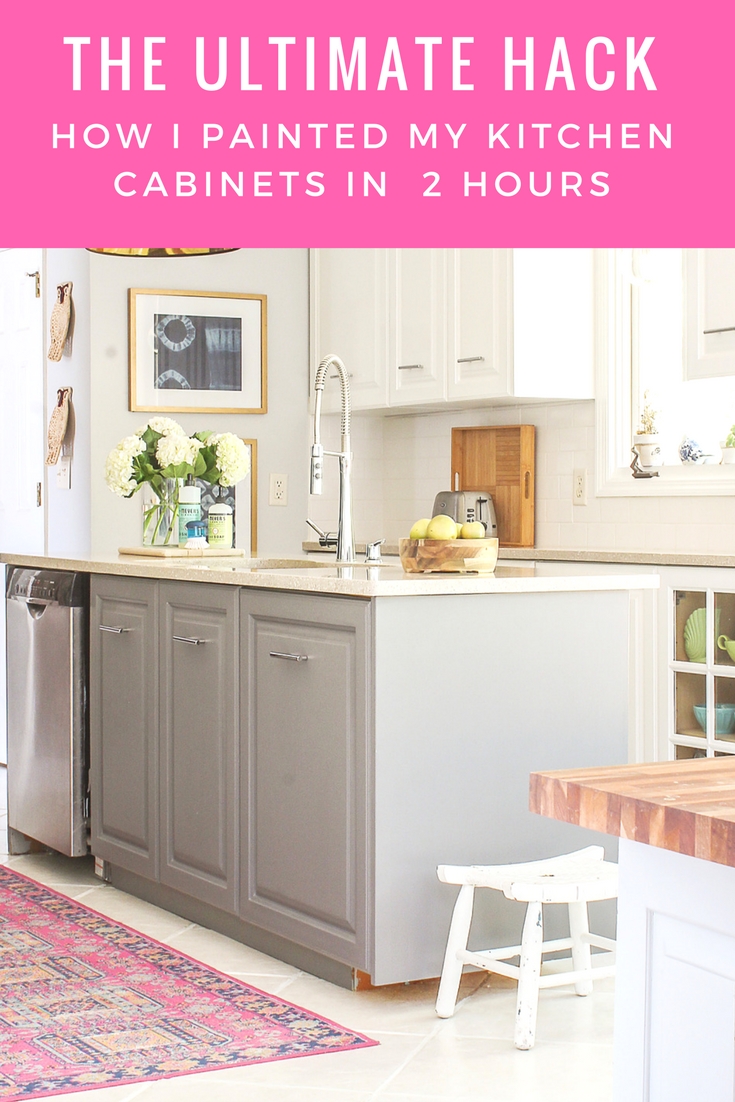
Fastest Way to Paint Kitchen Cabinets: The Ultimate Hack
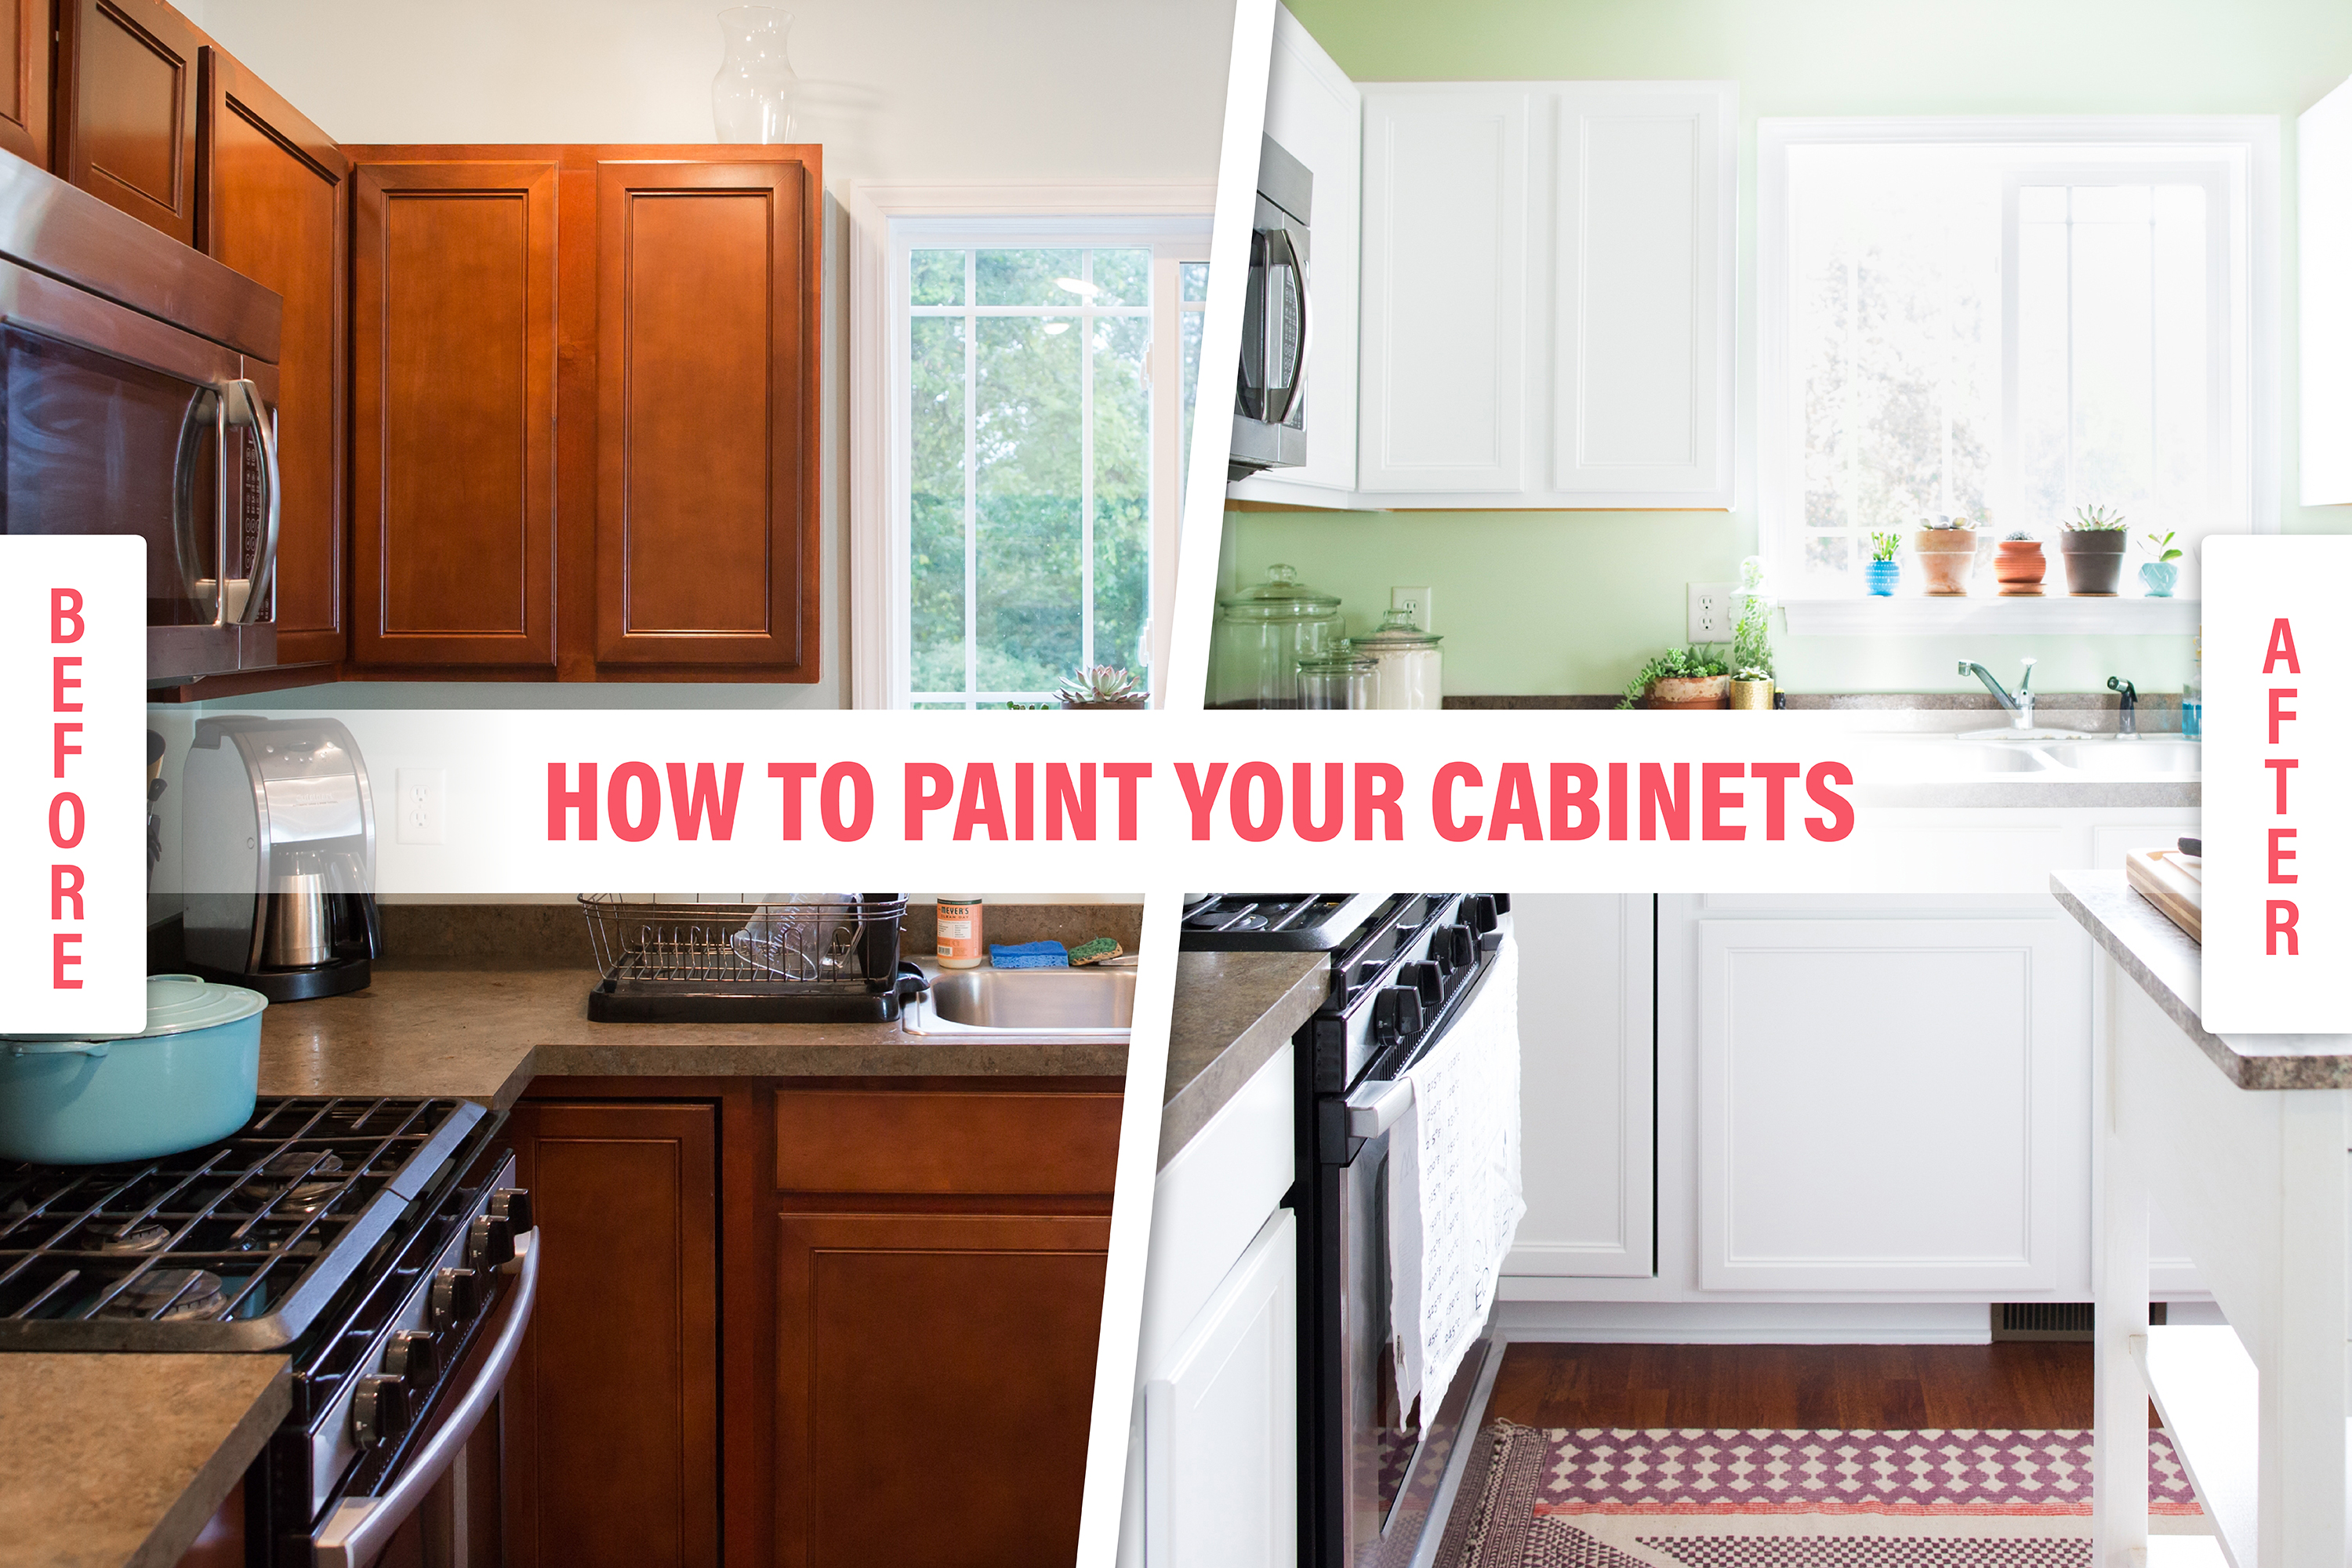
How To Repaint Painted Cabinets (Our Green Kitchen Cabinets) – The
The “Easy Way” to Paint Your Kitchen Cabinets More to Mrs. E

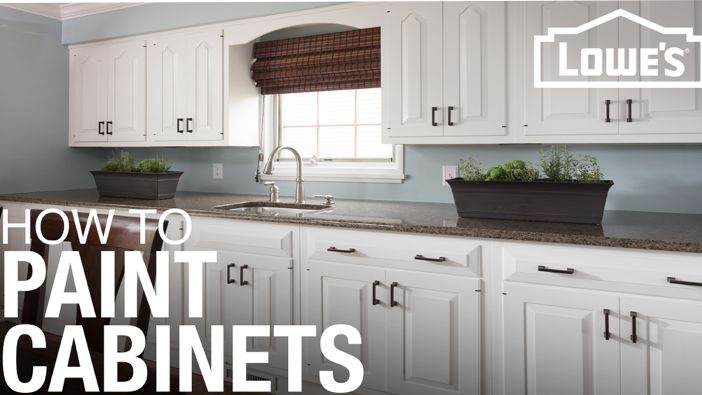
Tips on How to Paint Kitchen Cabinets
Related Posts: