DIY Square Kitchen Table: Crafting Your Own Stylish Dining Space
Building your square kitchen table is a rewarding DIY project that allows you to create a custom piece that perfectly fits your space and style. With a few basic materials and tools, you can craft a sturdy and stylish table that will be the centerpiece of your kitchen. In this article, we’ll guide you through the process of building your square kitchen table, from gathering materials to finishing touches.
Materials You Will Need
-
Wooden boards (for the tabletop)
-
Wooden boards or legs (for the table legs)
-
Wood screws
-
Wood glue
-
Sandpaper (120 and 220 grit)
-
Wood stain or paint
-
Polyurethane finish
-
Paintbrush or roller
-
Measuring tape
-
Saw
-
Drill
Step-by-Step Process
1. Plan and Measure Start by determining the dimensions of your table. A standard square kitchen table is typically around 36 to 48 inches on each side. Measure and mark your wooden boards accordingly.
2. Cut the Wood Using a saw, cut the wooden boards to the desired dimensions for the tabletop and legs. Ensure all cuts are straight and even.
3. Assemble the Tabletop Arrange the wooden boards for the tabletop side by side. Apply wood glue to the edges and press them together. Use clamps to hold the boards in place while the glue dries. For added stability, drill pilot holes and insert wood screws along the seams.
4. Attach the Table Legs Position the table legs at each corner of the tabletop. Use wood glue and screws to secure them in place. Ensure the legs are straight and even before tightening the screws.
5. Sand the Surface Once the table is assembled, use sandpaper (120 grit) to smooth the entire surface, focusing on any rough edges. Follow up with finer sandpaper (220 grit) for a smoother finish.
6. Apply Stain or Paint Choose a wood stain or paint color that complements your kitchen décor. Apply the stain or paint evenly using a paintbrush or roller. Allow it to dry completely before applying additional coats if needed.
7. Finish with Polyurethane To protect your table and give it a polished look, apply a coat of polyurethane finish. Use a paintbrush or roller to apply it evenly. Allow it to dry, then lightly sand with fine-grit sandpaper (220 grit) before applying a second coat.
8. Enjoy Your New Table Once the finish is completely dry, your DIY square kitchen table is ready to use. Arrange chairs around it and enjoy your new custom dining space!
Tips for a Successful DIY Table
-
Choose Quality Wood: Opt for hardwoods like oak, maple, or cherry for a durable and long-lasting table.
-
Precision Cutting: Ensure all your cuts are precise to avoid any gaps or uneven edges during assembly.
-
Patience with Finishing: Allow sufficient drying time between coats of stain, paint, and polyurethane for the best results.
Building your own square kitchen table is a fulfilling project that results in a unique and personalized piece of furniture. With the right materials and a bit of effort, you can create a table that not only serves as a functional dining space but also adds a touch of handmade charm to your kitchen. If you have any specific questions or need further guidance, feel free to reach out—I’m here to help!
Images about DIY Square Kitchen Table

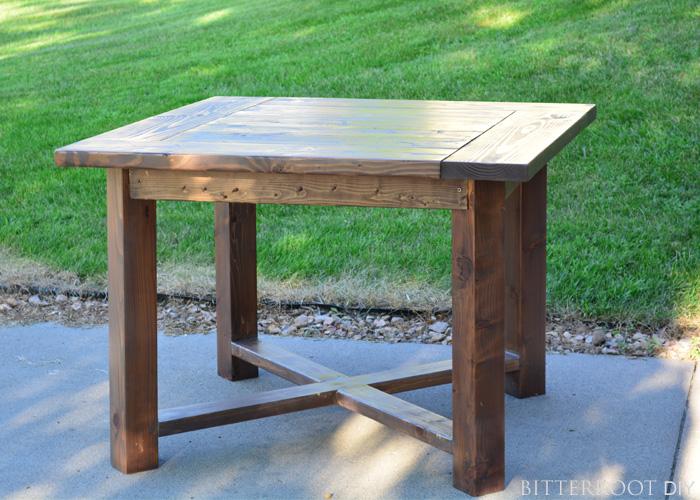
DIY Farmhouse Square Dining Table

DIY Square Dining Table – Shanty 2 Chic

Diy Square Dining Table Plans – WoodWorking Projects u0026 Plans

Kreg Tool Innovative Solutions for All of Your Woodworking and
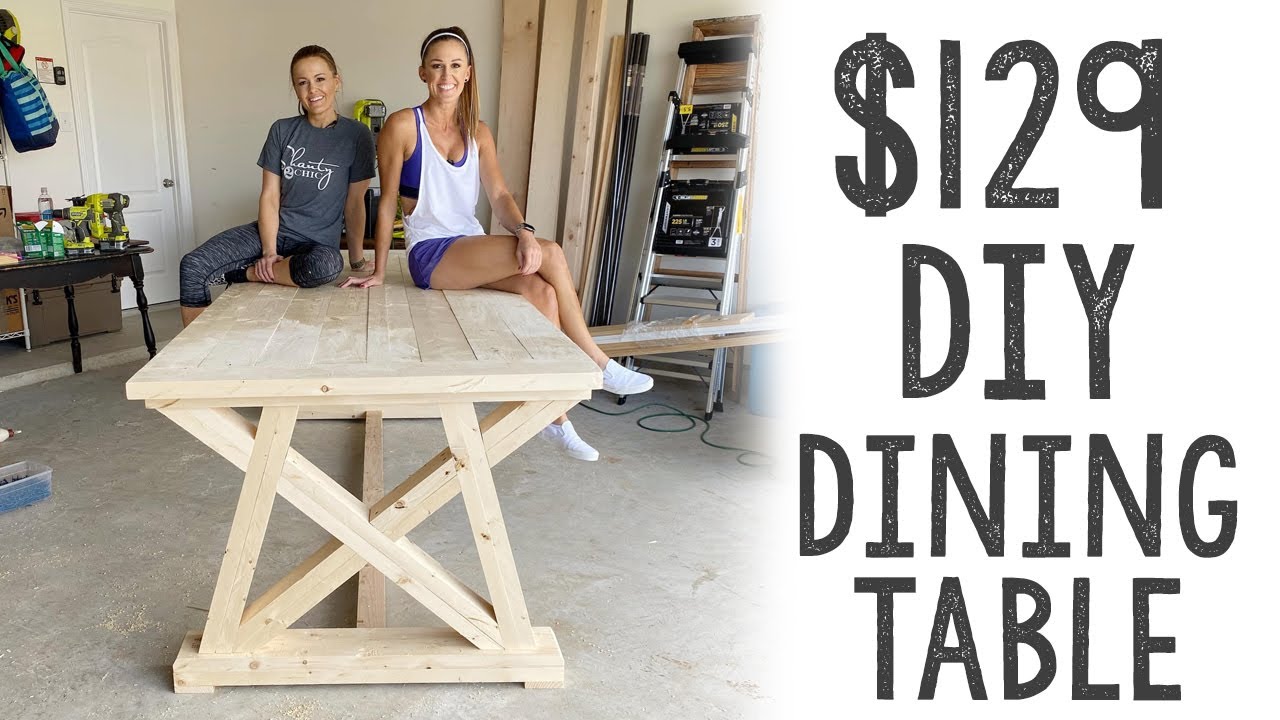
$129 DIY Dining Table
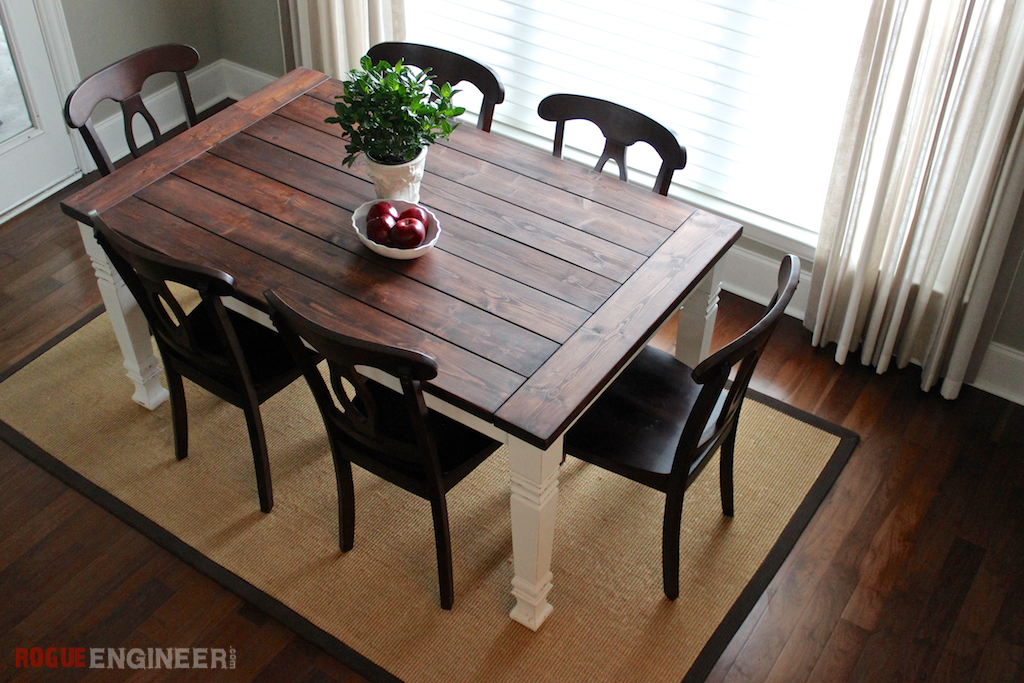
DIY Farmhouse Table Free Plans Rogue Engineer
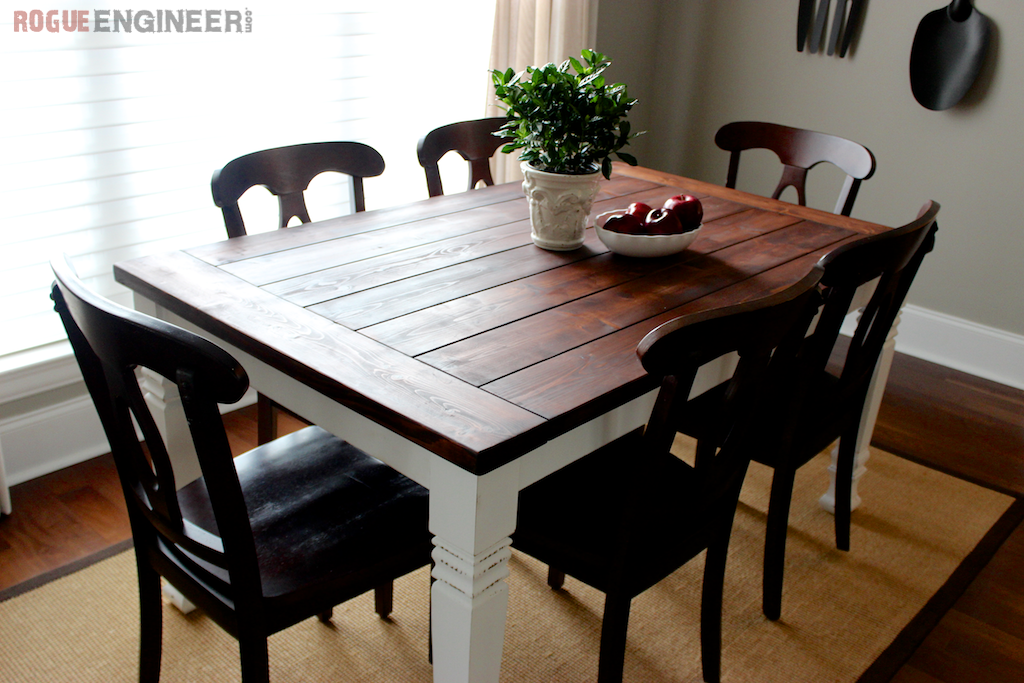
Square Turned Leg Farmhouse Kitchen Table Ana White

DIY Farmhouse Square Dining Table – Sypsie.com

DIY Farmhouse Table Free Plans Rogue Engineer
Building square farmhouse table

Related Posts: