When I decided to upgrade my kitchen sink last spring, I had no idea how many creative possibilities existed beyond just swapping one standard sink for another. What started as a simple replacement project turned into an exciting exploration of DIY modifications, custom installations, and budget-friendly solutions that completely transformed how I use my kitchen. From building a custom apron front sink surround to creating innovative storage solutions around the sink area, I discovered that thinking creatively about this essential workspace could dramatically improve both function and style. Let me share the ideas and lessons I learned during this rewarding DIY journey.
Farmhouse Apron Front Conversion on Existing Cabinets
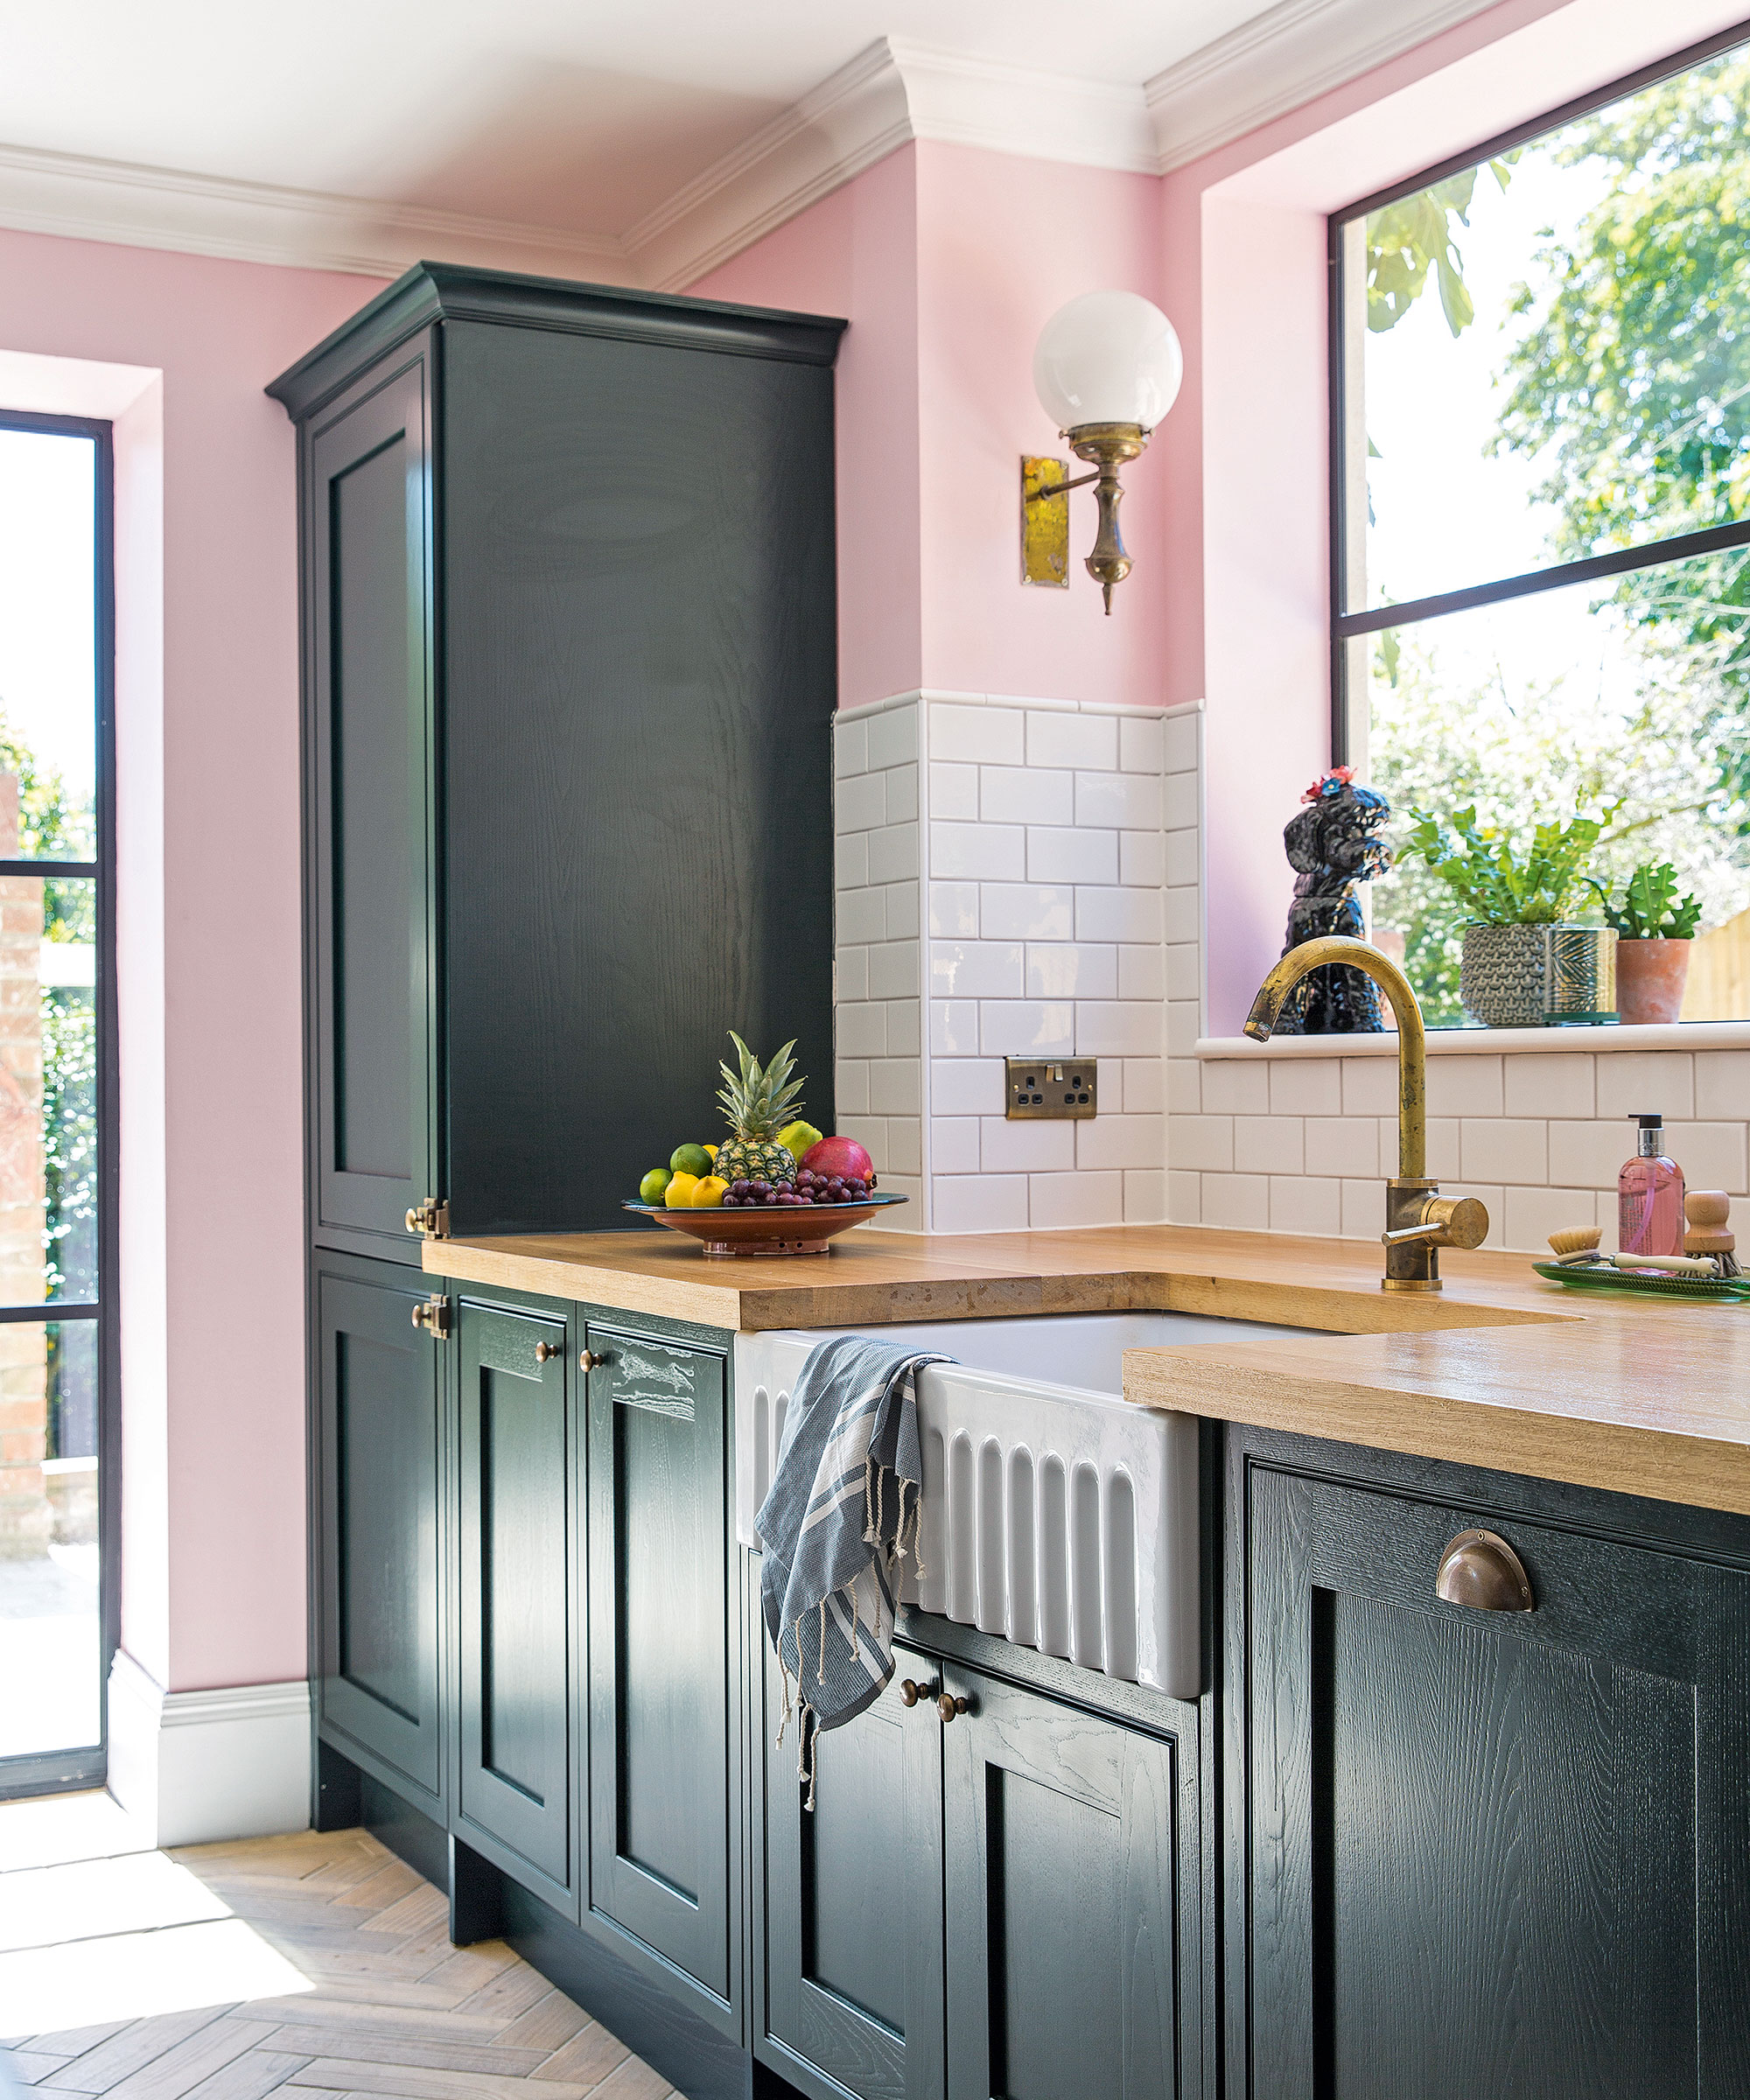
Converting my standard drop-in sink to a farmhouse apron front style was the most dramatic change I made, and honestly, the most challenging part of my entire project. I had existing cabinets that were in great condition, so replacing them wasn’t in the budget. Instead, I researched how to modify the cabinet face to accommodate an apron front sink, which required cutting out the center stile and creating a new opening. This modification took careful planning and precise measuring to avoid weakening the cabinet structure.
The process involved removing the cabinet doors and drawers, then using a reciprocating saw to cut out the front panel where the sink apron would show. I reinforced the remaining cabinet structure with additional support brackets inside before installing the new sink. The trickiest part was ensuring the sink would be perfectly level and properly supported, since apron front sinks are much heavier than standard drop-in models. I added extra blocking between the cabinet sides to distribute the weight evenly.
Installing the apron front sink itself required modifying the countertop, which I tackled by carefully measuring and cutting the opening with a circular saw and jigsaw. The satisfaction of seeing that beautiful white ceramic apron extending below my countertop was incredible, completely changing the character of my kitchen. The project took a full weekend, but the dramatic transformation made every hour of careful cutting and fitting worthwhile. My kitchen now has that coveted farmhouse look without the expense of new cabinetry.
Custom Undermount Installation with DIY Support System
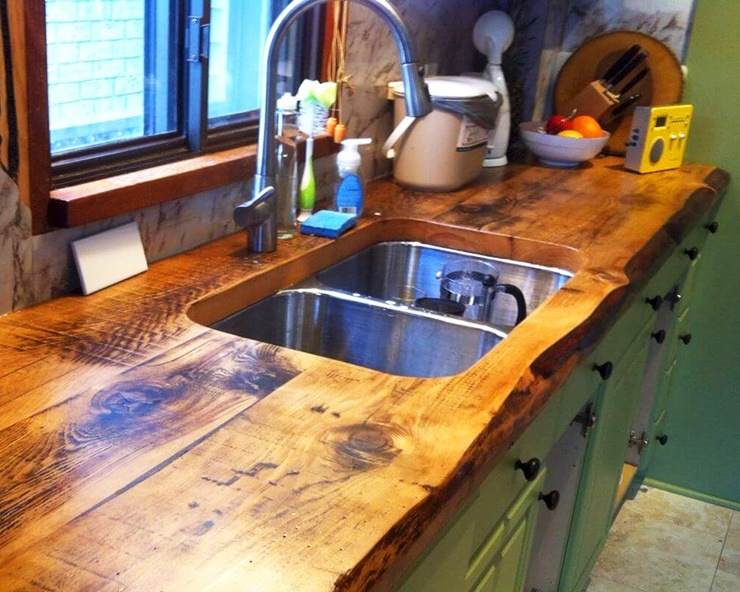
Installing an undermount sink in my existing laminate countertops seemed impossible until I discovered creative DIY solutions that made it achievable without replacing the entire countertop. The key was building a custom support system underneath that could handle the sink’s weight while creating a clean undermount appearance. I used a combination of wood blocking, metal brackets, and marine-grade adhesive to create a rock-solid mounting system that has held up perfectly for over a year.
The process started with cutting the sink opening very precisely, leaving just enough lip around the edge for the support system. I built a wooden frame underneath the countertop that distributes the sink’s weight across multiple cabinet support points rather than relying solely on the countertop material. This frame was crucial because laminate countertops don’t have the structural strength of stone or solid surface materials to support heavy undermount sinks on their own.
Sealing the installation properly was critical to prevent water damage to the countertop substrate. I used a combination of silicone sealant and waterproof membrane around the entire perimeter, creating multiple barriers against moisture infiltration. The finished installation looks completely professional, with clean lines and no visible mounting hardware. Guests are always surprised to learn I installed it myself, and the undermount style makes cleaning so much easier than my previous drop-in sink.

Creative Storage Solutions Around the Sink Area
The area around my kitchen sink was completely underutilized until I got creative about adding storage solutions that work with my daily routines. I installed a slide-out tray system in the cabinet directly below the sink that holds cleaning supplies, dish soap, and scrub brushes in an organized, easily accessible way. This simple addition eliminated the cluttered mess that used to accumulate under my sink and made cleaning tasks much more efficient and pleasant.
I also added narrow pull-out drawers on either side of the sink cabinet that hold dish towels, sponges, and other frequently used items. These custom-sized drawers maximize the often-wasted space beside sink cabinets while keeping essentials within arm’s reach of the work area. The drawer slides I chose have soft-close mechanisms that prevent slamming and provide smooth operation even when fully loaded with supplies.
Above the sink, I installed a small shelf system that holds dish soap, hand lotion, and a small plant, creating both storage and visual interest. The key was choosing materials that could handle occasional splashing while complementing my kitchen’s style. I used waterproof wood stain and sealed everything properly to prevent water damage. These storage additions have made my sink area much more functional and organized without requiring major renovation or expensive custom cabinetry.
Faucet Upgrade and Plumbing Modifications
Upgrading my faucet became more involved than expected when I decided to install a professional-style pull-down spray model that required different plumbing connections than my original setup. The new faucet needed a larger hole in the sink and additional clearance below for the spray hose mechanism. I learned to drill through stainless steel carefully, using step bits and cutting oil, taking my time to avoid cracking or damaging the sink material during the enlargement process.
The plumbing modifications taught me valuable skills about working with water supply lines and shut-off valves. I replaced the old angle stops with quarter-turn ball valves that provide better flow and are easier to operate during future maintenance. Installing braided supply lines instead of rigid copper tubes gave me more flexibility during installation and will make future faucet changes much simpler. I also added individual shut-offs for hot and cold lines to make maintenance easier.
The most challenging aspect was routing the new faucet’s electrical connection for the LED temperature indicator and touchless operation features. This required running a small electrical wire through the cabinet and connecting it to a nearby outlet, which meant drilling careful holes and using appropriate wire management techniques. The upgraded faucet has transformed how I use my sink, with the pull-down spray making everything from washing dishes to filling large pots much more convenient and efficient.

DIY Backsplash Integration with Sink Area
Creating a cohesive look between my new sink and the surrounding backsplash required careful planning and creative problem-solving. I wanted the backsplash to extend seamlessly from the countertop to the bottom of my upper cabinets, but the new apron front sink created an interesting challenge in how to handle the transition. I decided to create a custom tile pattern that frames the sink area and draws attention to it as a focal point rather than trying to hide the transition.
The tile installation around the sink required careful measuring and cutting to achieve clean edges where the backsplash meets the sink apron. I used a wet tile saw to make precise cuts and bullnose trim pieces to create finished edges that look intentional and professional. The most challenging cuts were the ones that had to fit around the faucet and any plumbing that extended from the wall, requiring template-making and patient trial-and-error fitting.
I chose a complementary but slightly different tile pattern directly behind the sink to create visual interest while maintaining overall cohesion with the rest of the backsplash. This accent area makes the sink feel like an intentional design feature rather than just a functional necessity. The grouting process required extra attention to ensure water-tight seals around all the edges, especially where different materials meet. The finished result creates a custom, high-end appearance that ties the entire kitchen together beautifully.

Budget-Friendly Sink Accessories and Organization
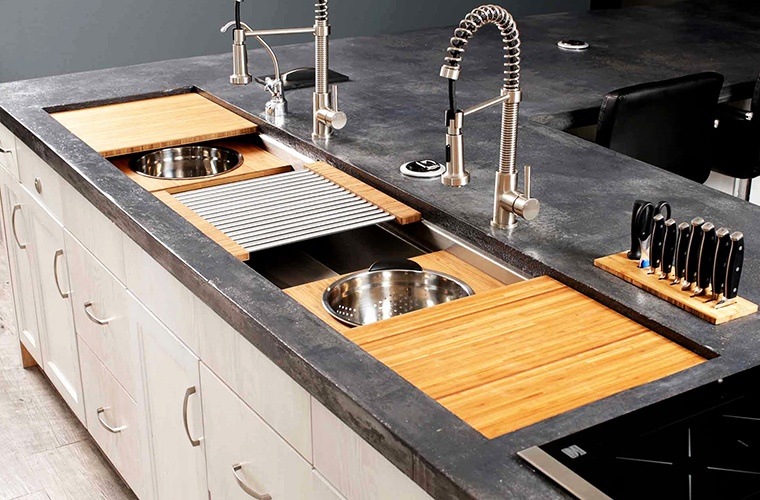
Creating an organized, efficient sink area didn’t require expensive custom solutions; I discovered many budget-friendly accessories that dramatically improved functionality. I installed a simple under-sink sliding organizer that cost less than $30 but transformed the chaotic cabinet into a well-organized storage space. Adding a small lazy Susan in the corner holds cleaning supplies that were previously hard to reach, making everything easily accessible.
Over-sink accessories have been game-changers for maximizing workspace without permanent modifications. I found an expandable over-sink cutting board that creates extra prep space when needed and stores compactly when not in use. A collapsible dish drying rack that fits over the sink saves counter space and drains directly into the sink, solving my limited drying space problem without requiring additional storage when not in use.
The biggest impact came from organizing the drawers and cabinets around the sink with simple dividers and containers. I used inexpensive plastic organizers and bamboo drawer dividers to create designated spaces for dish towels, scrubbers, and cleaning supplies. This organization system makes everything easy to find and maintain, while keeping the sink area looking neat and intentional. These small investments in organization have had a much bigger impact on daily kitchen functionality than I expected.
Long-Term Maintenance and Performance Lessons
Living with my DIY sink modifications for over a year has taught me valuable lessons about what works long-term and what needs ongoing attention. The custom support system I built for my undermount installation has performed flawlessly, with no settling or movement despite daily heavy use. However, I’ve learned that regular inspection of the sealant around the perimeter is important, and I touch up any small gaps immediately to prevent water damage.
The storage solutions I added have held up well, but required some adjustments as my usage patterns became clear. The slide-out trays under the sink needed stops to prevent them from pulling out completely, which I added after a few incidents of drawers coming completely off their tracks. The over-sink accessories work great but need regular cleaning since they’re exposed to splashing and humidity more than typical kitchen storage.
Maintenance of the apron front conversion has been straightforward, but I’ve learned to be more careful about splashing water onto the wooden cabinet modifications. I sealed all the cut edges thoroughly during installation, but I still wipe down the area regularly to prevent any moisture infiltration. The satisfaction of using a beautiful, functional sink area that I created myself makes any minor maintenance requirements completely worthwhile. These modifications have made my kitchen more enjoyable and efficient every single day.

How difficult is it to convert existing cabinets for an apron front sink?
It’s challenging but doable for intermediate DIYers. I had to cut out cabinet faces, reinforce the structure, and modify countertops. The key is careful measuring and having the right tools, like reciprocating and circular saws. Plan for a full weekend and expect some trial-and-error. The dramatic transformation makes the effort worthwhile.
Can you really install undermount sinks in laminate countertops?
Yes, with proper support systems. I built a wooden frame underneath to distribute weight across the cabinet supports rather than relying on the laminate alone. Marine-grade adhesive and multiple sealing barriers prevent water damage. It’s held up perfectly for over a year with heavy daily use, though it requires more planning than stone countertops.
What’s the most cost-effective way to upgrade sink functionality?
Simple accessories made the biggest impact for the least money. Under-sink organizers, over-sink cutting boards, and drawer dividers cost under $100 total but transformed functionality. Pull-out trays and lazy susans maximize existing cabinet space. These small additions often provide more daily benefit than expensive sink replacements.
How do you handle plumbing modifications during DIY sink projects?
Start with simple upgrades like new supply lines and angle stops before tackling complex changes. I learned to shut off water properly, use the right tools, and take photos before disconnecting anything. For major modifications, consult local codes and consider professional help for gas lines or complex rerouting.
What mistakes should beginners avoid with DIY sink projects?
Don’t underestimate measuring and planning time. I rushed my first attempt and had to redo cuts. Always check sink specifications against cabinet dimensions before purchasing. Waterproofing is critical, especially with undermount installations. Have backup plans for when things don’t fit perfectly, which happens more often than you’d expect.
How long do DIY sink modifications typically last?
My installations have held up excellently after a year of heavy use. Quality materials and proper installation techniques are crucial for longevity. Regular maintenance, like checking seals and cleaning mechanisms, keeps everything functioning well. Most DIY sink modifications should last as long as professionally installed ones when done correctly.

Kitchen Sink Ideas to Impress While Best Utilizing Your Space
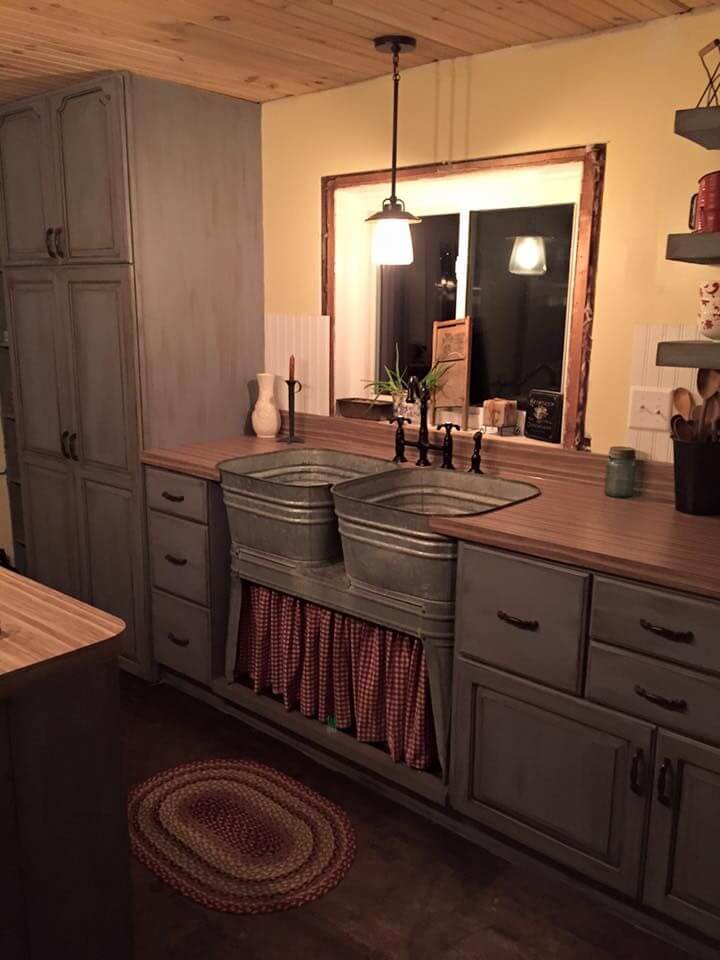
DIY Outdoor Kitchen sink

Amazing Kitchen Sink Ideas

Build your own kitchen sink base! Do it yourself, wood

Related Posts: