A kitchen island makeover can dramatically change your cooking area’s look and functionality without requiring a full renovation. Whether you’re updating an existing island or repurposing furniture into a new one, DIY projects offer budget-friendly customization. From simple cosmetic changes to structural modifications, these ideas help create an island that better serves your household’s needs. Let’s discuss some approaches to revitalizing your kitchen island with practical, achievable projects.
Paint and Finish Updates
A fresh coat of paint instantly transforms an island’s appearance. For wood surfaces, sand lightly and apply primer before painting. Chalk paint adheres well to most materials without extensive prep work, creating a matte finish perfect for vintage styles. High-gloss enamel provides durable, wipeable surfaces in modern kitchens. Consider contrasting colors to make the island stand out from the perimeter cabinets.
Specialty finishes add unique character. Distressing techniques give shabby-chic appeal when paired with dark wax accents. Two-tone designs with different colors on base and counter create visual interest. Metallic glaze overlays add subtle shimmer to solid colors. For wood islands, staining rather than painting preserves natural grain while refreshing the color. Always use food-safe sealers on surfaces that contact food.
Hardware replacement completes the painted makeover. New knobs and pulls should coordinate with other kitchen metals but can make bold style statements. Oversized handles suit contemporary designs, while vintage glass knobs complement traditional spaces. Consider drawer pulls along the seating side for convenient towel hanging. Measure existing hole spacing before purchasing replacements to avoid redrilling.
Countertop Upgrades
Butcher block tops add warmth and functionality to islands. Prefabricated slabs simplify installation, requiring only careful cutting and finishing. Food-grade mineral oil treatments protect the wood while maintaining its natural look. For contrast, pair warm wood tops with painted bases in cool tones like navy or gray. The material works especially well for baking stations and casual dining areas.
Concrete overlays create industrial looks without heavy lifting. These thin coatings apply directly over existing countertops, then polish to desired sheen. Stains and dyes allow color customization, while embedded objects like glass chips add personality. The durable surface withstands hot pans but requires periodic resealing. Edge forms can create waterfall designs that continue down the island sides.
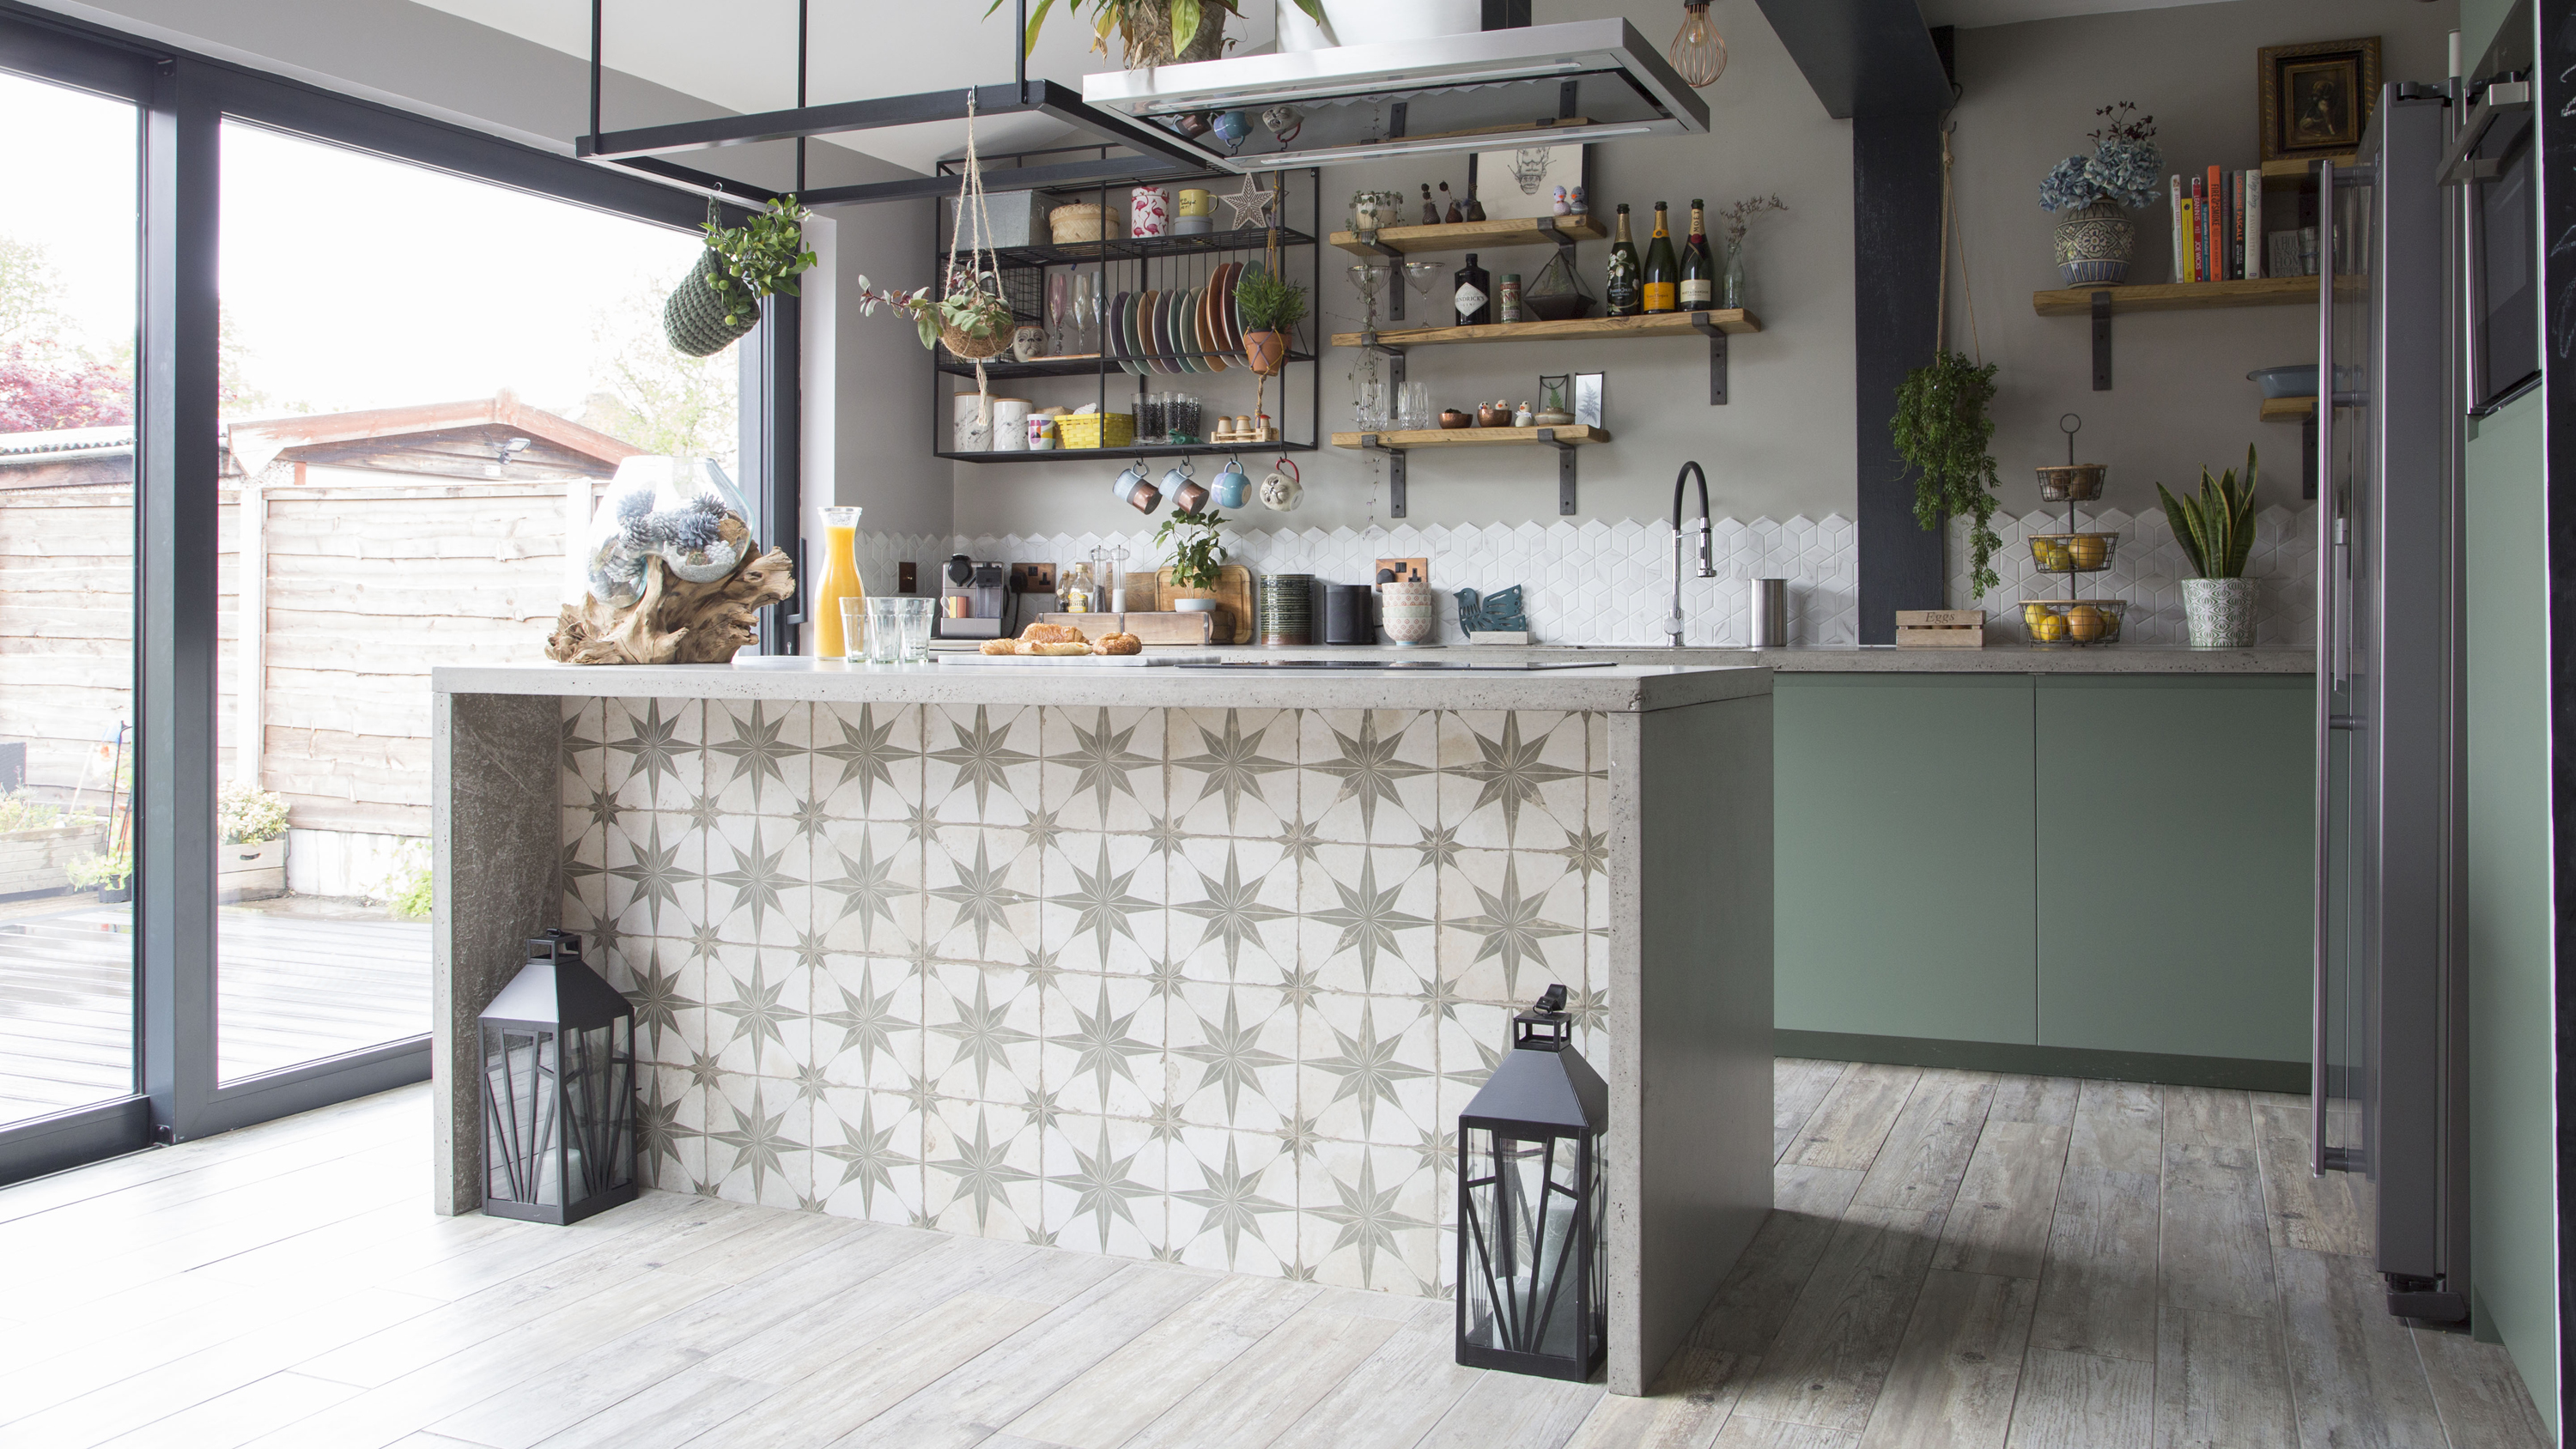
Tile offers endless design possibilities for DIYers. Use large-format tiles to minimize grout lines in busy kitchens. Mosaic sheets create intricate patterns without individual tile placement. Cement tiles make bold graphic statements but require careful sealing. Always use proper underlayment and waterproofing for wet areas like sink surrounds. Bullnose edge tiles or metal trim provide finished looks.

Storage and Organization Enhancements
Open shelving modifications increase accessibility. Replace cabinet doors with shelves to display attractive cookbooks or dishware. Adjustable systems accommodate changing storage needs. Floating shelves maintain clean sightlines in small kitchens. For safety, secure shelves properly to hold heavy items and keep frequently used objects within easy reach.
Custom drawer inserts improve functionality. Cutlery dividers, spice racks, and knife blocks keep essentials organized. Peg systems create adjustable compartments for pots and lids. DIY sliding trays provide access to deep cabinet corners. Measure carefully before cutting materials—many prefabricated organizer components can be trimmed to fit unique spaces. Labeling systems help maintain order after the makeover.
Added features boost convenience. Install hooks or rods along island sides for hanging towels and utensils. Flip-down trash bin cabinets keep waste out of sight. Charging stations in drawers hide electronics while powering devices. Wine racks or stemware holders capitalize on unused vertical space. Consider shallow appliance garages that tuck away small gadgets when not in use.

Seating and Dining Improvements
Extended overhangs create comfortable seating areas. Add support brackets when lengthening countertops for dining. Allow 12 inches per stool space and 15-18 inch knee clearance. Rounded corners prevent bumped hips in tight kitchens. For existing overhangs, add decorative corbels or legs that complement the island’s style.
Creative seating solutions maximize space. Built-in banquettes on one side save room while adding storage underneath. Swivel stools tuck neatly under standard overhangs. Backless designs allow closer positioning to the island than chairs. For family-friendly islands, include one wide stool (30 inches) to accommodate children. Cushions tied to stools prevent slipping and add comfort.
Multi-level designs separate functions. A raised counter (42 inches) creates a visual barrier for messy prep work while lower sections (36 inches) accommodate dining. Tiered islands work well in open-plan homes where the kitchen flows into living areas. Use contrasting materials or colors to distinguish the levels while maintaining cohesive design.
Structural Modifications
Size adjustments better fit your kitchen’s layout. Extend length for additional workspace or seating by adding matching base cabinets. Narrow islands improve traffic flow in galley kitchens. Always maintain at least 42 inches clearance around all sides. For movable islands, locking casters add flexibility in changing configurations.
Shape changes alter the island’s functionality. Curved fronts soften angular kitchens and improve circulation. Rectangular islands suit food prep, while square designs work as casual dining spots. Adding a sink or cooktop requires plumbing/electrical considerations but significantly enhances utility. Peninsula conversions connect islands to walls, creating additional counter space.
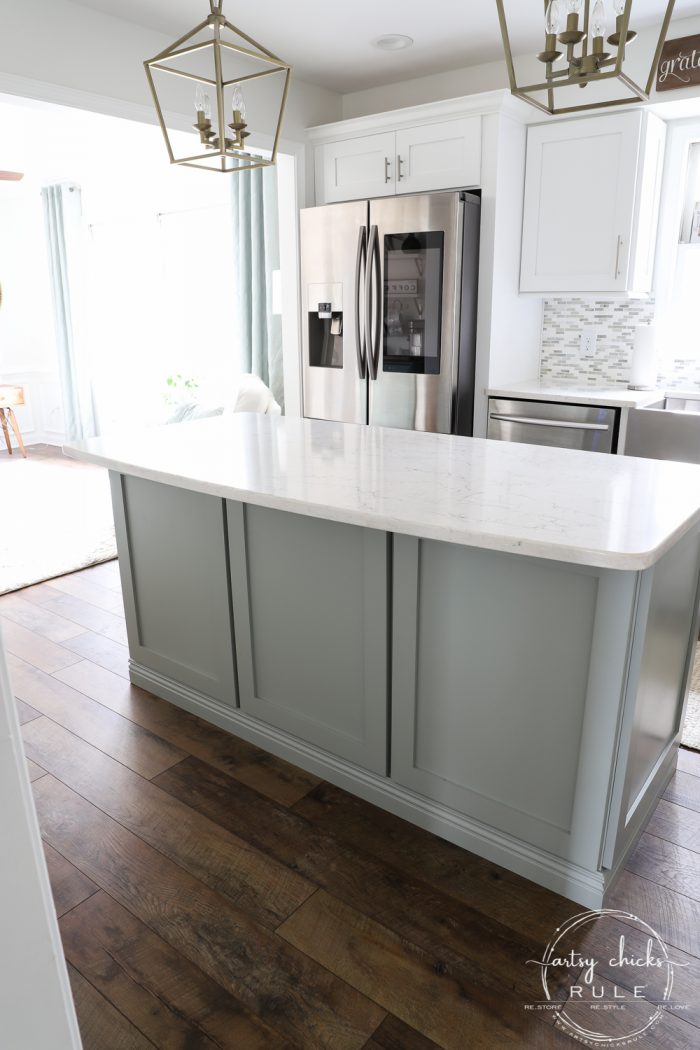
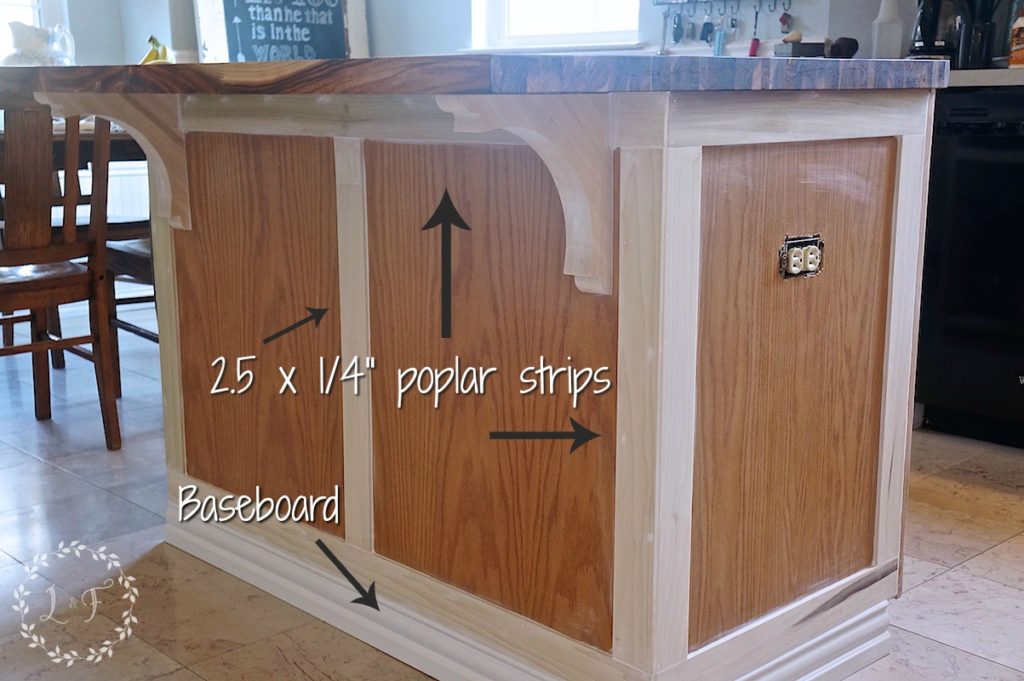
Architectural details personalize basic islands. Crown molding adds traditional elegance when painted to match the base. Corbels or decorative legs provide vintage charm. Shiplap or beadboard panels create cottage appeal. For contemporary spaces, try geometric cutouts or metal inlays. These finishing touches elevate the island from purely functional to a design centerpiece.
Decorative Accents
Lighting upgrades define the island’s presence. Pendant lights should hang 30-36 inches above the surface, sized proportionally to the island. Industrial cages suit modern spaces, while crystal fixtures complement traditional decor. Plug-in options avoid hardwiring needs for renters. Under-cabinet lighting illuminates work surfaces without overhead glare.
Backsplash additions protect walls and add style. Peel-and-stick tiles offer temporary solutions that remove cleanly. Beadboard panels install quickly with construction adhesive. Metal backsplashes create sleek, easy-to-clean surfaces. Continue countertop materials up the backsplash for seamless elegance. Consider chalkboard or magnetic paint for interactive surfaces.
Seasonal decor keeps the island looking fresh. Change out centerpieces with holidays—bowls of fruit in summer, pumpkins in fall. Area rugs define spaces while protecting floors from chair scratches. Table runners add color without permanent commitment. For small kitchens, vertical decor like hanging plants or artwork maximizes impact without cluttering workspace.
What’s the easiest kitchen island makeover for beginners?
Painting offers the most accessible starting point for DIY island makeovers. Clean surfaces thoroughly, lightly sand for adhesion, then apply primer and two coats of quality cabinet paint. Replace hardware for an instant style update. These changes require minimal tools—just brushes, sandpaper, and a screwdriver. For added impact without complexity, apply removable wallpaper to island sides or add decorative corbels. These low-commitment projects build confidence for more involved modifications later.
Can I convert an old table into a kitchen island?
Tables make excellent island bases with some modifications. Ensure the height matches your countertops (typically 36 inches). Add casters for mobility or secure to the floor for stability. Install shelves or baskets underneath for storage. Use a waterproof top like butcher block or laminate for food prep areas. For a built-in look, surround the table base with paneling that matches your cabinets. Always verify the table’s weight capacity before loading with heavy countertop materials.

How do I add electrical outlets to my DIY island?
Portable solutions avoid complex wiring—try a plug-in power strip mounted underneath the overhang. For permanent outlets, hire an electrician to run wiring through the floor if the island isn’t movable. Pop-up outlets installed in the countertop maintain clean lines when not in use. Always follow local electrical codes, especially near water sources. Battery-powered LED puck lights provide illumination without wiring for simple under-cabinet lighting.
What’s the best way to match my island to existing cabinets?
Take a cabinet door to the paint store for custom color matching. For stained cabinets, identify the wood species and finish type before purchasing supplies. If exact matching proves difficult, choose a complementary color that intentionally contrasts with your cabinets. Sample boards help test colors under your kitchen’s lighting before committing. Adding similar hardware and decorative details like crown molding creates cohesion even with different colors.
How can I make my island more functional for baking?
Incorporate a marble or granite slab insert for pastry work that stays cool. Add shallow drawers for rolling pins and cookie cutters. Install a pull-out flour bin with measuring cup holder. Include hooks for hanging measuring spoons and towels. A dedicated electrical outlet powers mixers without cluttering main counters. For serious bakers, consider a second sink or faucet extension for easy clean-up.
What’s the most durable finish for a high-use kitchen island?
Two-part epoxy paints provide the most durable finish for heavily used islands, resisting scratches, stains, and moisture. For wood surfaces, catalyzed varnishes offer superior protection over standard polyurethane. Laminate sheets adhere to existing surfaces with durable, wipeable finishes. Commercial-grade vinyl wrapping withstands years of abuse. Always prepare surfaces properly—durability depends as much on prep work as the finishing product itself.
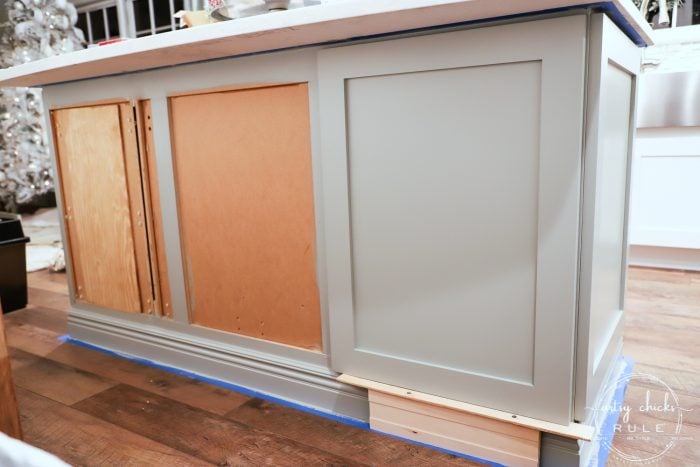
DIY Kitchen Island Makeover – Bitterroot DIY Kitchen island

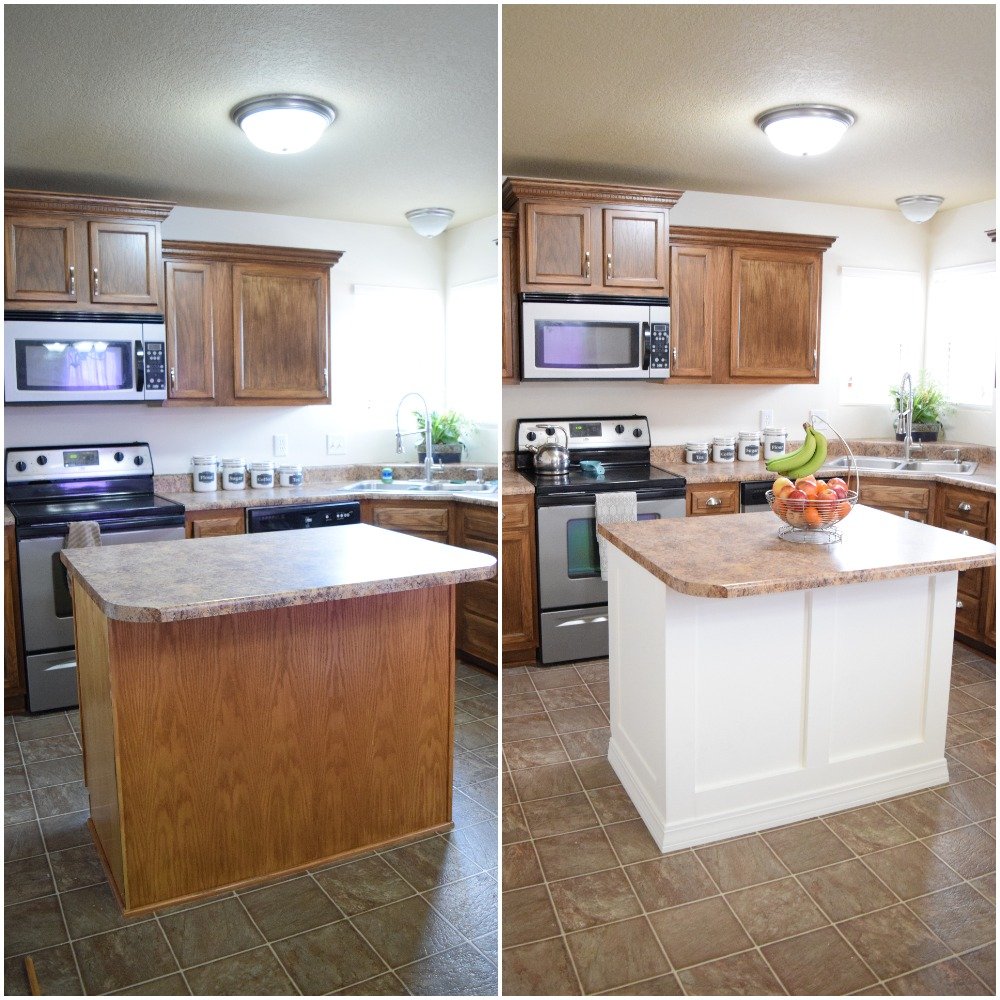
DIY Kitchen Island Upgrade Kitchen Makeover on a Budget

How to Upgrade a Builder Grade Kitchen Island

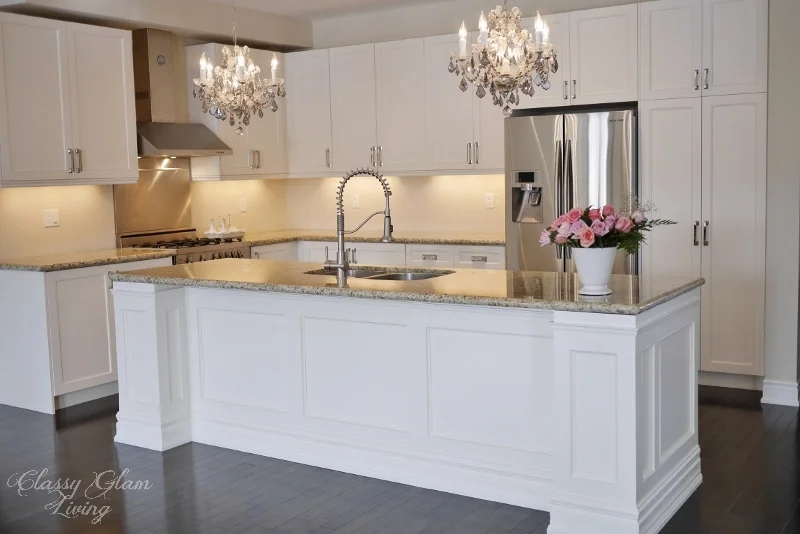
Our Dream Island in the Kitchen – Classy Glam Living
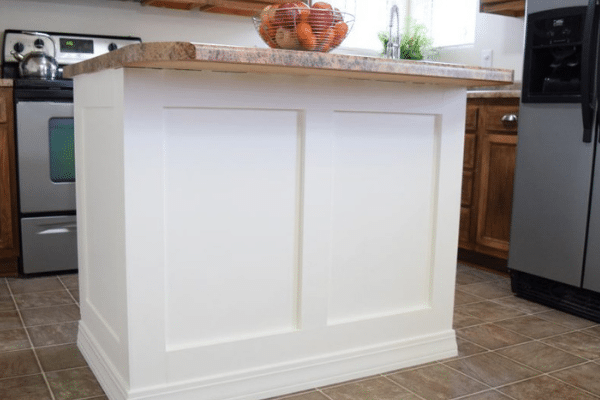
DIY Kitchen Island Rustic Kitchen Island Makeover Under $150

Kitchen Island Makeover Ideas – Love Remodeled
Related Posts: