When I started planning my kitchen renovation two years ago, I knew a country-style island table would be the heart of my new space. I wanted something that combined the warmth and charm of farmhouse living with the functionality my busy family actually needed. After visiting dozens of furniture stores, scrolling through endless online options, and even attempting a DIY project that didn’t quite work out, I finally created the perfect island table setup. Let me share everything I learned about choosing, styling, and living with a country kitchen island table that truly works.
Choosing the Right Size and Shape for Your Space
I measured my kitchen at least five times before committing to an island table size, and I’m so glad I did. The general rule I learned is to leave at least 42 inches of clearance on all sides for comfortable traffic flow, though 48 inches feels even better when multiple people are cooking. My kitchen is 14 by 16 feet, and I settled on a 6-foot by 3-foot island that gives us plenty of workspace without making the room feel cramped or difficult to navigate.
Shape matters more than I initially thought. I considered a rectangular table for maximum surface area, but my kitchen layout had an awkward corner that made traffic patterns tricky. I ended up choosing a rectangular island with slightly rounded corners, which softened the look and prevented those painful hip bumps when rushing around during meal prep. Some friends have L-shaped islands that work beautifully in larger spaces, but for my layout, keeping things simple was the right call.
Height was another crucial decision I almost overlooked. Standard dining tables sit at 30 inches, while counter height measures 36 inches, and bar height reaches 42 inches. I went with counter height because it works perfectly for food prep and casual dining with standard counter-height stools. My kids can comfortably sit and do homework there, and I can roll out dough or chop vegetables at an ergonomic height that doesn’t hurt my back after extended cooking sessions.
Selecting Materials That Capture Country Charm
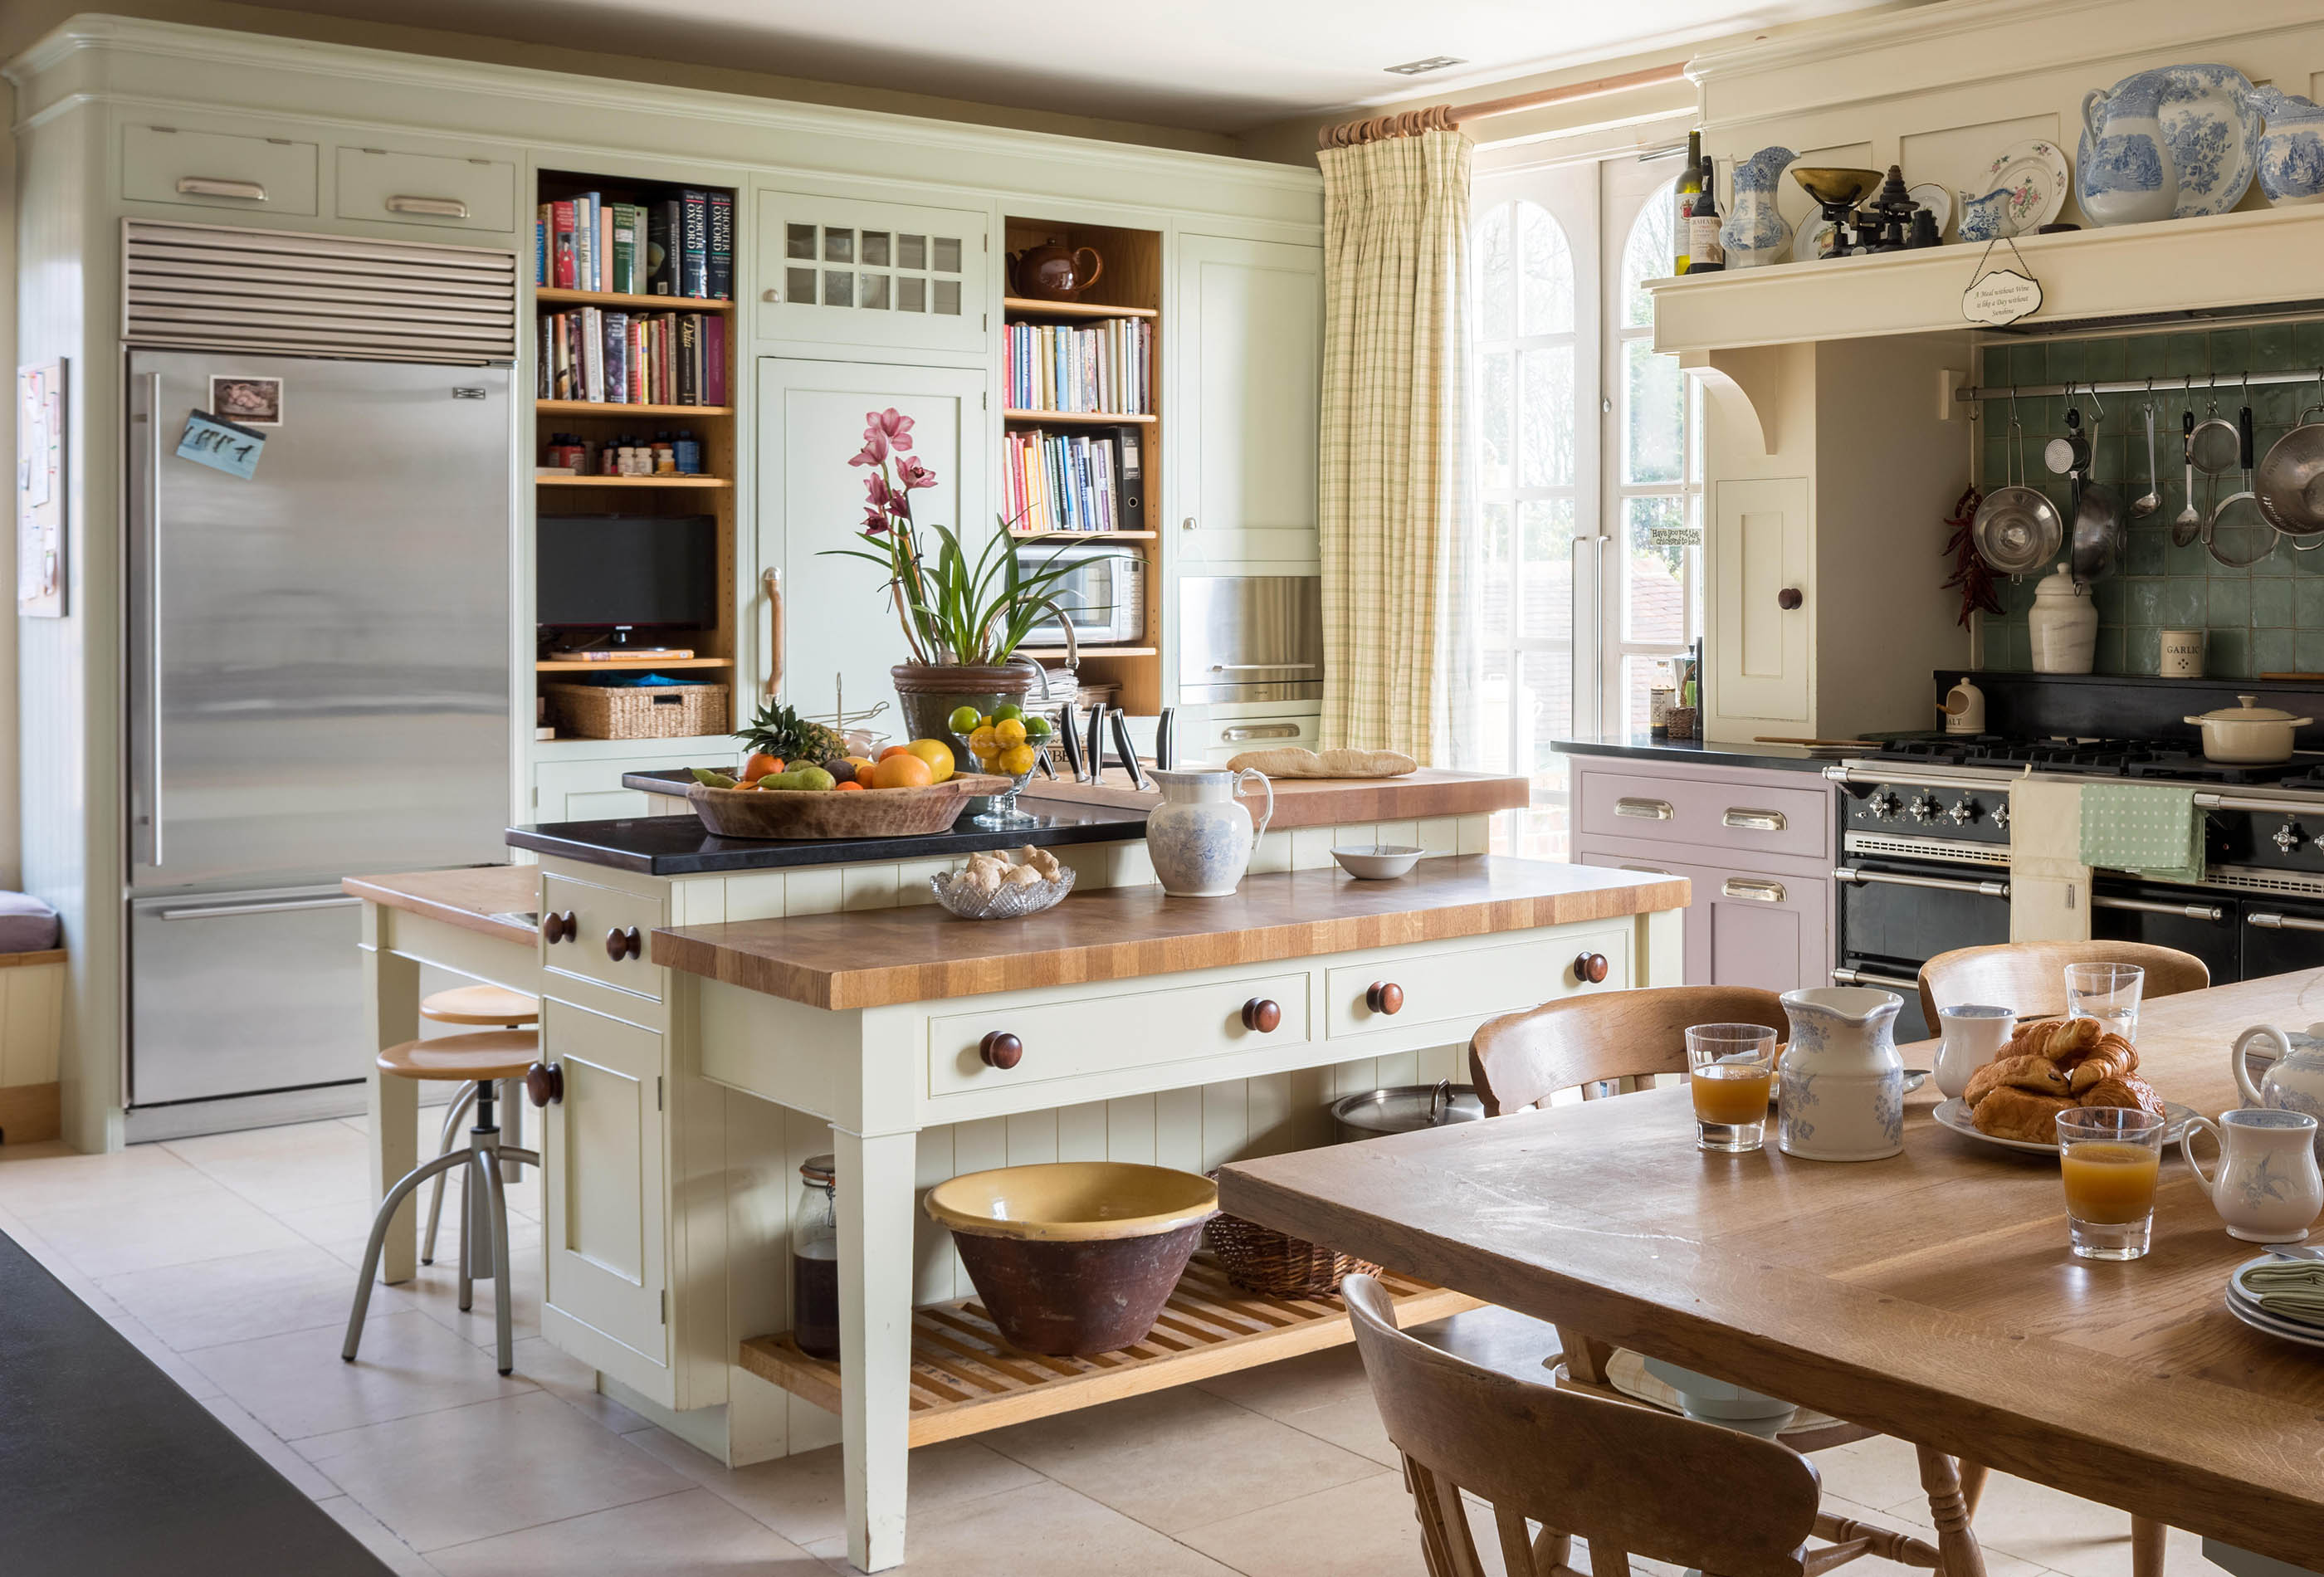
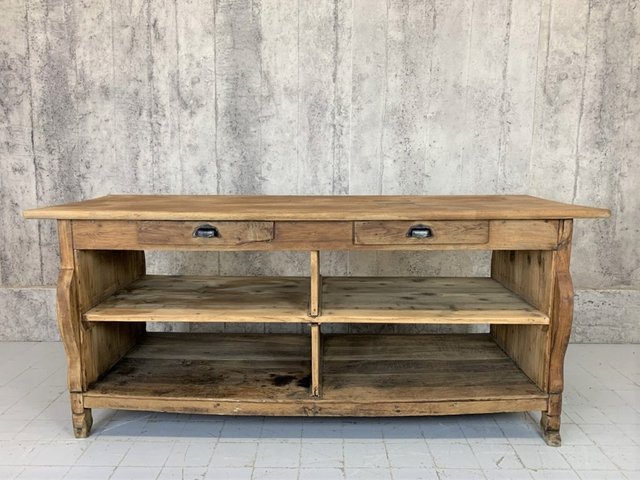
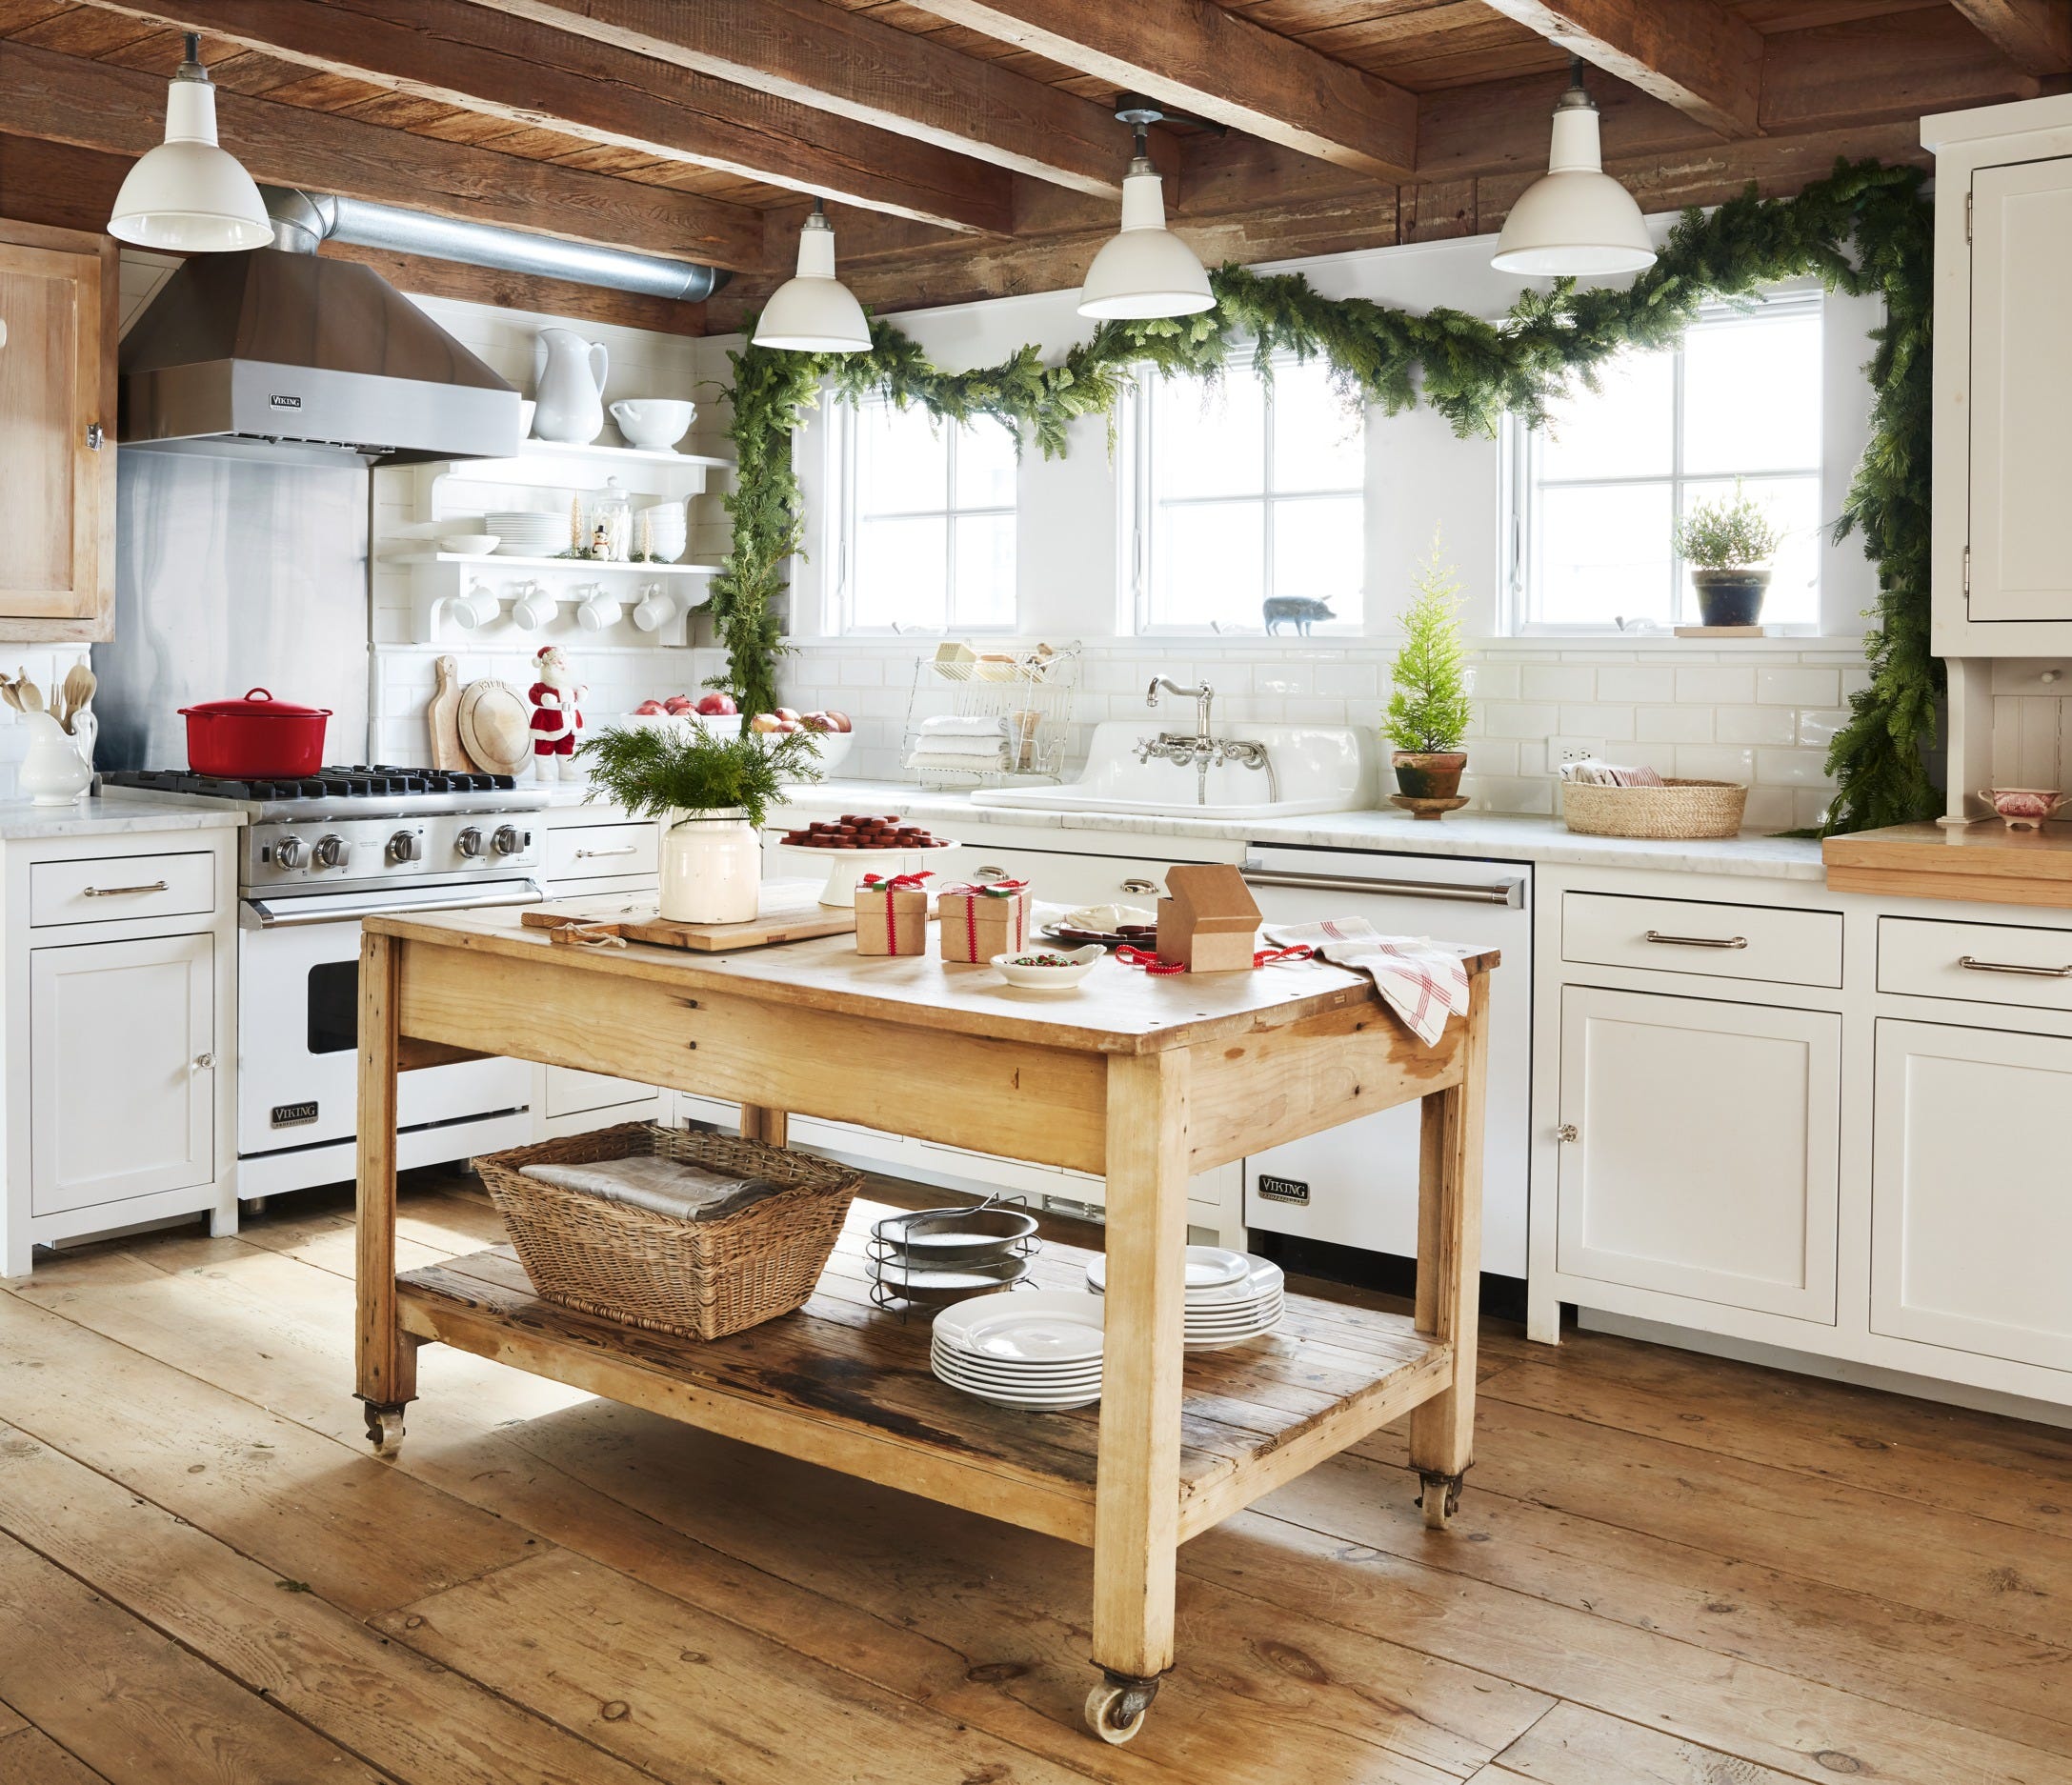
The tabletop material sets the entire tone for a country kitchen island. I fell in love with reclaimed wood because each piece tells a story through its natural imperfections, knots, and weathered patina. I found mine at a local salvage yard, beautiful old barn wood that became the 3-inch-thick butcher block top on my island. The character and warmth it brings to my kitchen can’t be replicated with new materials, though it did require proper sealing to handle daily kitchen use.
For the base, I wanted something sturdy that complemented the rustic top without competing with it. I chose a painted wood base in a soft cream color that echoes traditional farmhouse kitchens. Some people go with distressed painted finishes for added character, and while I love that look, I preferred a cleaner painted surface that I could distress myself over time through natural use. The legs are substantial, turned wood posts that feel substantial and anchored, not flimsy or decorative.
I also considered metal bases, particularly wrought iron or powder-coated steel, which can create a beautiful industrial-farmhouse blend. My neighbor has a gorgeous island with a black metal base and reclaimed wood top that looks stunning in her more modern country kitchen. I ultimately stuck with all-wood construction because it felt warmer and more traditional to me, but metal bases offer excellent durability and can support heavier stone or concrete countertops if that’s the direction you want to go.
Adding Functional Storage Solutions
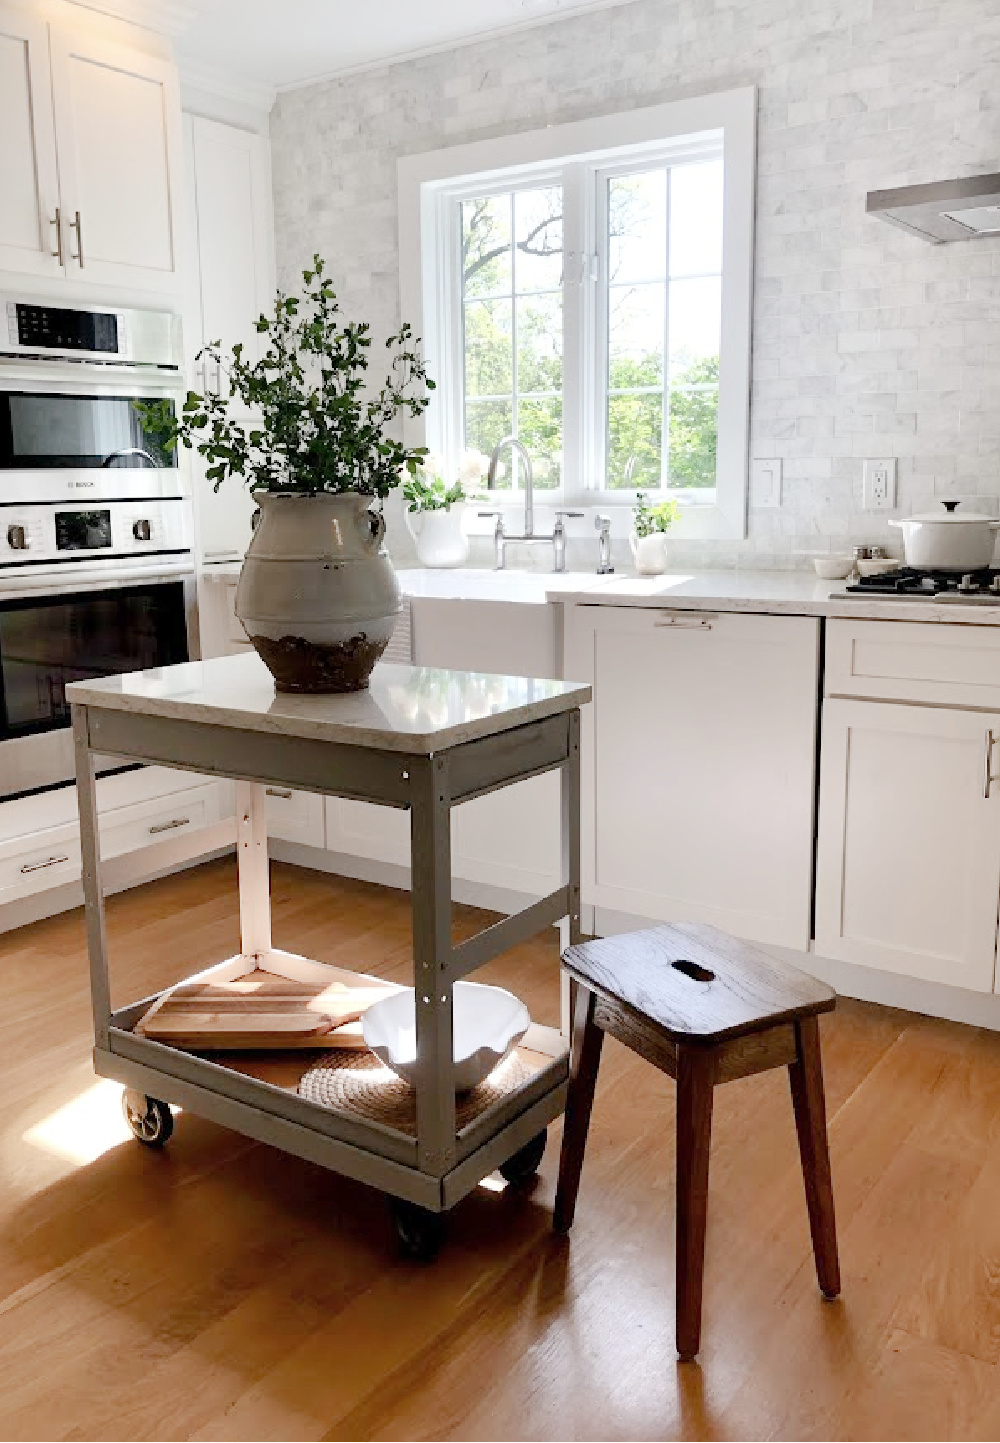
Storage was my biggest priority because my old kitchen had virtually none, and I was tired of cluttered countertops. I designed my island table with open shelving on both long sides, perfect for displaying my collection of vintage crocks, storing cookbooks, and keeping frequently used items within easy reach. The open shelving maintains that airy, country feel while providing practical storage that doesn’t make the island feel heavy or closed off.
I added a combination of drawers and cabinets on one end of the island, which has been absolutely transformative for organization. The deep drawers hold my pots, pans, and larger cooking utensils, while the cabinet stores small appliances I use regularly but don’t want on my counters. I installed soft-close drawer glides, which cost an extra $120 but were worth it for the quality feel and reduced slamming when the kids are helping in the kitchen.
Baskets and bins became my secret weapon for stylish storage on the open shelves. I use wire baskets for root vegetables like potatoes and onions, woven baskets for kitchen linens, and vintage metal containers for utensils. This approach keeps everything accessible and organized while maintaining that relaxed country aesthetic. I can easily swap out baskets seasonally or when I want to refresh the look, which gives me decorating flexibility without major changes to the island itself.

Incorporating Seating That’s Both Comfortable and Stylish
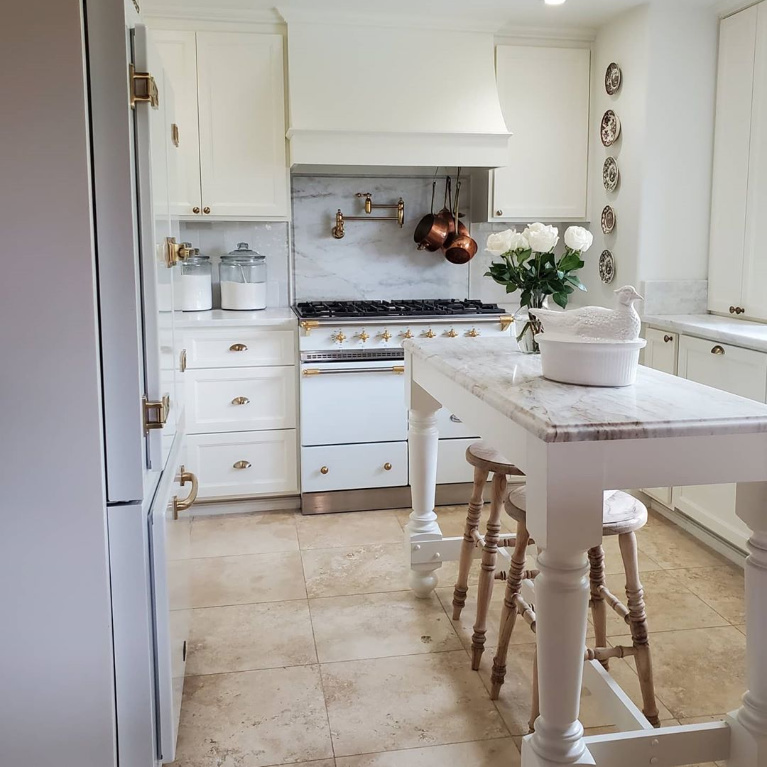
Seating arrangements took me longer to figure out than I expected. I initially bought four matching farmhouse-style bar stools with backs, but they felt too formal and took up too much visual space around my island. I exchanged them for simpler backless stools in a weathered wood finish, and the difference was remarkable. The sightlines opened up, the space felt larger, and the stools tucked completely under the island when not in use, creating better traffic flow.
I learned that overhang dimensions are critical for comfortable seating. Standard recommendations suggest 12 inches of overhang for counter-height seating, but I went with 15 inches, and it makes a real difference in leg room and comfort. My family can sit comfortably for extended periods during homework sessions or casual meals without feeling cramped. I also made sure to space seating positions at least 24 inches apart to give everyone adequate elbow room.
Mixing seating styles added personality I didn’t anticipate. While I have two matching wooden stools on one side, I placed a vintage bench on the other side that I found at a flea market and refinished myself. The bench seats three kids comfortably and adds authentic country character that perfectly complements the island. This mix-and-match approach feels collected over time rather than bought all at once, which is exactly the aesthetic I wanted for my country kitchen.
Styling Your Island Table with Country Touches
I keep my island styling simple and functional because it’s a working surface first and a decorative element second. In the center, I have a large wooden dough bowl that I change seasonally, currently filled with fresh apples and pears from our local orchard. This centerpiece is beautiful but easily moved when I need the full surface for meal prep or baking projects. I learned the hard way that permanent decorations just get in the way during actual cooking.
Lighting above the island makes a huge impact on both functionality and ambiance. I installed three vintage-inspired pendant lights with aged metal shades and Edison bulbs that hang about 30 inches above the surface. The warm glow creates an inviting atmosphere in the evenings, and the fixtures themselves become a focal point that reinforces the country style throughout the room. I put them on a dimmer switch for flexibility, which was one of the smartest decisions I made.
Fresh elements bring life to the space in ways that static decorations can’t match. I keep a small herb garden in galvanized metal containers on one end of the island, which gives me fresh herbs for cooking and adds greenery that softens the space. I also rotate in fresh flowers from my garden when they’re in season, simple arrangements in mason jars or vintage pitchers that take seconds to put together but make the entire kitchen feel more welcoming and lived-in.

Maintaining and Protecting Your Investment
My butcher block top requires regular maintenance, but I’ve developed a simple routine that takes just minutes. I wipe it down after each use with a damp cloth and mild soap, making sure to dry it thoroughly to prevent water damage. Once a month, I apply food-safe mineral oil, rubbing it in with a soft cloth and letting it soak in overnight. This keeps the wood moisturized, prevents cracking, and maintains that beautiful, rich patina that only improves with time and use.
I made the mistake of not protecting my wooden top initially, and I ended up with some heat rings from hot pots and water stains from leaving dishes too long. I sanded those areas down and resealed them, learning my lesson about using trivets and cleaning up promptly. Now I keep a collection of trivets and cutting boards handy so I never place hot items or cut directly on the island surface. These simple habits have kept my island looking beautiful despite daily heavy use from a family of five.
The painted base needs occasional touch-ups, which I expected and actually enjoy doing. Small chips and scratches happen, especially with kids around, but I keep a small container of matching paint for quick fixes. Honestly, though, I’ve grown to love the natural distressing that occurs from daily life. Those little imperfections add character and authenticity to the country aesthetic. I clean the base weekly with a damp cloth and avoid harsh chemicals that might damage the finish or strip away the paint.

What’s the ideal size for a country kitchen island table in an average kitchen?
I recommend measuring your kitchen carefully before deciding. For a typical 12 by 14 foot kitchen, a 5 to 6 foot long island works beautifully. Mine is 6 feet by 3 feet, and it provides ample workspace without overwhelming the room. Remember to leave at least 42 inches of clearance on all sides for comfortable movement. I’ve seen people squeeze in oversized islands that looked great but made the kitchen frustrating to work in, so err on the side of slightly smaller if you’re unsure about dimensions.
Should I buy a pre-made island or have one custom built?
I explored both options extensively. Pre-made islands cost $800 to $3,000 and arrive ready to use, but you’re limited to standard sizes and styles. Custom-built islands start around $2,500 and can exceed $6,000, but you get exactly what you want for your space. I went semi-custom, buying a quality base and having a local carpenter create a custom reclaimed wood top for $1,800 total. This gave me the personalized look I wanted at a more reasonable price point than fully custom construction.

How do I protect a wood top from kitchen spills and stains?
I learned this through trial and error. Seal your wood top with food-safe mineral oil or butcher block conditioner every month, more frequently during the first year. Always use cutting boards for food prep and trivets for hot items. Clean spills immediately, especially acidic substances like lemon juice or tomato sauce that can darken wood. I also applied a food-safe sealer initially that provides a protective barrier while still allowing the wood to breathe and maintain its natural beauty and warmth.
Can I use my island table for both food prep and dining?
Absolutely, that’s exactly how I use mine. The key is keeping the surface clean and having designated areas for different activities. I do food prep on one end and keep the other end clear for seating and dining. I have cutting boards and a butcher block section specifically for chopping. After cooking, I wipe everything down thoroughly before we sit down to eat. This dual functionality is one of the biggest advantages of a country kitchen island table compared to a traditional island with stone countertops.
What type of stools work best with a country kitchen island table?
I’ve tried several styles and found that simple wooden stools or metal stools with wooden seats work best. Counter-height stools, around 24 to 26 inches tall, pair perfectly with standard 36-inch counter height tables. I prefer backless stools because they tuck completely under the island and don’t interrupt sightlines across the kitchen. Look for stools with footrests for comfort during longer sitting periods. I spent about $80 per stool for quality pieces that have held up beautifully through three years of daily family use.
How much should I budget for a quality country kitchen island table?
Budgets vary widely based on size and materials. Basic pre-made options start around $500, while quality pieces range from $1,200 to $3,000. Custom-built islands with reclaimed wood tops can cost $3,000 to $6,000 or more. I spent $1,800 for my semi-custom island with a reclaimed wood top and painted base, which felt like excellent value for the quality and character I received. Don’t forget to budget for stools, adding $200 to $400 for decent seating, and factor in delivery or installation costs too.

Classic Country Work Table Island Table

French Country Oak Kitchen Island
Best Kitchen Island Ideas – Stylish Designs for Kitchen Islands
French Country Kitchen Island Work Table French Country Kitchen

Beautiful Kitchen Island Ideas & Work Tables

Related Posts: